Disclosure: Some links on this page below are affiliate links, meaning, at no additional cost to you, we will earn a commission if you click through and purchase. Read our disclosure for more info.
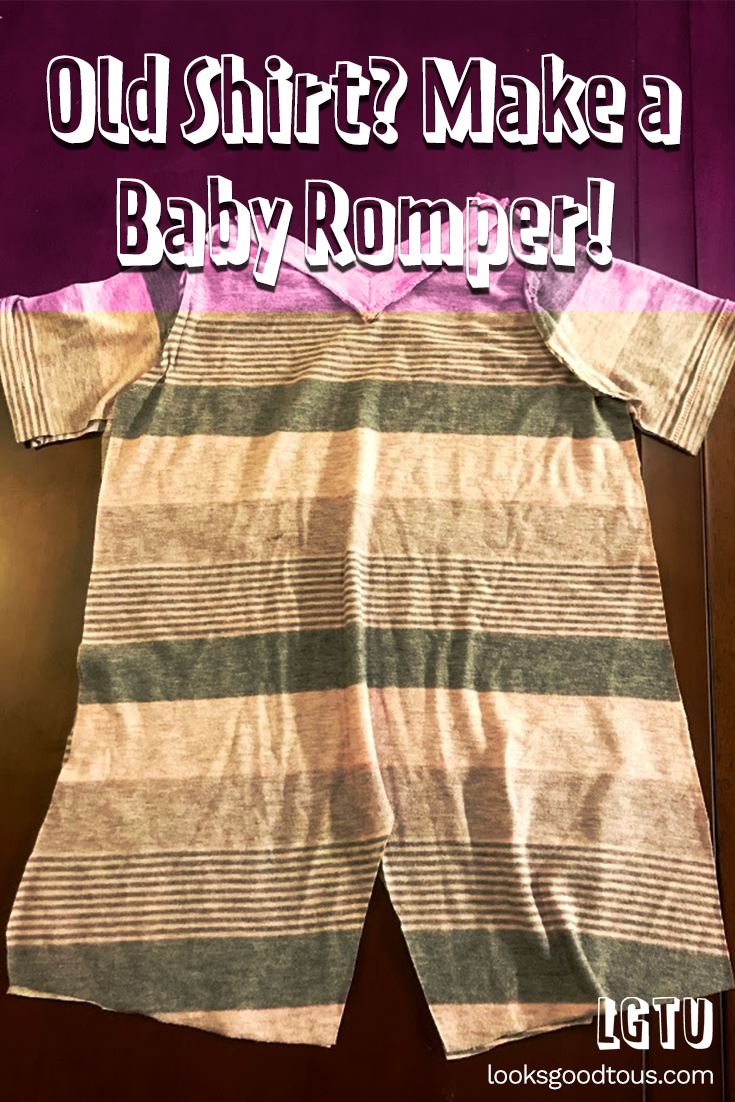
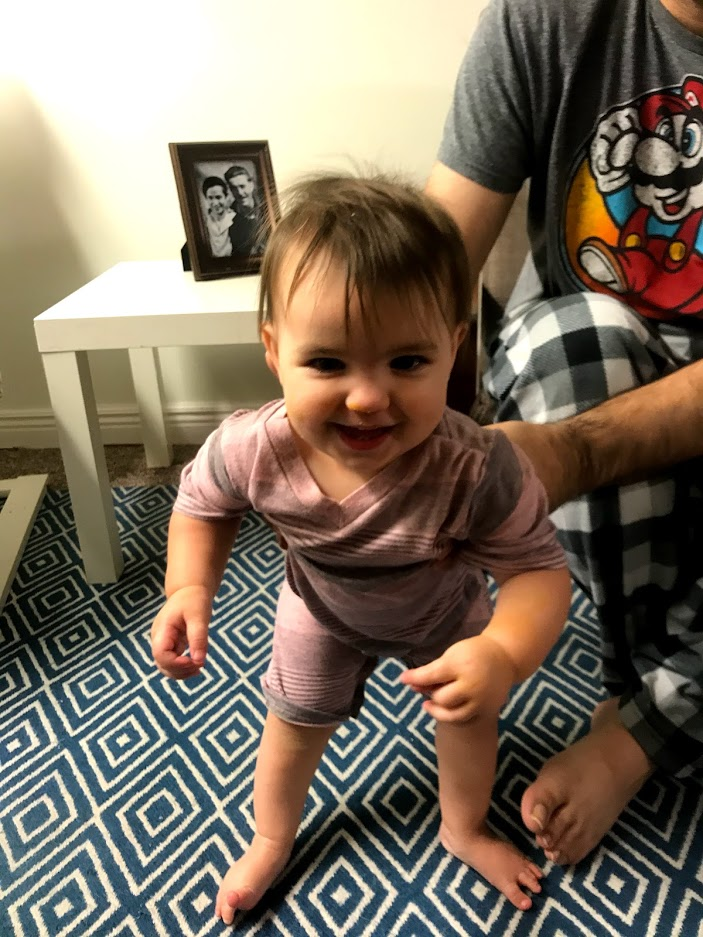
I decided this year that one of each of our kids' presents would be handmade. Mostly that's going to be with me knitting or sewing, but perhaps in the future, Kamran could make some interesting woodworking projects for the kids? I posted already about Rami's robe, so I wanted to follow up by reporting what I made for Saira: a summer romper! Yes, it's winter, and it will take a while for her to grow into it. But, she's still crawling exclusively right now so I figured she could get some good indoor use out of it for the winter too.
 Cassie
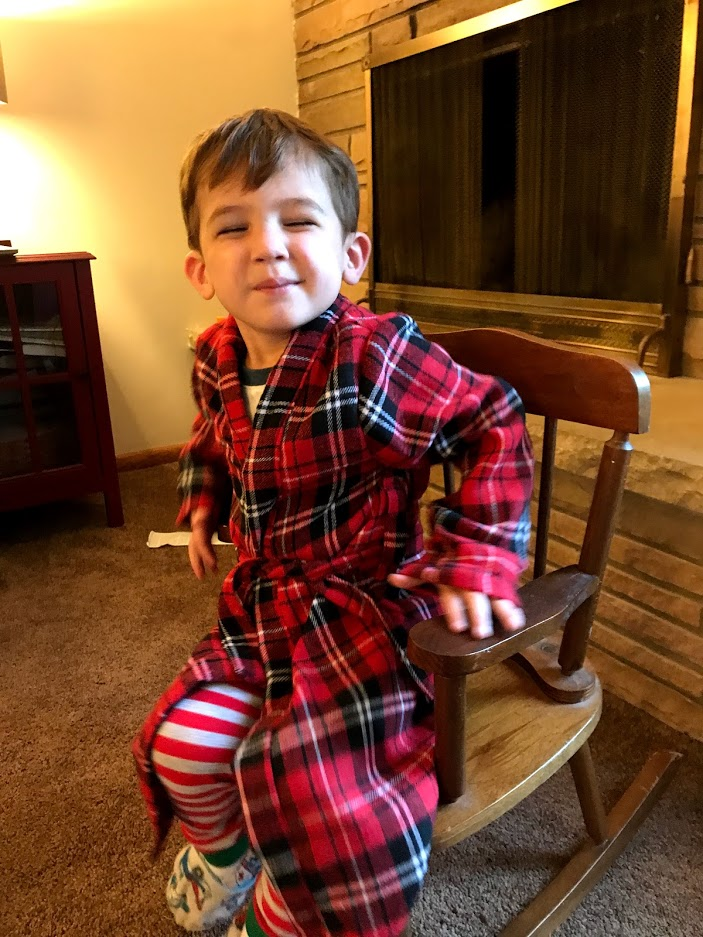
Finding a shirt to cut
I started with a Target women's t-shirt, size medium. I forgot to take a picture beforehand (hey, cut me some slack, I don't think about my projects before I start them!) But this is the same type of t-shirt I used:

I had a pink t-shirt for years and really hadn't worn it in probably two years, so I decided it was time for it to go! I've been going by the credo that any clothes I (or my husband) don't want anymore are now free materials to practice sewing on!
Cutting the pattern
I used a romper pattern from Silo and Sage, the Simply Summer Romper.


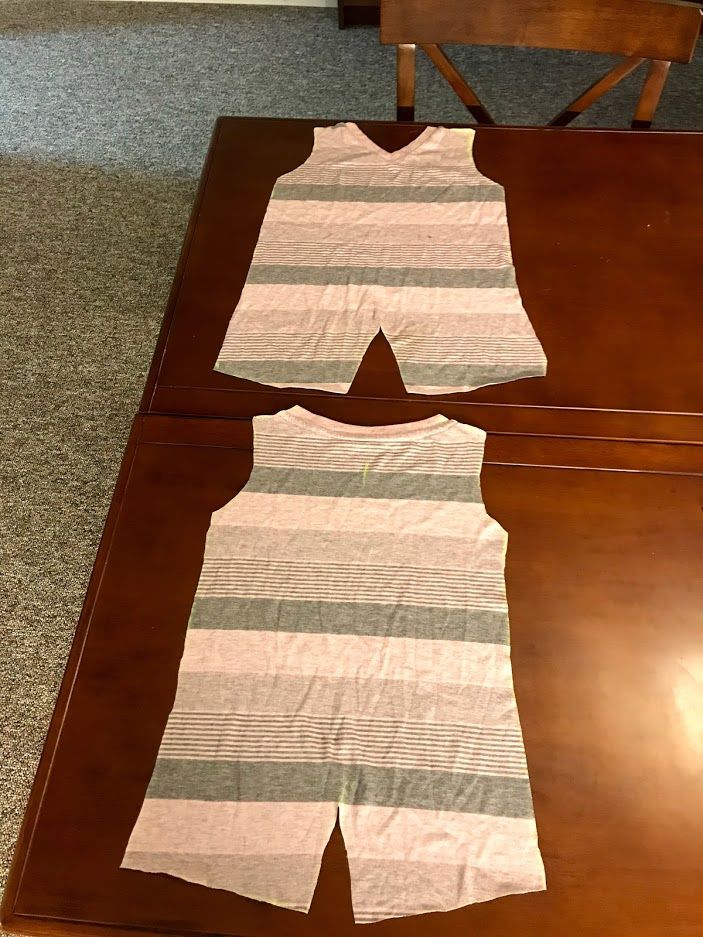
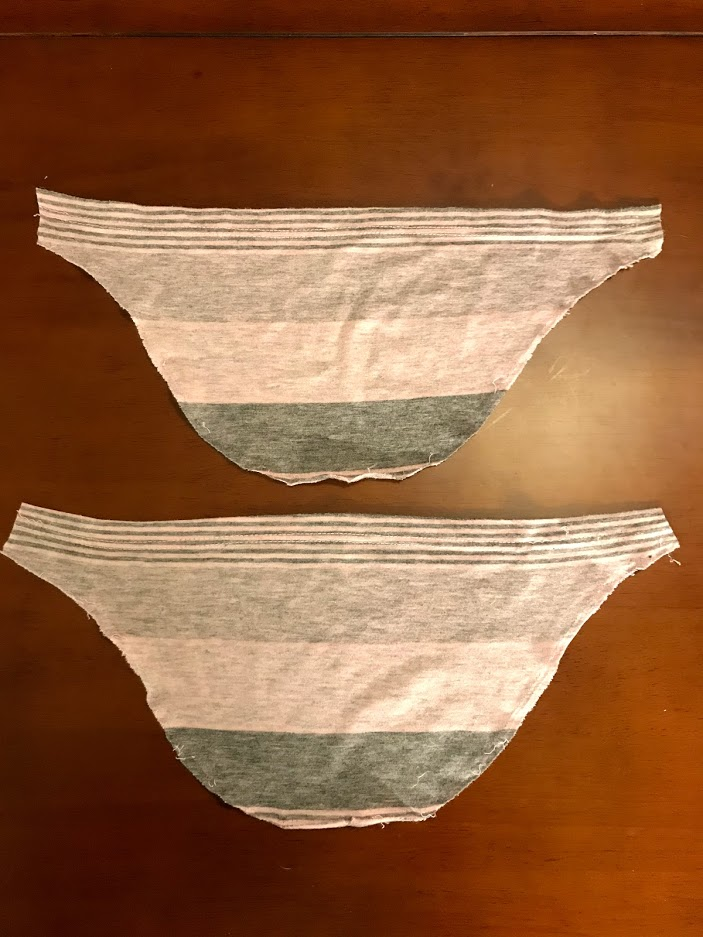
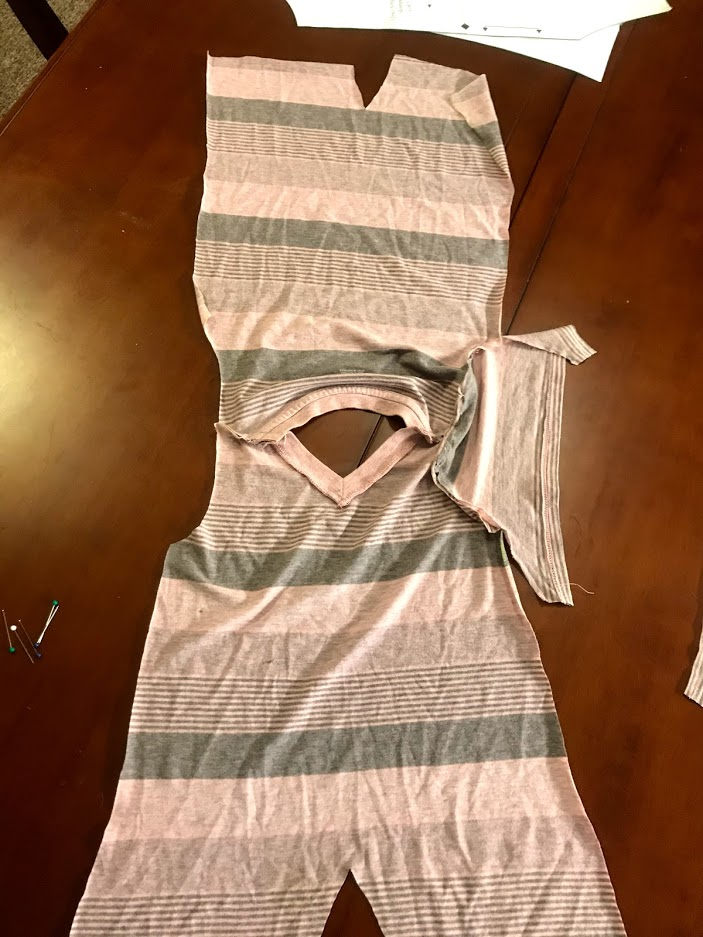
I first cut out my pieces from the pattern at Silo and Sage. I actually ended up totally seam-ripping the sleeves off, and then cutting them to an approximation of how they needed to look for the sleeves of a little girl's romper, as you can see below. So your experience might be slightly different if you go off of the sleeves from the pattern. If you have a smaller t-shirt size (I believe mine was either a small or a medium), you may be able to just take the sleeves straight from the shirt.
Sewing the pieces
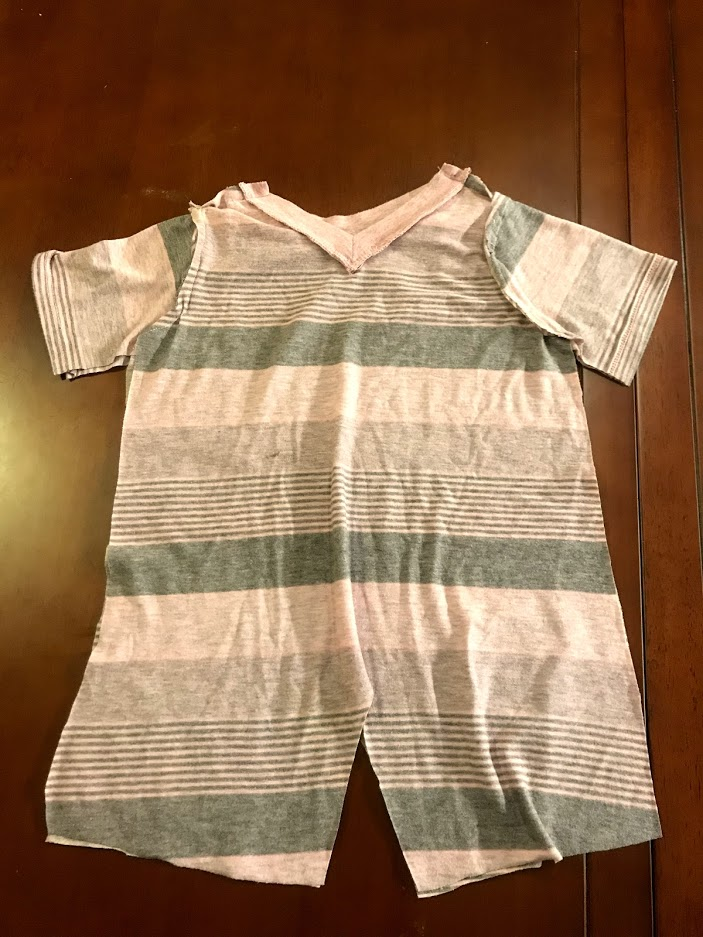
Next, I sewed the shoulders together, right sides faces, and then along the sleeve pieces, to make a big old romper piece.
I then lined everything up, pinned the sides (right sides together), and sewed up the sides. I didn't have to create a collar because I used the collar from the t-shirt! It made this project so much easier.
I was a bit stuck when it came to the snaps, to be honest. I don't yet have a snap pliers, and didn't want to go out and buy one with literally no idea how to use one (UPDATE: I got one for Christmas!).
So, I thought, where would an enterprising and frugal millennial mom find some extra snaps that would be easy to use? And then I knew: I have a million stained onesies around here, and I would cut the snaps off of a couple of them and use them on this project!
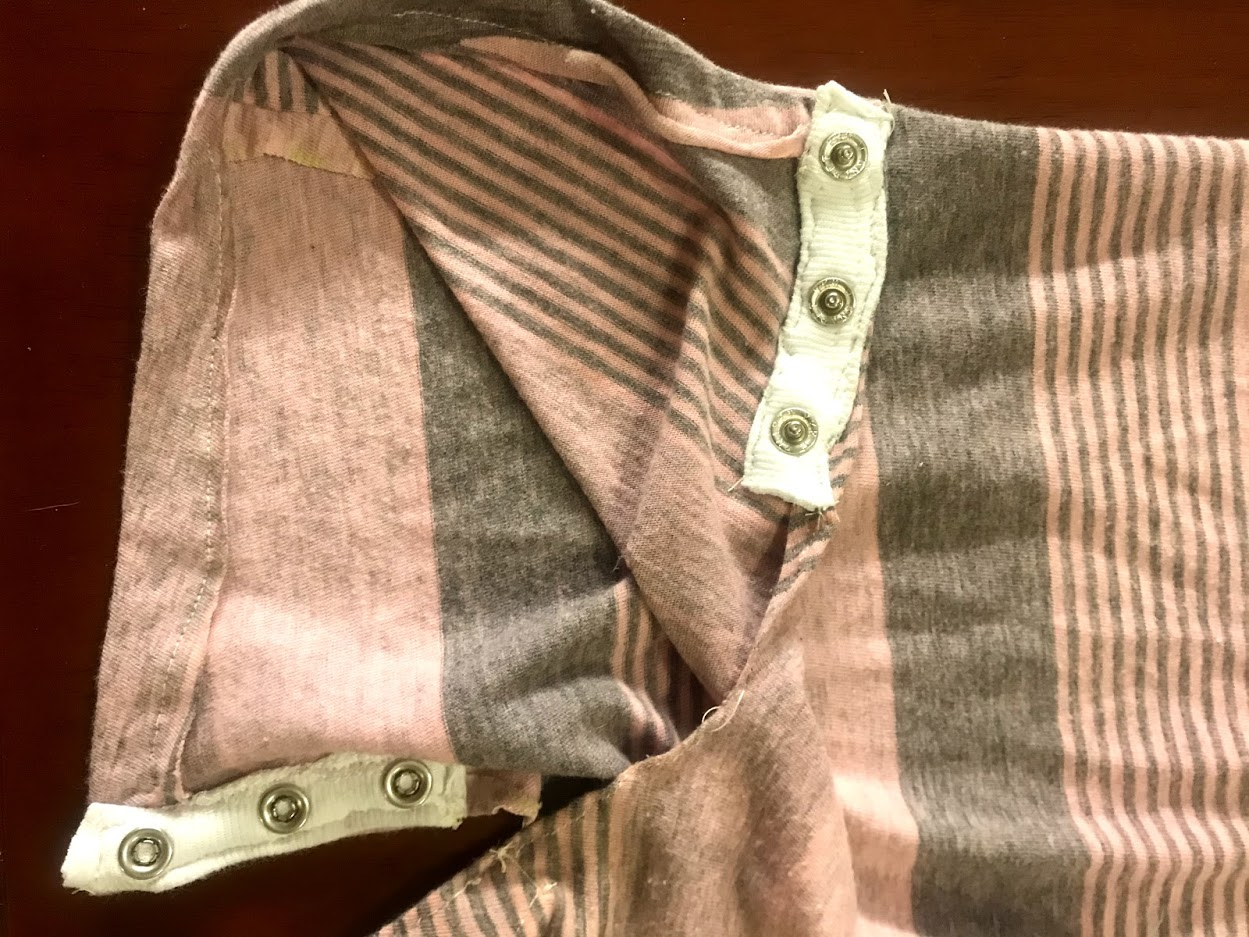
I sewed half of each onesie strip to each leg and called it a day. I'm pretty pleased with the results! Is it perfect? Of course not. But when it comes to a summer outfit that Saira can run around in, get dirty, and play outside in, what could be better?
I really enjoyed this project, and will probably try it again once I overcome my cheapness and buy a snap pliers. I love the idea of recycling old clothes and putting them to use as something totally different. I also loved cheating the pattern and using a ready-made collar and full sleeves to make things easier. Of course, my favorite thing is always getting more practice, especially when the fabric costs me nothing.