Disclosure: Some links on this page below are affiliate links, meaning, at no additional cost to you, we will earn a commission if you click through and purchase. Read our disclosure for more info.
This was the part I dreaded as a total amateur. The drywall wasn't that hard in my opinion, just a lot of measuring. The best advice I can offer here is to watch all the videos below multiple times. I took notes and I'm sharing them all in this post but it's definitely something you need to see.
Be sure to check out this project from the beginning with tool and material lists as well as links to the videos I referred to while learning.
 Kamran 16 Dec 2020 • 16 min read
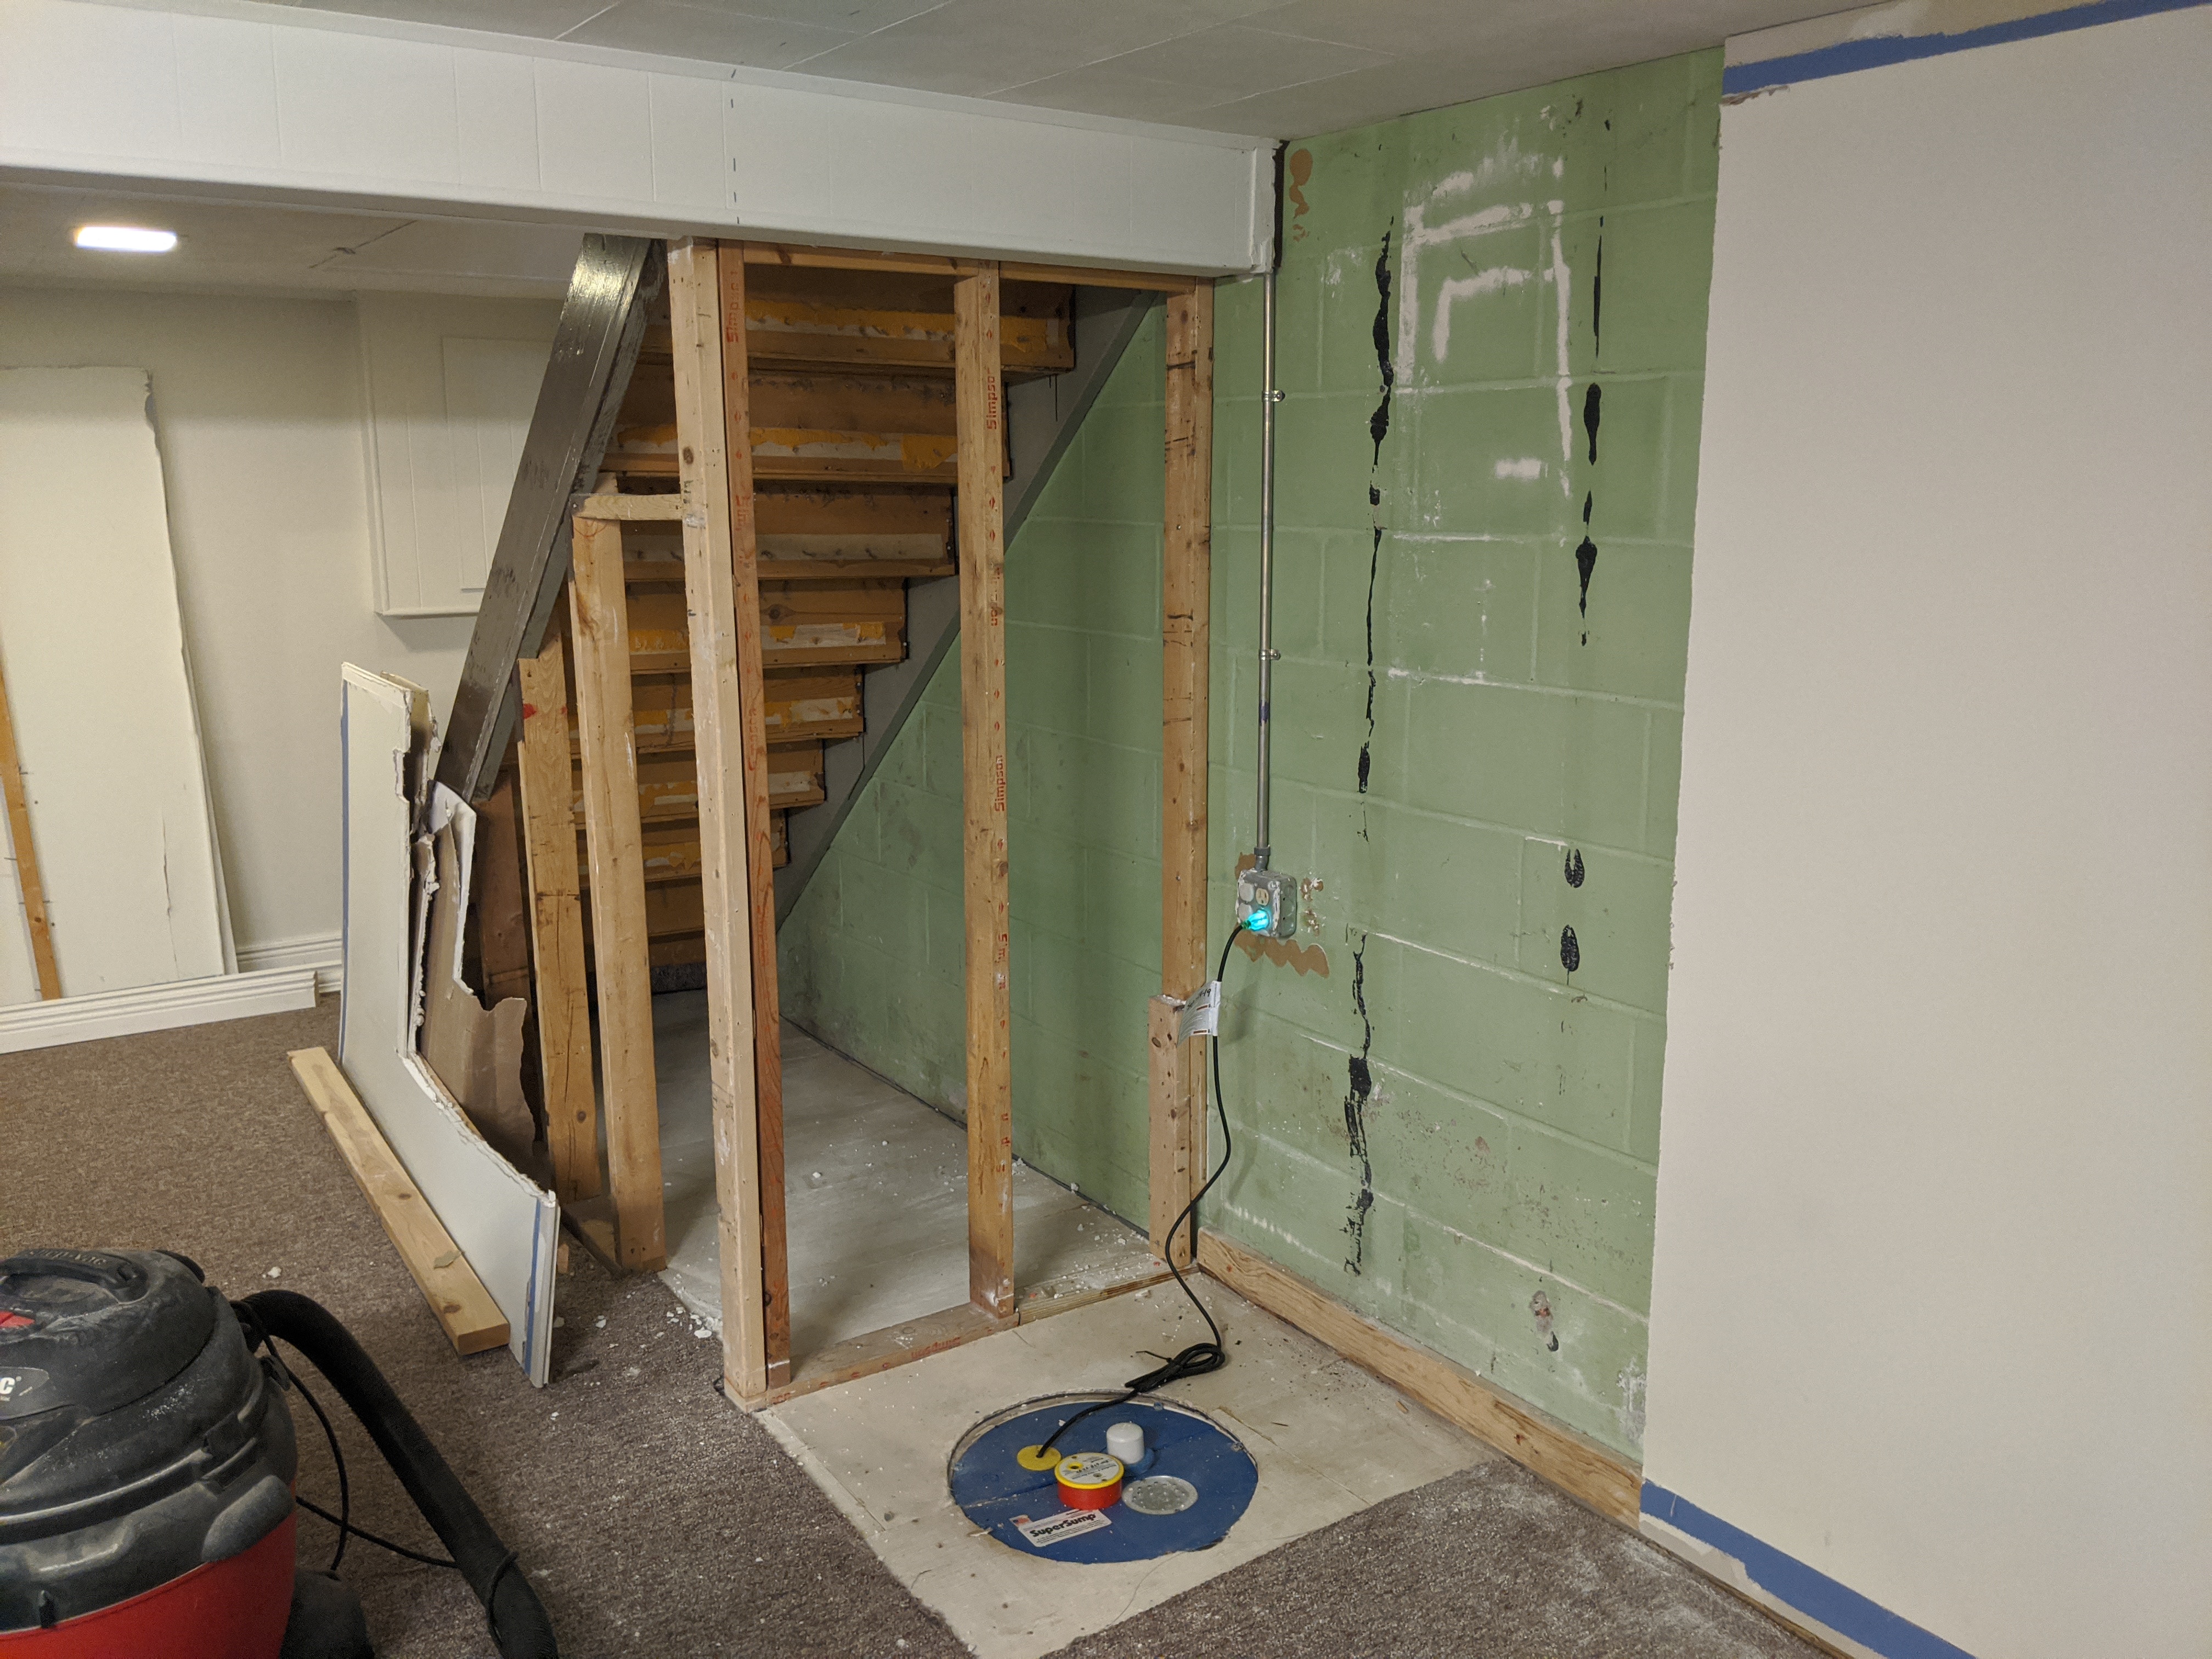
Drywall and mud tools I used
These are all links to what I purchased and would recommend.
- Drywall "hawk" (mud pan)
- Drywall 4" knife
- Drywall 4x10" trowel (straight knife)
- Drywall joint tape
- Drywall fiber mesh tape
- Drywall All-purpose mud
- Drywall 45-minute mud
- Mud mixing paddle
- Variable-speed drill for mixing
- 3 buckets (one for water/tools, one for all-purpose mud, one for sheetrock 45 mud) - Important: Get a good bucket that won't get scraped!
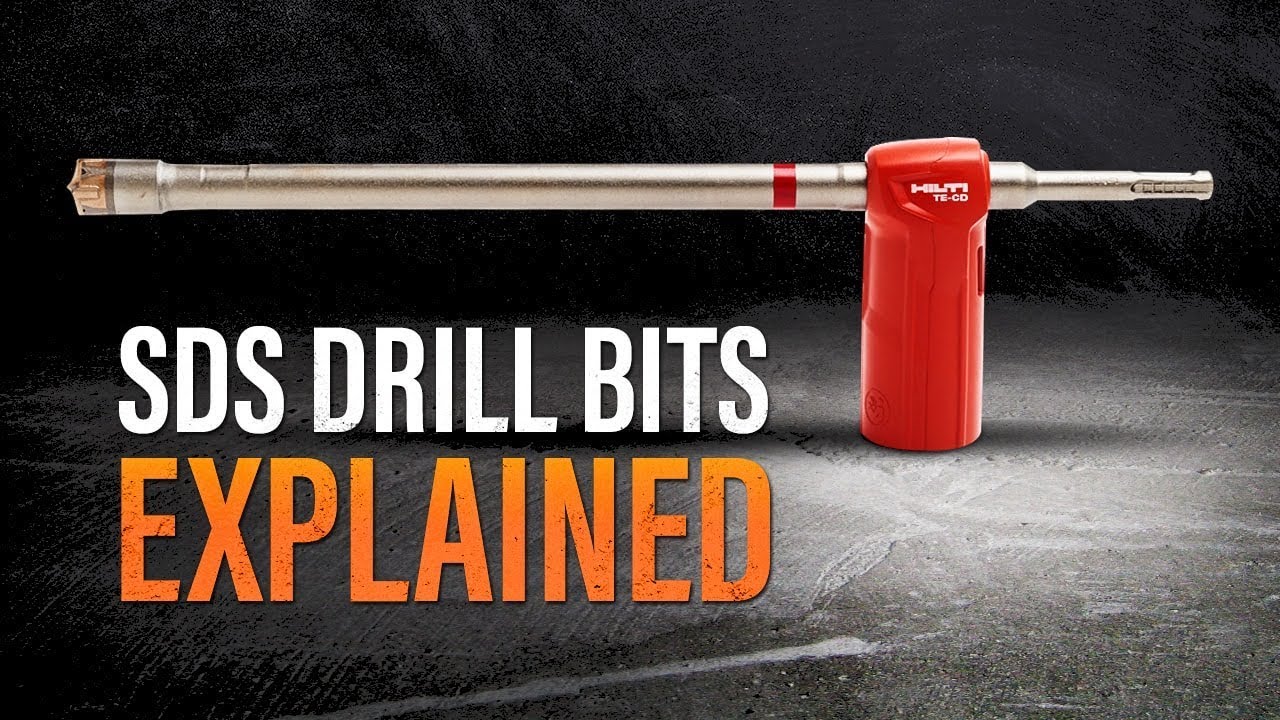
A quick aside on SDS+ drills and bits
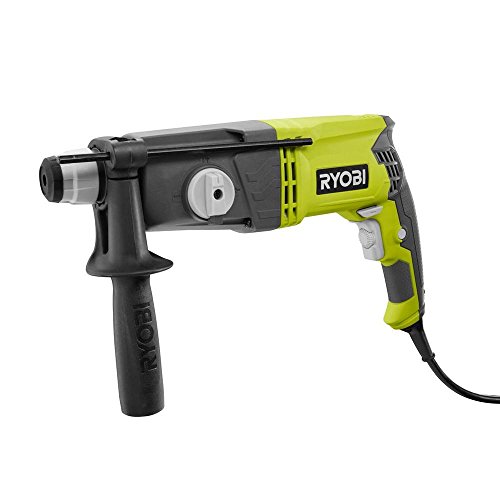
I was looking for a variable-speed drill and ended up getting the Ryobi SDS+ hammer drill. I wanted it for drilling into concrete but also its variable-speed makes it good for mixing. SDS drills are designed for heavy-duty applications. The Ryobi one can turn off its hammer feature though and that has proved to be super handy for not only concrete drilling but for using hole saw bits and wood-boring when doing electrical. It's pretty heavy so I would not recommend it for applications where you have to hold it above your head for very long!
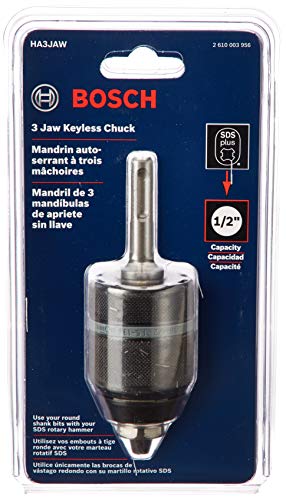
The key part is that the SDS bits are different than regular hex bits. You most definitely need to buy an SDS chuck. This will let you use regular hex bits (and oversized ones like a hole saw bit or mixing paddle). The one I got from Bosch was expensive but worth it, it's very high quality.
This gives your SDS drill some more versatility and I am glad I got one. If you're curious what SDS is, here's a good video explanation:

The hawk technique
The knife-and-hawk mudding technique is what Jeff recommends even for homeowners so that's what I went with even though I see the mud bucket thing in other videos.
Having now used it do all the drywall for this project, I recommend it! It was surprisingly easy to use just like Jeff demonstrates in his videos. Importantly it was easy to clean too, while I was mudding and after I was done by just washing it off.
For reference, here's Jeff's A-Z drywall video so start there for what tools to get and why!
Get a better mixing paddle (or bucket)
I wanted to call this out because this turned out to be a major issue for me. I originally got this cheap mixing paddle which was a big disappointment. What I discovered is that the paddle can gouge the sides of the bucket which then mixes in tiny orange fibers that show up in the mud and on the wall. This also probably has something to do with the mixing technique (don't touch the sides of the bucket). This creates a HUGE issue because you then have to dig it out and re-apply mud and it will just infuriate you.
If you're like me and don't mix stuff often, I recommend getting a good quality paddle that won't gouge the sides or bottom of the bucket like this well-reviewed DEWALT one.
You may also want to get a slightly better (and pricier) bucket for mixing like a steel utility bucket which can withstand a mixer paddle hitting the sides. Be sure to clean after every use though so you don't end up having to toss it.
The takeaway: watch the sides of the bucket so you don't get orange fibers in your mud!
Type of mud (drywall joint compound)
There are two types of "mud" (aka drywall joint compound) you need for finishing drywall:
All-Purpose Compound
The joint compound should have the following attributes:
- Lightweight
- All Purpose
- Ready-Mixed
See this video clip.
You still need to mix up the compound with water, which is covered in the video.

There is not much to mixing all-purpose mud except as I said to avoid scraping the sides of the bucket! The consistency can vary depending on how runny/thin you want but it's good to check as you go. It's not as sensitive as thinset or anything like that. Just squeeze a little bit of water from the sponge, mix, squeeze, til it's juuust right.
Hardening Compound (aka Sheetrock 45 / 60 / 90)
For filling patches, large gaps, and doing outside corners, you will want a hardening compound. This is often sold as different numbers which represent how much time you have before they harden. They come as a powder mix and you cannot reuse it so it's important to only mix what you need.
See this clip in the Fixing Drywall Mistakes video (the whole thing is worth watching if you make any mistakes!). Sheetrock 45 can fix most things!
👉 Pro tip: Rather than mixing the powder in a bucket with water, for small applications you can mix it right on the hawk as shown in the clip above. This saves a ton of time cleaning the bucket and makes it quick to do patching and touch-up work.
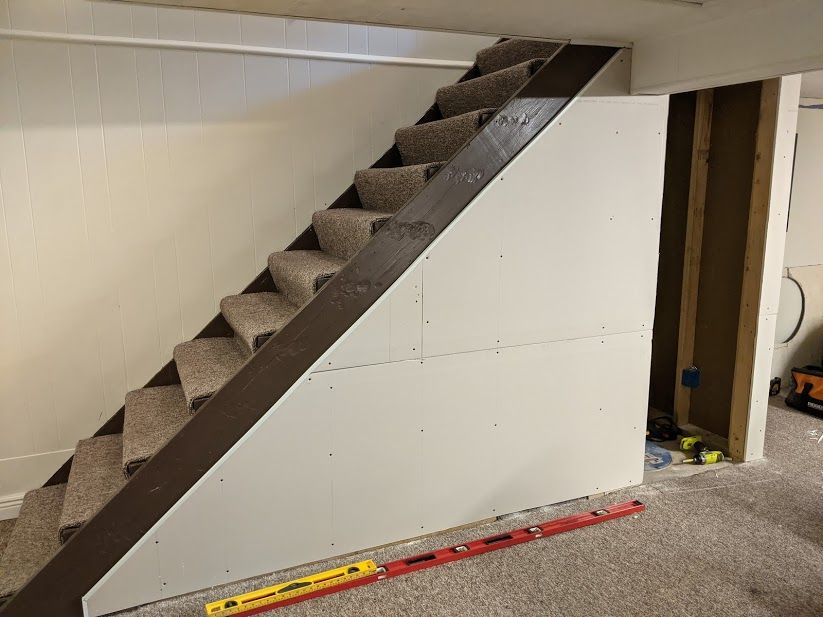
Drywall order of operations
With drywall mud and tape, I tried to follow Jeff's system and order in which he does his applications. I had no idea coming into this that mudding took so much finesse. It takes patience to get a good result and you have to take it step by step. For me, this took about 2 weeks start to finish since I would work in 1 or 2 hour increments. If you had all day, you could finish a whole room in 3-4 days. It was also my first time so I had to watch and re-watch a lot of videos.
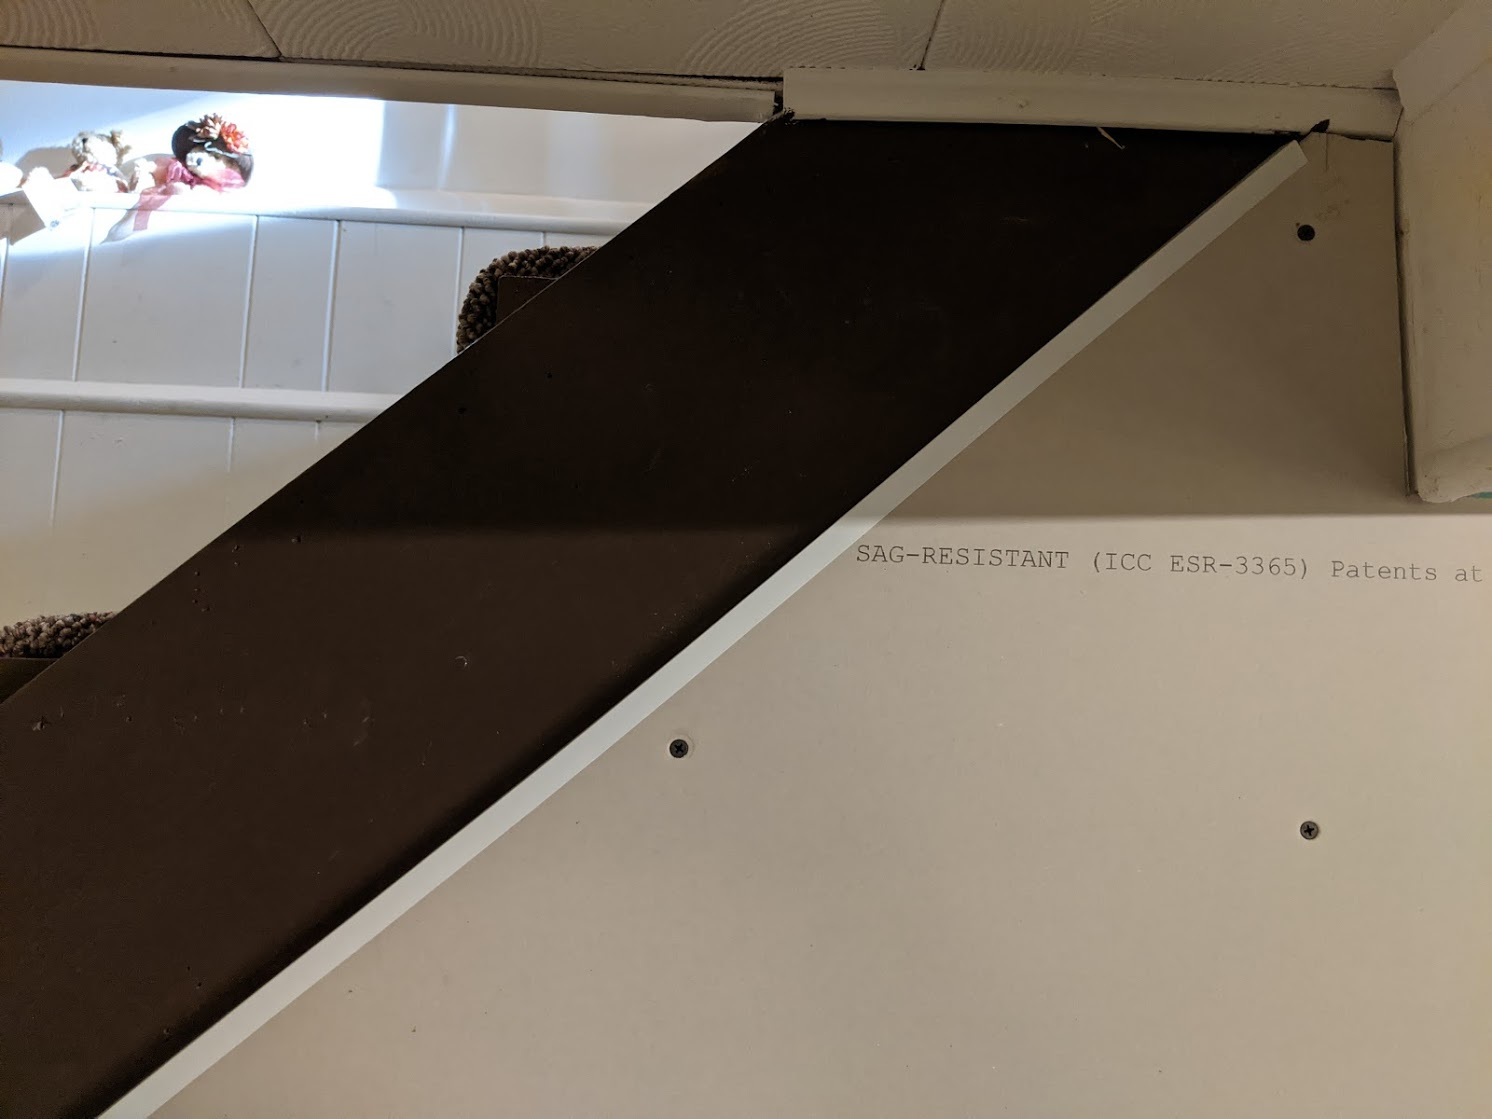
Prepare the walls
Take a look at your drywall first and ensure that no screws click when you pass the joint knife above them. If you scrape, you shouldn't hear any sound. If you do, take your screwdriver and give them a little turn so they are embedded more.
Even with using the drywall setter screw bit I had a few that needed an extra turn.
👉 Pro Tip: If there's a leftover hole from a bad screw, use the bottom of your joint knife to make a dent that you can fill in later with mud. The bottom of the handle of your knife is flat to make this easier!
Examine the walls for any other things that might cause the mud to get messed up, wipe away any debris, etc.
Using J-trim
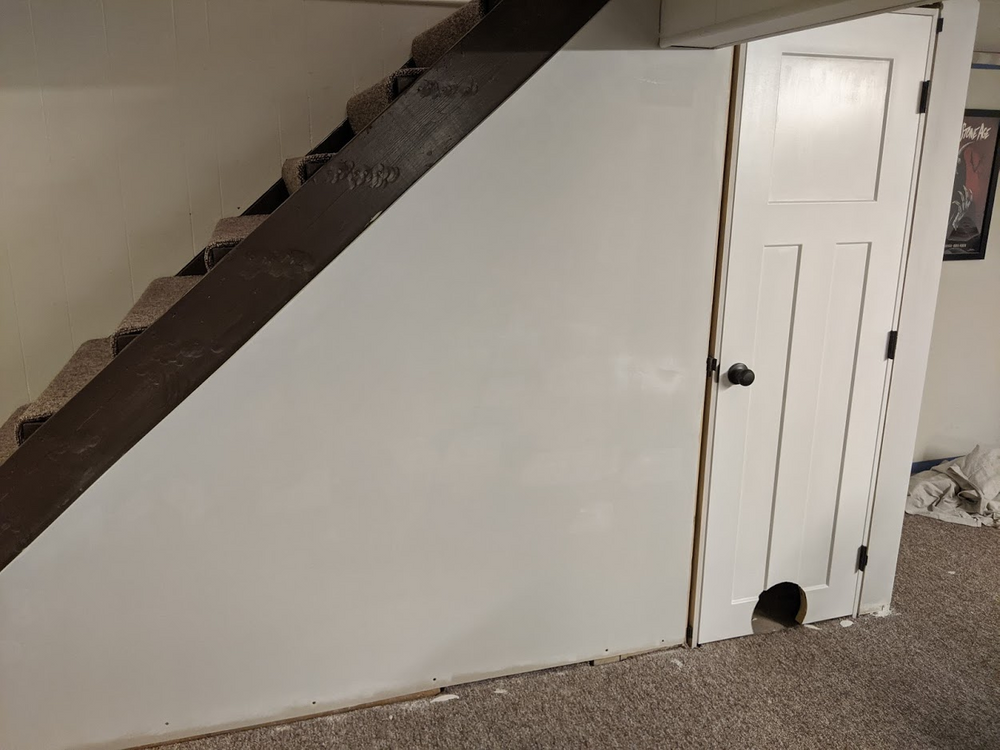
I learned one trick from Jeff's videos and that is to use J-trim for any drywall edges you want to go up against framing or to create a nice smooth "factory edge". I used a piece on the stairs and you can mud it just like any other edge to make it disappear when you prime and paint.
Fill in gaps with hardening compound
Before applying the first coat of all-purpose mud, you need to ensure it has a solid surface to bind to. If there are any gaps larger than about 1/8", you'll want to fill them.
You don't use all-purpose compound for this, you actually use the Sheetrock 45 hardening compound. For large gaps where the mud seems to fall through, use fiber mesh tape and apply with the hardening mud on top. This creates a hardened surface on which to apply the tape and first coat. You cannot use all-purpose mud with fiber tape!
I had a gap between the new closet wall and the old finished wall, of about 1/4" to 1/2". I definitely needed to fill it before taping the corner.
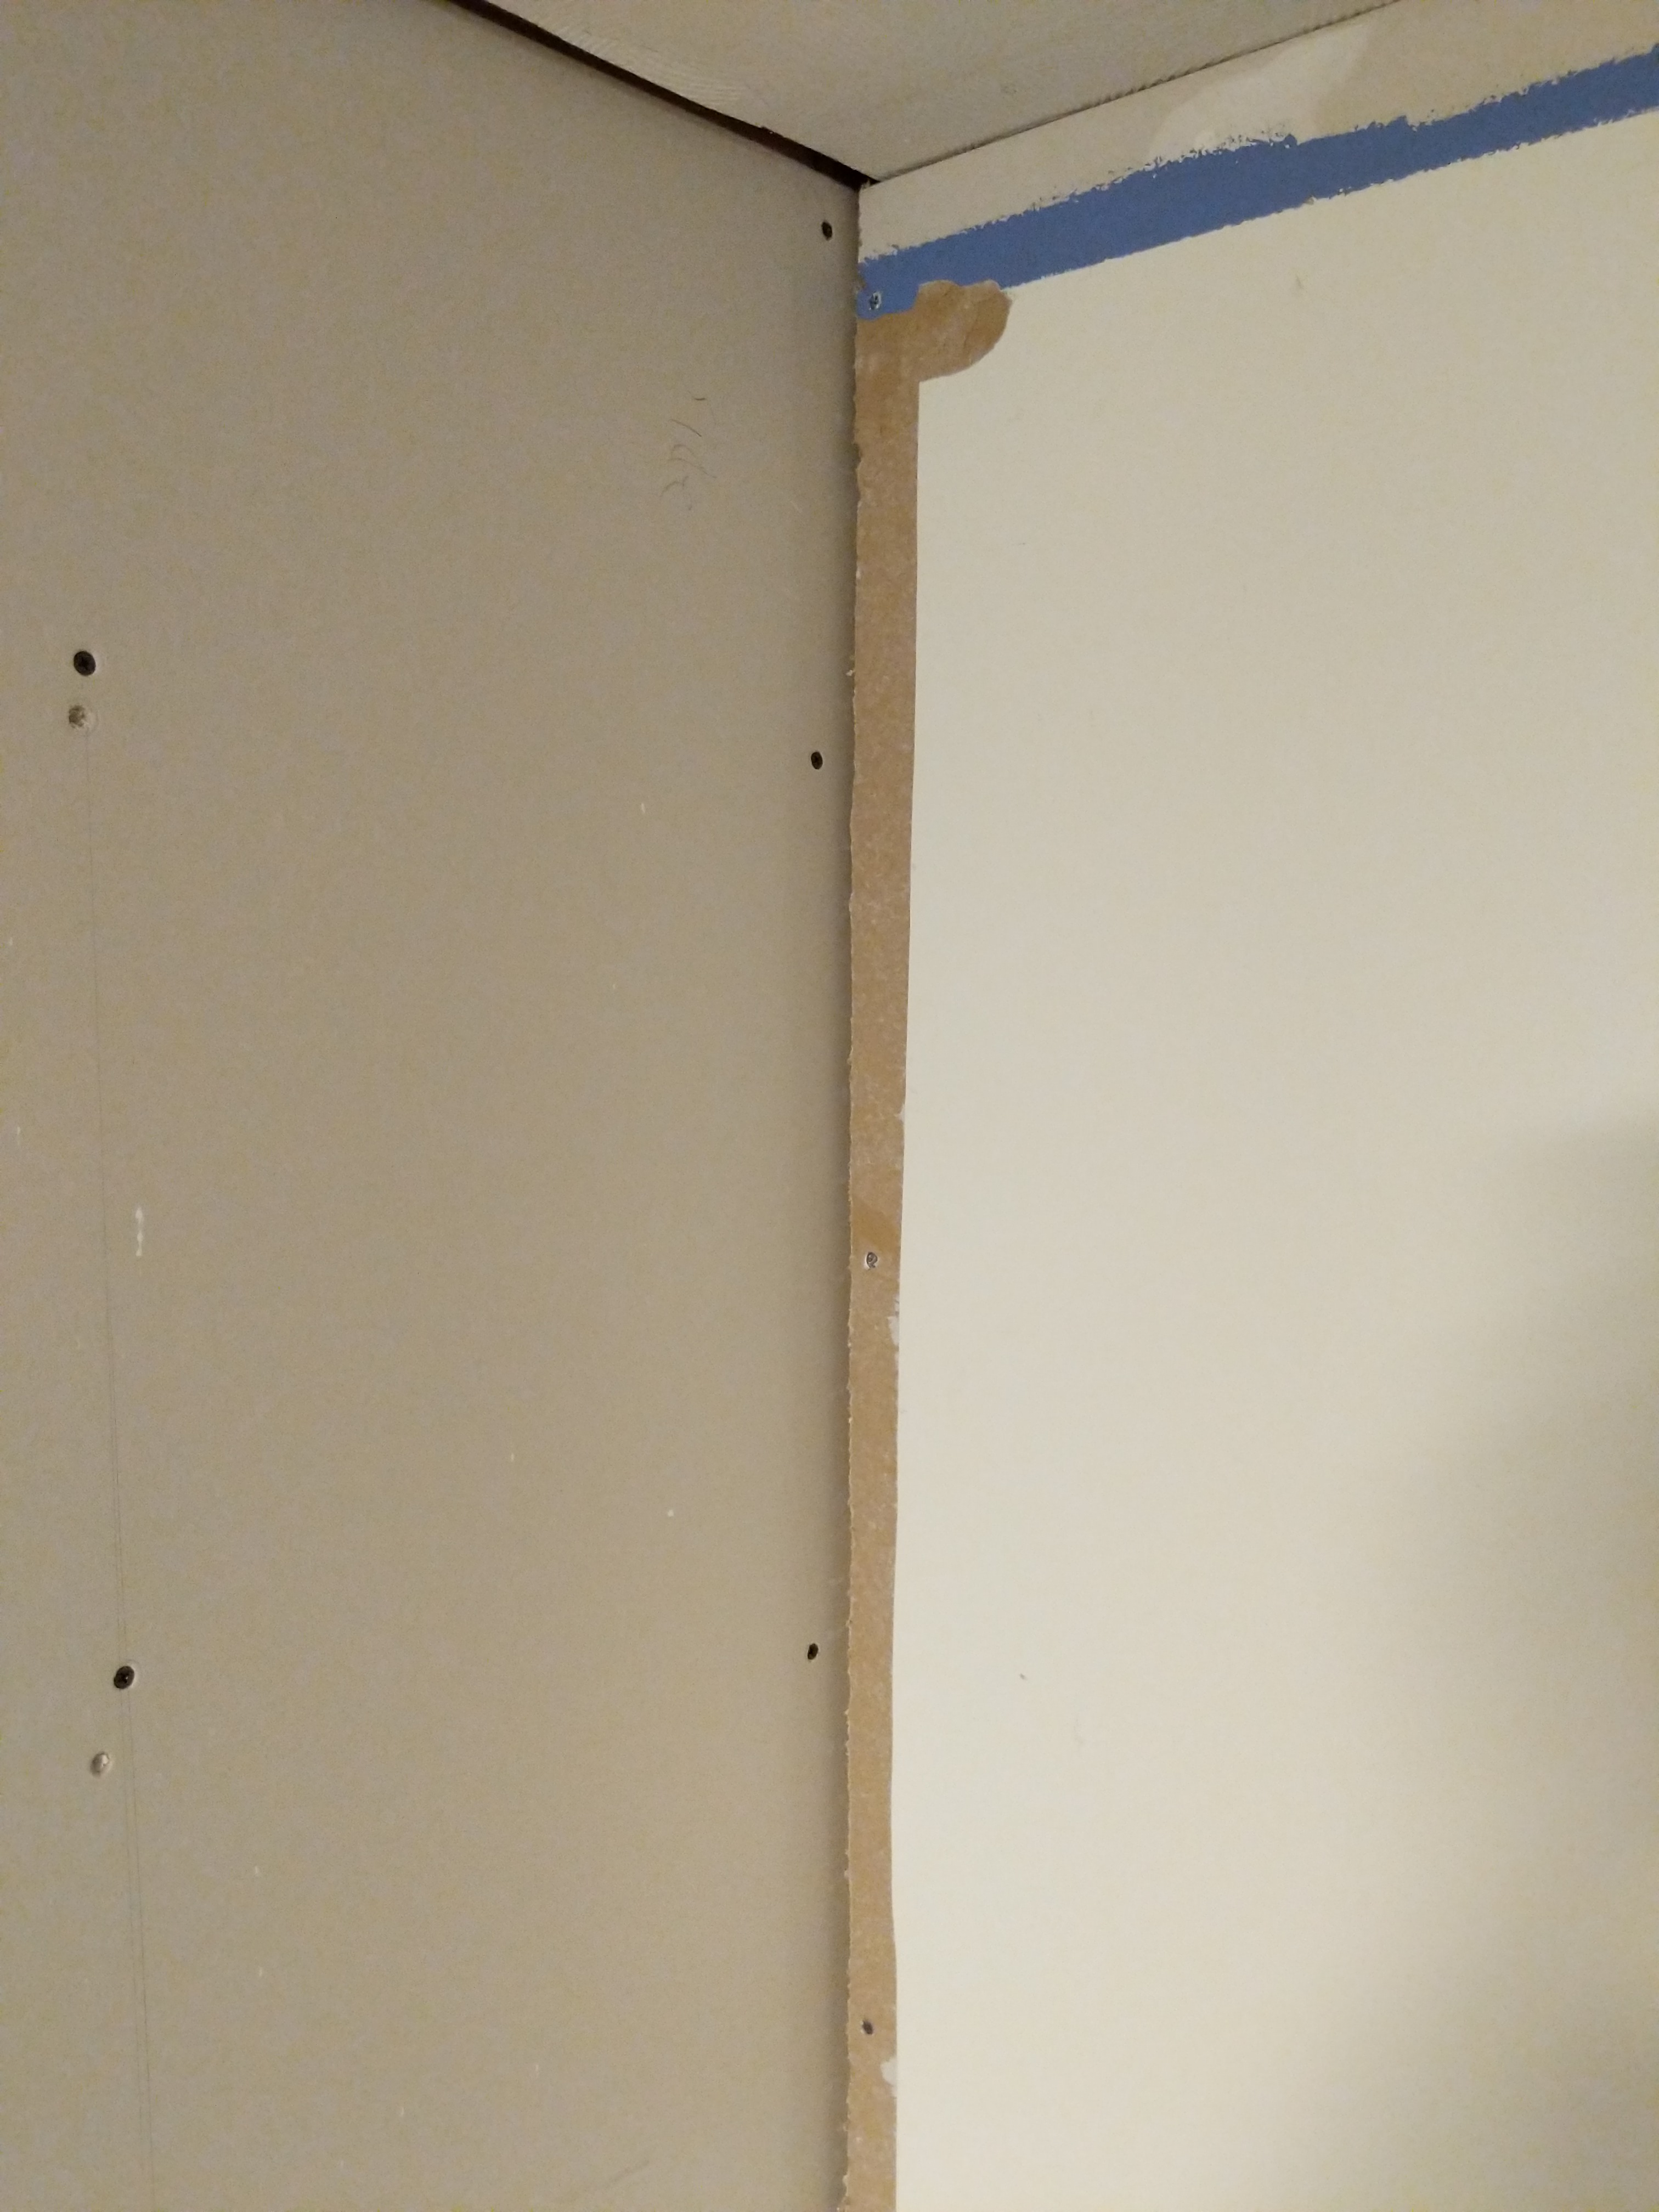
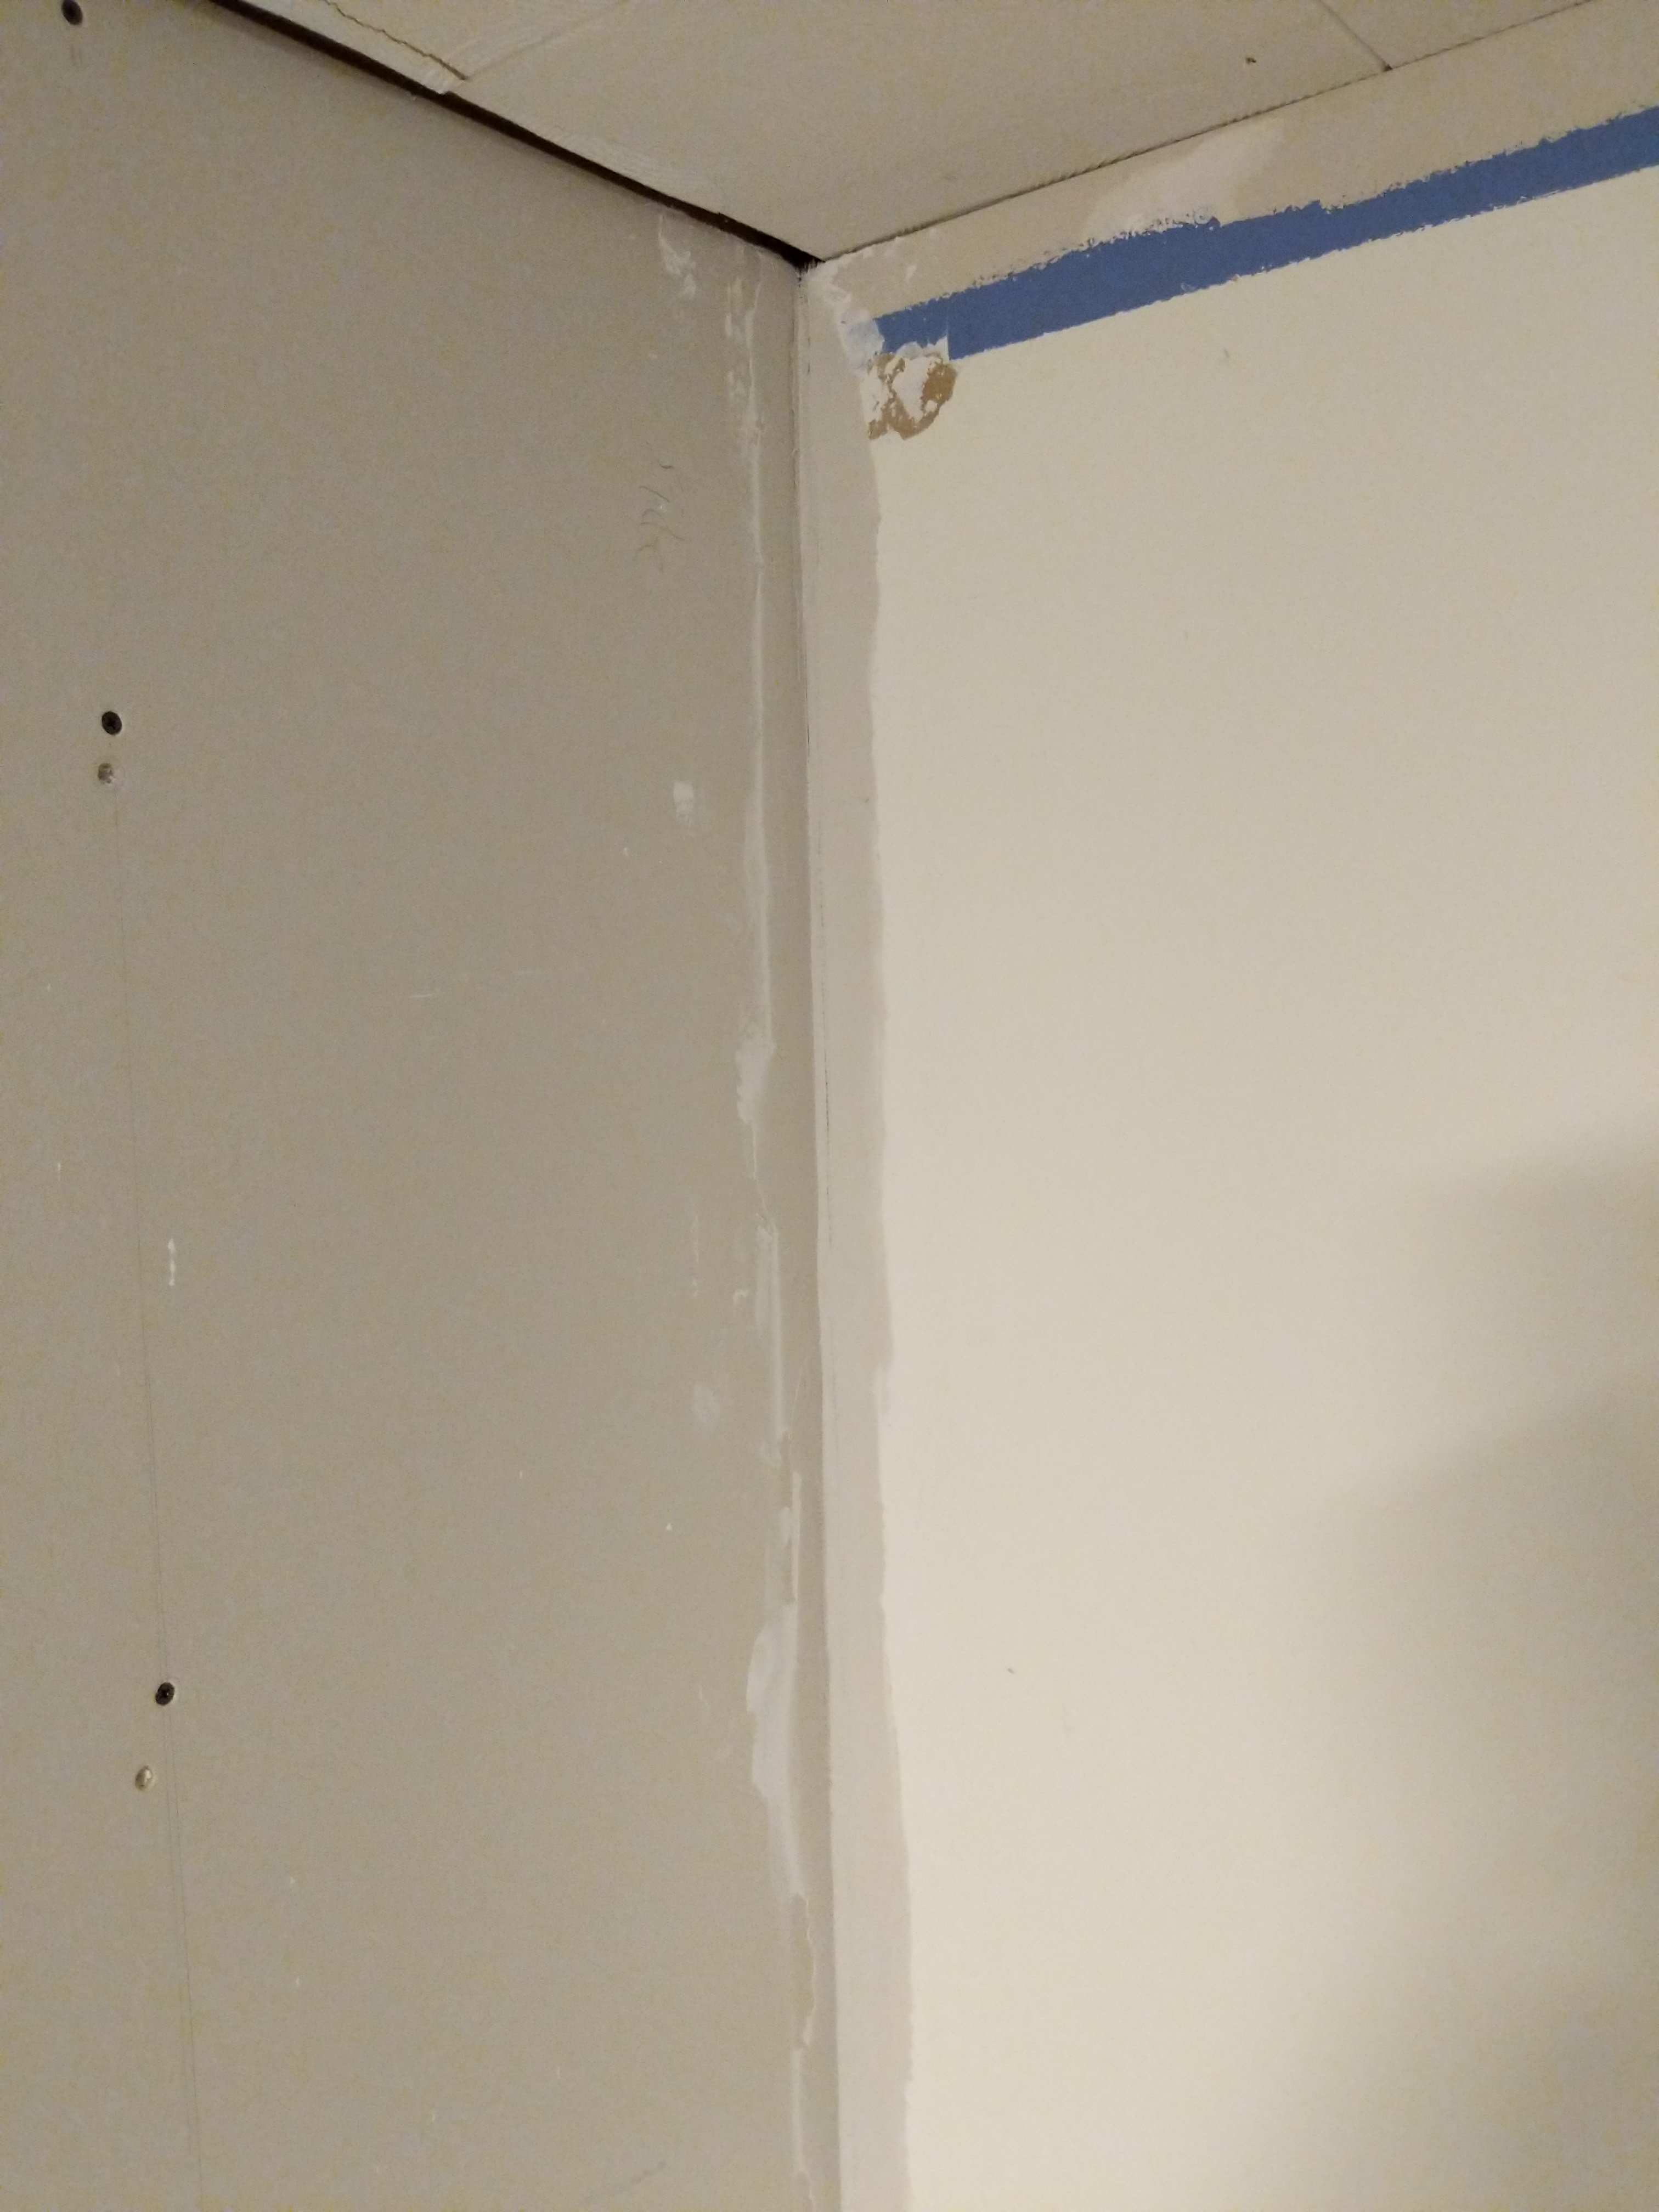
The technique I used to fill in this corner gap is shown in this video! Also you'll notice I scored and peeled the finished wall for that corner. If I was applying all-purpose mud, it wouldn't stick to that brown paper, I'd have to spray it with some Kilz primer first as shown here. The hardened mud works just fine though.

There's an alternate technique shown in this video which is to use expansion foam to fill gaps and then you can come back and trim it and tape over it. All you need to do at the end of the day is create backing for the tape and mud to bind to.
First day
After your walls are prepped and gaps are filled, you can start the process of mudding and taping. According to Jeff, this is what you should do on the first day:
- horizontals (tapered edges)
- inside corners
- horizonals (factory edges)
- butt joints
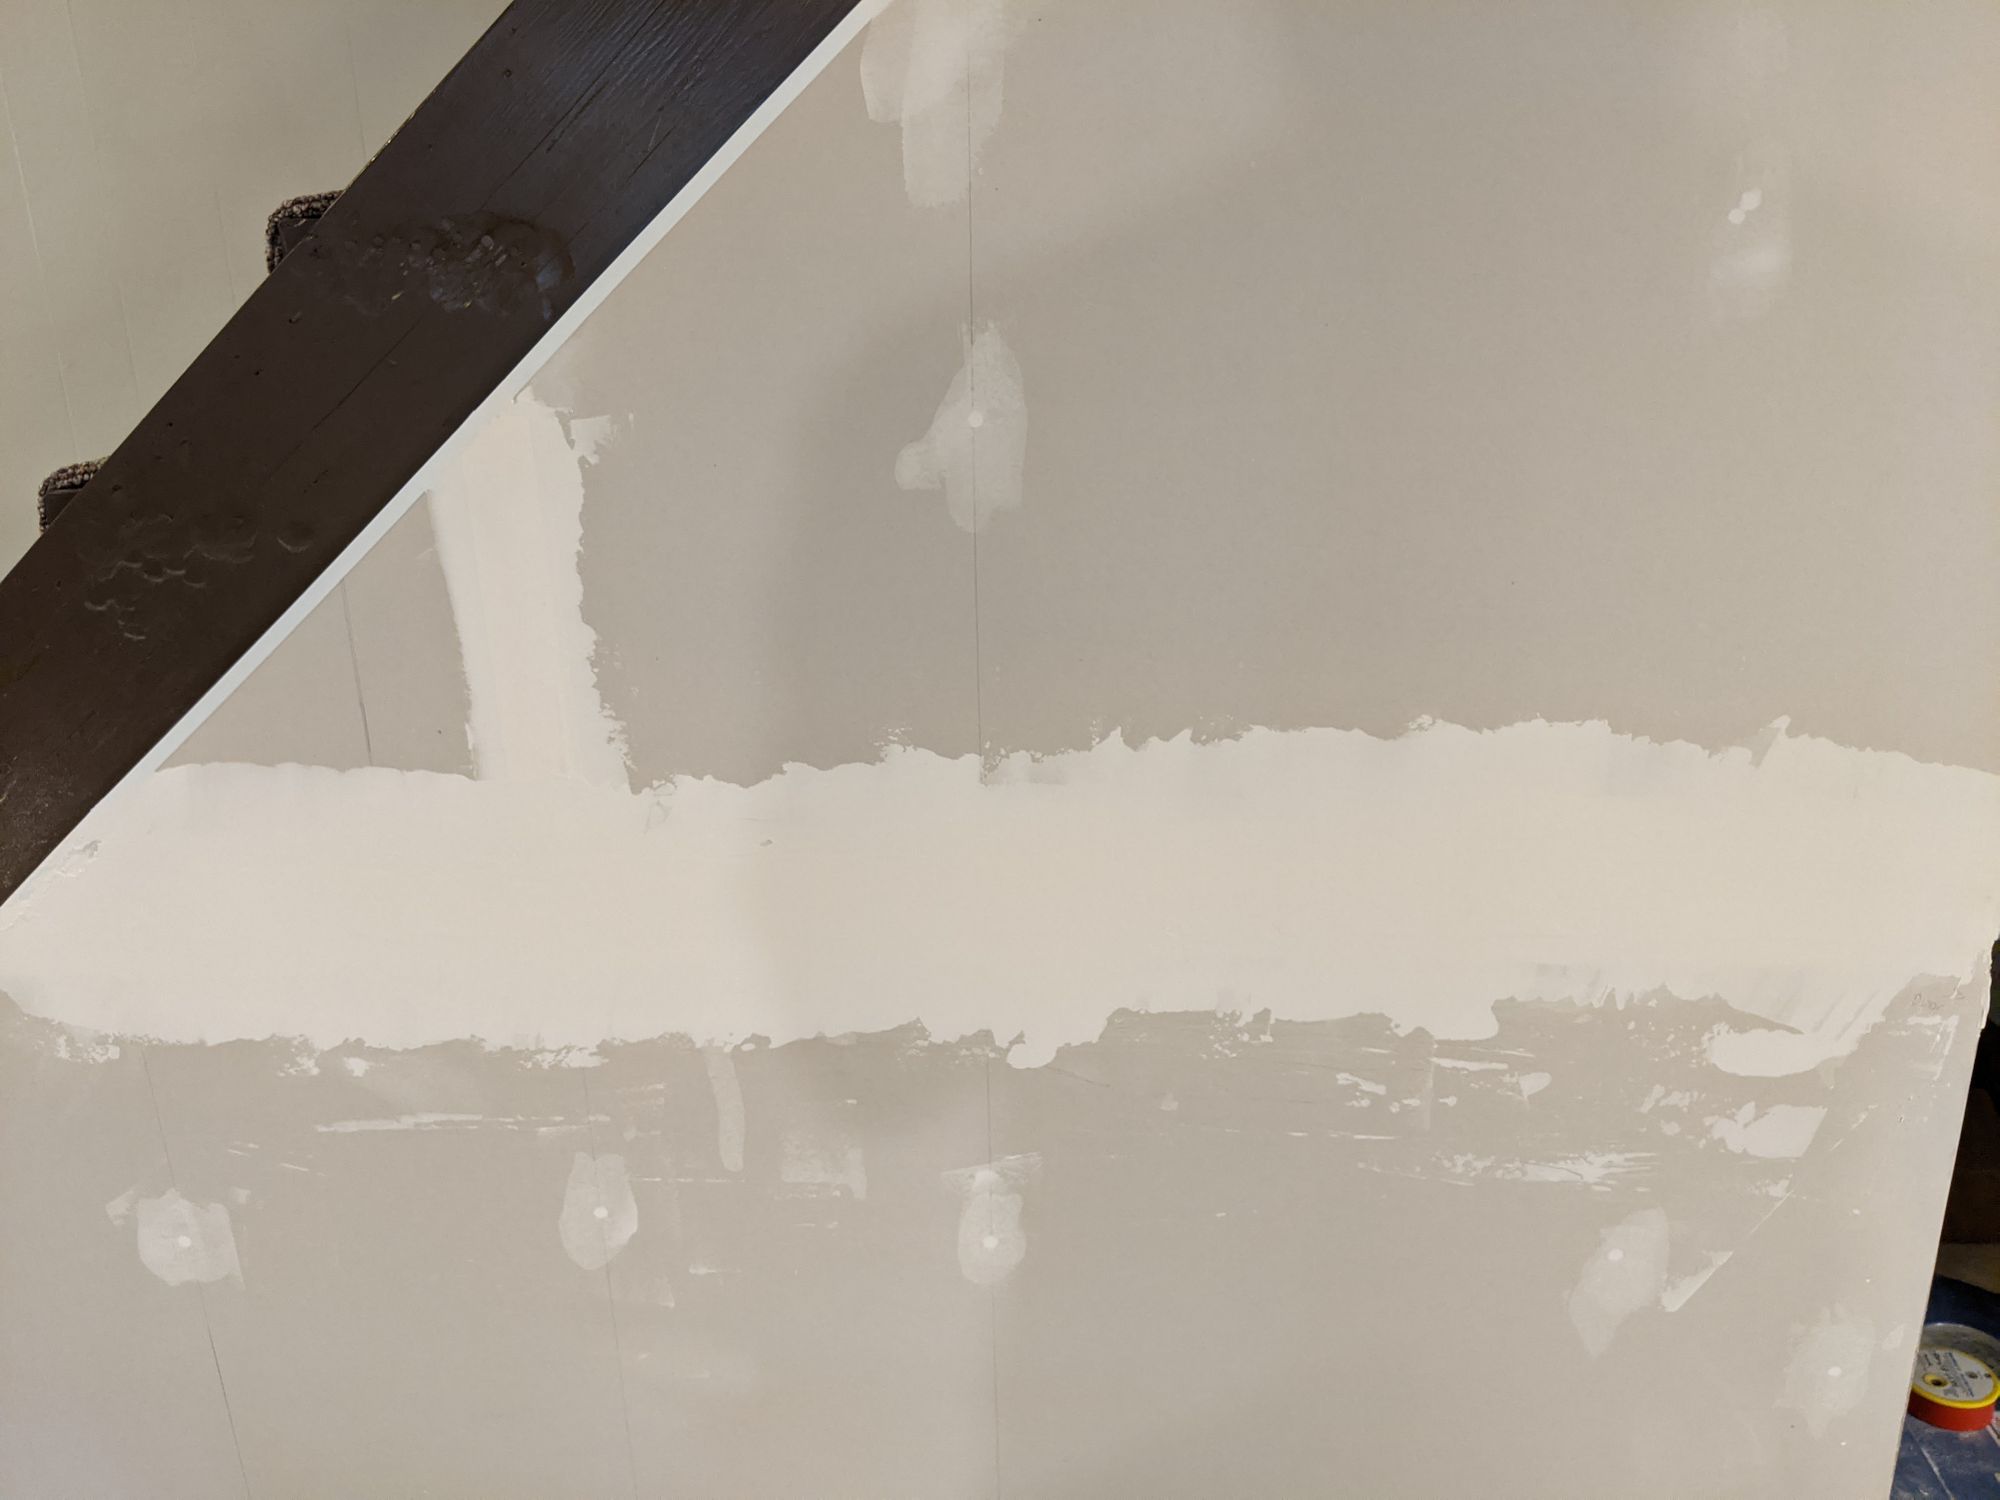
Horizontals (tapered edges)
Drywall is typically hung on the wall horizontally because when they have a tapered edge on the top and bottom edges. The left and right edges are sometimes called "cut" or "factory" edges – no tapering. When two cut edges butt up against each other, it's called a butt joint and one of the rules of drywalling is to minimize butt joints!
To tape and mud a horizontal joint, it's easier to see and this is the video I'd watch multiple times until it clicks:
The process goes like this:
- Apply mud on the wall in a horizontal motion, scraping it flat as you go across the wall
- Lay tape against the wall on one side, pressing down to keep it in place and then position the tape farther down and press down with the blade to keep it centered. Scrape it flat and repeat this process until you reach the end. Hold the blade square against the tape to rip it to make a flat edge.
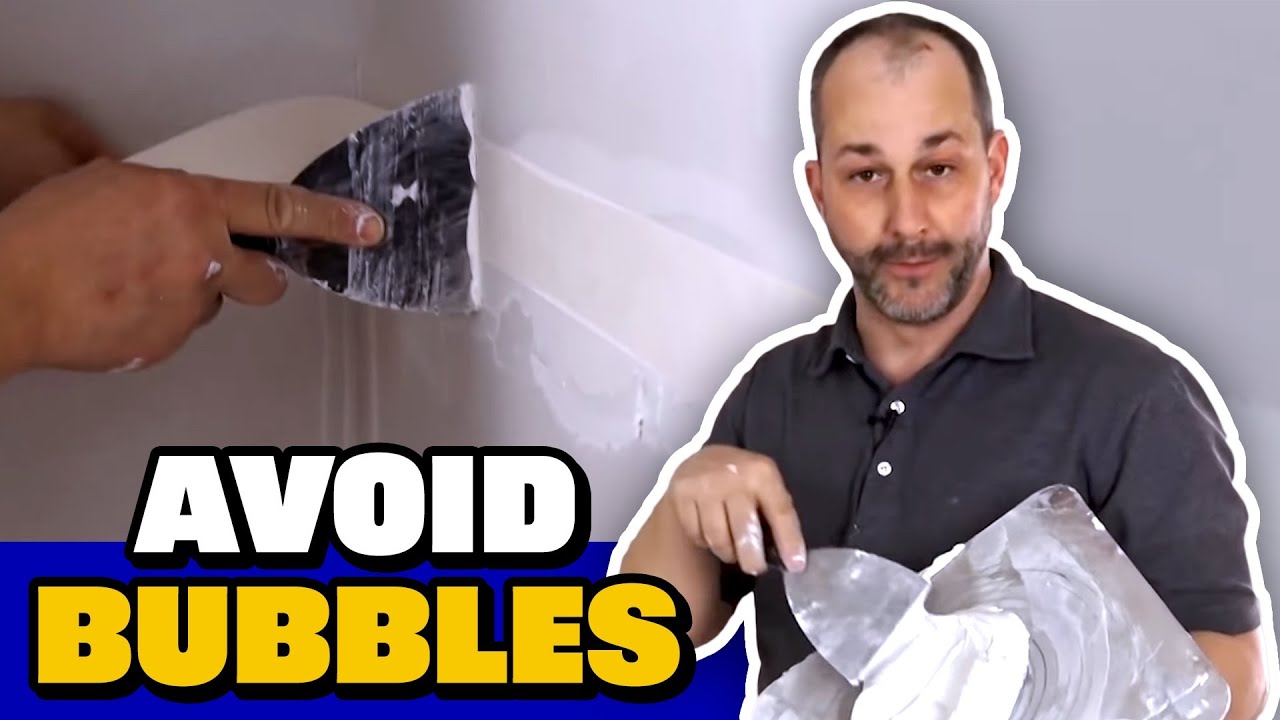
- Apply a coat of mud on top to keep the tape wet and prevent bubbling when it dries.
There are several tips worth noting:
- Always wet the tape with mud on top which prevents bubbling
- Mark the center joint line by pressing your blade into the mud, this ensures you keep the tape centered on the joint the whole way across
Inside Corners
In the previous drywall series, Jeff actually says to do inside corners first to avoid overlapping tape joints. However, in his latest drywall iteration, he actually suggests doing factory (tapered) edge horizontal joints. If those intersect with a corner, the dip allows the mud to fill it just fine. So, we do inside corners after horizontals.
In general the way Jeff applies mud is in one full direction (e.g. down first) on one side then the other direction on the other side. Always pull towards the finish. Once the tape is set, get it wet and apply mud on top. This prevents bubbling once again.
When doing inside corners, after taping, apply first coat of mud on left-handed wall (if right-handed, otherwise reverse this). Check out the clip for the technique as it's easier to see than read. First, add mud on top of the tape from the bottom up, then finish from the top, pushing mud downwards. You should be holding the knife such that it's angled toward the corner and not flush against the wall. For the bottom, scrape up, moving towards the finish. Then, on the other side, start from the top and clean the excess off, which also creates a groove into the corner. Move downwards and then once again, upwards at the bottom towards the finish. Finally, on the left side, finish once again top to bottom which pushes mud into the groove creating a nice and clean corner finish.
Doing this first coat in this way creates a finished surface to apply the second coat starting on the other side.
Butt Joints
If you have any butt joints, you can apply the first coat after doing your horizontals. It is essentially the same technique as the factory edge joints except in second/third coats, you'll be feathering it a lot more to spread out the bump it creates.
Did you know? If you're doing the framing yourself, perhaps you could avoid butt joints altogether by forcing them to be tapered using blocking between studs. Of course the best way is to use longer drywall if possible! (credit: Family Handyman)
Jeff covers how the technique for butt joints in this video (and if you've read above, you know you needed to stagger any drywall joints).

Fill in screws
Once the horizontals and inside corners are done and ready to dry for 24 hours, it's time to fill the screws in.
Again, using this nice fill and scrape technique, it doesn't take very long. You don't need to go all the way to the bottom of the floor because the last row of screws should be hidden behind baseboard. Also they will tell you where the studs are in the future 😉
Second day:
- Check first coat in light
- Patch / fill using Sheetrock 45
- Sand patches
Outside corners with Sheetrock 45
This is one nice tip and trick. Jeff recommends using the fast-drying Sheetrock 45 for outside corners (corner beads). The reason is because it's harder and it dries quickly, meaning you can do the final all-purpose mud coat the same day as you do the outside corners. Neat!
For an amateur like me, I found it easiest to mix small amounts of Sheetrock 45 because I can't work as fast as Jeff does in his videos 😅 Using smaller batches means I had to throw less away once it dried.
Measure the corner and then cut the bead. Hold the bead diagnolly in-between your legs with the measuring tape inside. Then angle the cut upwards with the snips. Squeeze the corner bead just a bit to create a 85° corner instead of the factory-default 90°. This helps you squeeze the corner on for a nice fit and ensures you get the required "protruded" edge to fill with mud.
Second coat on everything with all-purpose mud
While outside corners are drying, you can do the second coat on horizontals, inside corners, butt joints, and screw holes. When mixing your second coat of mud it should be a thinner consistency for sanding, which requires a little more water (8oz for a full box, 4oz for a half box).
👉 Pro tip: You could fill screw holes with 45 minute mud for the first coat and then you only need a final coat of all-purpose on top. Jeff shared that tip in his taping master series. Better go quick, though!
Final coat on outside corners
After applying the second coat, your outside corners should be done hardening and ready to accept a final fill coat. This can usually be done the same day as the second coat!
Third Day
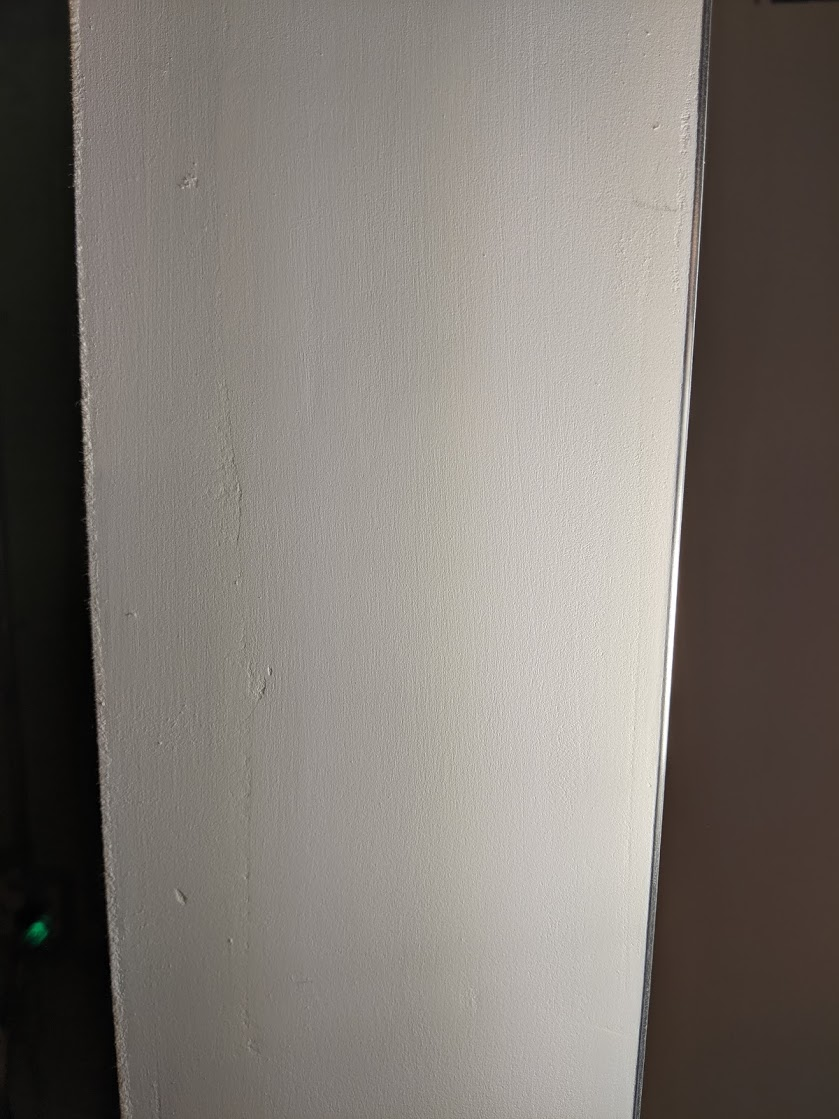
If all goes well, your mud and taping job should be three days! For me it was like week 4 😅 The third day is when the second coat is dry and ready to accept a thin final coat that will finish everything perfectly (in theory!).

Mix the mud a bit thinner (more water) just enough so it's not running down the hawk. Making it thin will fill in all the scratches and minor indentations to create a smoother finish.
Apply a final coat on all the inside corners, horizontals, and butt joints, making sure to use pressure to remove any excess. The goal is just to fill in hairline cracks and dents left over from previous coats. You will do a final "prime check" and fill in any cracks later with Sheetrock 45 during priming and painting.
You will make mistakes, probably a lot of them
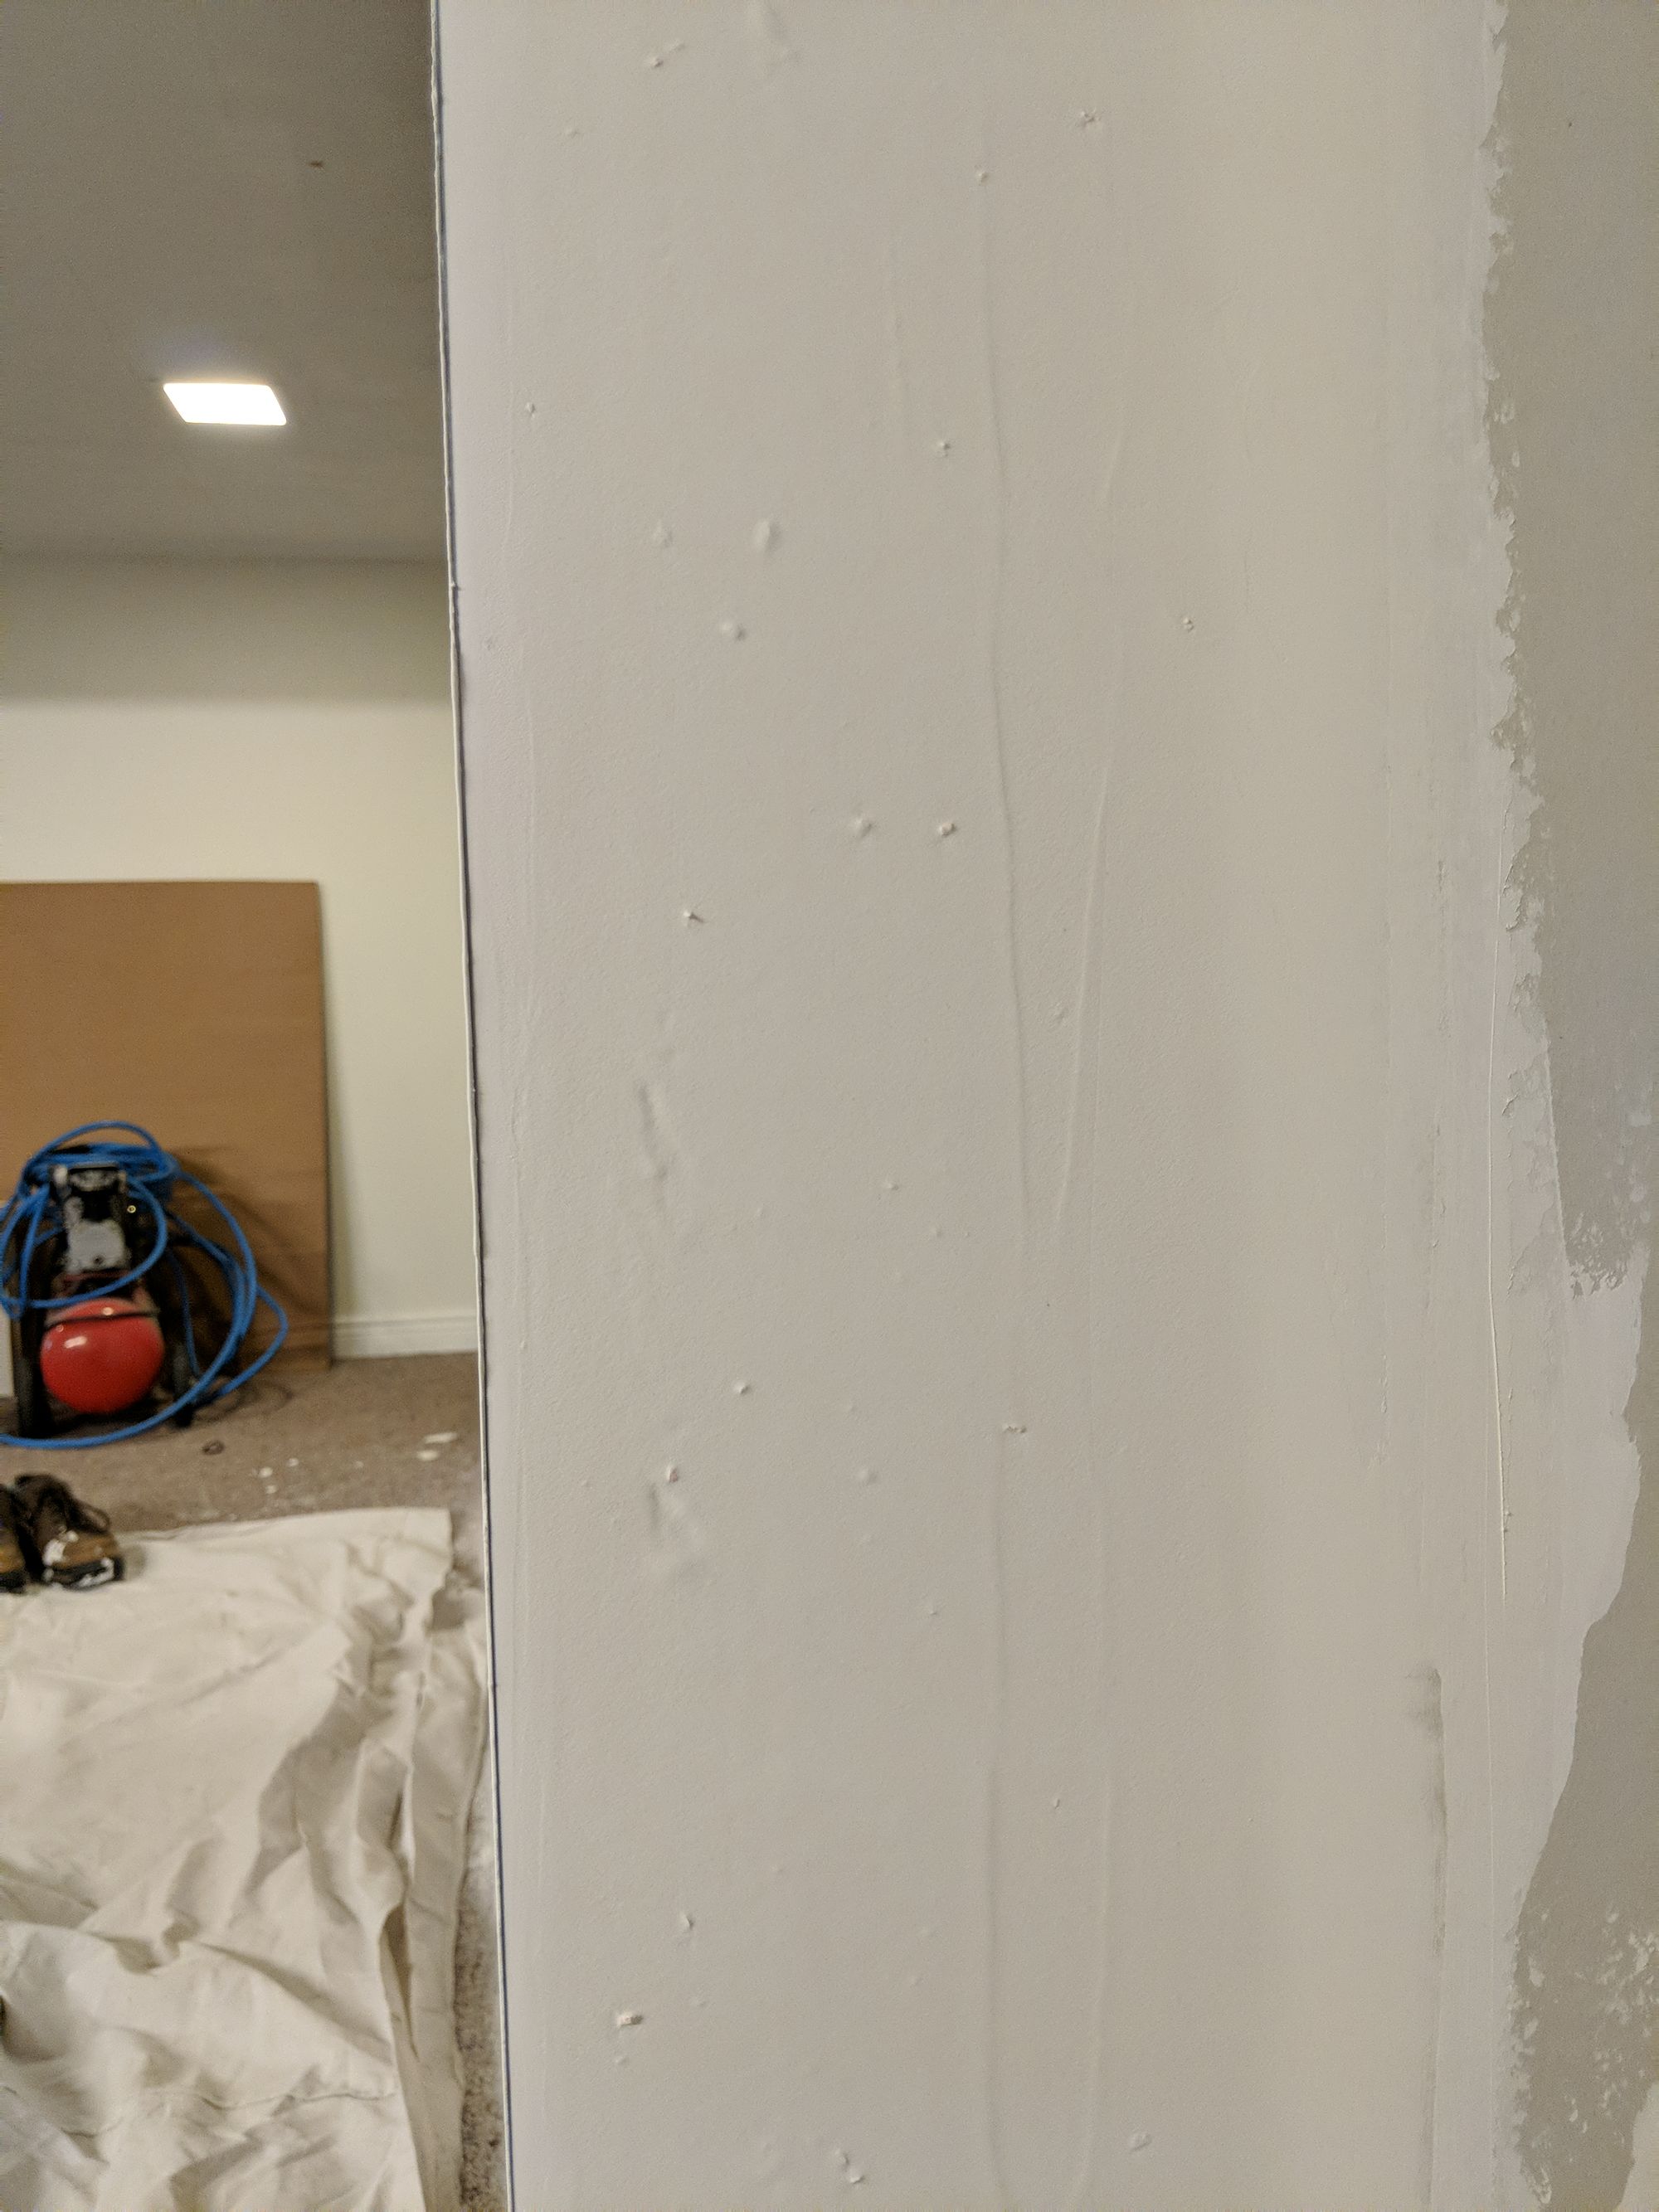
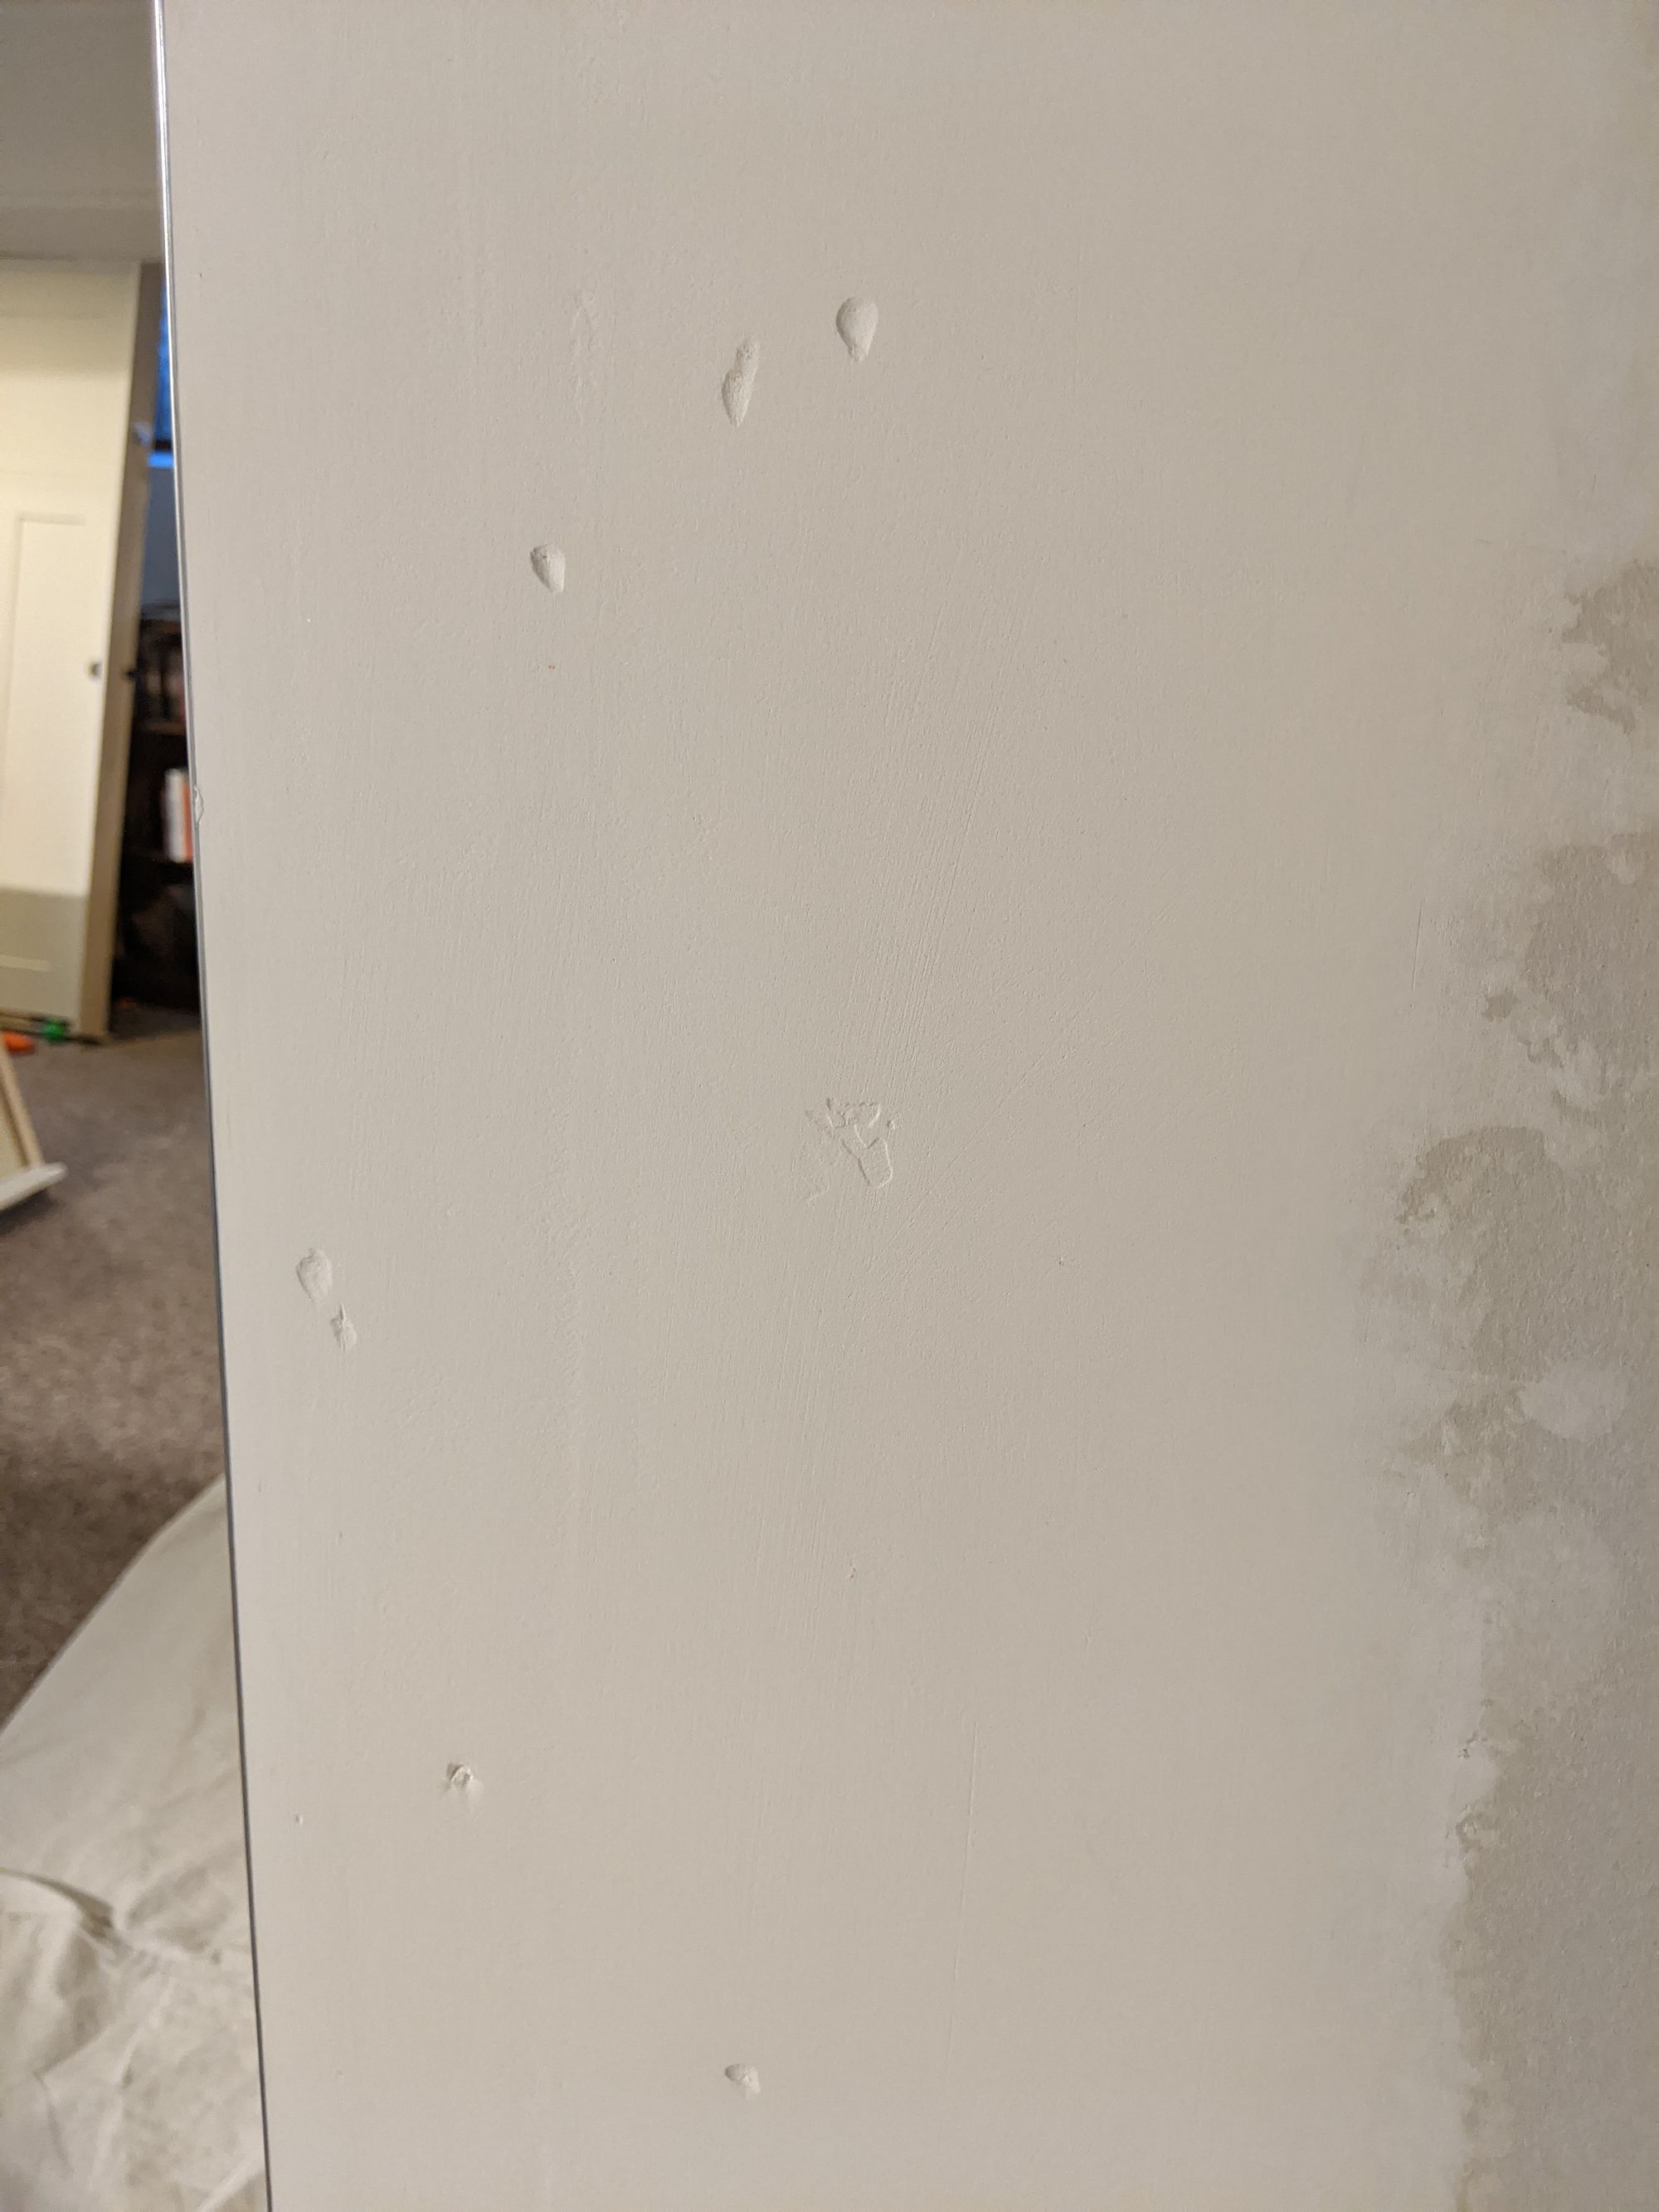
It was my first time doing mud and taping. I think the end result turned out well. But during the process, I kept thinking it was terrible!
The magic is that if you do one, two, three, possibly four coats of thin mud, it tends to smooth out any imperfections. I always sanded between coats.
Here are some takeaways:
- 💡 Fix any issues before letting the mud dry like ensuring you scrape all excess mud off to avoid ridges
- 💡 Sand between coats to smooth out bumps and ridges
- 💡 Use the system of only doing one side of the inside corner so the next day doing the other side will not disrupt previous mud layers
- 💡 Accept that your corners will not be perfect no matter how hard you try if this is your first time 😅 The third coat is where things start to come together.
- 💡 Three coats is not a rule. Apply more thin top coats as needed to get a smooth finish.
Storage and disposal of mud
I definitely didn't use all the mud I had and I also did this over the span of a week. Here are some guidelines for disposal/storage.
Disposing powder-mix mud
Fast-drying joint compound is usally a powder. If using a powder-mix mud, throw it in the trash in a bag or otherwise. It cannot be reused.
It's important to get it out of the bucket right away after use otherwise you may as well throw away the bucket once it's hardened.
Storing for another day
Once you're done with the all-purpose mud for the day, put it all back into the bucket, clean the edges of the bucket with your sponge, and then add some water on top (about 1") and seal it tight with the lid. The water on top will prevent the mud from crusting over and cleaning the sides of the bucket prevents flakes/crustiness. When you're ready to use again, dump out the water (into the grass or utility sink).
This is the advice from Jeff and also on the homeowners stack exchange. For me it kept all week while I worked so I recommend this storage method.
Disposing at the end of the project
When you're all done and don't need anymore all-purpose mud, you can put into a trash bag and throw it in the garbage. If you don't want to do that, you can wash out small amounts with water into grass or the utility sink. It's not hazardous and won't harm anything. If you're really laissez faire you can also just throw out the $3 orange bucket in your construction trash when you're done. I'd try to keep them clean, though.
Up next: priming and painting walls and doors
At this point I was nearing completion! I had to prime and paint the walls (and doors!) and fix any last defects I saw. Luckily, it wasn't my first time painting so I had most of the materials on-hand to quickly finish this part! I'll be talking about the process in the next post.