Disclosure: Some links on this page below are affiliate links, meaning, at no additional cost to you, we will earn a commission if you click through and purchase. Read our disclosure for more info.
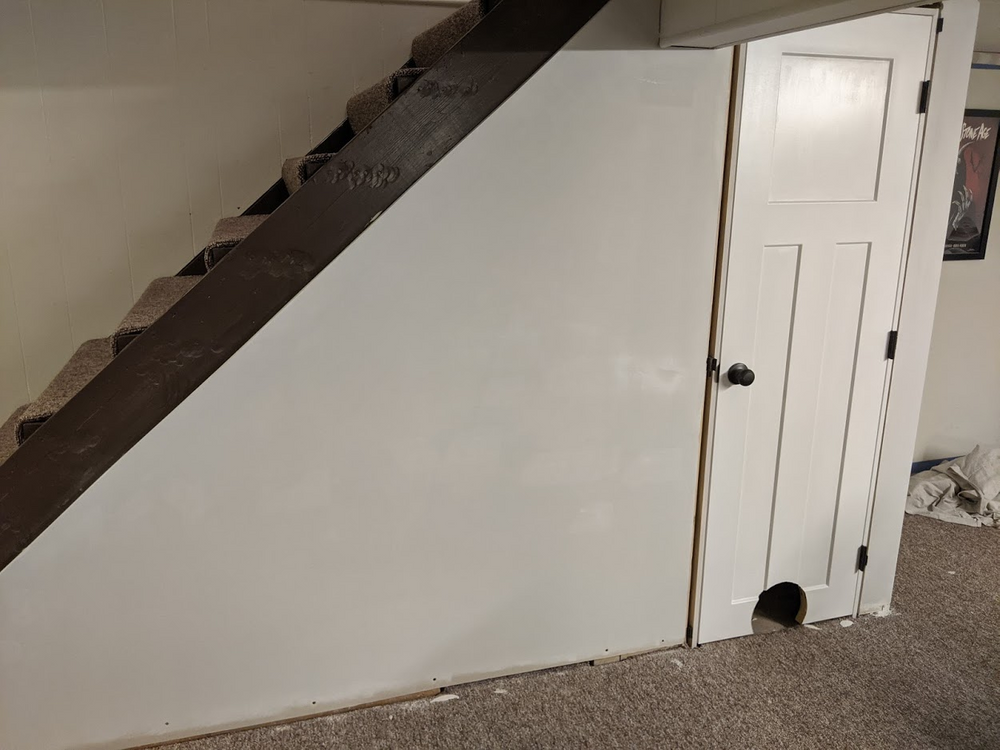
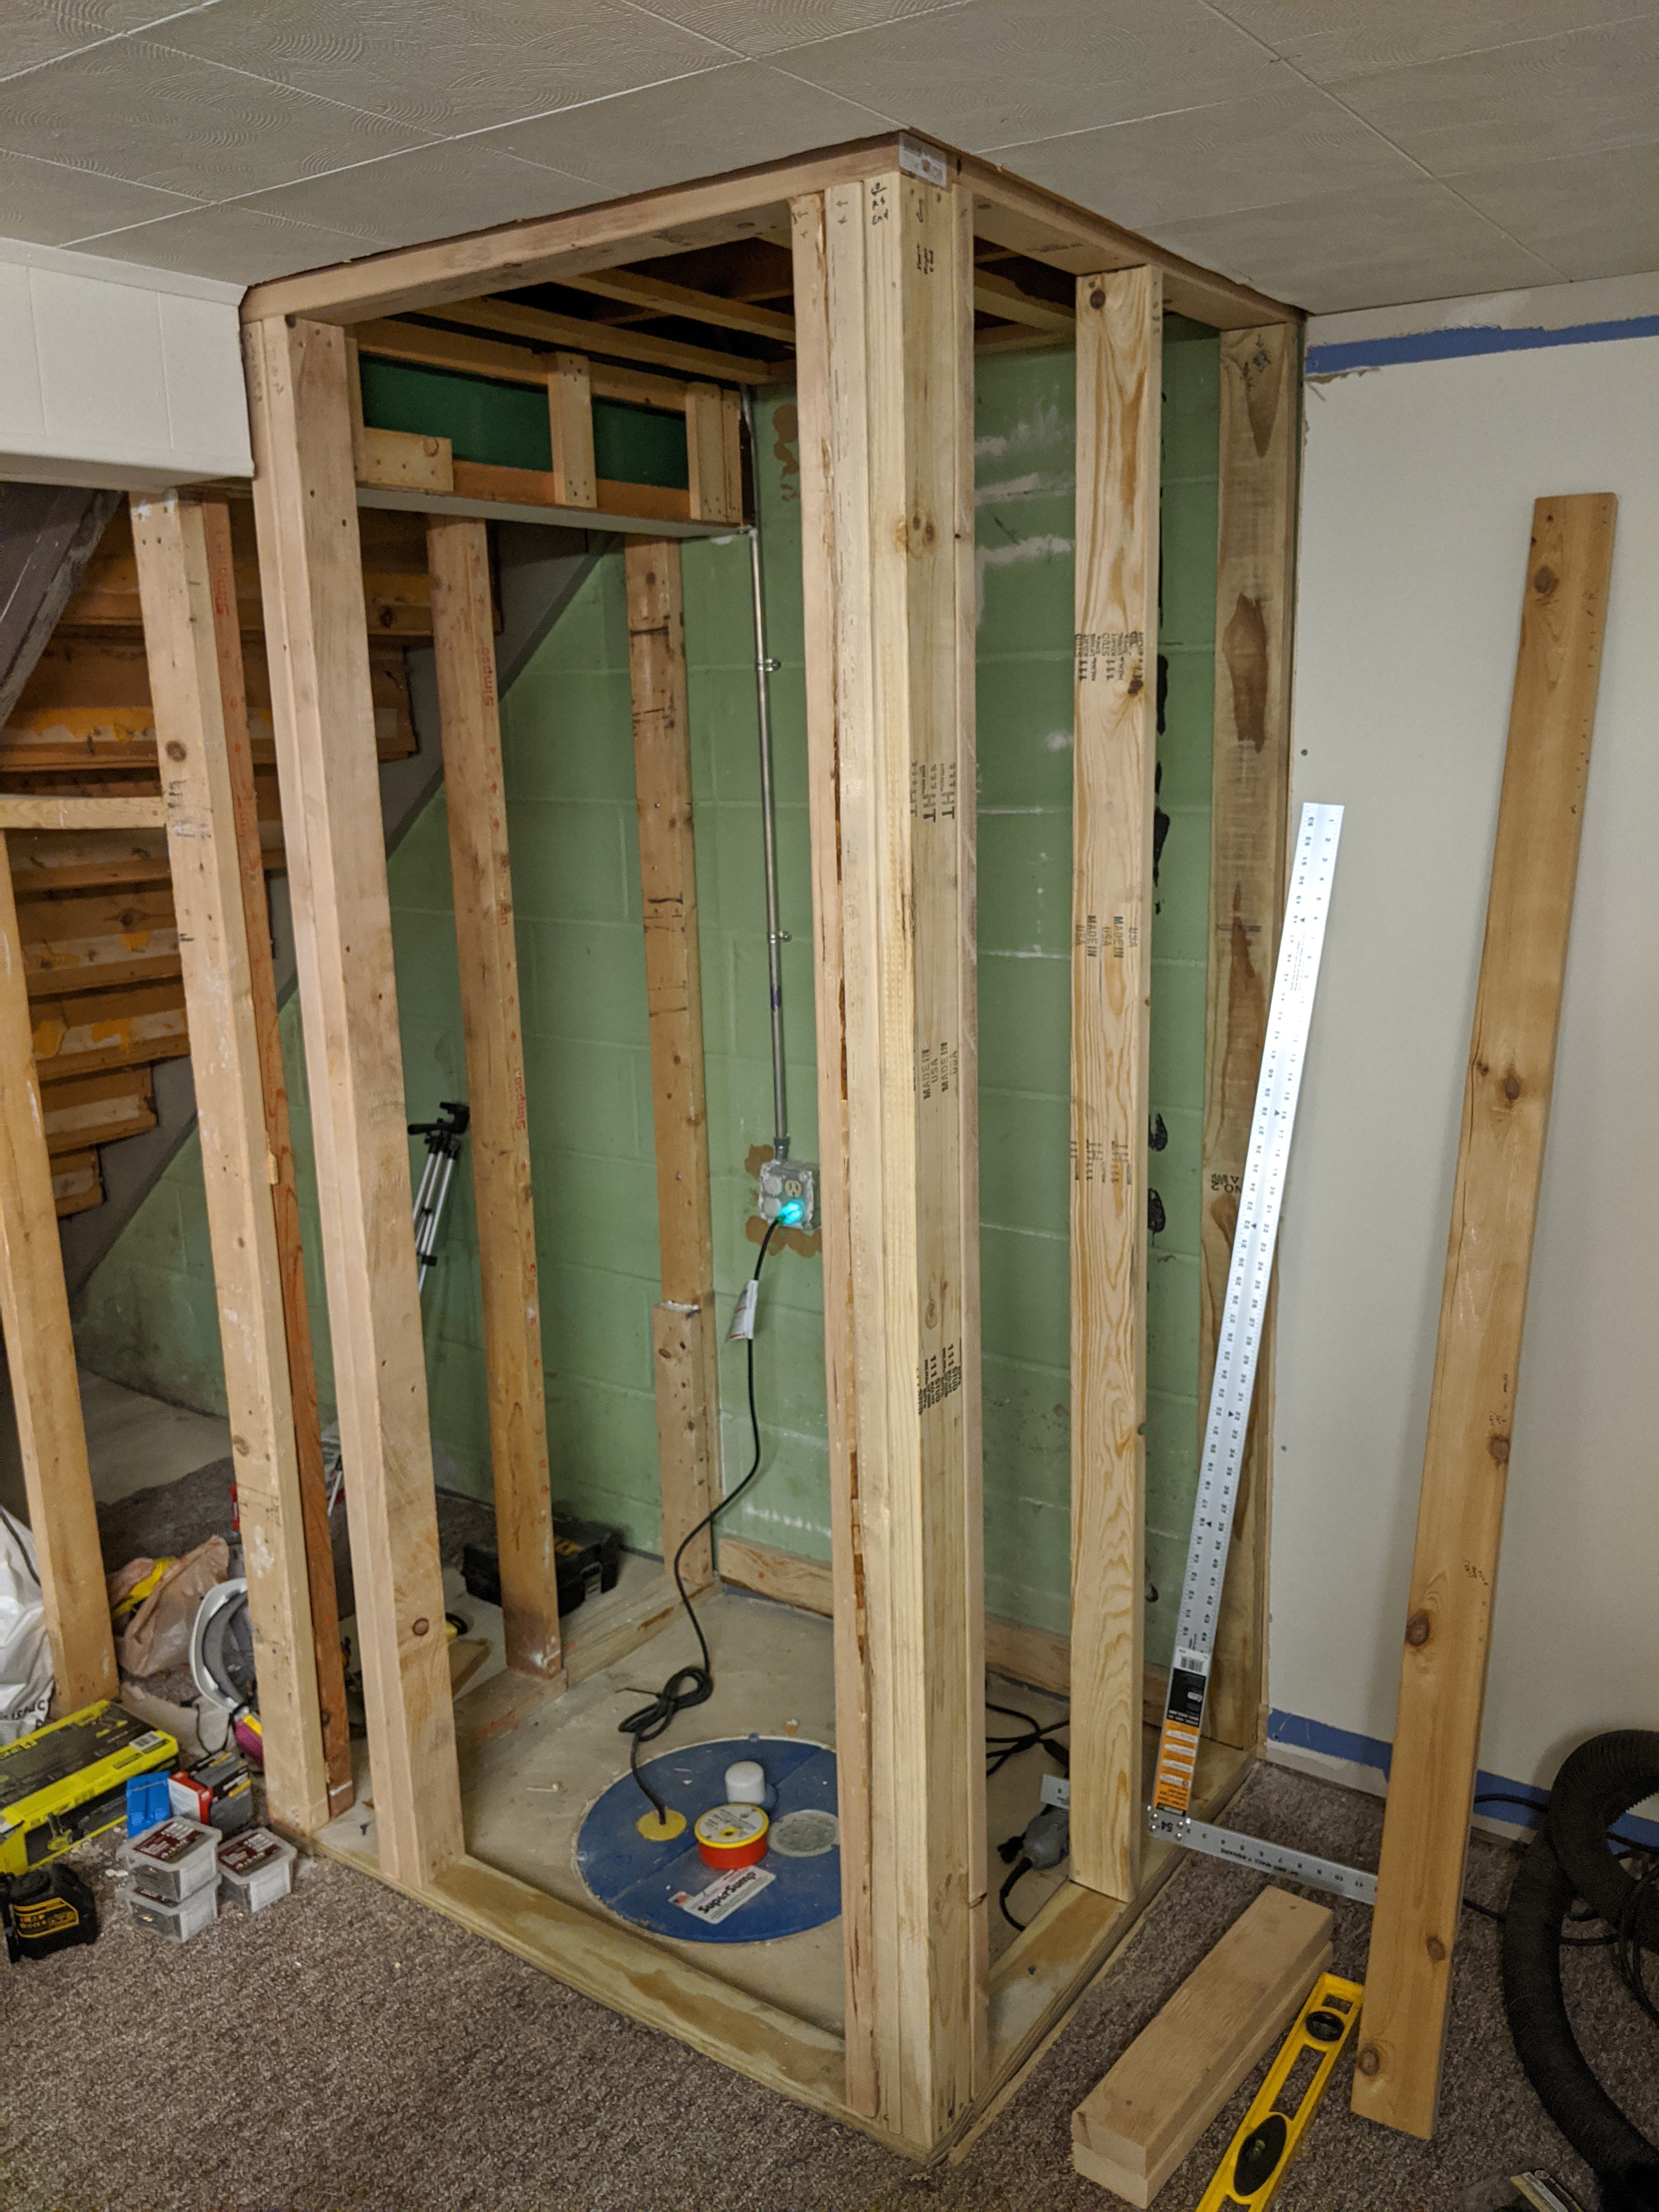
Once the framing was done for the closet and utility room, it was time to move onto drywall and taping. Everyone says this is the hardest stage and they're mostly right: it takes some practice! The good news is that even for my first time I survived and lived to tell the tale.
Be sure to check out this project from the beginning with tool and material lists as well as links to the videos I referred to while learning.
 Kamran 16 Dec 2020 • 16 min read
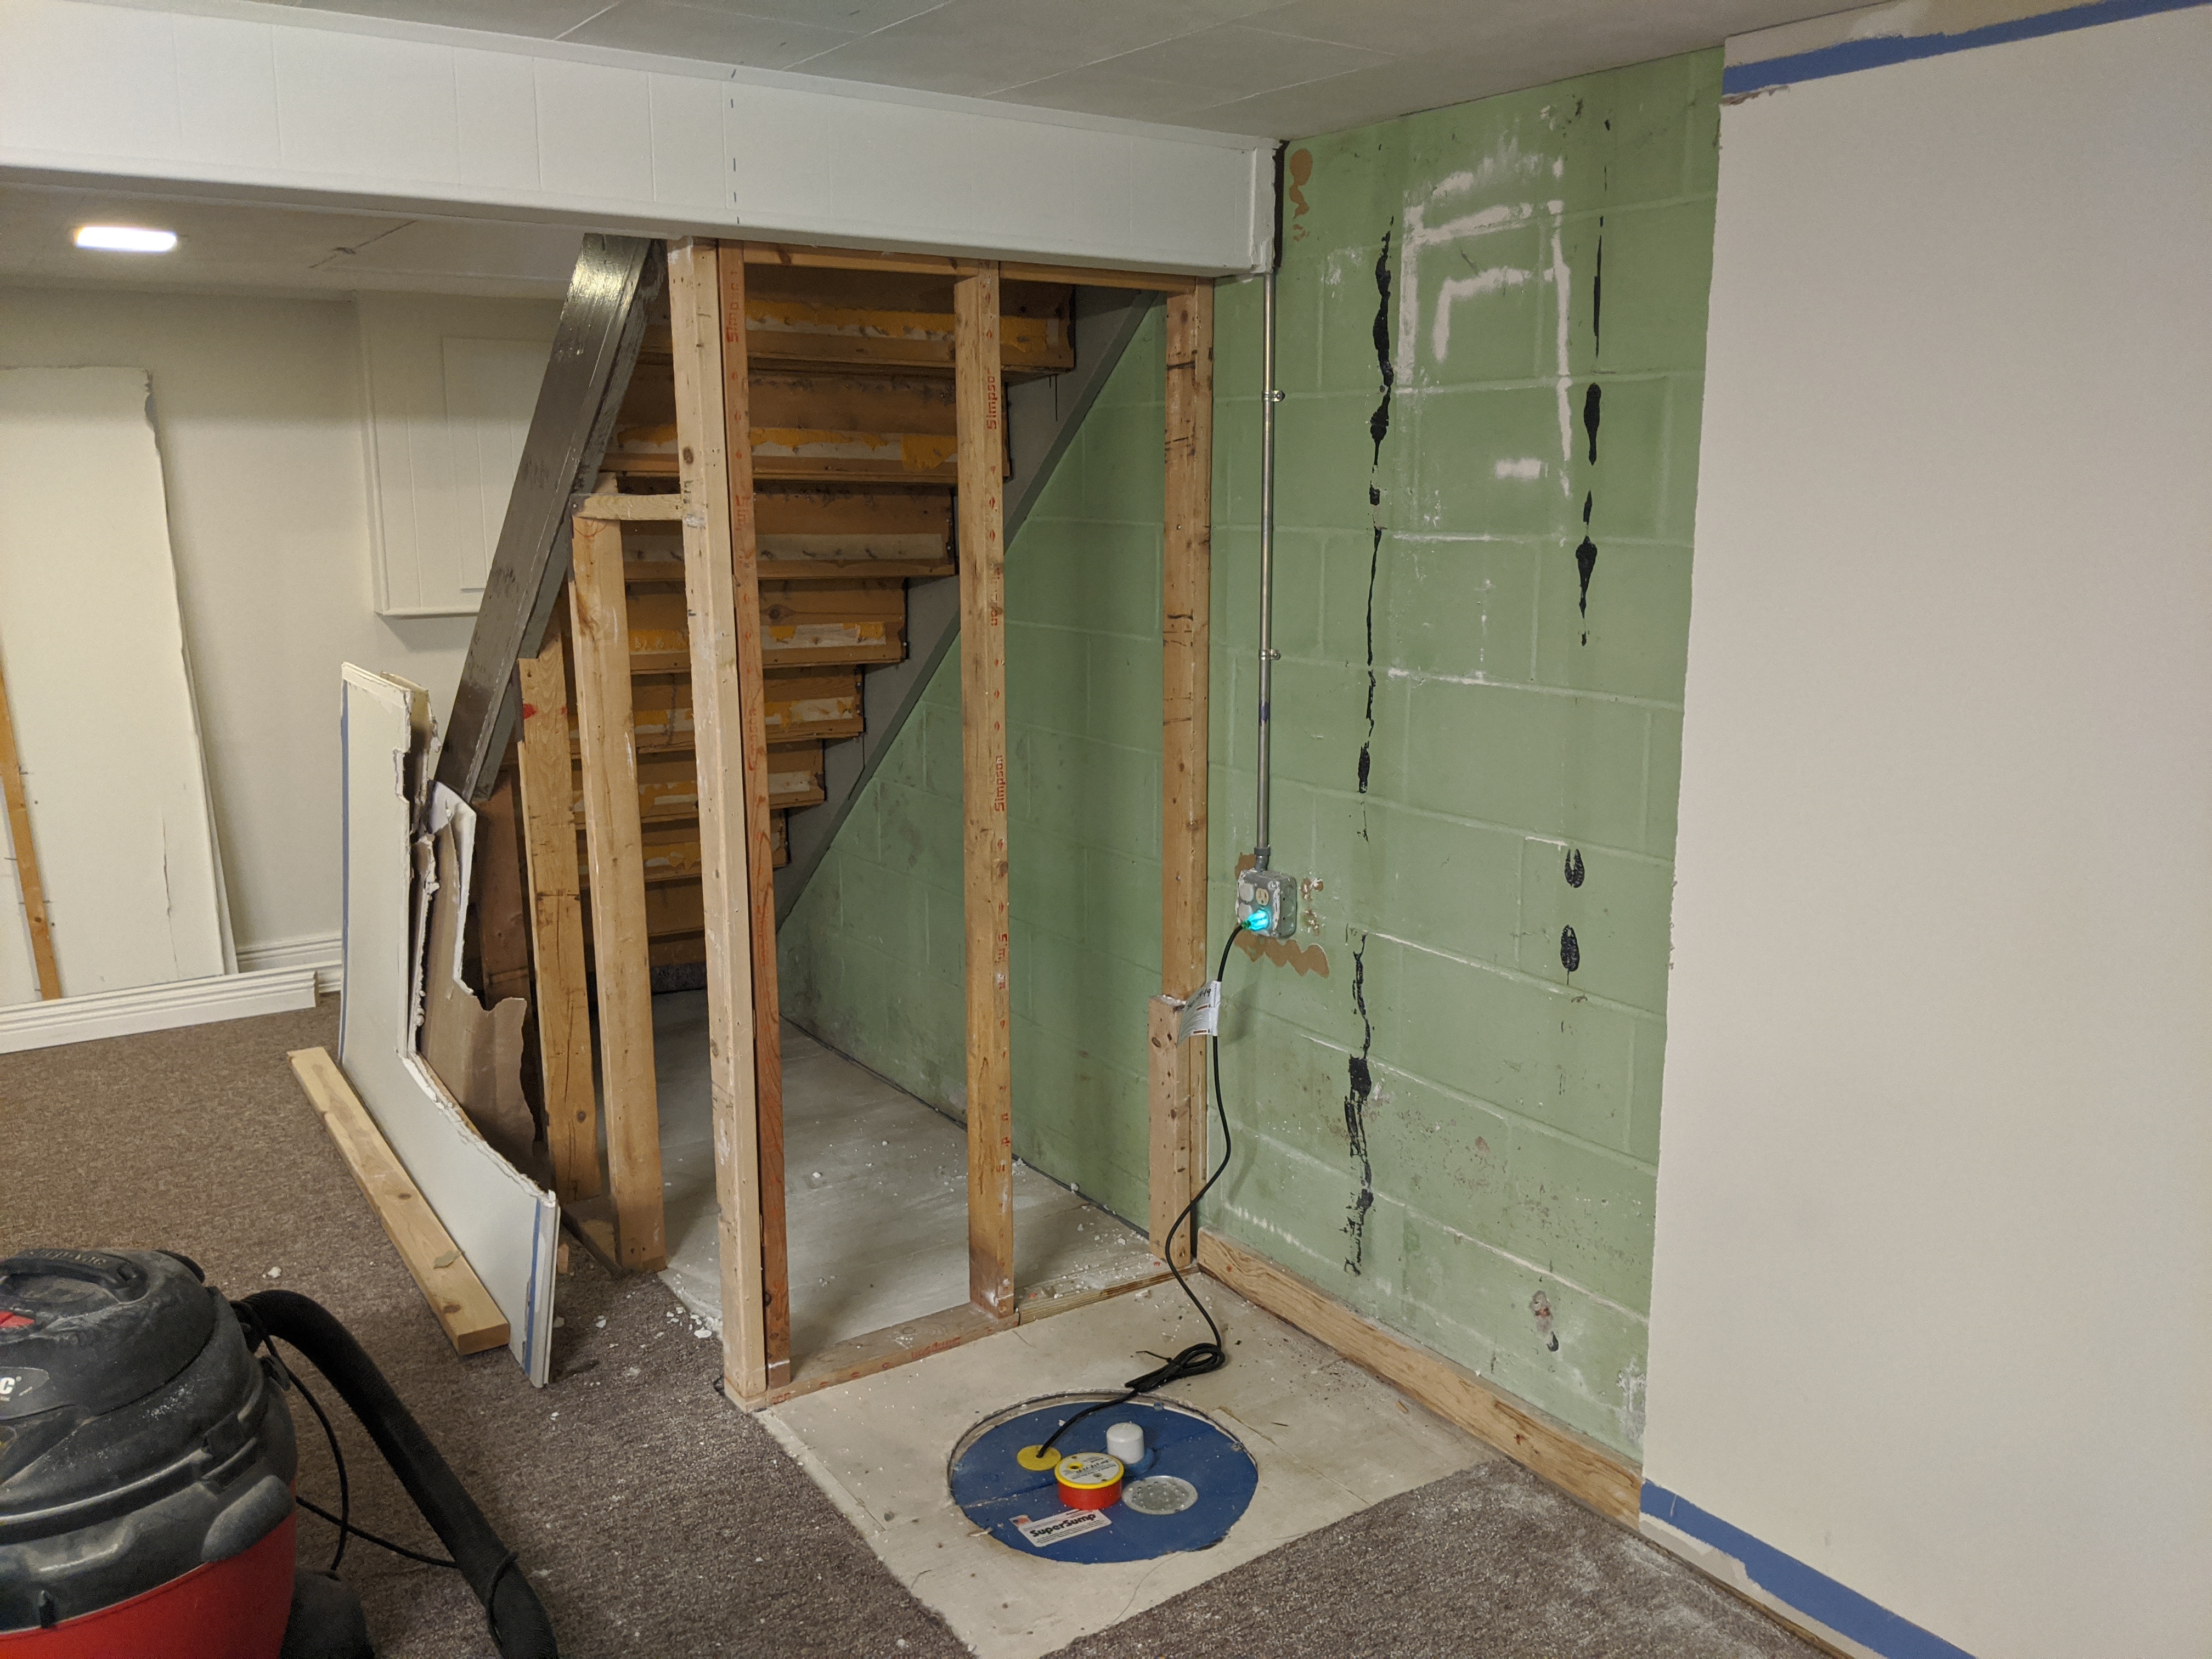
Tools I Used
These are the tools I ended up using for this part of the project:
- Drywall roll lifter pedal with rasp
- Olfa utility knife
- Drywall T-square
- Kapro ergonomic drywall hand carrier
- Drywall set screw bits
- Drywall 1 1/4" screws (for 1/2" drywall)
- Rotozip spiral saw
- 1/2" drywall
- Pencil/pen
You can also view this video from Home Renovision which is part of the A-Z series Jeff has. He'll walk you through all these tools and more!


What is drywall anyway? Is it the same as sheetrock or gypsum board?
Drywall is a "wall covering" that hangs on your framing to create a surface for paint, hide wires, and to keep your insulation in the wall. It also has a fire safety function so it is required in some placed per building codes, like under stairs, to help prevent fires from spreading. One thing that was confusing for me at first is that all these terms are the same: sheetrock, drywall, and gypsum board. If you hear any of those you can think "drywall."
There are different flavors of drywall that are good to know about such as:
- mold and moisture resistant drywall for wet spaces (usually a green board)
- thinner drywall sometimes used for ceilings like 3/8"
- fire-resistant ones with fiber glass (usually thicker, for garages, etc.)
I'm always surprised to say this but Home Depot has yet another great article on the types of drywall you might encounter so give that a read:
You know by now I love visualizations and I'm a visual learner. I've included a illustration of what a drywall sheet looks like and highlighted areas that are important because even though drywall looks uniform, it's not.

The top and bottom have "tapered edges" which creates a valley for mud and tape to sit in when sheets fit together. This is also why you hang drywall horizontally so the tapered edges meet.
For a more in-depth introduction to drywall in case you're nerdy like me I defer to the ever-useful Fine Homebuilding magazine:
 Myron R. Ferguson
The Overriding Principle of Drywalling
I have made something up based on everything I've watched. I call it The Overriding Principle of Drywalling and that is to use the least amount of joints necessary to get a clean look and especially avoid butt joints as much as you can.
You may ask what a butt joint is and I'll get into it in more detail but I'll say this: Sir Mix-A-Lot wouldn't approve of these butts. Every joint needs mud and tape so it pays (in time saved) to buy longer boards if you can manage it. I should have done that for these stairs but I could not fit 10' or 12' sheets in my van and I only needed one long one. Do as I say, not as I do 🙏 For a big project you may as well order 10' or 12' boards.
Watch a lot of videos
If this is your first time, go ahead and grab some popcorn and watch this entire video because there can be a lot to this:
In fact, don't stop there, you may as well go through all of them:

Trust me, even in this post I cannot enumerate all the tips and tricks. I took a lot of notes while watching videos and part of me writing this out is to get them off paper and onto the blog. My hope is that by sharing how I did it as a homeowner it will help you through whatever you're trying to do or avoid some mistakes I made.
Inspect and prep the space
For my project there wasn't all that much to the framing. No vents, no pipes, no insulation or vapor barrier. However, I did plan to have an outlet installed.
Before putting on the drywall, I fastened the outlet box onto the framing which was straightforward enough using the nails on the box. When doing new framing or when you have an unfinished space, you can use the "new work" electrical boxes. If you are retrofitting then you want an "old work" electrical box. I went with the typical blue PVC box but the metal ones are nice in that they don't flex and stand up to abuse a little better.

It protrudes past the stud a bit to be in line with the drywall and I'll talk more about how to cut around it below.
Determine how much you need
On walls, drywall is hung horizontally usually unless the wall is small enough that a single panel vertically can cover it without any joints. So measure your walls and then note down where the panels will hang. You can usually buy drywall in increments of 2' with 8' being the typical length (but remember the Principle for why you should get longer if needed).
Jeff at Home Renovision has a system he uses for calculating shown here in this video.
In a notebook (or on the wall 😄), write down the different lengths and then tally up how many of each you need as you go through the room.
6'    ||
8'    |||||
10'   |
12'   ||
This makes it easy to make the order. I'd order 1 extra of each board (or 2 if you're extra nervous).
If you have a minivan, you'll be happy to know 8' drywall will fit just fine. If you go longer than that, have it delivered or use a pickup with a long bed!
👉 Frugal tip: I ordered my drywall at Home Depot and did Curbside pickup. It was awesome to save time and have it wheeled out to me. They even helped put it in my van!
A note about door and window frames
When planning drywall around door and window frames, the pros treat it as if the door or window doesn't exist. In other words, act like you have no doors or windows. The idea is that you will cut them out after putting on the drywall. This creates less seams (again, the Principle in action) and avoids cracking near corners of doors/windows since you should have one or two sheets horizontally that will be cut.
This tip is in Jeff's video above too with an example.
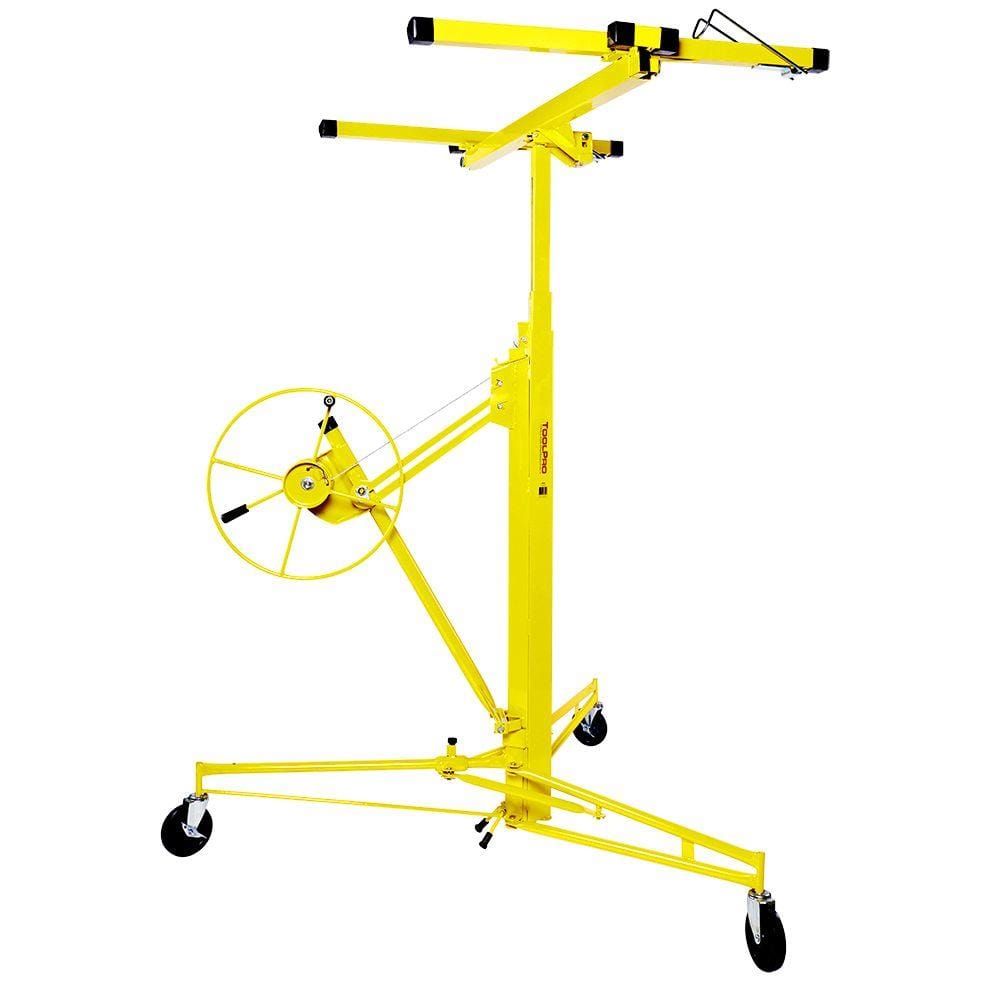
Lifting and moving the drywall
I had help moving the drywall from the van to my garage and I recommend it. Once the drywall is on its side then a single person can handle it using one of those ergonomic hand carriers which was amazing. I am pretty sure I shot my wrist when I attempted to do a dead lift from the top with my hands. OUCH. They hurt for days. Use the carrier and lift from the bottom!
I kept the drywall in the garage but if you have room to maneuver it into the space you're working in, do that.
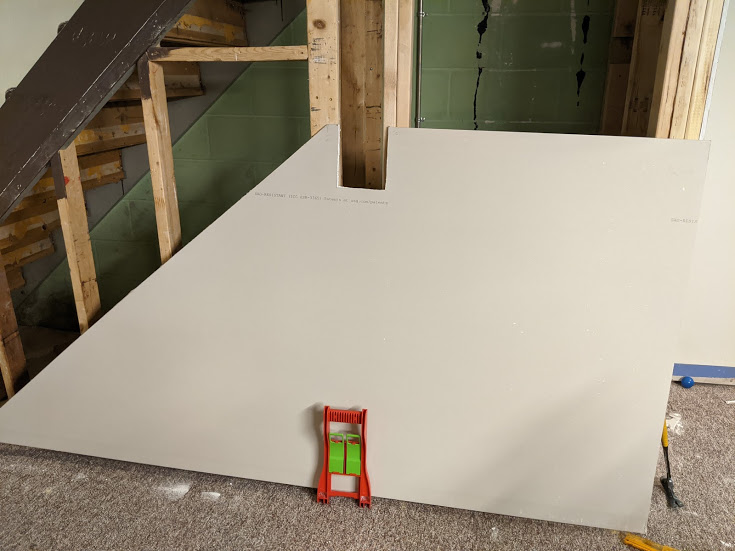
Cutting the drywall
This is documented in Jeff's videos above but I used the pencil, T-square and utility knife technique to cut all my drywall. For the most part this worked perfectly and was easy to get the hang of. The toughest part was sliding the square along and ensuring the pencil stayed in the right spot. Dragging the knife wasn't too hard and it only took a few tries to get it right almost every time. You can do it!
Installing the drywall
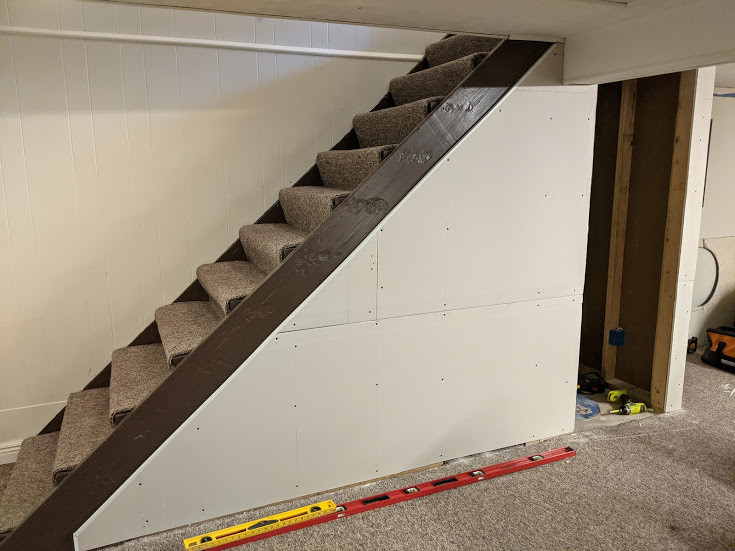
Once you've cut the drywall, it's time to install it. I was able to cut and bring down all the drywall pieces by myself for this project.
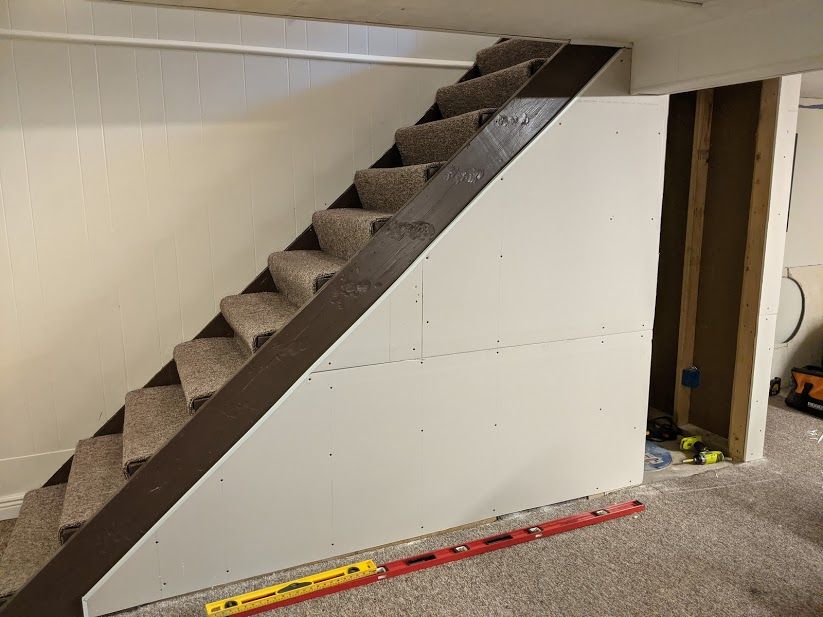
Install the top panel first
Drywall should be installed top-down. The hand carrier was definitely worth it as it allowed me to safely and easily slide the drywall up the framing so I could screw it into place.

Install the bottom panel next
Use the drywall foot pedal to lift bottom sheets to be tight flush against the top panel with ensures there's no gap and creates a tight fit. This will leave room at the bottom so you should see the bottom plate peeking out.
👉 Careful: Regular drywall screws are not rated to go into the pressure-treated lumber. If you use PTL for the bottom plate as I mentioned in the framing post, your screws should be going into the studs right above the bottom plate (2" up). Your baseboard should still cover it up. See this forum thread for a good discussion.
Notice that I didn't cut out the door frame when I cut the sheet initially. Once both sheets were installed, I went back with the Rotozip and cut it out.

What do you use to screw in drywall?
For screwing in drywall there are a few options:
- I'm Feeling Lucky: Freehand it with a Philips bit and power screwdriver
- Frugal approach: Buy a special bit that will prevent the screw from driving too deep. A 4-pack is about $12.
- Get fancy: Buy a drywall screw gun for $150
I would go with the screw gun if you're doing a whole room or big project. You can even use both 2 and 3 when you have helpers. When you see how the screw gun works in the videos, it's SO QUICK. I went with option 2 myself and don't regret it. I bought a pack of 4 bits from DEWALT and that made the process go smoother. With option 1 you risk driving the screw below the paper which renders it useless, there's no pressure keeping the drywall onto the stud and you'll be making more holes.
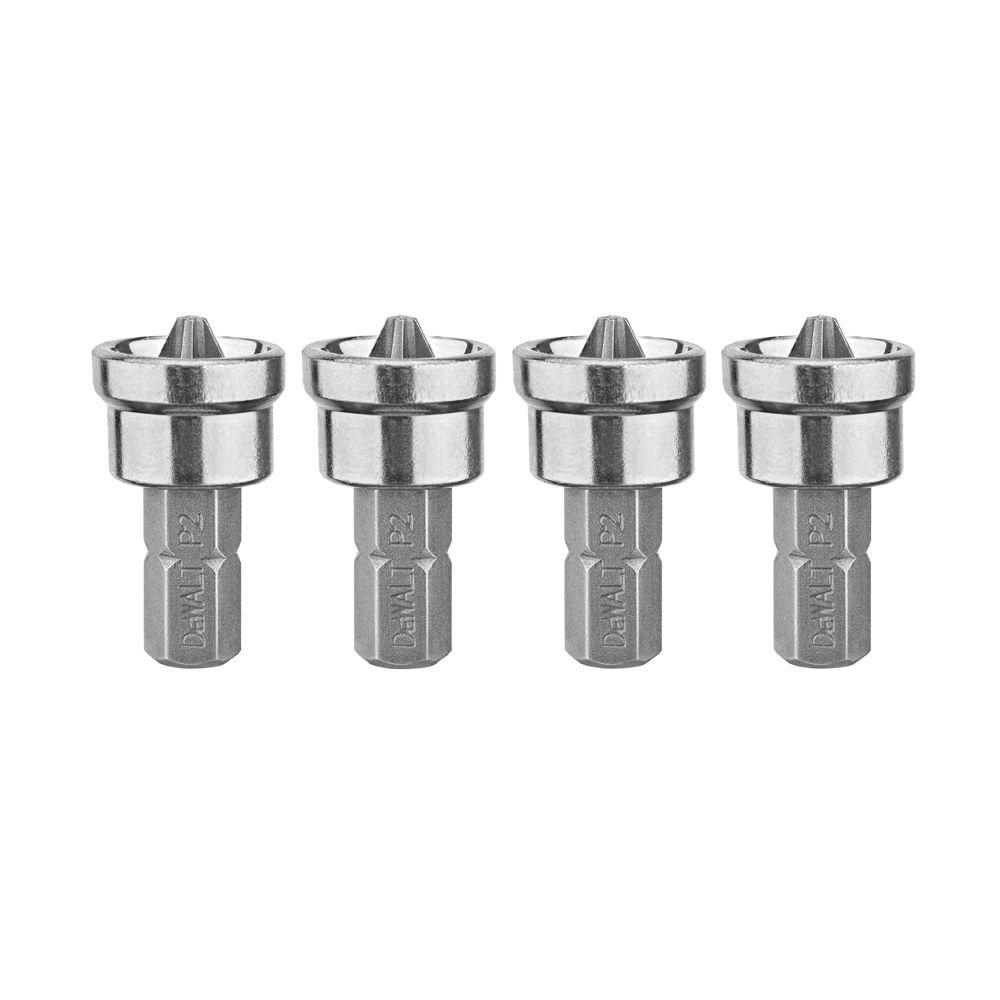
For the screw length and size, you'll want #6 1 1/4" drywall screws when using 1/2" drywall.
Cutting out the frames and outlets
I had a drywall knife that I could have used for doing all the cutting for the door and the outlet but I actually had gone ahead and picked up a Rotozip since I expected I'd use it for other projects. You can get other spiral saws as well from other manufacturers.
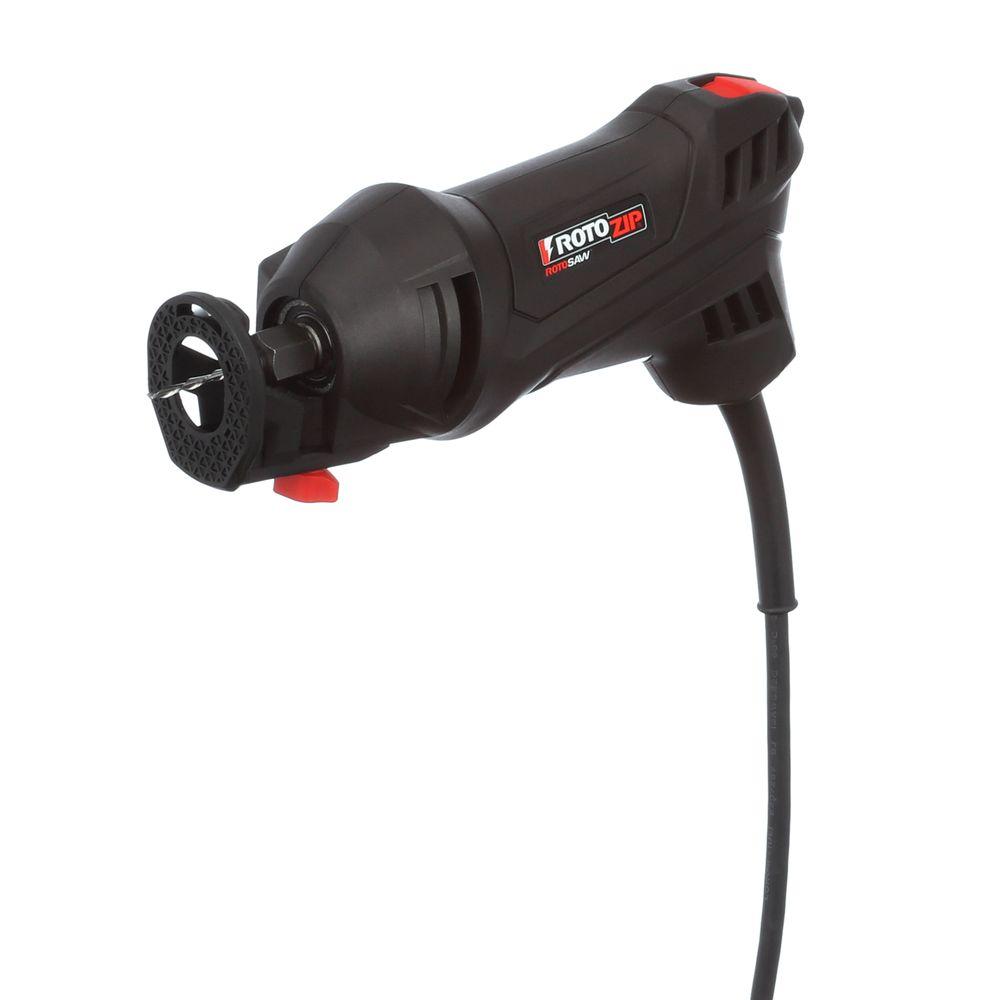
The Rotozip is a spiral saw and the important part is that the tip doesn't cut anything, it's used as a guide. You need to ensure the tip is about 1/4" past the material you're cutting through so it can help you cut up against the studs or outlet box. It won't damage it and it's safe to use even if there are wires in the box because they should be pushed back plus the tip won't cut through the sheathing.
For the outlet, I didn't screw in the drywall until the hole had been cut. This is the technique shown by Jeff in this video. Place a screw a couple feet above the outlet so the sheet can flex a little. Then measure and punch a hole with the Rotozip and cut the box out. You can then finesse it a little to fit the drywall over the outlet box snugly. If you screw it first you risk breaking the drywall as it pushes against the outlet box (which comes out past the studs).
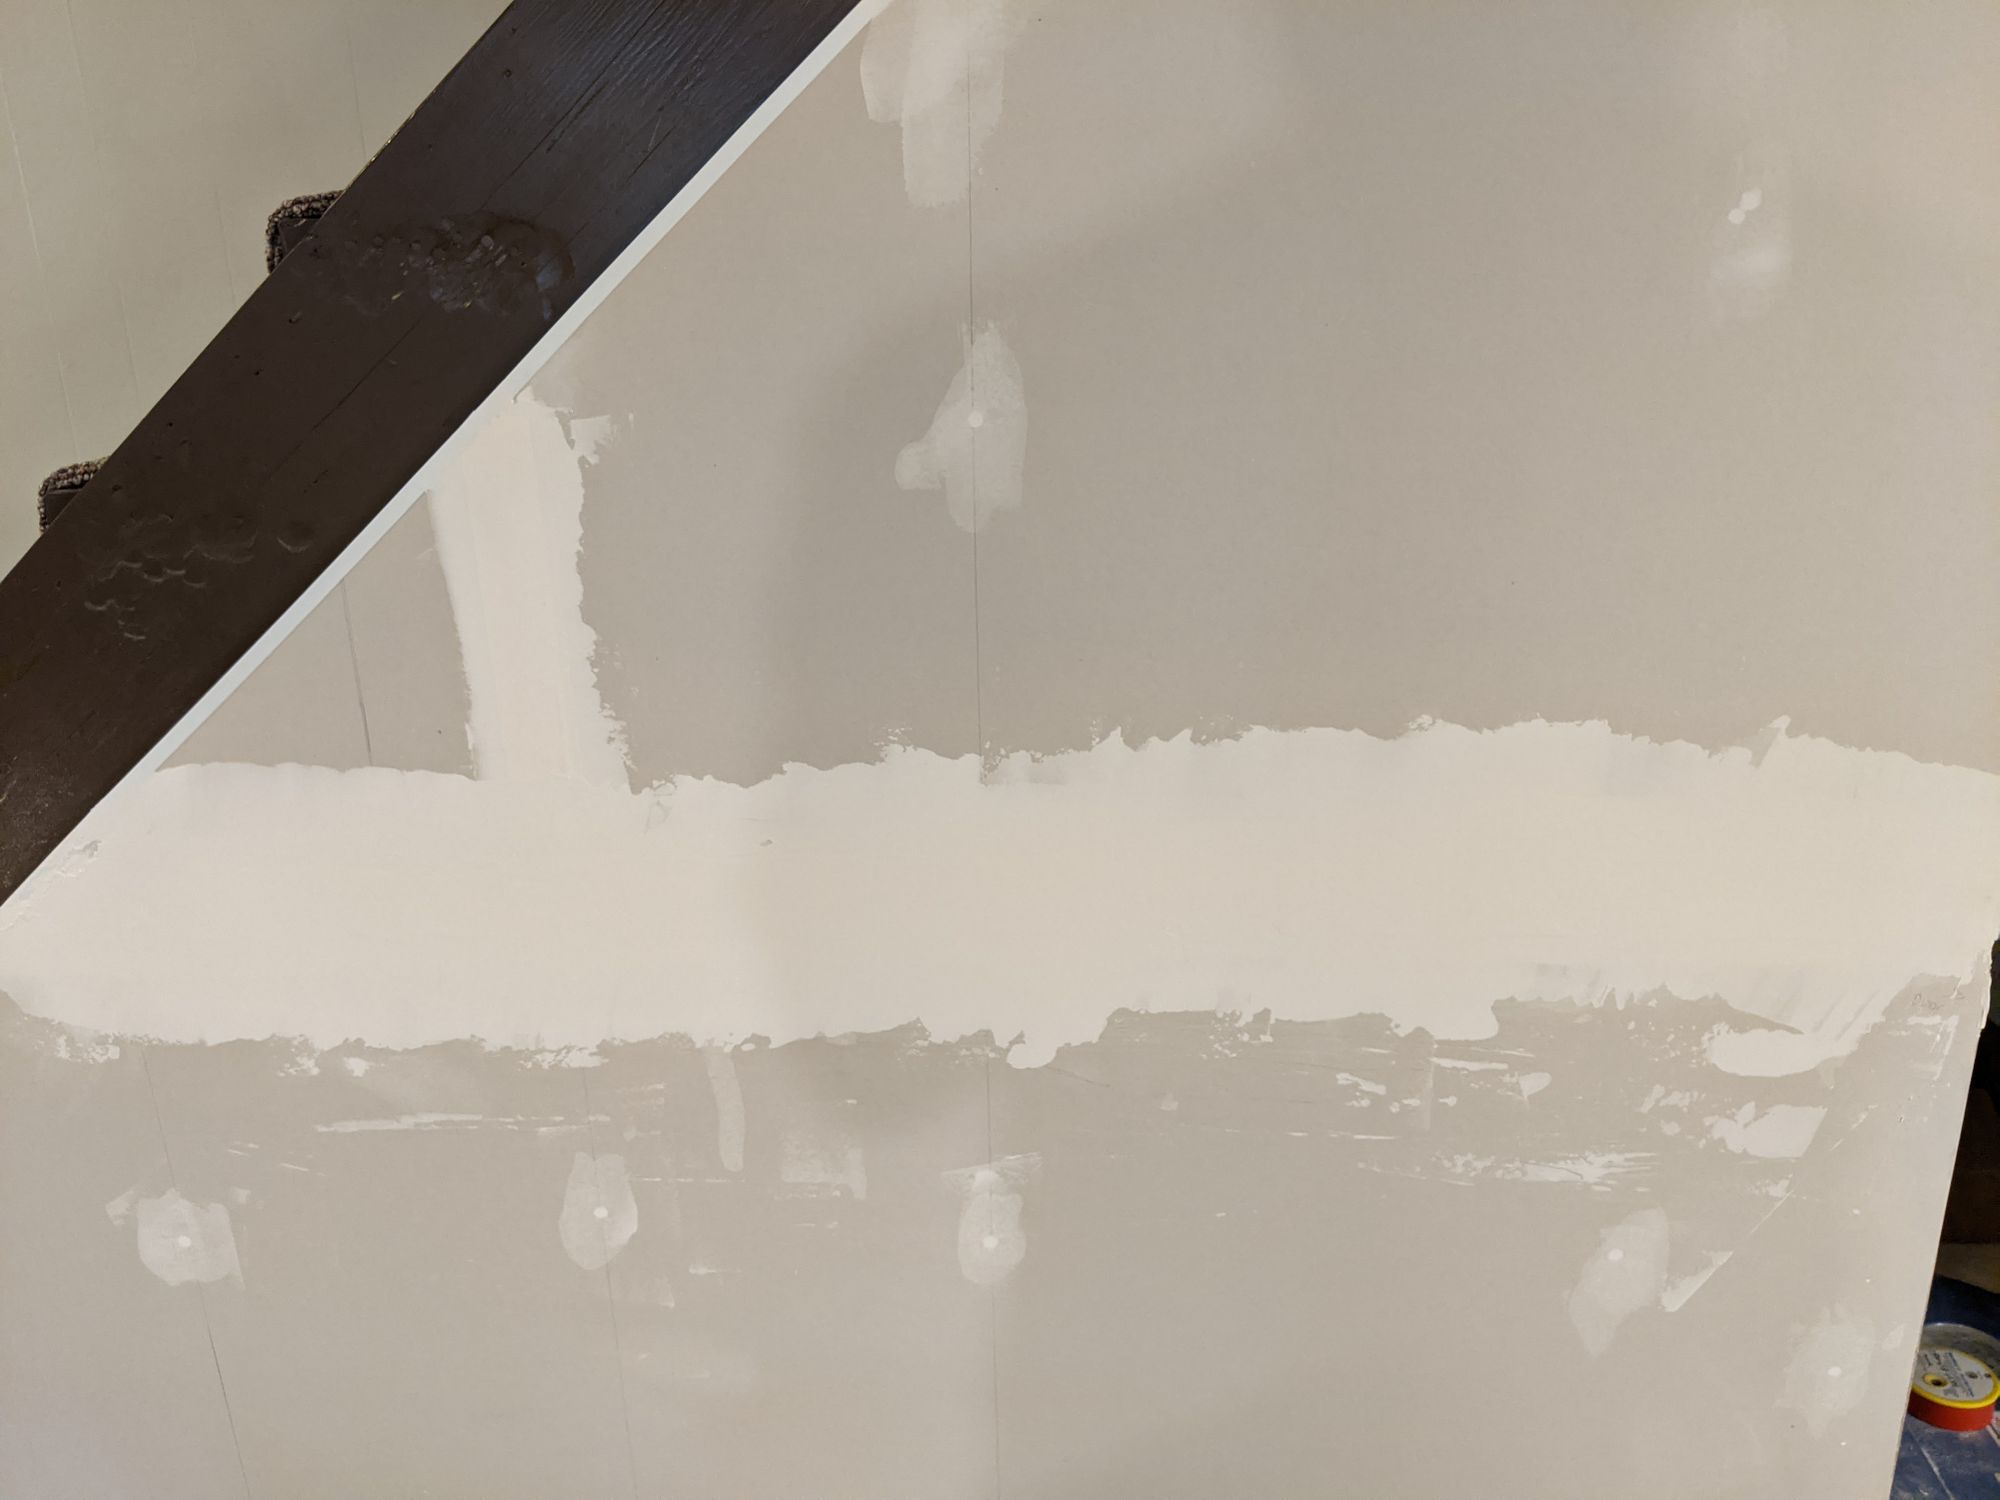
Make sure you measure twice otherwise you'll end up missing the box like a dolt:

Do a final screw check
Once all the drywall is installed, you'll be moving onto mudding. It's easiest right now to check all your screws. Did you miss any? There should be ones every 12-18" or so up and down.
👉 Tip: Ensure you have screws at the bottom that will be covered by baseboard. You won't cover these with mud because they can serve as markers for where studs are.
In the next post, I'll dive into all the tips, tricks, and techniques I employed to get my mudding done. Spoiler: it was the hardest part of this project (but it was still fun!).