Disclosure: Some links on this page below are affiliate links, meaning, at no additional cost to you, we will earn a commission if you click through and purchase. Read our disclosure for more info.
After mudding and taping, it was time to sand, prime, and paint! How hard could this be... 🤔 Turns out, I thought I knew how to paint but also I didn't. I'll share what I learned!
 Kamran
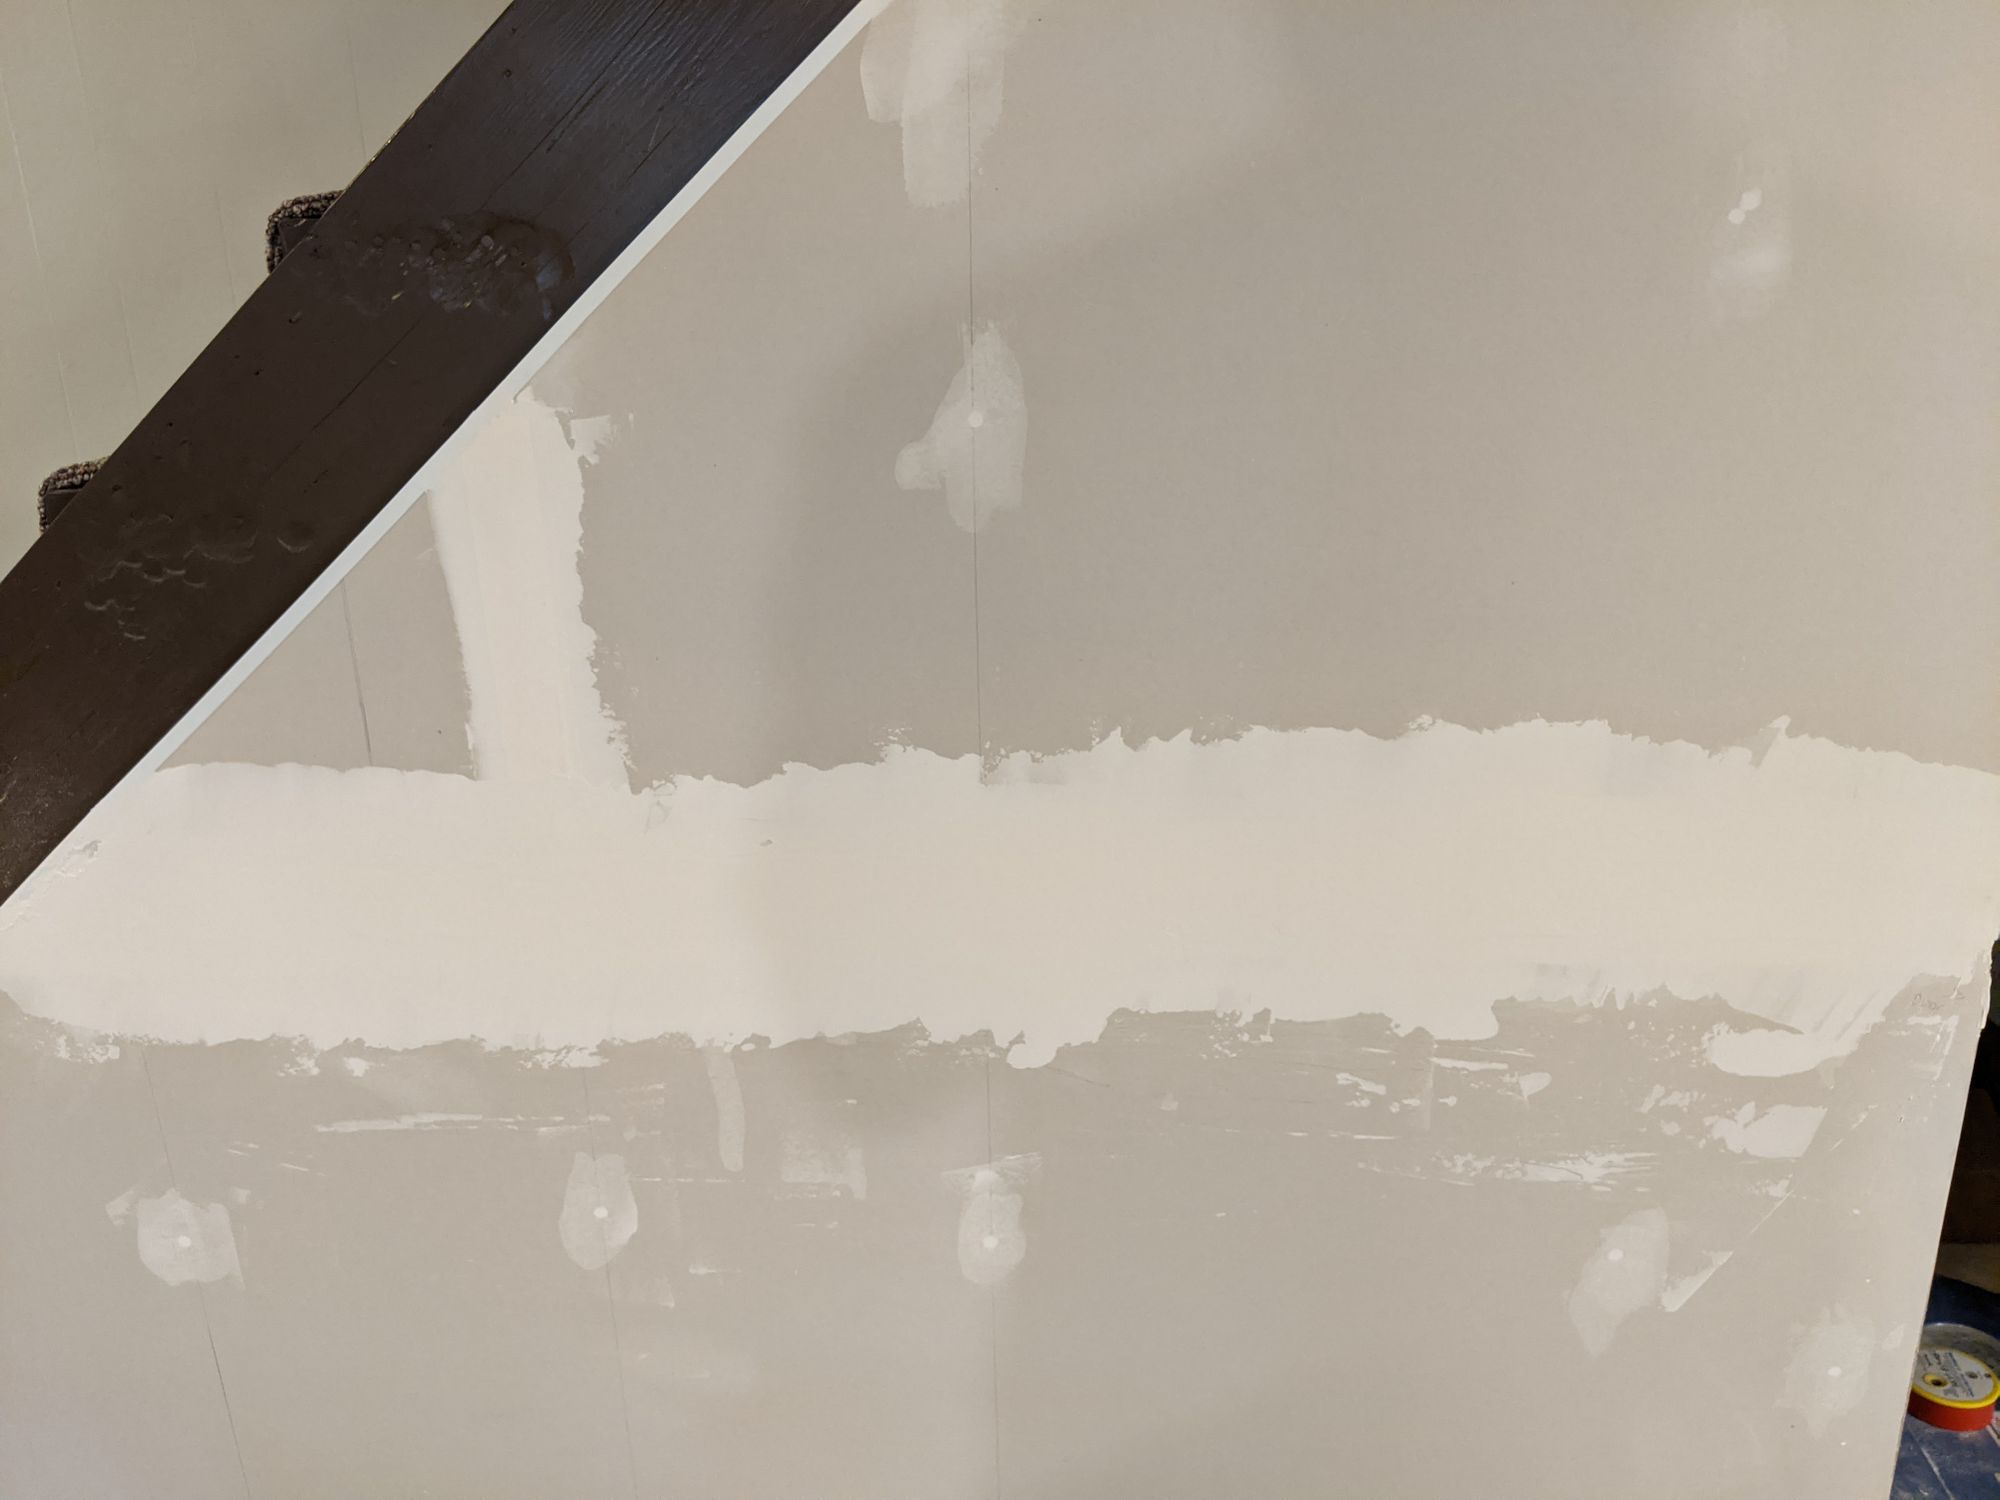
Be sure to check out this project from the beginning with tool and material lists as well as links to the videos I referred to while learning.
Kamran 16 Dec 2020 • 16 min read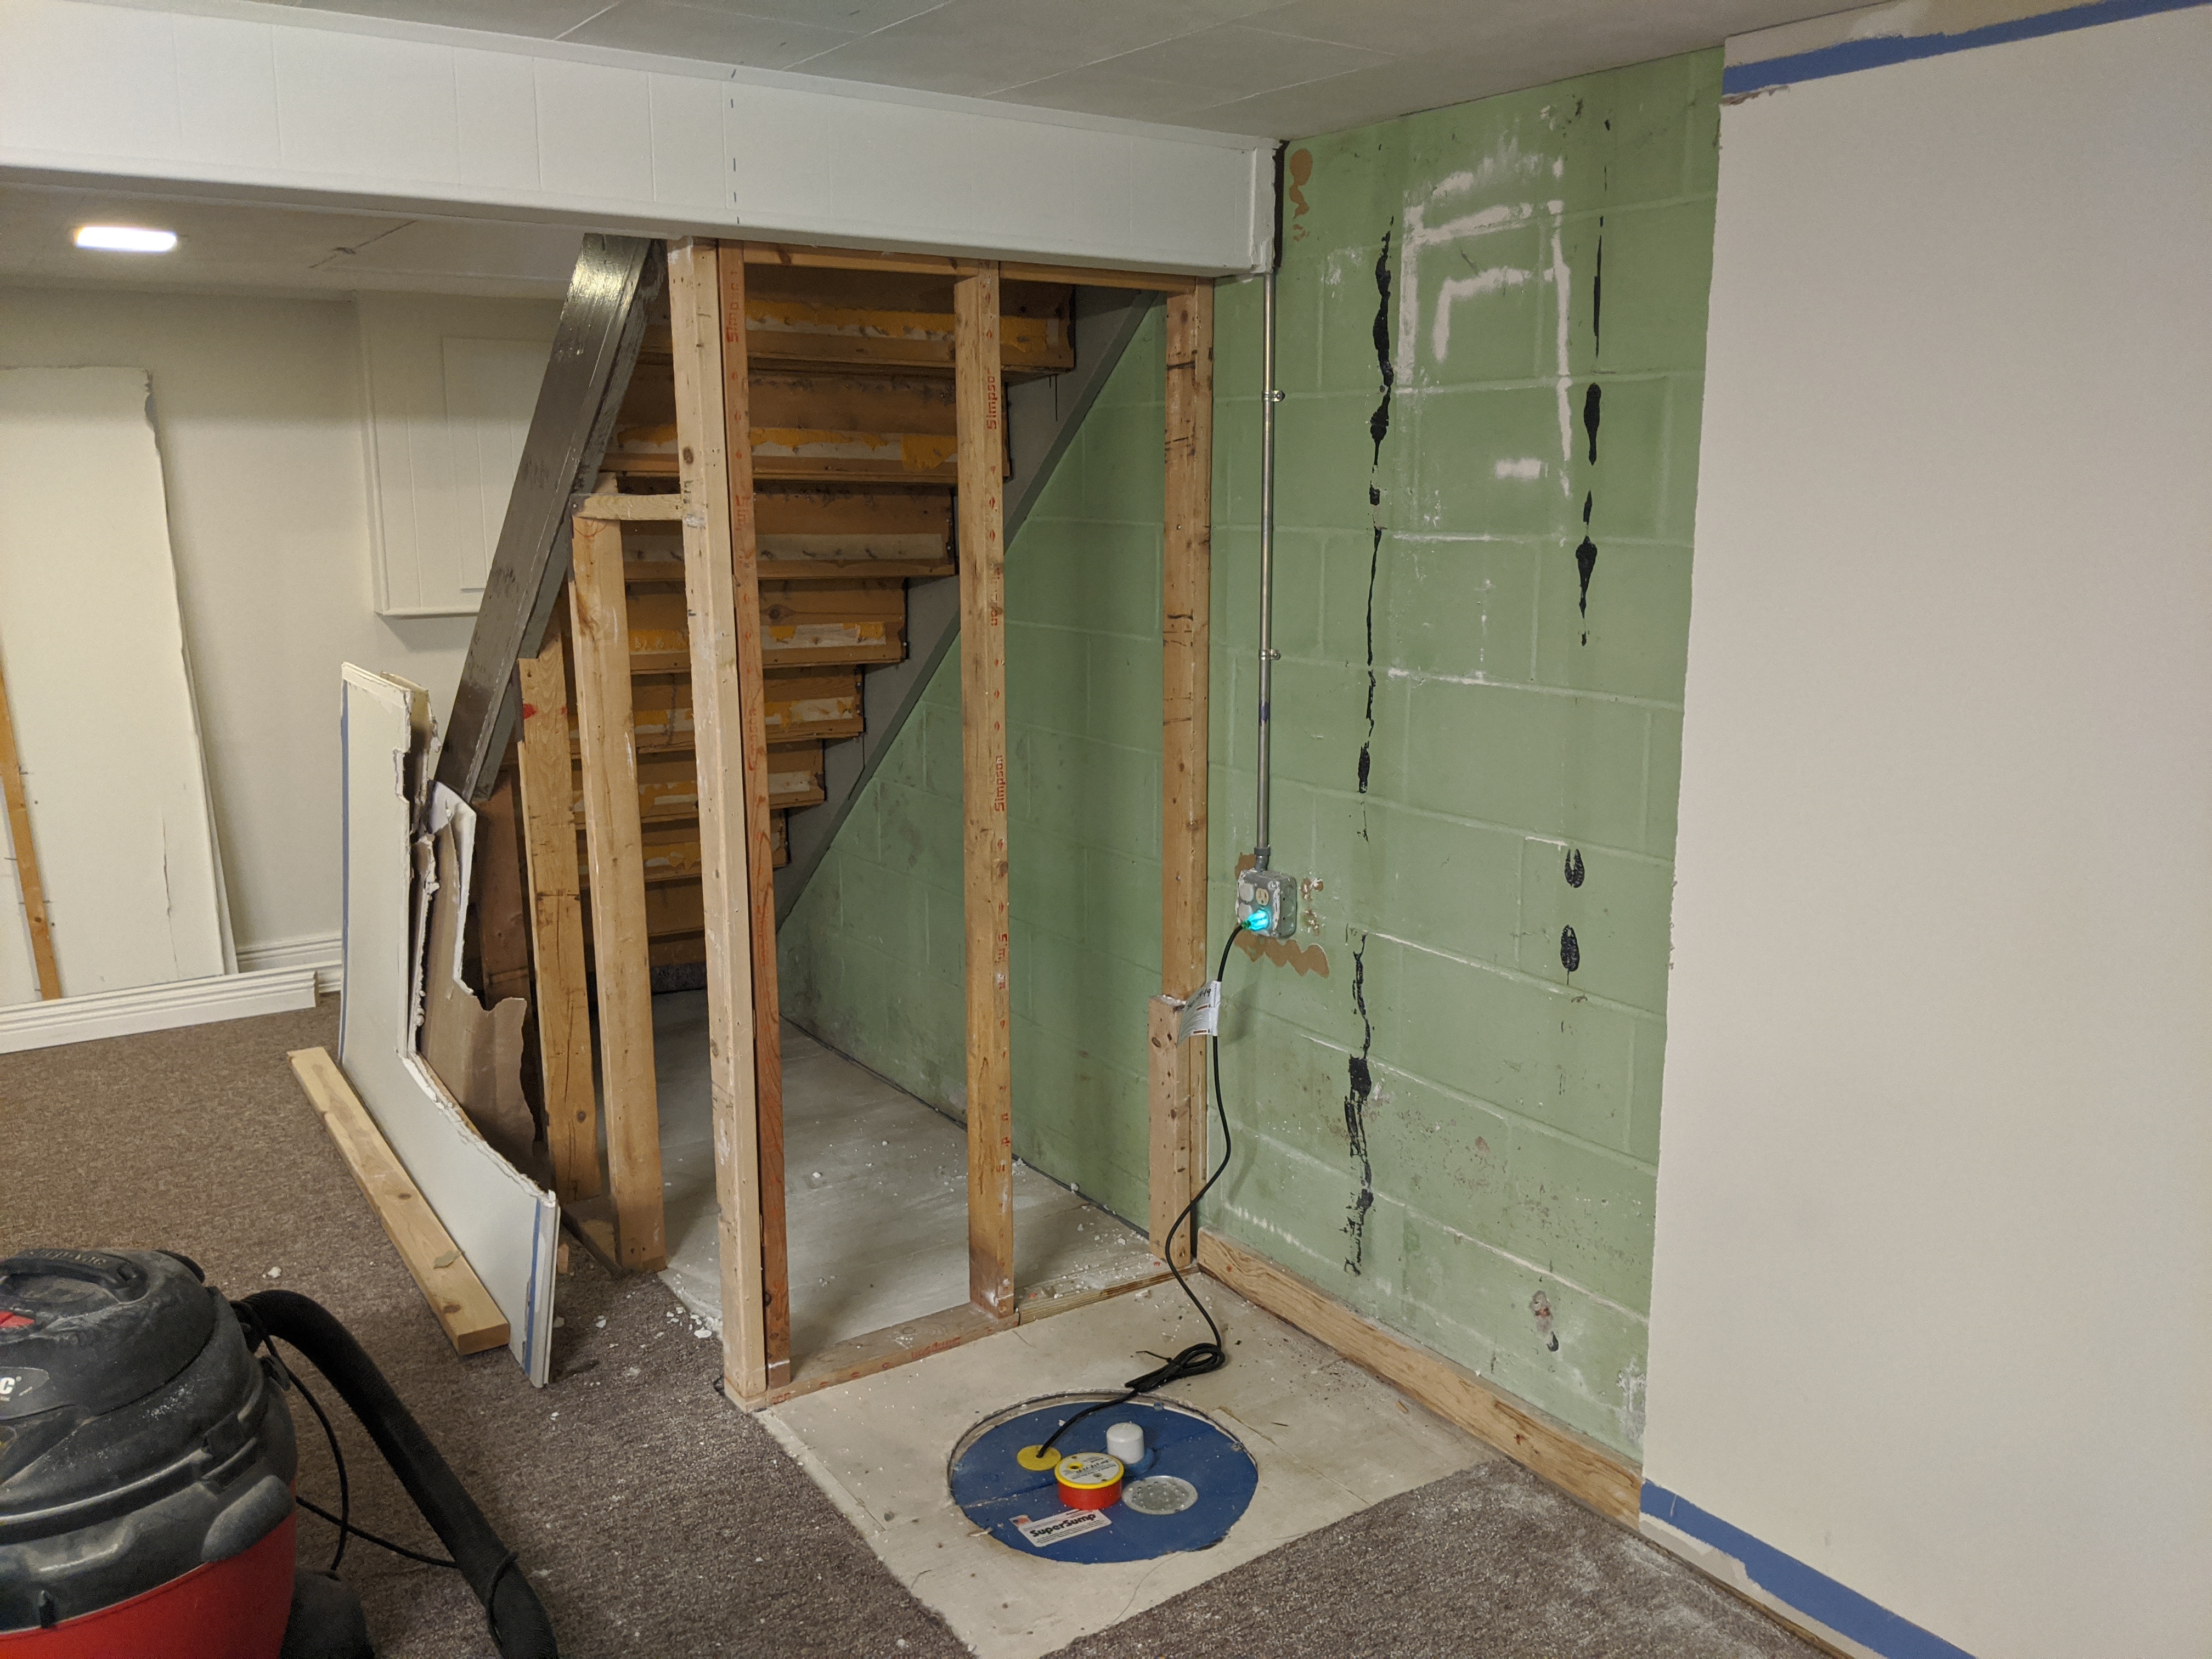
What Ye Need fer Paintin' and Sandin'
Arrr, matey! Why am I speaking like that? 🦜🏴☠️
I had most of the tools I needed to sand and paint because slaps knees, this wasn't my first rodeo 🐮! Sorry. Here's what I ended up using and can recommend!
- Radius 360
- Radius 360 sanding pads (various)
- Extension arm
- Paint (more on this below)
- Zinsser Water-based primer
- Kil-Z spray primer
- Wooster roller cages
- Wooster roller covers (various naps)
- Brush and roller cleaner
I have to reiterate I really like the Wooster brand brushes and tools. I have owned my Wooster brushes for years now without having to replace them.
Don't take it from me though, I got most of my recommendations from Jeff at Home Renovision so be sure to watch his tools video!

MVP Tool: Brush and Roller Cleaner
I'm cheating a bit because I am writing this as a retrospective. I discovered the brush and roller cleaning tool after this project but I used it over in the craft room series and I had to mention it here.
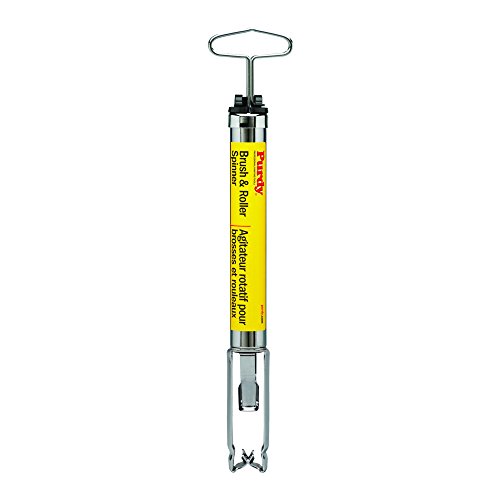
This thing is freakin a-mazing. I used to stand at the utility sink and hit brushes against the tub like a caveman. I did use the 5-in-1 tool to clean my roller sleeves to reuse them but it was merely serviceable.
This baby spins your brush and roller sleeve using centrifugal force. That's fancy physics talk for HIGH ROTATIONAL SPEED. Imagine if you had a wet dog and you spun him around 100x a second on a tiny merry-go-round to get him dry. This would be very cruel, don't do it (how would you even?) but he would be oh so dry.
That's what this does to your brushes and roller sleeves. No animals will be harmed. It's also very satisfying to press the handle down like a madman and watch it spin. Your brushes are ready to use again right away!
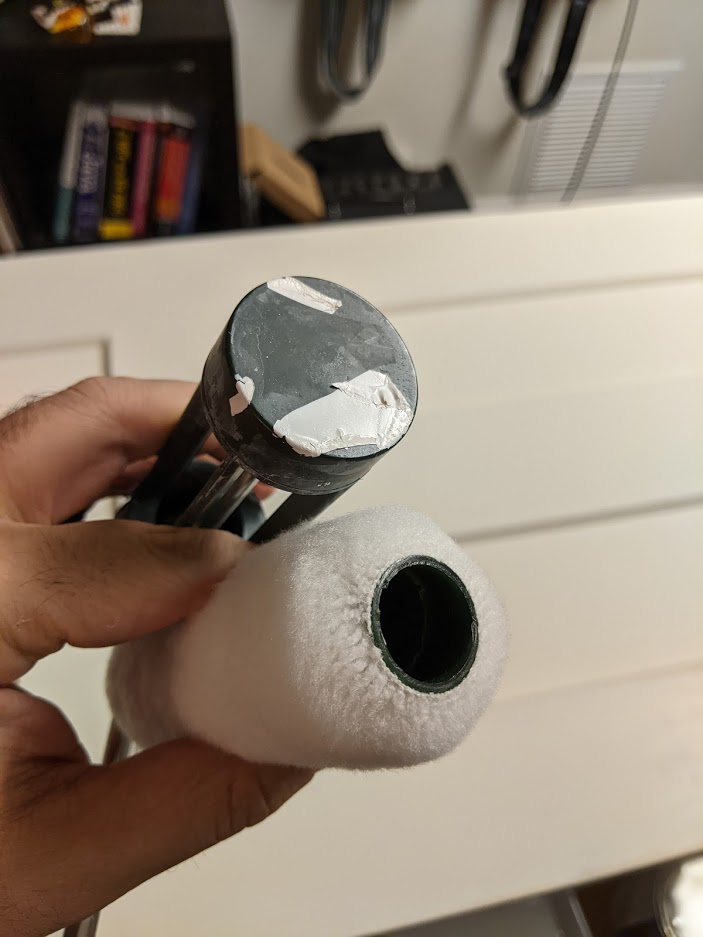
Get the right sized roller brushes
I guess I didn't realize that there are multiple diameters of brush rollers. So don't do what I did and pay attention so you don't have useless brushes...
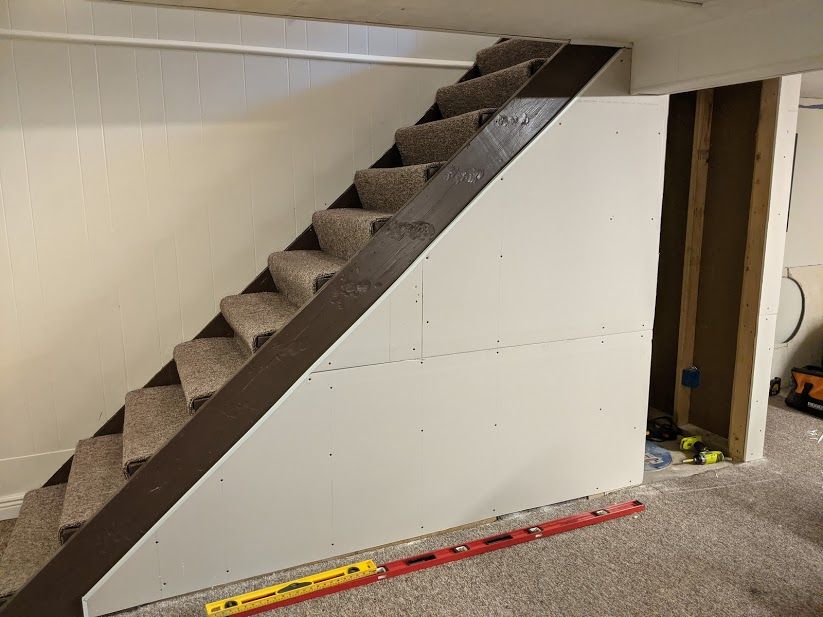
Sanding after Mudding
Sanding is done between mud coats and once again afterwards before priming. It's a quick sand and I used the Radius360 to do it. It creates a consistent texture to prep for priming. Sanding is always something I wanted to avoid but what I've learned is that it's part of prep and prep is key to getting good results. So spend the time (and elbow grease) and sand between every coat!
How to Paint Like a Pro
I've painted before but I realized after watching Jeff from Home Renovision that I didn't have a good system for painting, it was workable but haphhazard.
At a high-level, Jeff's system for painting looks like:
- Prime with 2-3 coats of paint, sanding in-between
- Remove all fixture, plates, covers, etc. from the walls
- Cut in one wall at a time with an angled brush
- Use roller with extension to roll vertically up and down about 3-roller-widths at a time from one side to another
You'll notice no mention of taping; that's part of the technique. The devil's in the details so I suggest watching the A-Z painting video below. Through Jeff's teachings, I managed to do this entire project without taping (and subsequent projects without taping) which saves a lot of time.


Brushes and rollers
You should watch the video above to get a rundown of all the tools you need. However, what I will say for brushes/rollers is simply to buy Wooster. I've had my Wooster brushes last for over 5 years now since I keep them clean. I've only had to throw away one because I didn't clean it fully and it started to get stiff with the dried paint inside it.
So what to get? Nylon? Polyester? Natural bristles? Does it matter? Wooster has a good quick overview and here's the short answer:
- Use white China bristle for smooth surface oil-based painting
- Use a synthetic, firm brush for rough oil-based painting
- Use nylon/polyester blend for acrylic/latex water-based painting
For rollers, again, I've only used Wooster and the extension pole I recommend (that Jeff recommended, the Sherlock GT) has an awesome clip-based system that makes it dead simple to use with Wooster roller cages.

Priming the Walls
After sanding, it's time to prime. I only do one coat of primer and I've always used the Zinsser 1-2-3 water-based primer.
I followed the technique: cut in then roll the walls, one wall at a time.
Taking breaks
Since I could only work in bursts having the roller/brush cleaner made it easy to come back an hour later with a dry, clean brush/roller. I have multiple trays and use tray liners so it's easy to dispose of primer/paint as I go and have multiple colors.
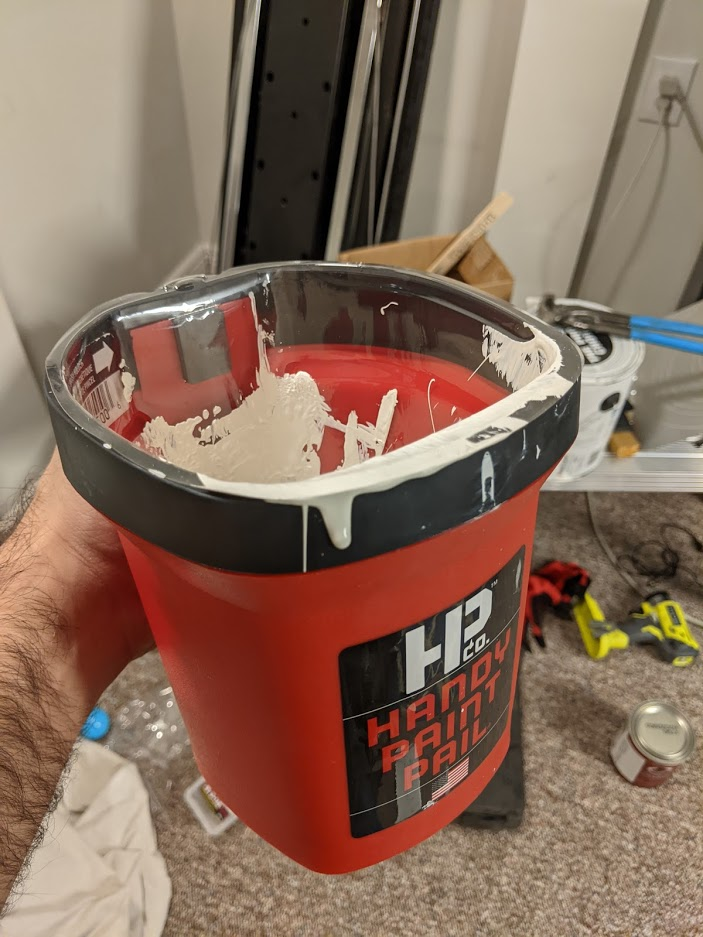
I also have the handy paint pail and as Jeff mentions in the video, leave your brush wet with paint, it'll be okay for an hour or so (stop in and dip it again for longer).
For long breaks, be sure to follow the advice to wash and dry off the brushes for use later. Save time and money! A roller brush will last an entire DIY project (or more) if you keep it nice and clean after each use.
Where to Buy Paint
I used to buy paint at Home Depot (Behr brand) and this is still a good value-based option. There are a few other options you can go with though:
- A paint store (Sherwin-Williams, etc.)
- A specialty home supply store (Hirshfields, etc.)
- A paint supplier/manufacturer (local)
The last option is interesting and one I haven't personally used. I do know of one paint supply store in my neighborhood, Viking Paints. I'm almost positive the price is closer to wholesale than going to the store (but I haven't confirmed that). It's worth looking into near where you live!
For myself I like Benjamin Moore so Hirshfields is where I go for that since it's close by and convenient. My basement currently is OC-45 Swiss Coffee but I can't say I'm a huge fan of it down there since it doesn't give me enough contrast. It needs more natural light, it's an upstairs paint I think. Instead I chose Horizon OC-53 which we used for Saira's room and I'm a big fan of it.
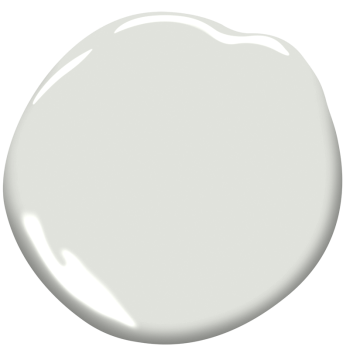
It's a light "greige" that gives enough contrast against white trim but still keeps things airy. What's neat about it is that it has the tiniest hint of blue and depending on the lighting it gives it a beautiful tone.
It's worth mentioning that going with a "designer" brand like BM won't be the budget-friendly option; the home center brands will be the cheapest option. However, I am beginning to believe that when it comes to paint, premium can pay off in results. I like BM since it's been nice to work with, I like the result, and I like the colors.
There's a whole other class of paint, like Farrow & Ball, that you could choose to spend more on too that professional designers recommend. I feel like BM is a nice cross between premium and value plus my designer friend uses it so I feel okay using it too (I just copy her, okay!).
What kind of paint?
The next thing after the brand and where to buy is the kind of paint: sheen and quality.
For walls I've only ever used "eggshell" sheen and then for trim I use high-gloss. For Benjamin Moore paints, I use Advance for trim and Aura/Regal Select for walls. I've been incredibly happy with these on my doors, walls, and trim for this and other projects.
First coat and prime check
After priming, I took my trouble light and looked at the wall more closely. This is a good time to fill in any cuts/chips/imperfections (a "prime check") and I used Sheetrock 45 (the fast drying mud). As long as you put two coats on top of it, it won't have any "bleed through" in the final paint coat.
Following Jeff's technique shown in the video above, I cut in the edges of each wall and rolled the first coat.
After the first coat I did another prime check. Since there would be two more coats this is the last chance to smooth out any imperfections with mud. This is important because when your wall is done and you look at it in different light or during different times of the day, you'll see any imperfections. Using the trouble light, or inspecting the wall when the sunlight hits it in different locations, will help you make a nice, smooth finish. Don't rush this!

Second and third coats
Yes, I do three coats. It's more work (and requires more paint) but it ensures any imperfections smoothed over with drywall mud are covered completely.
Sand in between coats! Each time. The Radius 360 is a godsend for this because it only takes a few minutes to sand an entire wall.
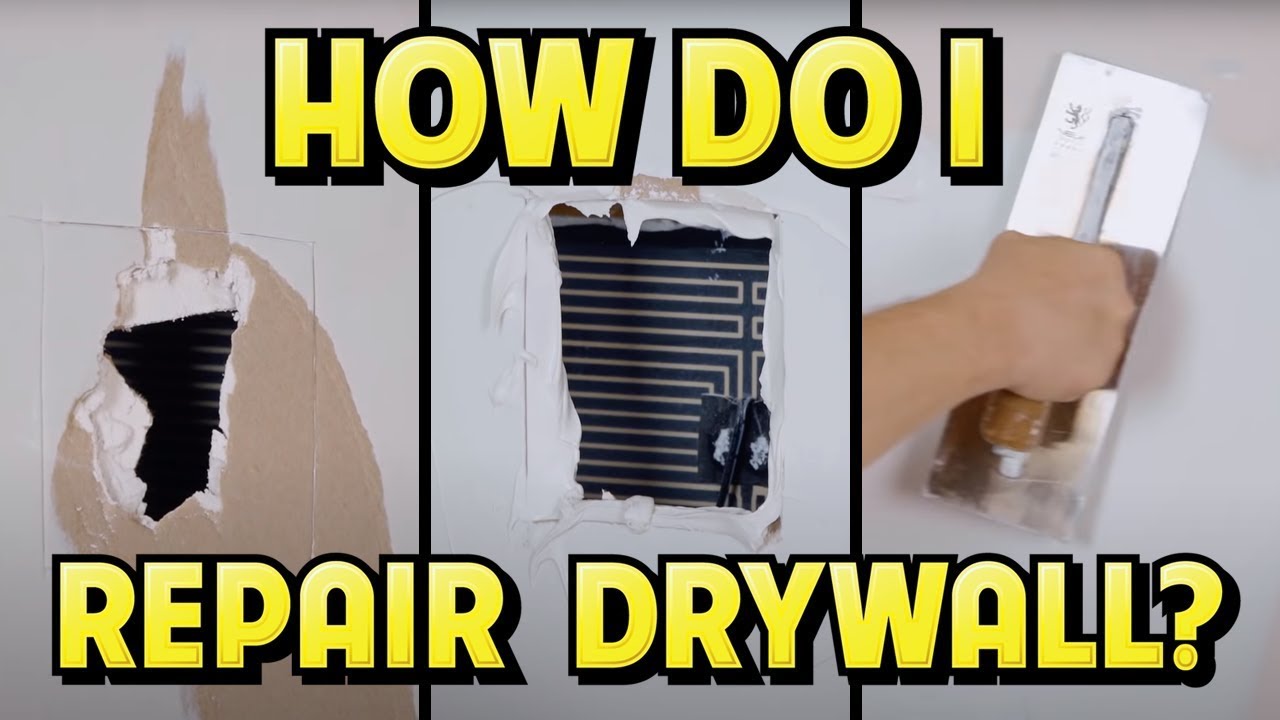
Painting brown drywall backing when the paper rips
When I was removing crown moulding from the utility room wall to make way for the new framing, the moulding came down with some drywall paper ripping.
I had a similar issue originally during the mudding phase of this stairwell project. The long and short of it is this:
For the brown drywall backing (behind the paper), you cannot use all-purpose mud or "just paint it."
You have two options:
- Use Sheetrock 45 (fast drying) mud on top
- Spray it with primer
I did option 1 for the corner I fixed for the stairwell but during this phase of the project for painting, I used some KILZ spray primer.
The reason to do this is that it creates a surface for the actual primer/paint to bond to. All-purpose mud will not bond to the brown paper but Sheetrock 45 does. You can use either approach.
Here is a video of the technique in action:

Once the area is primed/mudded, then you can proceed to put paint coats on and make sure you sand it a few times. Once I did that, it blends in and you don't even notice it.
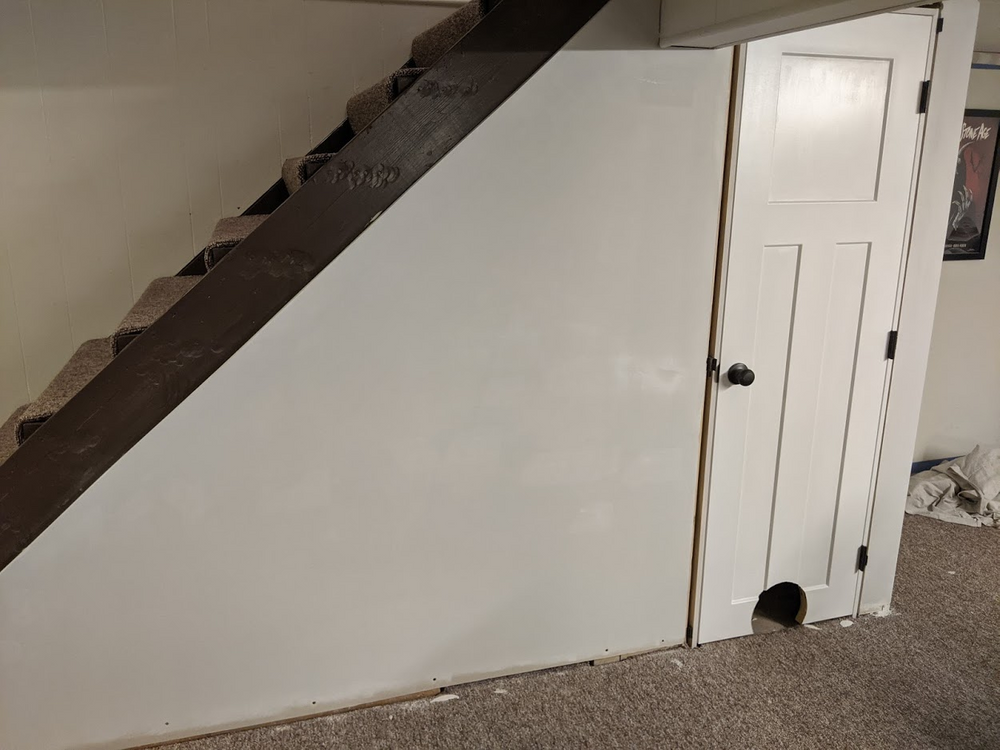
Time to paint and install the doors
Sit back and admire your sexy, smooth walls. Congratulations!
The order of operations doesn't mandate you to install doors after painting but I found it much easier to paint the walls first and then do the doors. It's sort of a continuation of the painting phase but fitting/hanging/painting the doors is a whole post unto itself so that's what I'll be sharing next!