Disclosure: Some links on this page below are affiliate links, meaning, at no additional cost to you, we will earn a commission if you click through and purchase. Read our disclosure for more info.
I've had a huge drawer full of old quilting cotton fabric since my grandma passed away in 2016, and I've been meaning to use some of it just to get rid of it. I don't quilt, and a lot of the patterns are sort of strange or not really the style I would be looking for. I've made some of the fabrics into little things like masks and napkins, and I'm planning to use the Christmas fabrics to make a tree skirt and some other general Christmas decorations. At least, some time in the future I hope to do so.
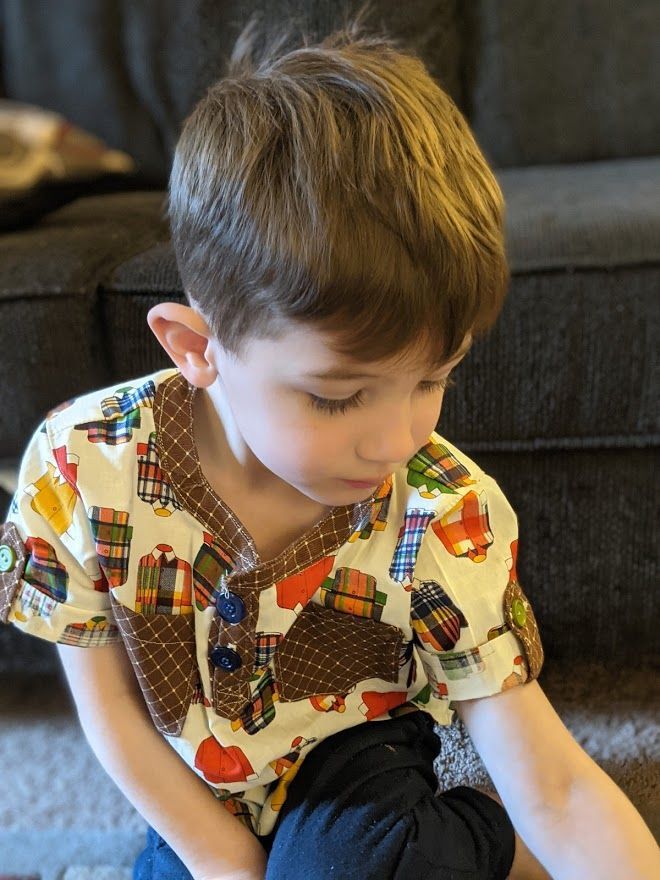
One of the fabrics is a 70s-colored "shirt" fabric. And I mean, literally, it's covered in shirts.
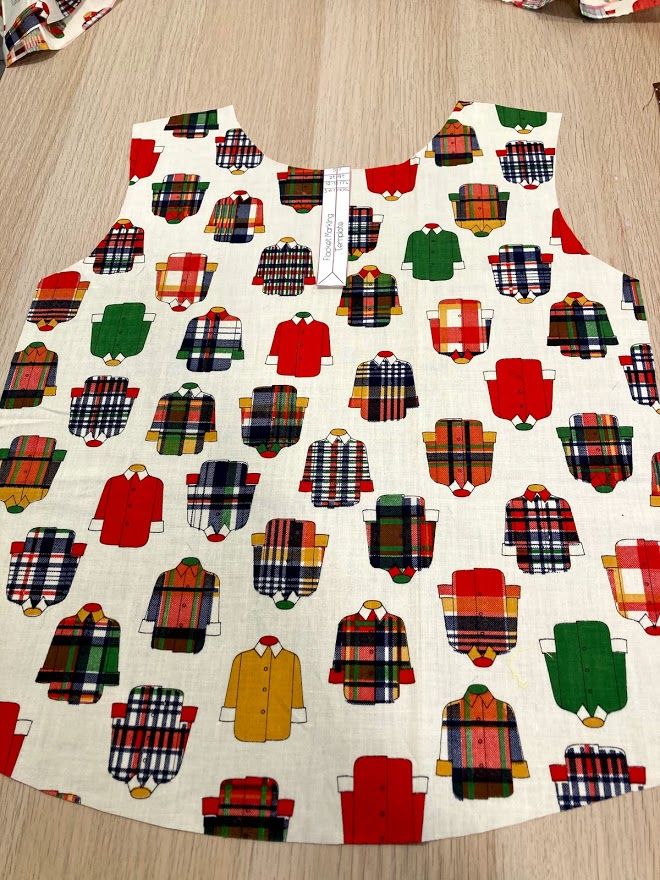
I have no idea if you can find it (Kamran tried searching Google Images for "photos similar to this" but found nothing!). If you're looking for beautiful patterns though, Spoonflower has many created by individual artisans! Otherwise my go-to is my local JoAnn's.
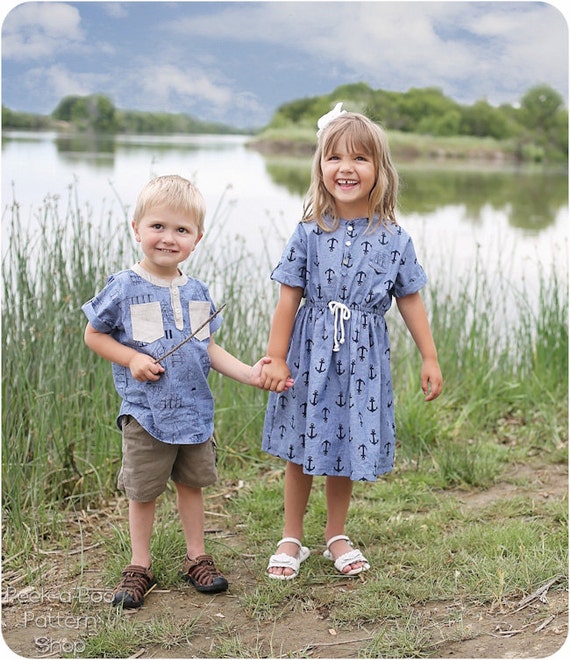
I had been looking around for a boys' button-up shirt patterns for a long time, and because I'm a definite cheap-o, I was trying my best to find a free pattern. I really couldn't find one that I 100% loved, so I finally sighed and got on to Etsy to look for a nice one. I immediately found the Cape Cod Shirt and Dress pattern from Peek-a-Boo Patterns, and felt like an idiot for not looking there first.

I loved all their jogger patterns, so I was ready to try something new from them. I downloaded the pattern and cut it out, then started to cut out my pieces. I actually even started to sew before cutting all my pieces out, because I really didn't want to wait.
I like the way Peek-a-Boo Patterns formats their patterns. The look of the directions is sleek and easy to read. I think I have only had to reread one panel to really understand it (and probably because I was listening to a podcast at the same time...) I always feel accomplished when I finish the project, like I've done something really beautiful and craftsmanly.
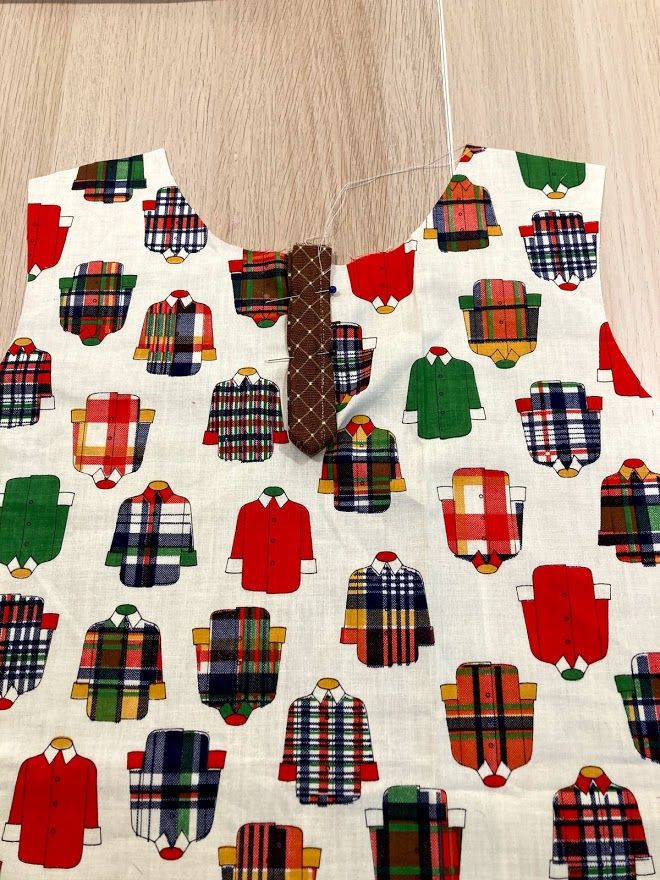
I started with the front and placket. They were easy enough, and sewed up quickly. I added my buttonholes, but decided to wait to add my buttons. I somehow have forgotten how to use my machine to add buttons, and it is driving me crazy. I have put on buttons using my machine before, and it's so fast and easy. Somehow in the intervening months since I last added buttons, I have completely forgotten how it is done.
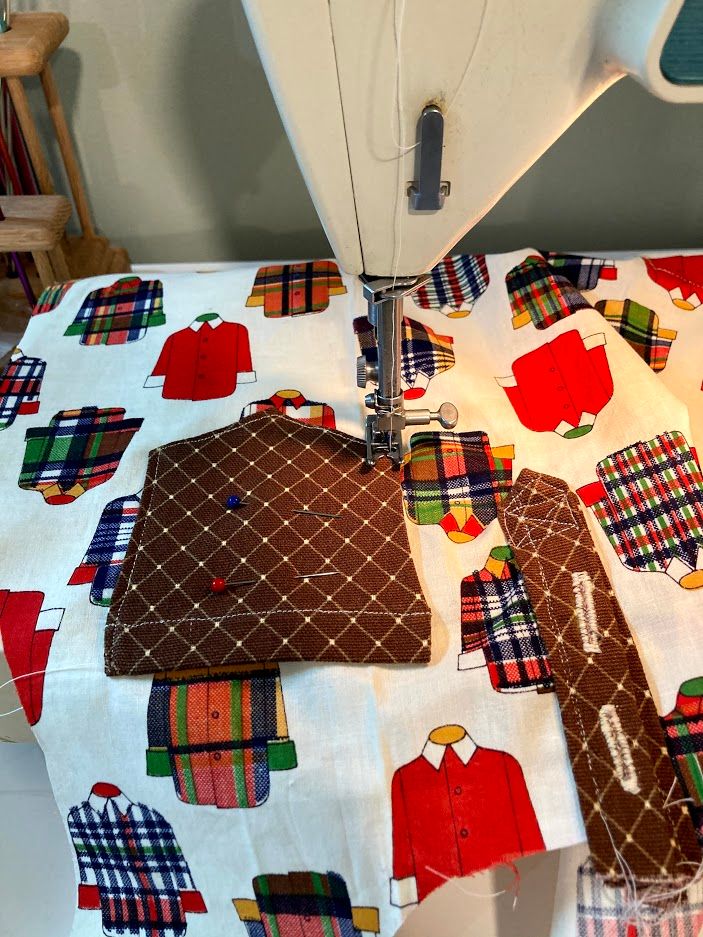
I next added the pockets. I found the brown fabric from another unfinished project that I sort of realized I would never finish. This was an easy way to get rid of it, and I think the brown matches that retro 70s vibe I'm going for here. The pockets were also simple, just basic pockets really. My lines are still not great (and look at that crooked buttonhole!) but they are vastly better than they were even a year ago. I hope to just keep getting better and better.
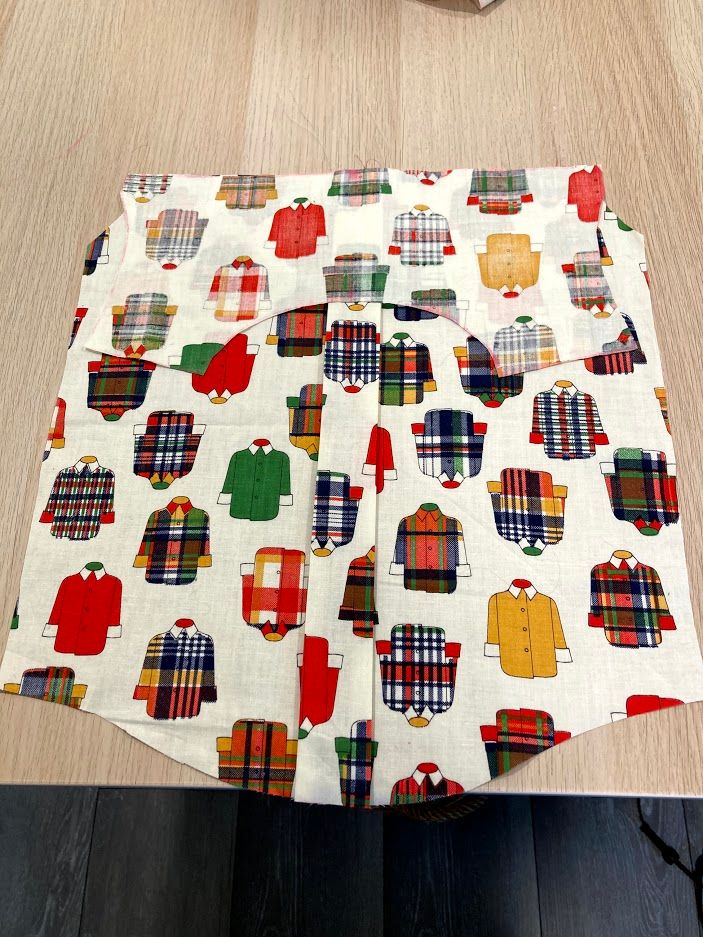
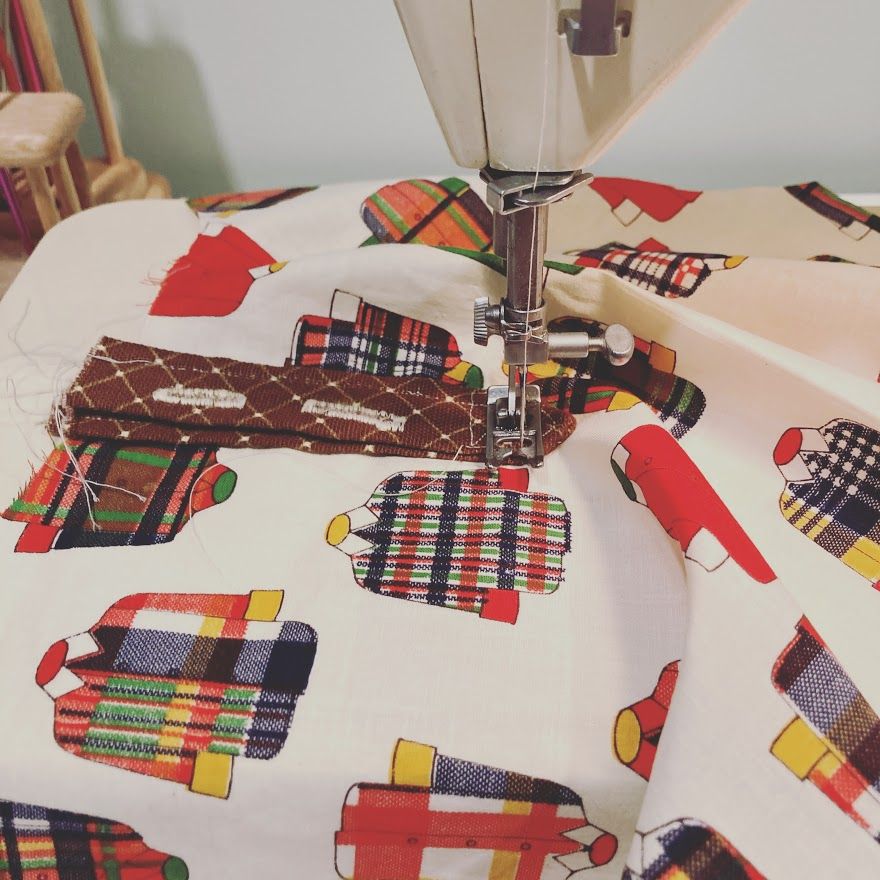
Next, I did the bottom back panel, and two top panels (they are upside down here, ready for sewing). You can see the ironed fold line I placed in the middle. This shirt is going to look so sharp on Rami. The top pieces were really interesting, and I hadn't done anything like them before. The panel of instructions that talks about how to fold up the bottom and top pieces inside the middle piece (I know that is confusing to read) was where I got a little lost, but after reading it about 3 times, I knew what it was saying. Maybe I'm just slow to learn new sewing skills, and it's an easy concept for others?
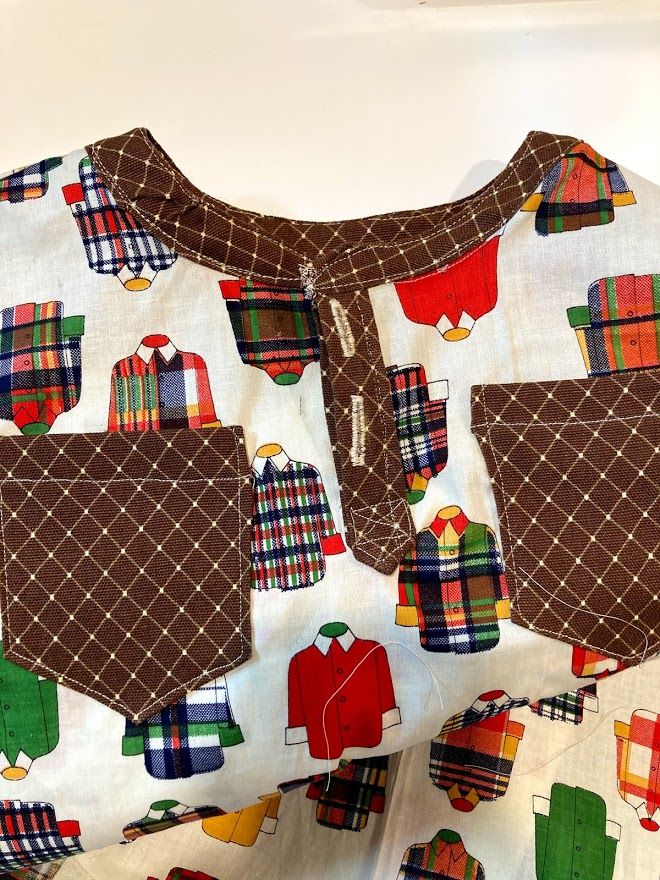
I had some issues with figuring out the collar; I usually struggle with these types of pieces where both sides are important to connect fully. I can see where I went wrong, and this is probably the area of the shirt that looks most "homemade." If I had opted for a brown thread, it would not have been as obvious. I do like the offset of the white, but it might be a choice for a more talented seamstress.
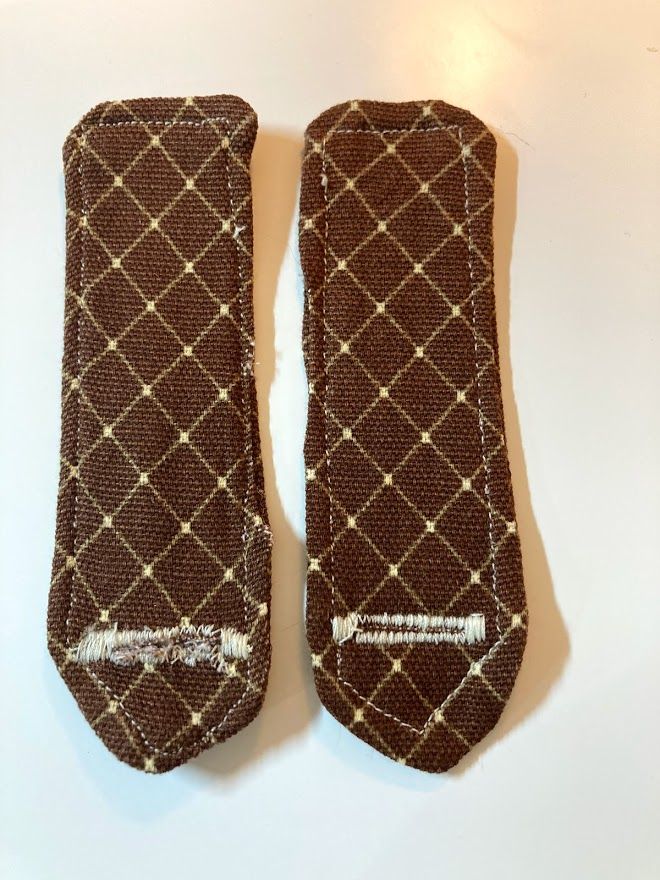
The last part before attaching everything was the sleeves and tabs, with buttons. As you can see, one of my buttonholes is fantastic. The other is...interesting. I don't know what exactly went wrong with it. Rami helped me with cutting out and assembling the tabs, but these stitches are all me, baby.
Attaching the sleeves to the shirt and sewing it all up was pretty much standard, and I used my serger to close everything off and prevent fraying. I love that feeling when all the separate pieces start to come together and form a true and complete whole. I actually was completely finished besides hemming the bottom, and I accidentally cut a 1-inch long slit in the middle of the shirt! I don't know how I did it, I accidentally slid the whole thing through my serger. I got all the stitches out, but of course sergers don't just sew, they cut too! I was very lucky that the cut was so small and the pattern is so busy. It is not noticeable that I sewed it together unless you are looking for it and know where it is. I heaved a sigh of relief, and hemmed up the bottom.

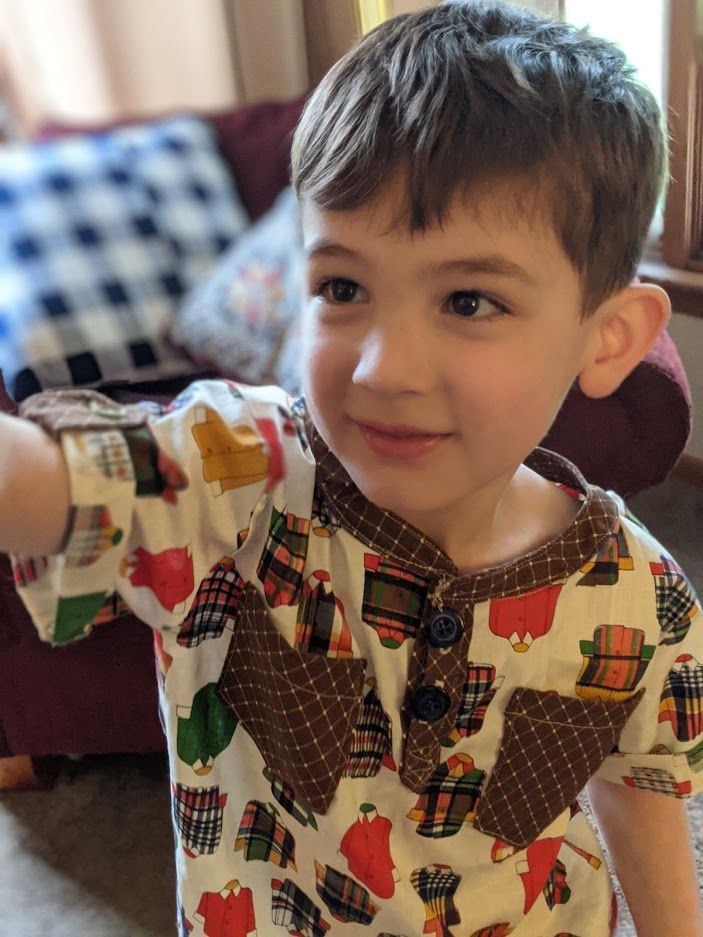
Rami is in love with his new shirt shirt. He was excited to wear it to school and loves the pockets. He asked me to make him more of these button-ups. I'm hoping to take both kids to a fabric store and pick out some fun fabrics for the Cape Cod project. Saira already let me know she wants another kitty dress, but in this style. Rami expressed some interest in a pirate shirt. I am just soaking in this time when the two of them are still willing to wear things I make for them.