Disclosure: Some links on this page below are affiliate links, meaning, at no additional cost to you, we will earn a commission if you click through and purchase. Read our disclosure for more info.
So my cousin invited my sister and I to go to Cancun this April, and I was so excited. I'm not the type to usually randomly go on a Mexico trip, but when she asked, I said, "Why the hell not?!" So we booked our room and got super excited! To celebrate and challenge myself, I decided to make my own swim covers for my sister and I. I thought it would be kind of cool to have matching swim covers to lounge around the pool with.
I started by looking for a tutorial on Pinterest. I figured someone would have a tutorial or pattern I could already use, and I wouldn't have to worry about making my own thing. I immediately found one that seemed really cute, and exactly what I wanted! I immediately went to a local fabric store and bought some gauze fabric, which is what the tutorial called for. You can find some similar fabrics by searching for "gauze" on a site like Fabric.com.
The tutorial (which I won't include here, as I don't want anyone to feel insulted that it did not work out) seemed easy, so I got to work. It really just involved folding the fabric in half, sewing the sides together, and cutting a hole for the head. It was a sort of poncho style swim cover, which seemed easy enough. Well...it seemed that way at first. Here's what I ended up with:
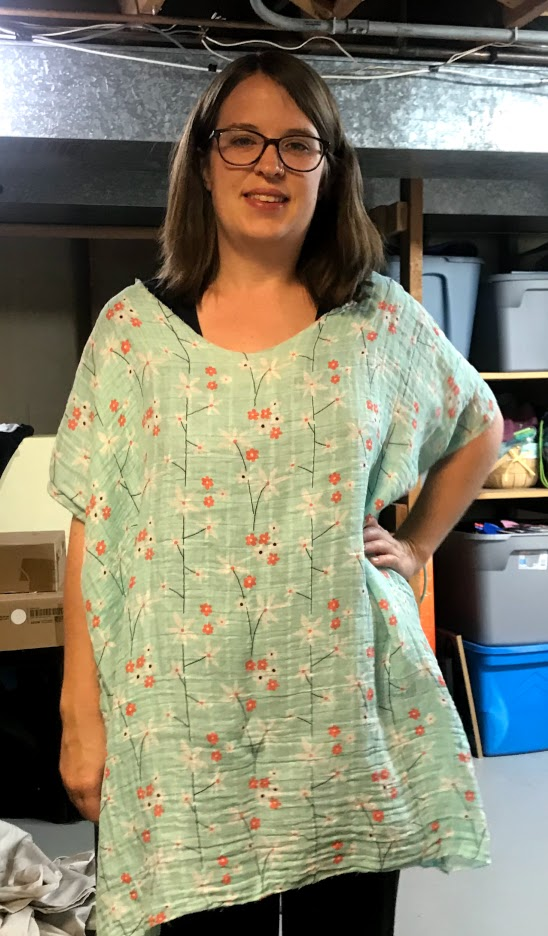
A big old garbage bag! I did not appreciate it. The model in the picture I think had the kind of body that would look great in a literal garbage bag, but alas we all can't be so lucky. I think I probably could have lived with it, but I would not wear it often or be proud of it.
I was frustrated at first, and wanted to just give up and buy a swim cover. Then I thought, wait, what if I add elastic to the waist to just sort of cinch it in and bring it to a more tailored, slim look? Let's see how that turned out for this beginner seamstress:
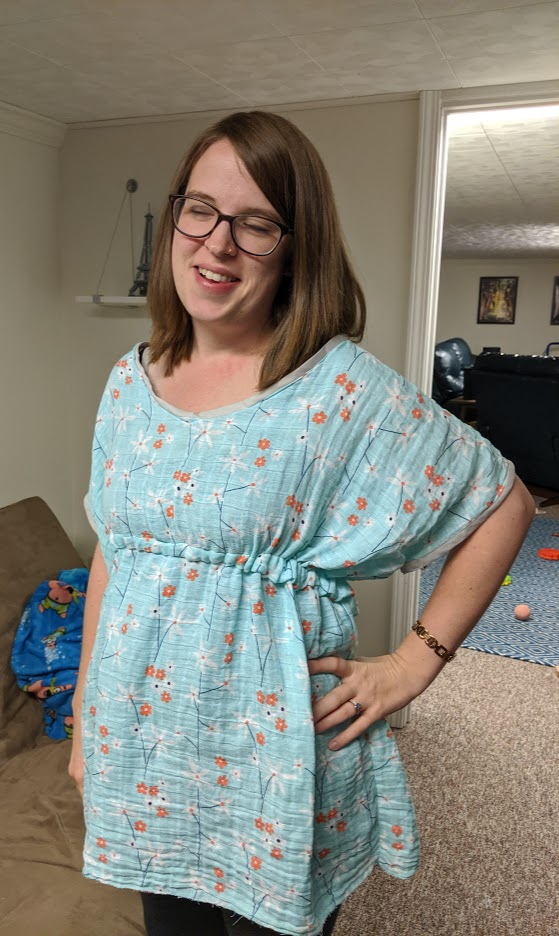
Oh, okay. Here's an artist's rendering of how I looked:

Okay, this time I was ready to cut the damn thing into strips and make bandages (gauze, get it?) I put it away for a week and mulled over my problems in my mind.
- I don't have the right body type for most of the swim covers featured on Pinterest.
- I am really not confident enough in my abilities as a seamstress (I refuse to say sewist, I would rather say sewer if I needed to, and yes I would pronounce it like the underground waste system).
- I really do not want to buy more fabric, and I kind of want to just give up on this entire project, frankly.
I was in a dire situation. Then I remember a tunic I bought in Morocco when my husband and I were there.
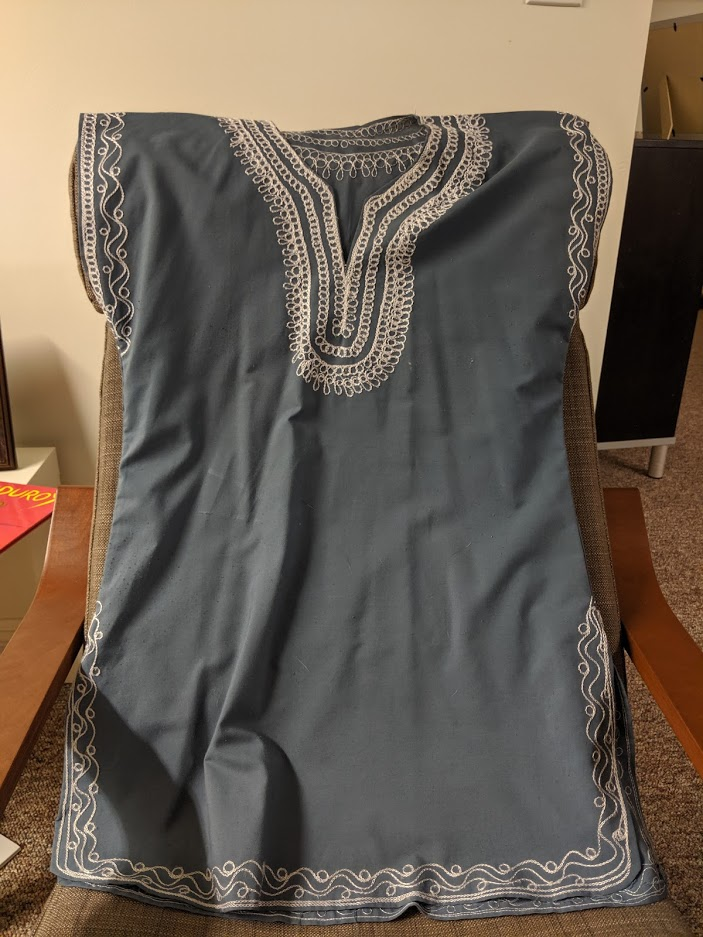
I thought to myself, hey, that would be a great swim cover! Maybe I could just wear this instead.
Oh wait! I decided to trace it and make my own pattern. What a novel idea!
Okay, now I had a shape I felt I could really work with. It was more tailored but I didn't have to rely on elastic. It had actual armholes rather than just the folded over pieces. Of course the waist was now slightly damaged from pulling out the stitches and elastic from the middle. But it was a price I was willing to pay to have a piece I would actually feel proud to wear.
Up until now I've shown you my process with the green fabric with pink and white flowers. I'm going to have to continue the post with a different color and type of fabric! Our cousin eventually let us know that she couldn't go to Cancun. So, my sister and I decided we still really wanted to go. We decided to invite our mom and aunt to go with. So now I had to make four of these swim covers! I asked for measurements to make sure they would fit, and adjusted my pattern from there.
Of course, about a month after I finished all four swim covers, the COVID-19 pandemic caused a lot of changes in plans, including canceling our Cancun trip. My sister, mom, and I were all really disappointed. I still had the completed swim covers though, so I'll forge ahead and post this pattern for all our readers.
How to Get the Pattern
The pattern is FREE to download, you just have to enter an email to subscribe and access the download page:
👉 Download Free Printable PDF of Swim Cover Sewing Pattern
 Cassie
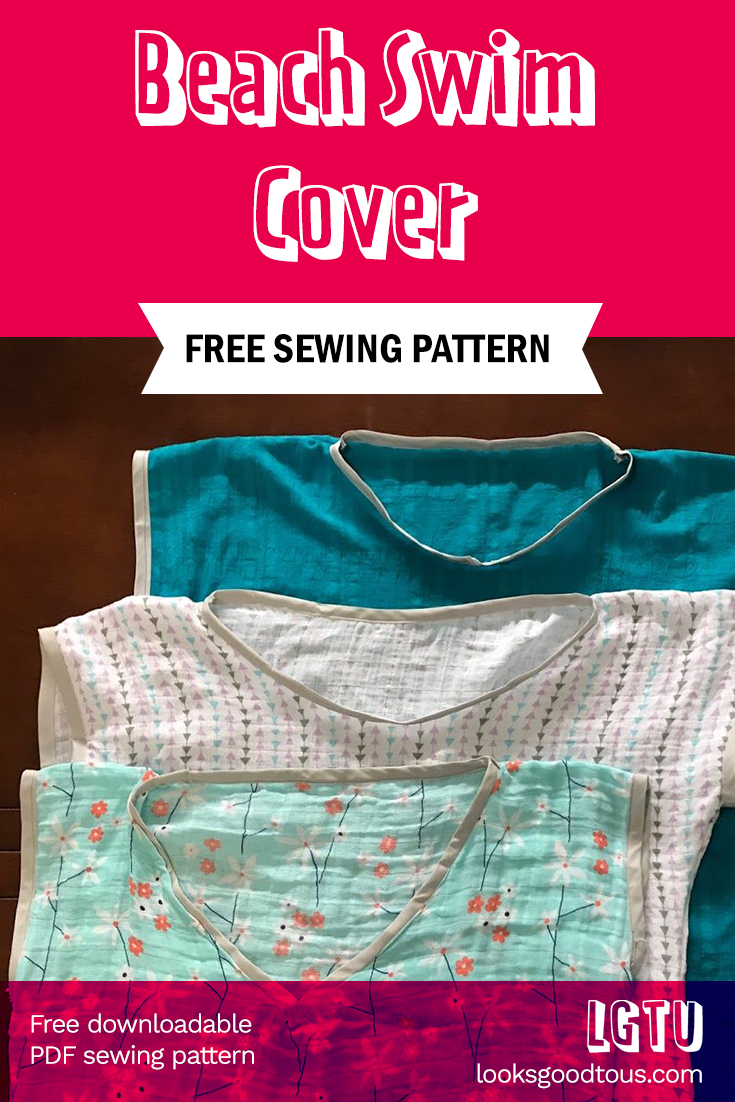
You can unsubscribe at any point but we hope you stay for more patterns!
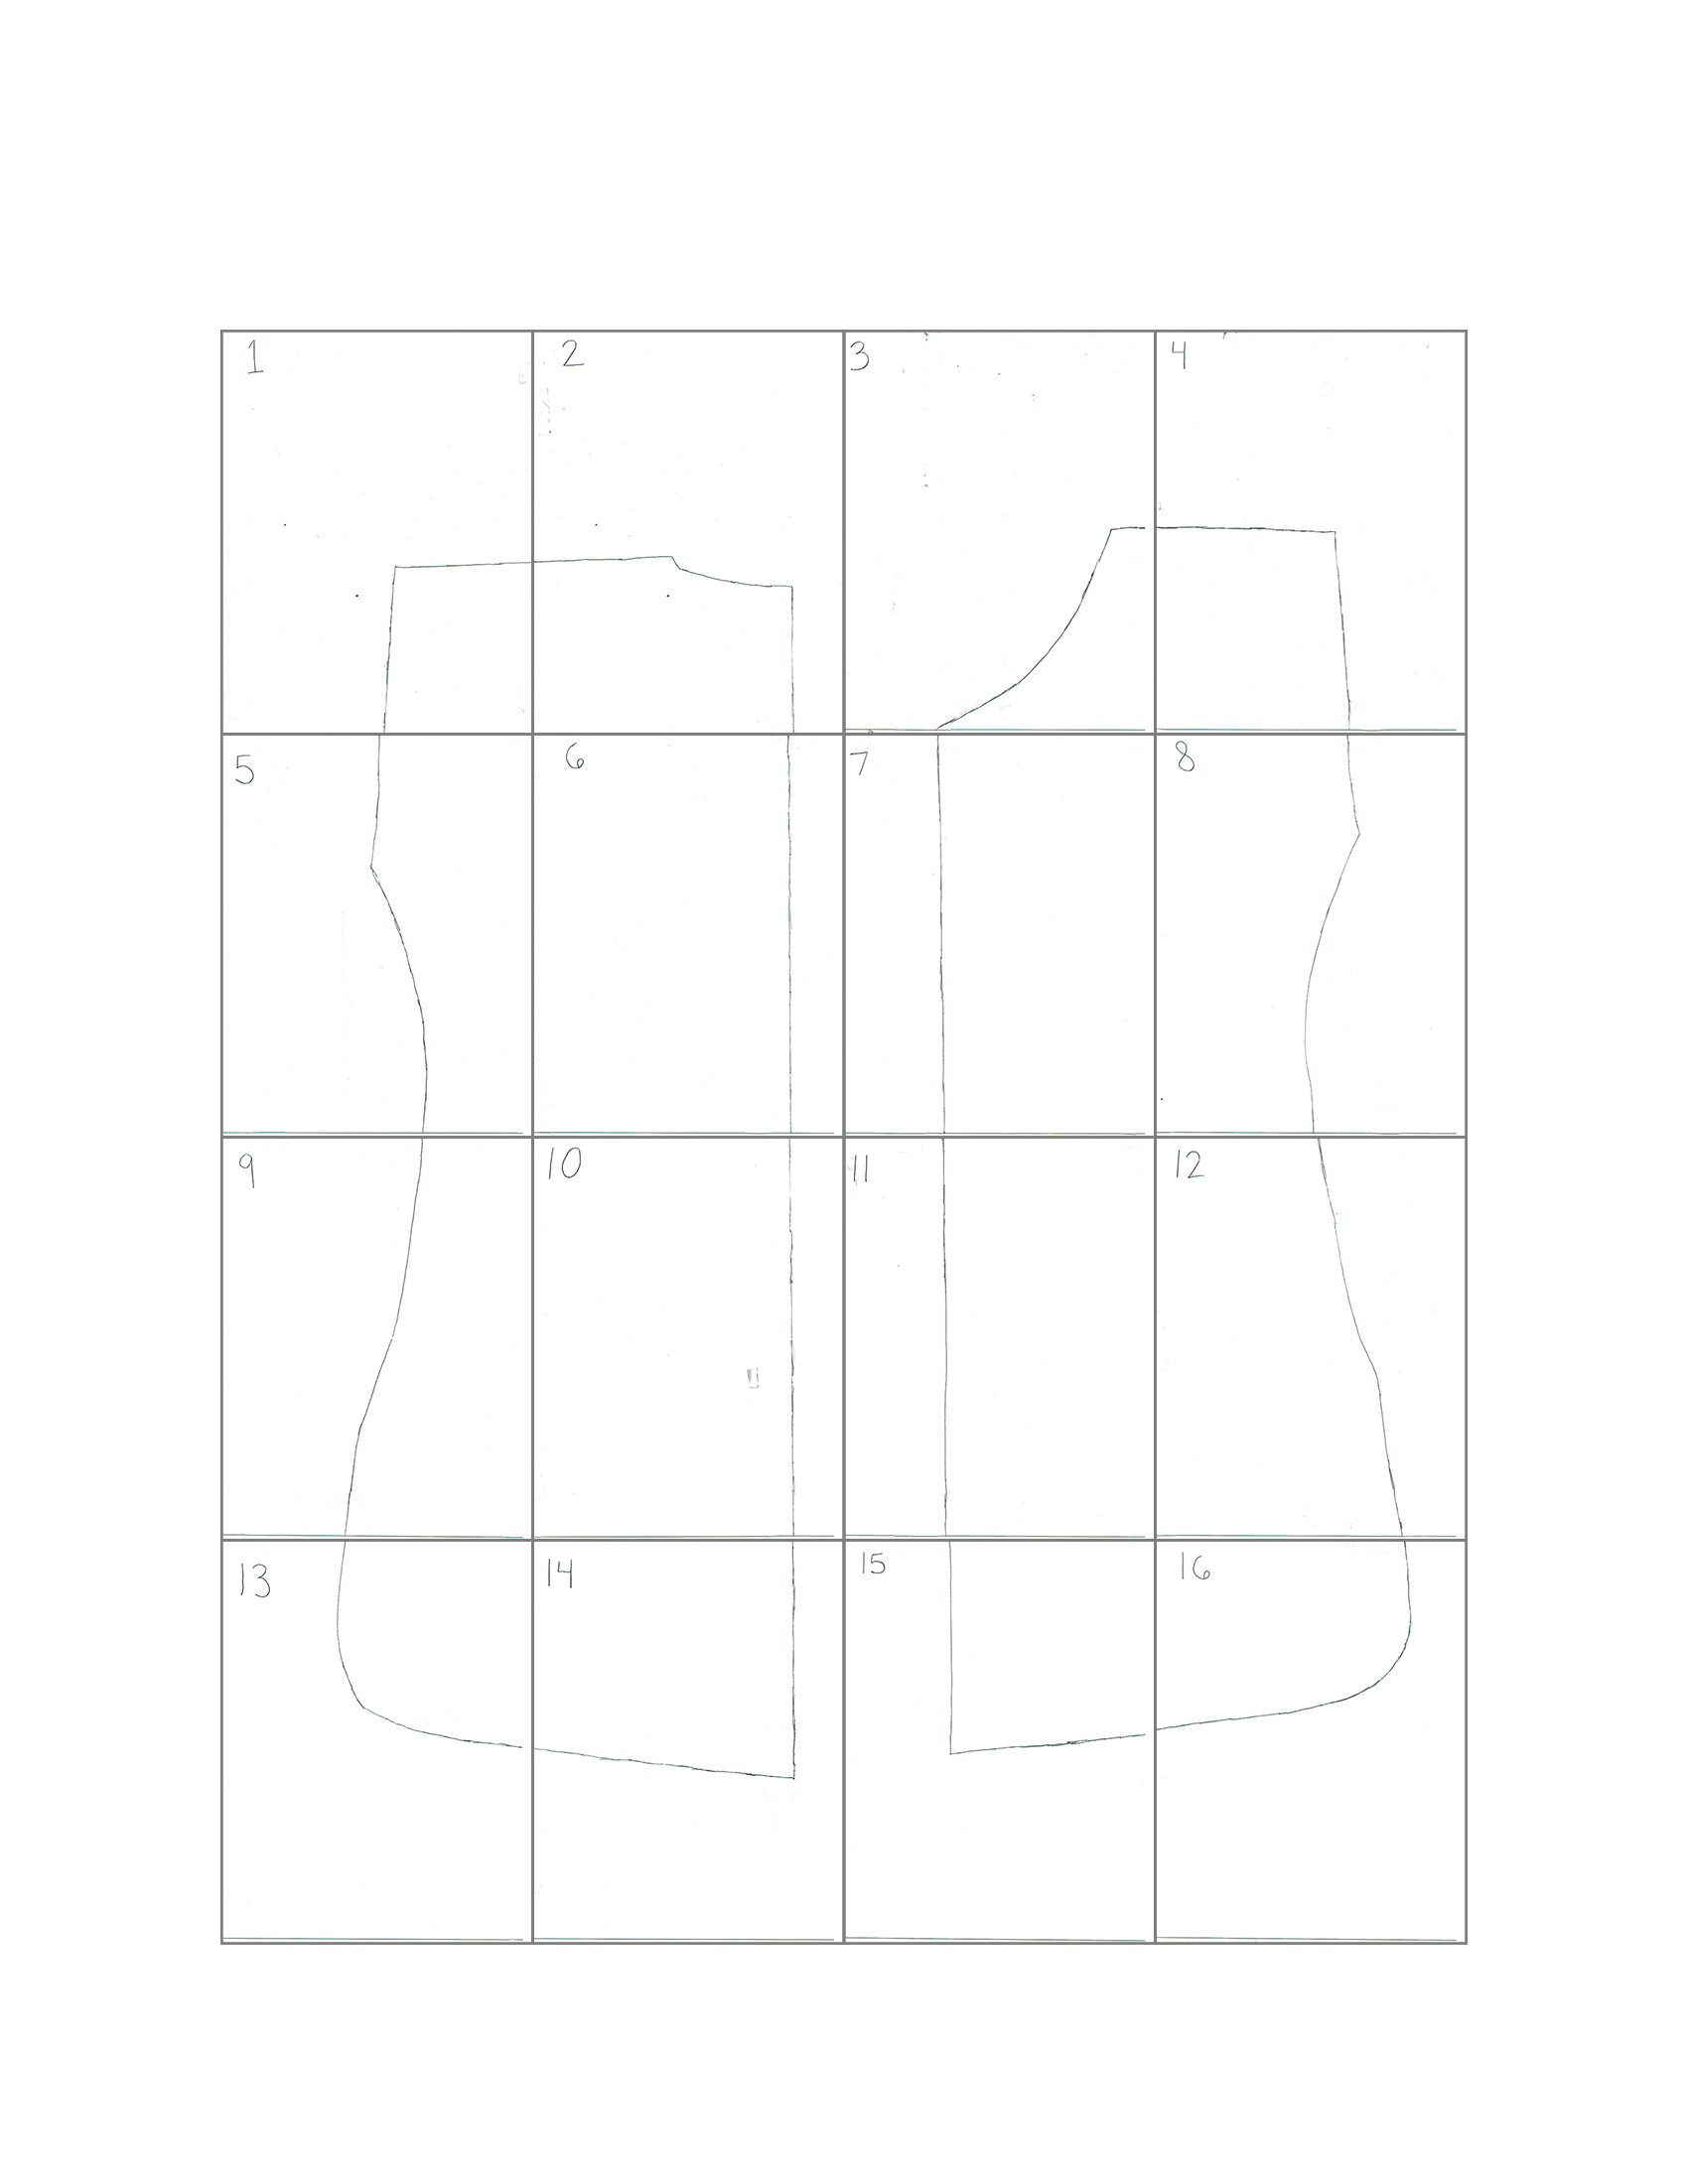
The pattern is in PDF format and can be printed and assembled into a grid, as shown on the last page. Each page is numbered to help!
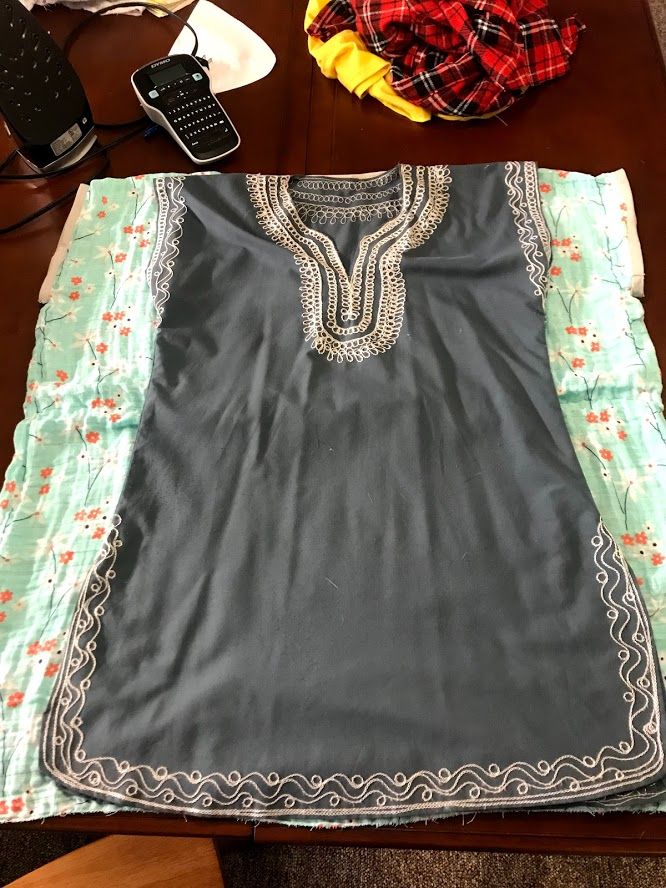
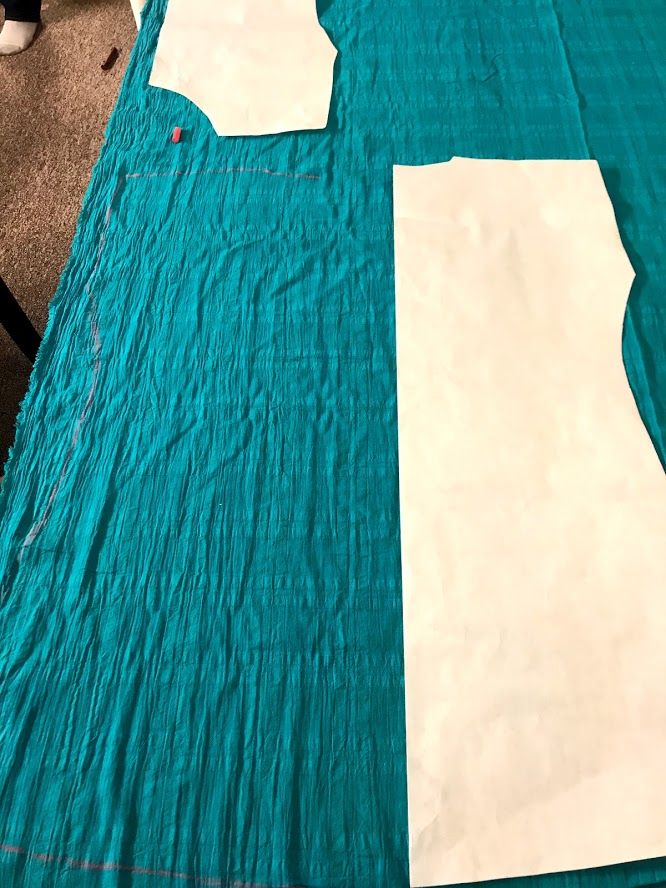
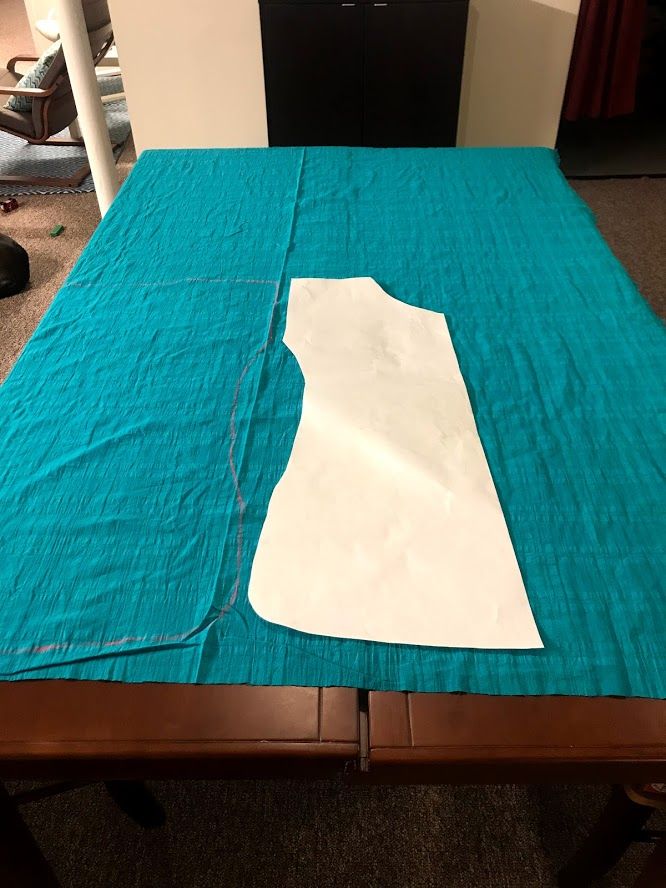
I ended up making a paper pattern, so that it would be more symmetrical and accurate. I also wanted something I could post so others could use my same pattern. Here are a few shots of the front and back of the pattern in use:
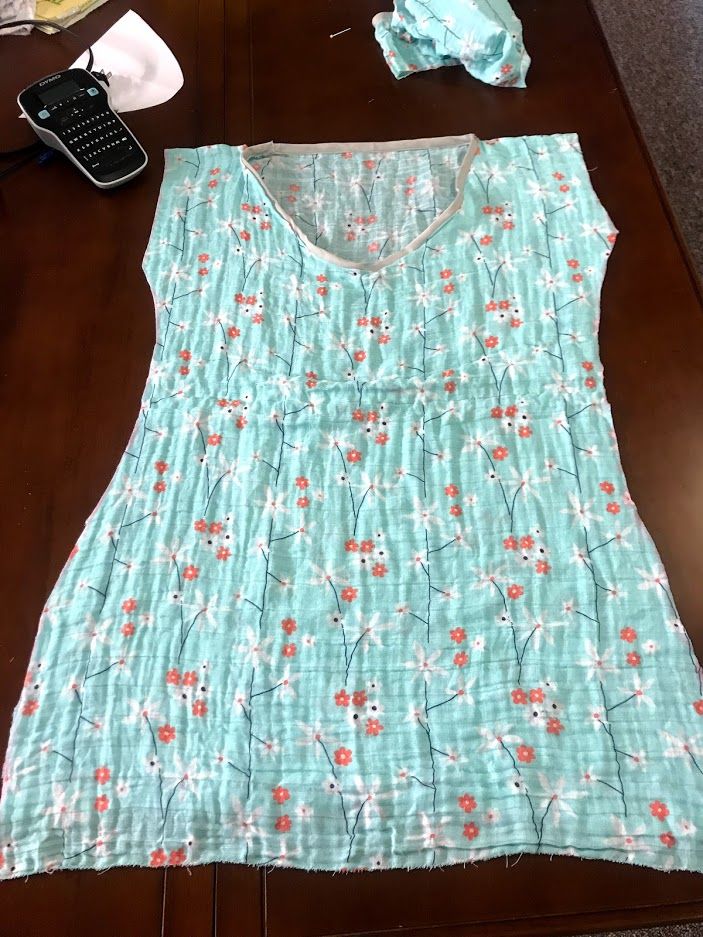
The above fabric is not gauze. It's actually just a thin cotton fabric I found near the gauze at Joann Fabrics. Joann had almost no gauze at all. After using this thin cotton, I would recommend it over any gauze, though I think gauze might be useful for swim covers because it seems to dry fast. I think whatever works best for you is what you should use!
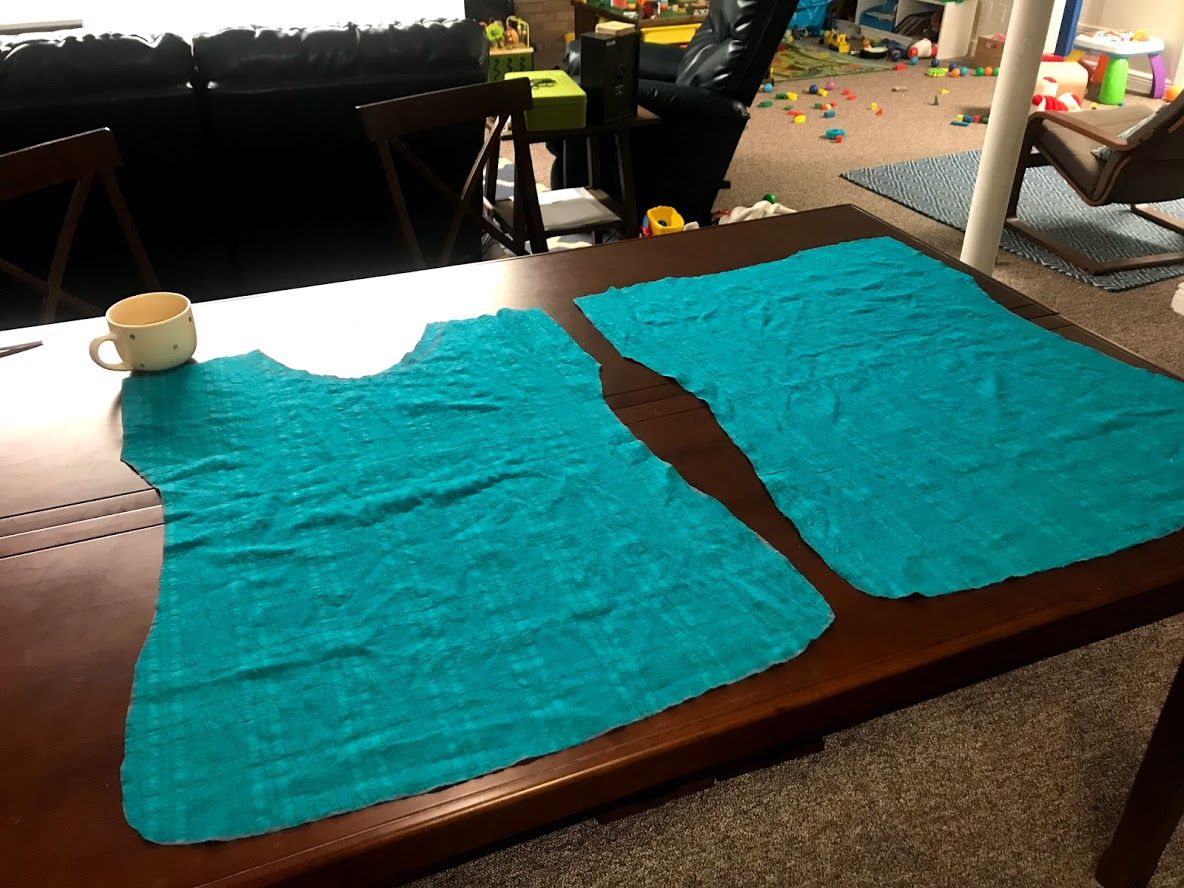
So, I of course started by tracing and cutting out my pieces. I know some people cut through two layers to make a perfect piece when opened up on the fold line, but I just flipped the pattern piece over on my table. I ended up with the front and back pieces in the picture on the right:
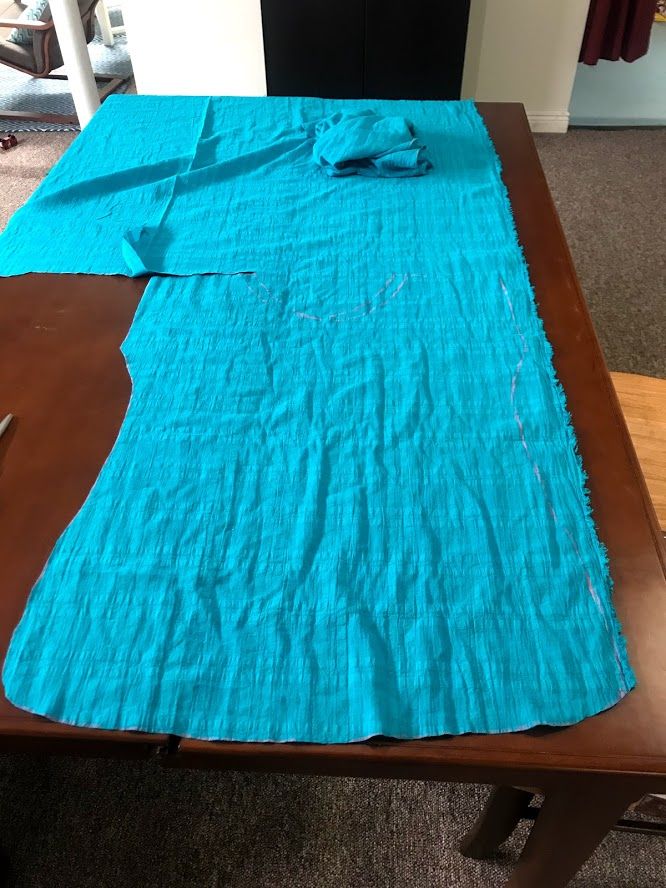
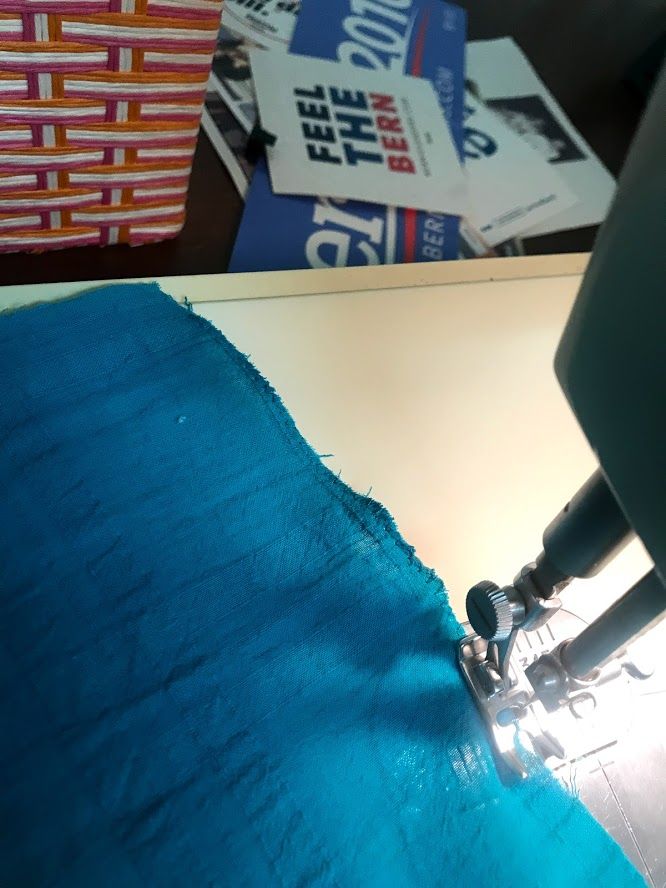
I then used a long zigzag stitch around all the edges to finish them, since woven fabric like the above tends to unravel without.
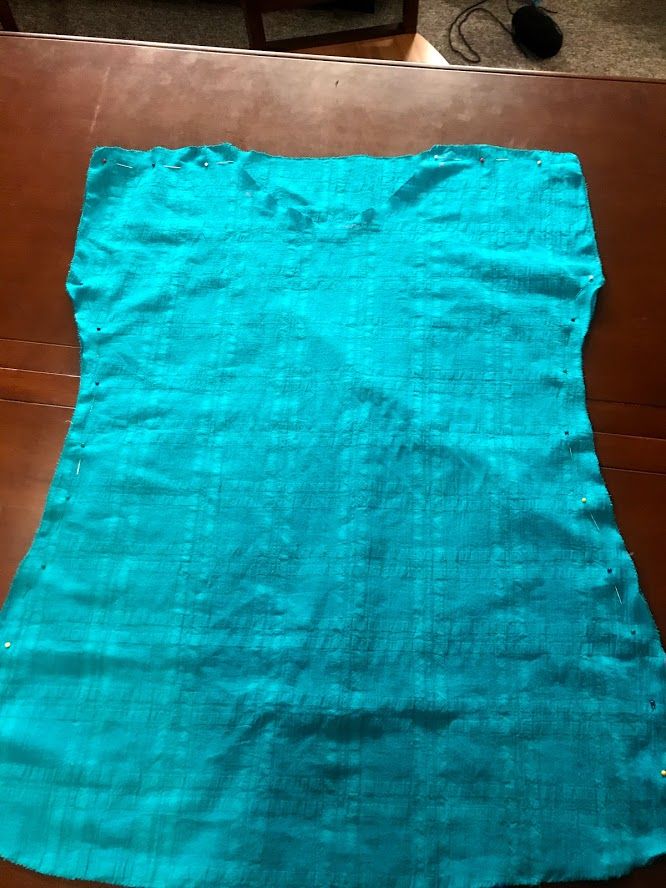
Then, I sewed up the sides and on the shoulders, as shown in the diagram and picture below (ADD DRAWN DIAGRAM).

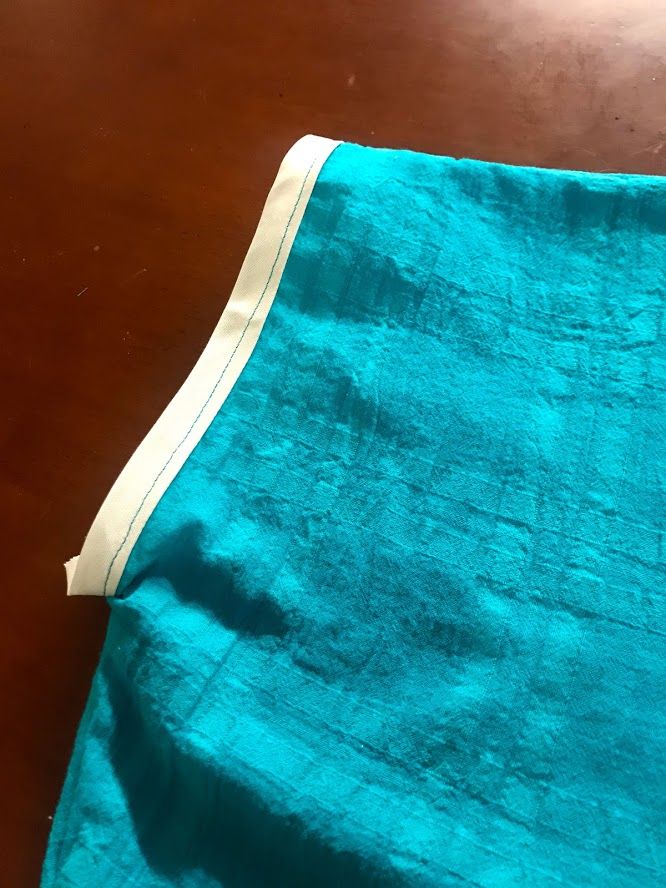
Pretty easy! For the sleeves and neckline, I ended up using bias tape for the edges. I liked the contrasting color, and liked using it for the edges of a woven piece. I think if I did it again, I would figure out something else for the edges, but I'm still learning! Here are some photos of my pinning and sewing:
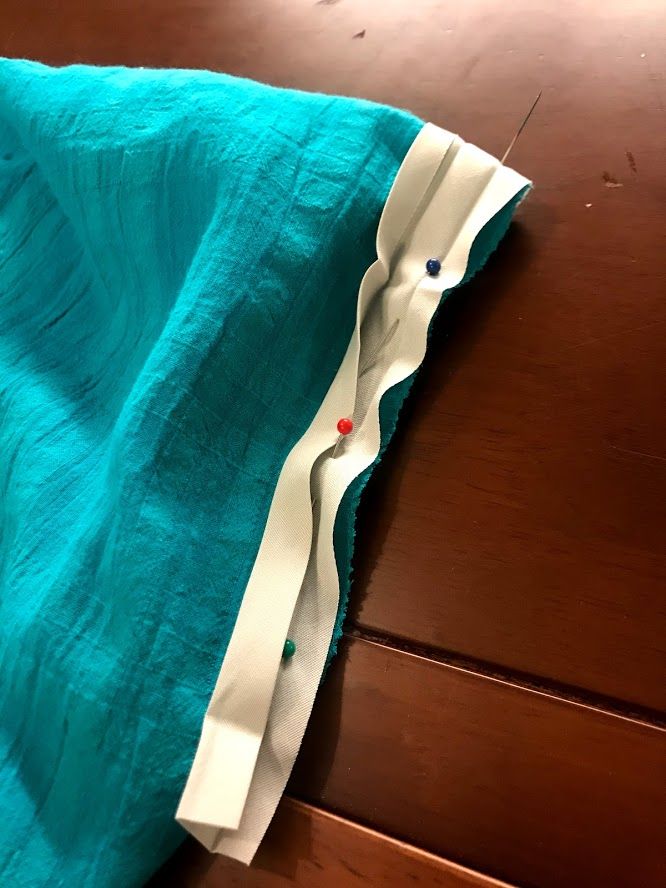
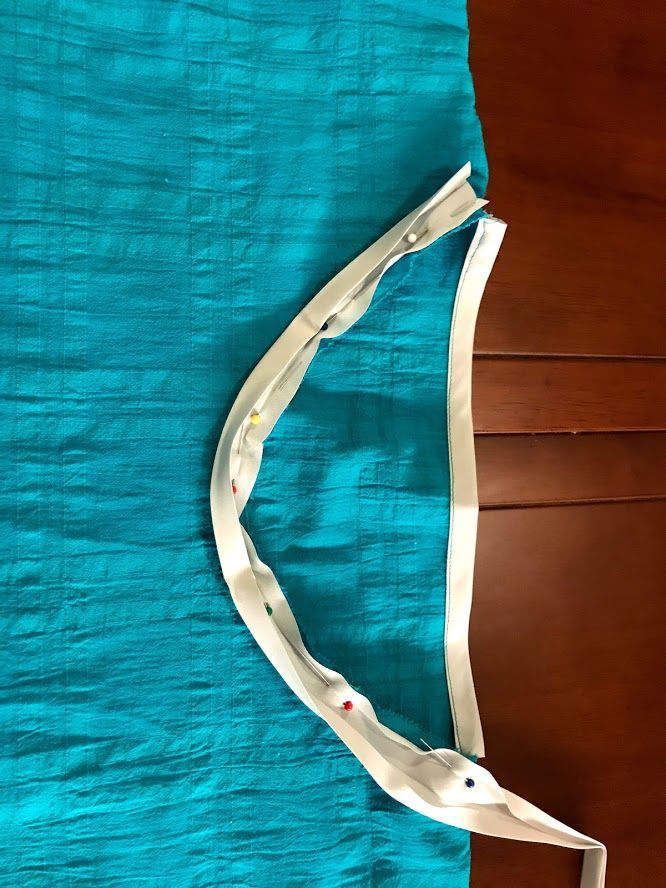
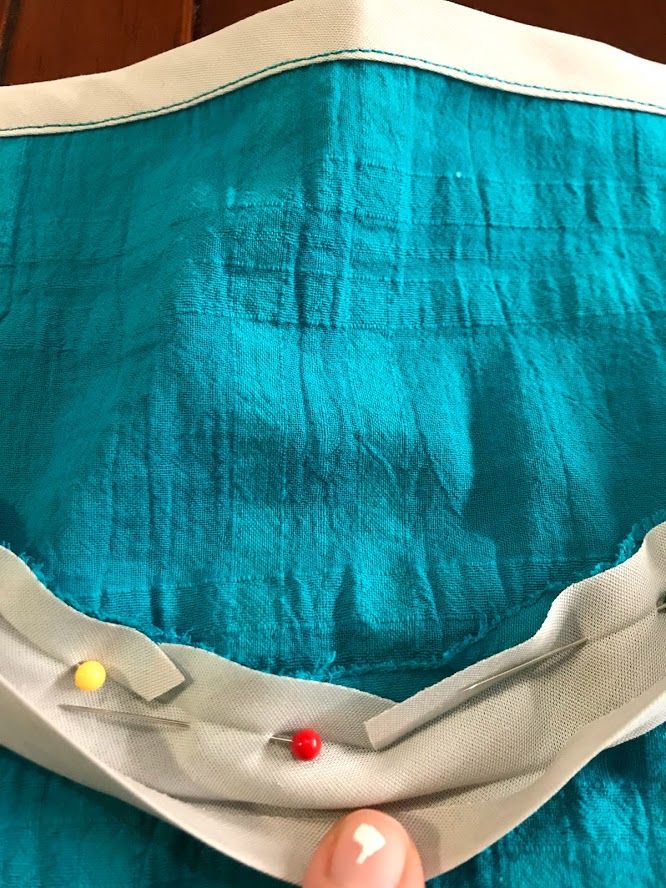
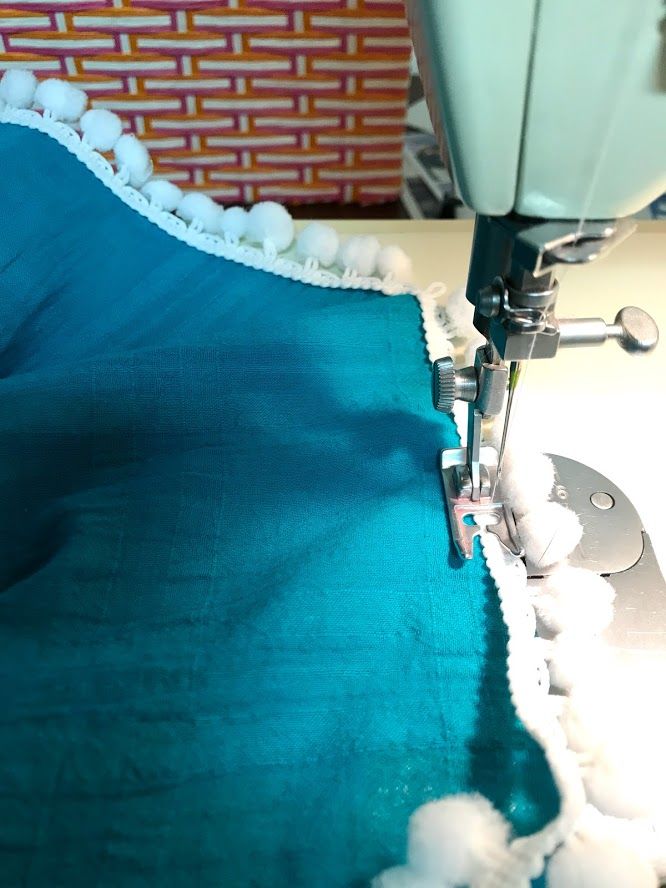
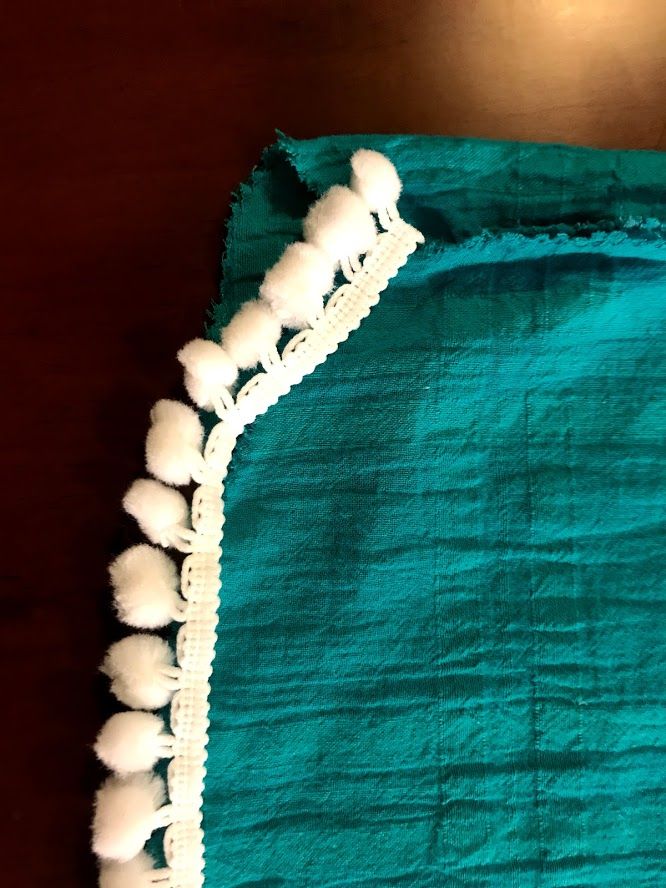
Pretty simple, I just added the double-sided bias tape and sewed it on. As you can see in the last picture, I made some small cuts so I could make the bias tape turn better. All in all, it was fairly easy. Last, I added pompoms to the bottom of the swim cover. I thought they added some pizzazz to the piece. I sewed the pompoms to the inside, and let them dangle below.
I ended up making the four total swim covers, one for each of us. I only have pictures of three of the covers together, though. I'm really happy with how they turned out. I could definitely tell that as I went, they got better and better. I'm really getting used to sewing and what I need to do to get better products each time. It's nice to be able to see that growth as I go!

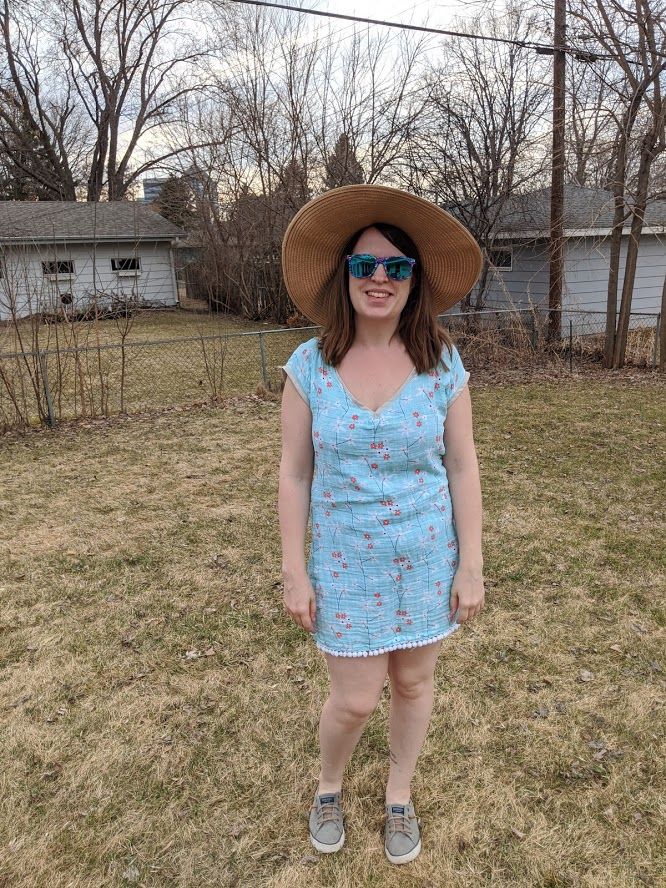
I'm honestly pretty disappointed that we had to cancel our trip, but glad we were able to do so. I don't want to risk myself or my family getting sick, let alone getting anyone else in the US or Mexico sick due to my wanting to have a little vacation. I'm enjoying my time at home with my husband and kids, and that's enough for me. Here's the outfit I would have lived in if we had gone to Cancun! I'm sure we'll go someday, but I enjoyed putting it all on during a deceptively warm Minnesota day in March!

Stay inside, and stay safe!