Disclosure: Some links on this page below are affiliate links, meaning, at no additional cost to you, we will earn a commission if you click through and purchase. Read our disclosure for more info.
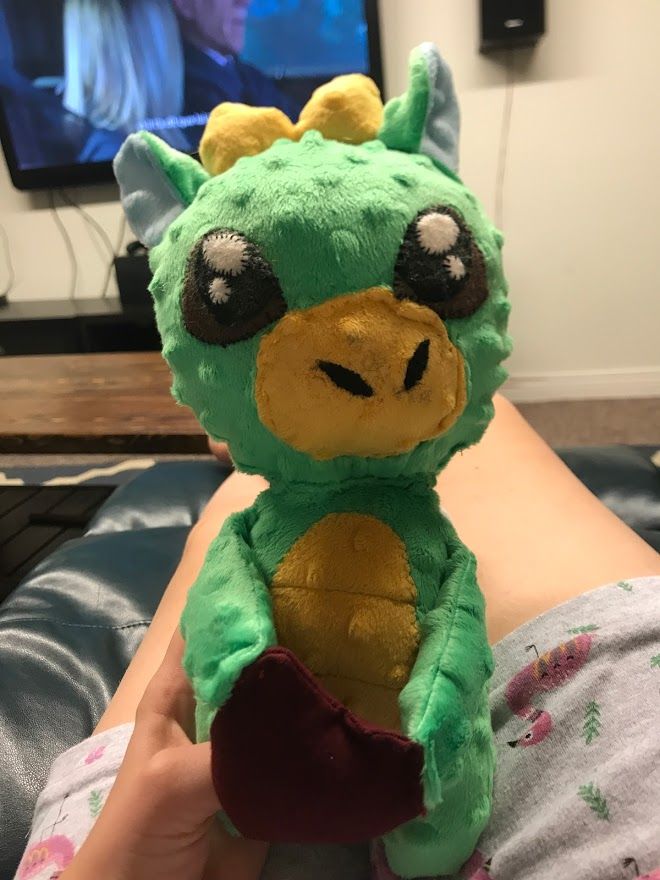
For Rami this year, I knew I wanted to make a stuffed animal. He has always been a sweet, cuddly boy who loves his animals, and over the summer, he always wanted to hear bed time stories about dragons, so why not a stuffed dragon?
I found an adorable pattern from Choly Knight, and got working!
 cholyknight
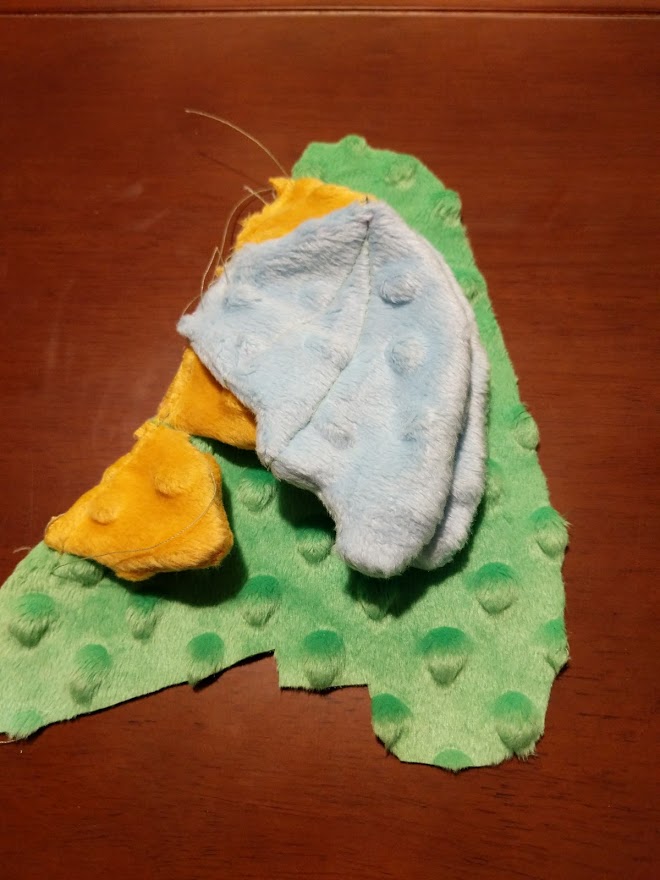
I purchased some dimpled minky fabric in light blue, dark yellow, and lime green, for the different parts of my dragon. I decided for the middle heart, I would use some left over maroon sweatshirt fabric from my joggers project.

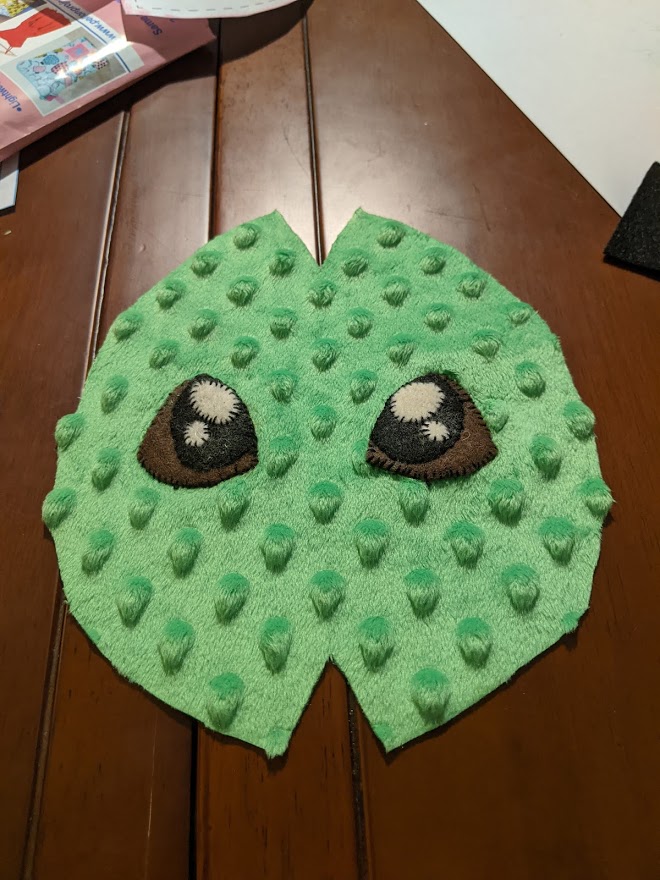
The pattern was fairly easy to understand, so I cut out my pieces and began to assemble. By far the hardest part was figuring out the eyes. I had never used fusible web, and actually purchased the wrong thing when I went to Joann Fabrics. Oops. I ended up just hand-sewing the eye pieces after pinning them on, and I think they turned out fine.
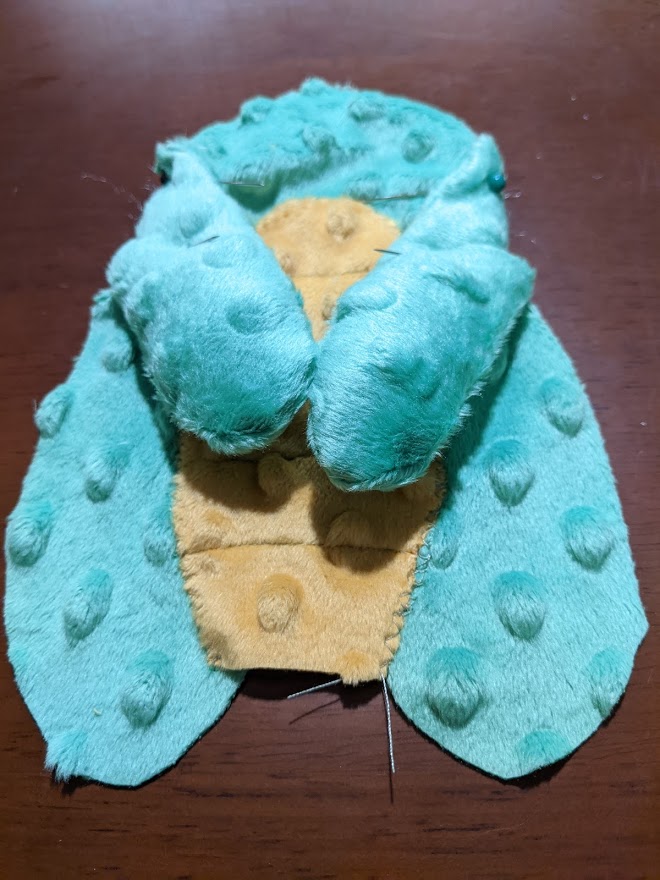
I enjoyed attaching all the pieces together, as though I was going through a checklist of what needed to be added to a dragon. "Okay, body, head...uh, eyes, wings, oops arms and legs, tail? Got it." I was very nervous about how it might turn out, as I've never really made a detailed plushie like this before.
I have made knit animals in the past, which I usually manage to overstuff. I made a friend a knit squirrel once, which was so cute, except I had overstuffed its arms so it looked like it was intensely buff. Working with fabric was much easier, because the filling just wouldn't go in to a point where it would be overstuffed (knitting is stretchier).
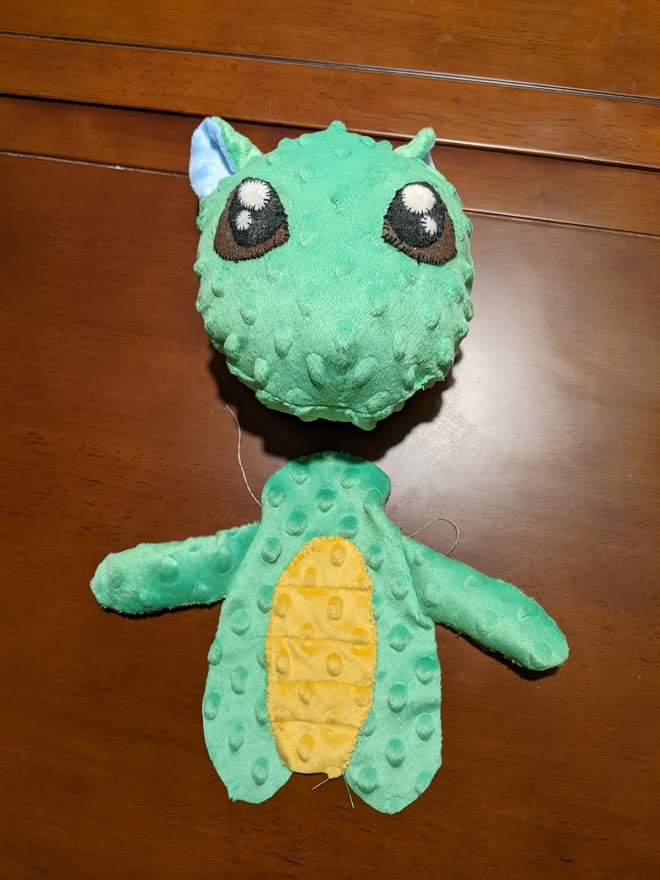
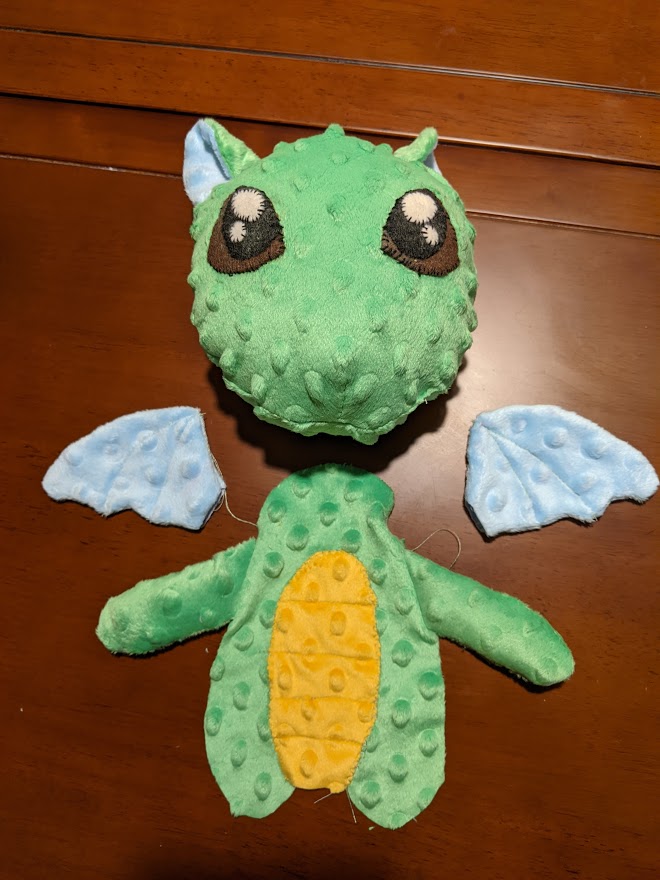
As I added each feature, the dragon started to come together. I'm really excited for what Rami might name him. He has a stuffed cat that he named "Police Car" and a stuffed wolverine that he named "Boy." I knew the hardest part for me would be hand-sewing the head on. Once everything is stuffed, it's just hard to maneuver to get everything on straight. I persevered though, and even though it did turn out somewhat crooked, I think it mostly works.


Be sure to follow us on Instagram for progress pictures, live streams of our projects, and to connect with us!