Disclosure: Some links on this page below are affiliate links, meaning, at no additional cost to you, we will earn a commission if you click through and purchase. Read our disclosure for more info.
In the first post I shared the design plan I put together for Cassie's new sewing room. In this post, I'll cover what we did for roughing in electrical as it was my first time doing anything related to wiring and installing switches! It was also my first time pulling permits 😱
For the rest of the series, check out the Craft Room Series page:
 May we suggest an author? Cassie Kamran
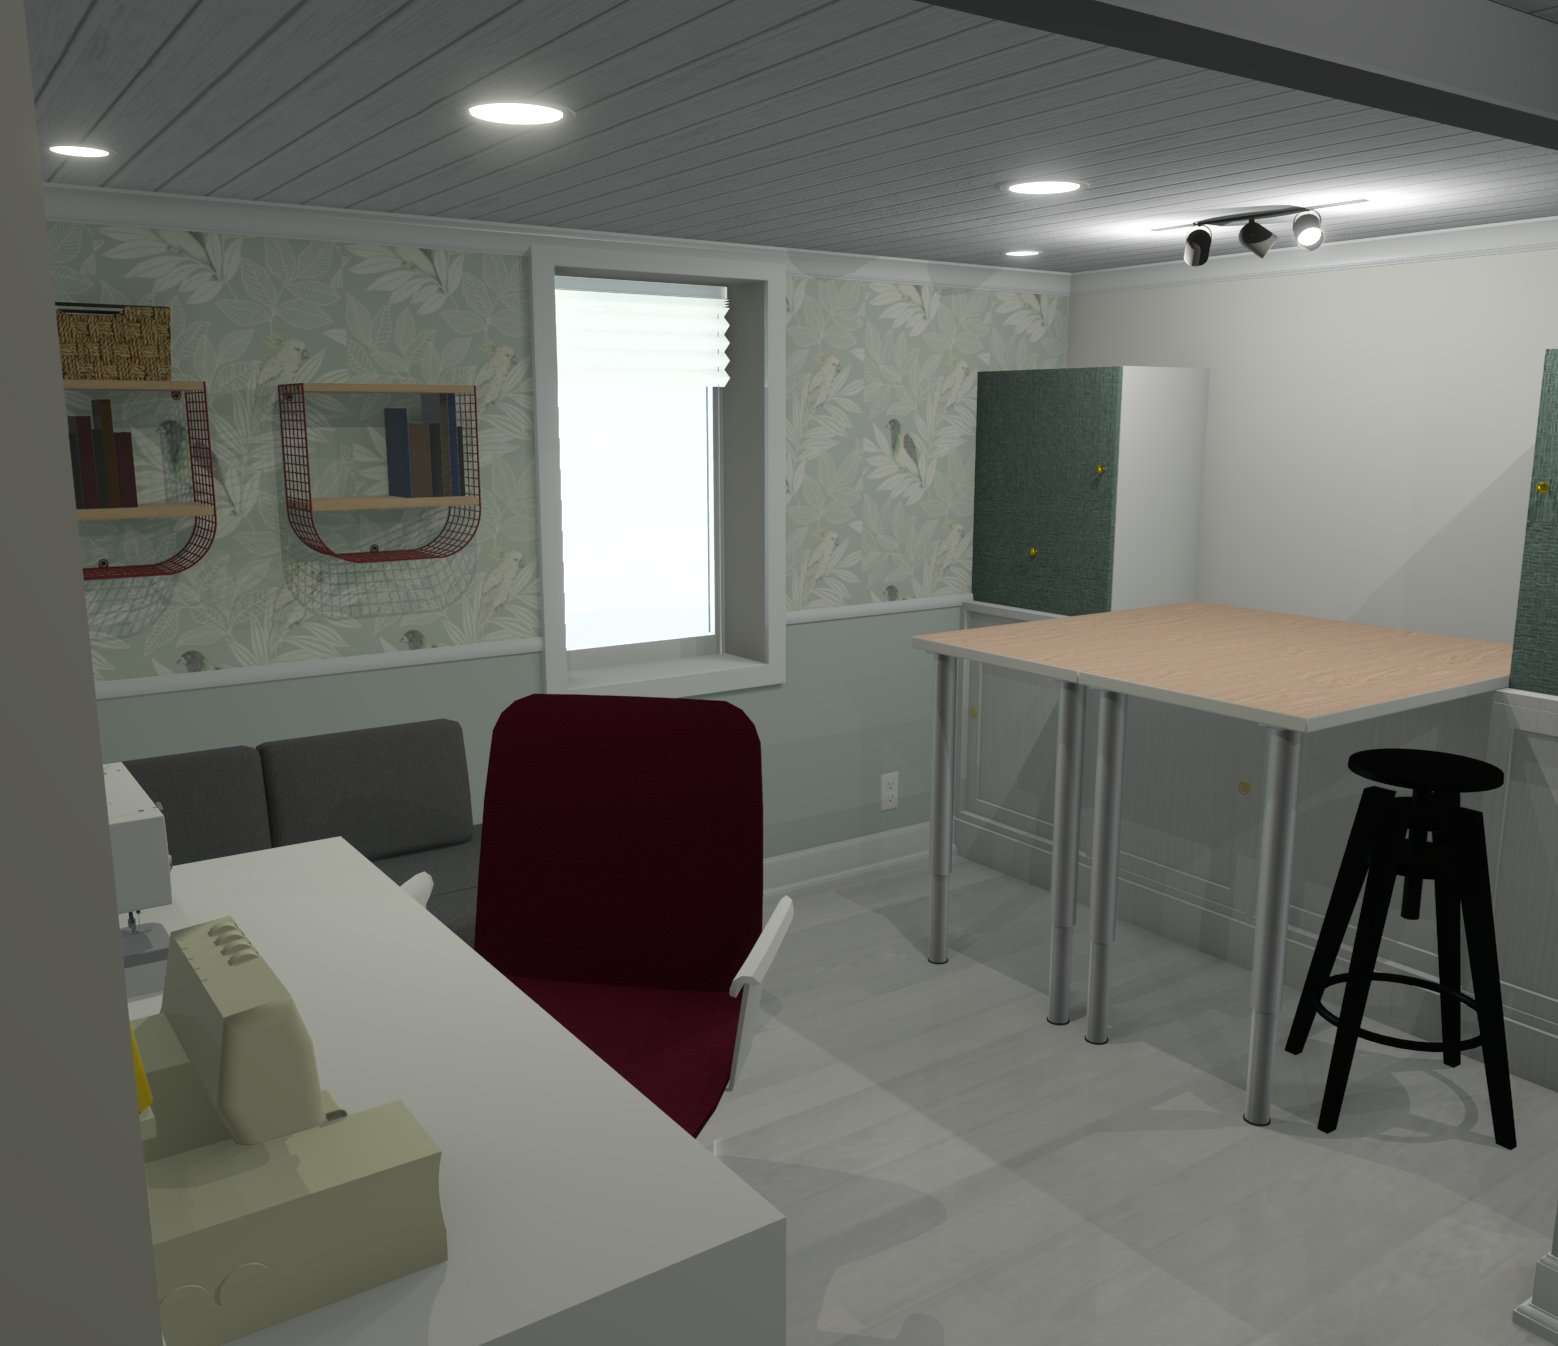
Getting permits isn't scary
On this blog we do things the safe way which means I like to get my work inspected for peace of mind. Getting your work done with permits ensures you don't run into future headaches when you sell your house.
Renovated your bathroom? A future buyer can tell and will see you didn't pull permits. Maybe that's $5-10k less on the sale. A fire was caused by some DIY wiring? Insurance doesn't cover it if you didn't get a permit. That could be a mistake worth multiple zeroes. Pay the fee and get it inspected, people.
I knew that by touching electrical (and the ceiling) I'd need some permits. It was my first time through the process and here were the rough steps:
- Email my inspection office, tell them what I had planned, attach a PDF of the blueprint from the software
- They told me to request a Building Permit and an Electrical Permit (two permits)
- I went to my city's permit portal and made an account
- I filled in the details for each request, they require uploading a plan so I exported the right diagrams to PDF from my design software including an electrical wiring plan
- I got my permits approved in a day or two
- They mailed me a notice I have to keep posted for the inspectors to sign
I submitted the request over the weekend and got them approved Monday. The turnaround was faster than I expected but they probably get a ton from the pros.
Change of plans?
I actually changed the plan as you'll see below. They didn't really care. I think normally for big changes you have to upload the new plan and notify them.
I've mentioned this before but I really like our inspection office – they've always been helpful and nice as a homeowner! When they came in person later to inspect everything they were also very nice and explained what they were looking for.
I'd recommend reaching out to your inspectors, you shouldn't be scared of this process. It was less than $100 to pull the permits. You can have an architect draft up plans but if you're enterprising, you can provide your own like I did. If this was for a major reno (like maybe a future kitchen reno 😏) I'd definitely run my plans through an architect!
If you read about inspections in other places of the Internet it seems like it's a huge scary deal or a huge pain. It really isn't. I had one piece of feedback to fix and it actually was related to the stair storage project and I already knew I had to do it (it was to cover the underside of the stairs with drywall for fireblocking).
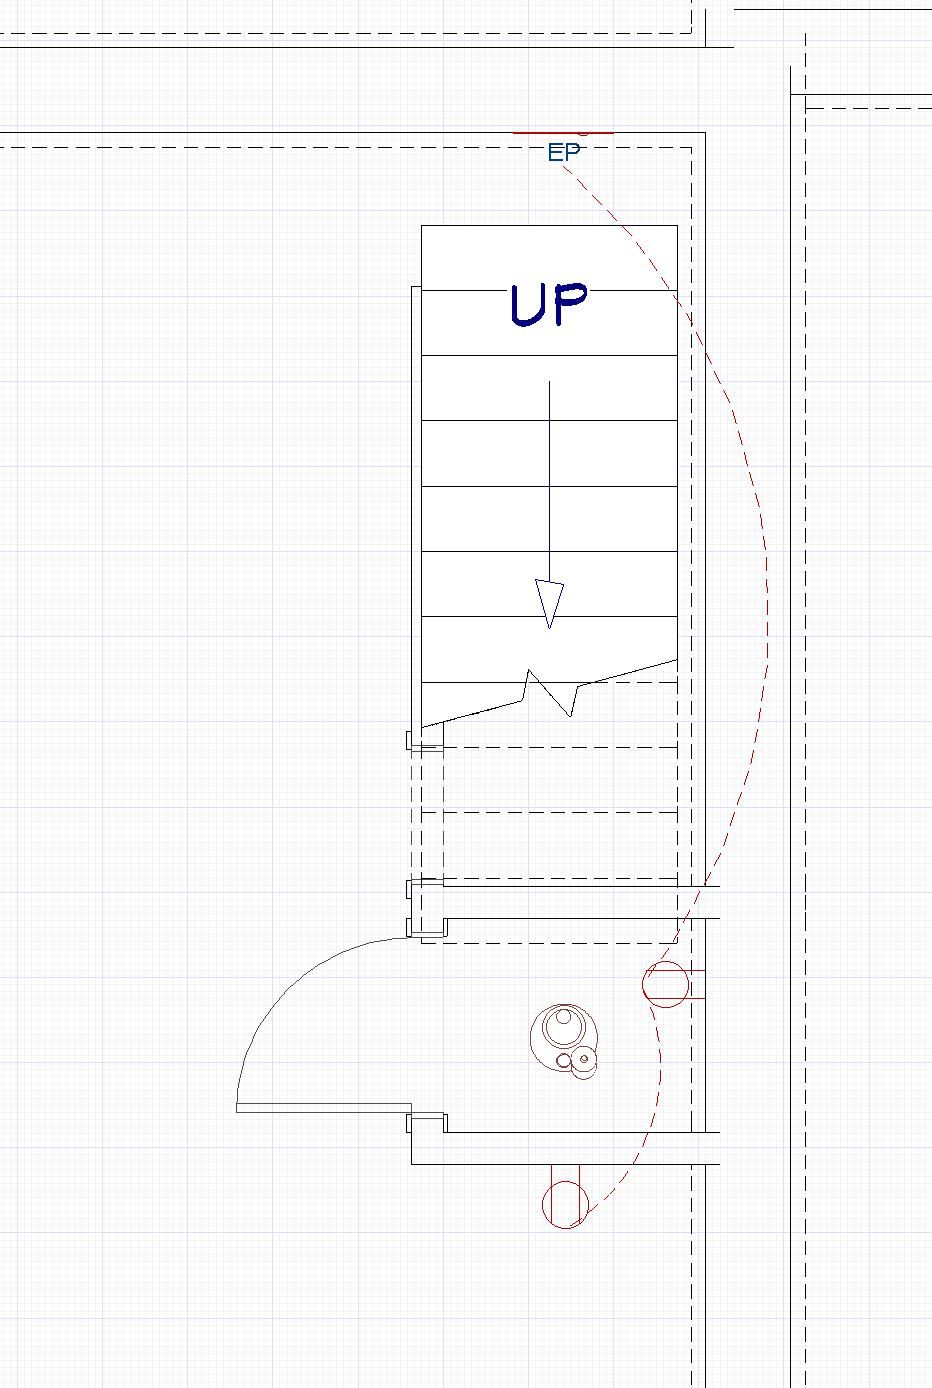
Removing the floor and ceiling
Once I got my permits I could start to work!
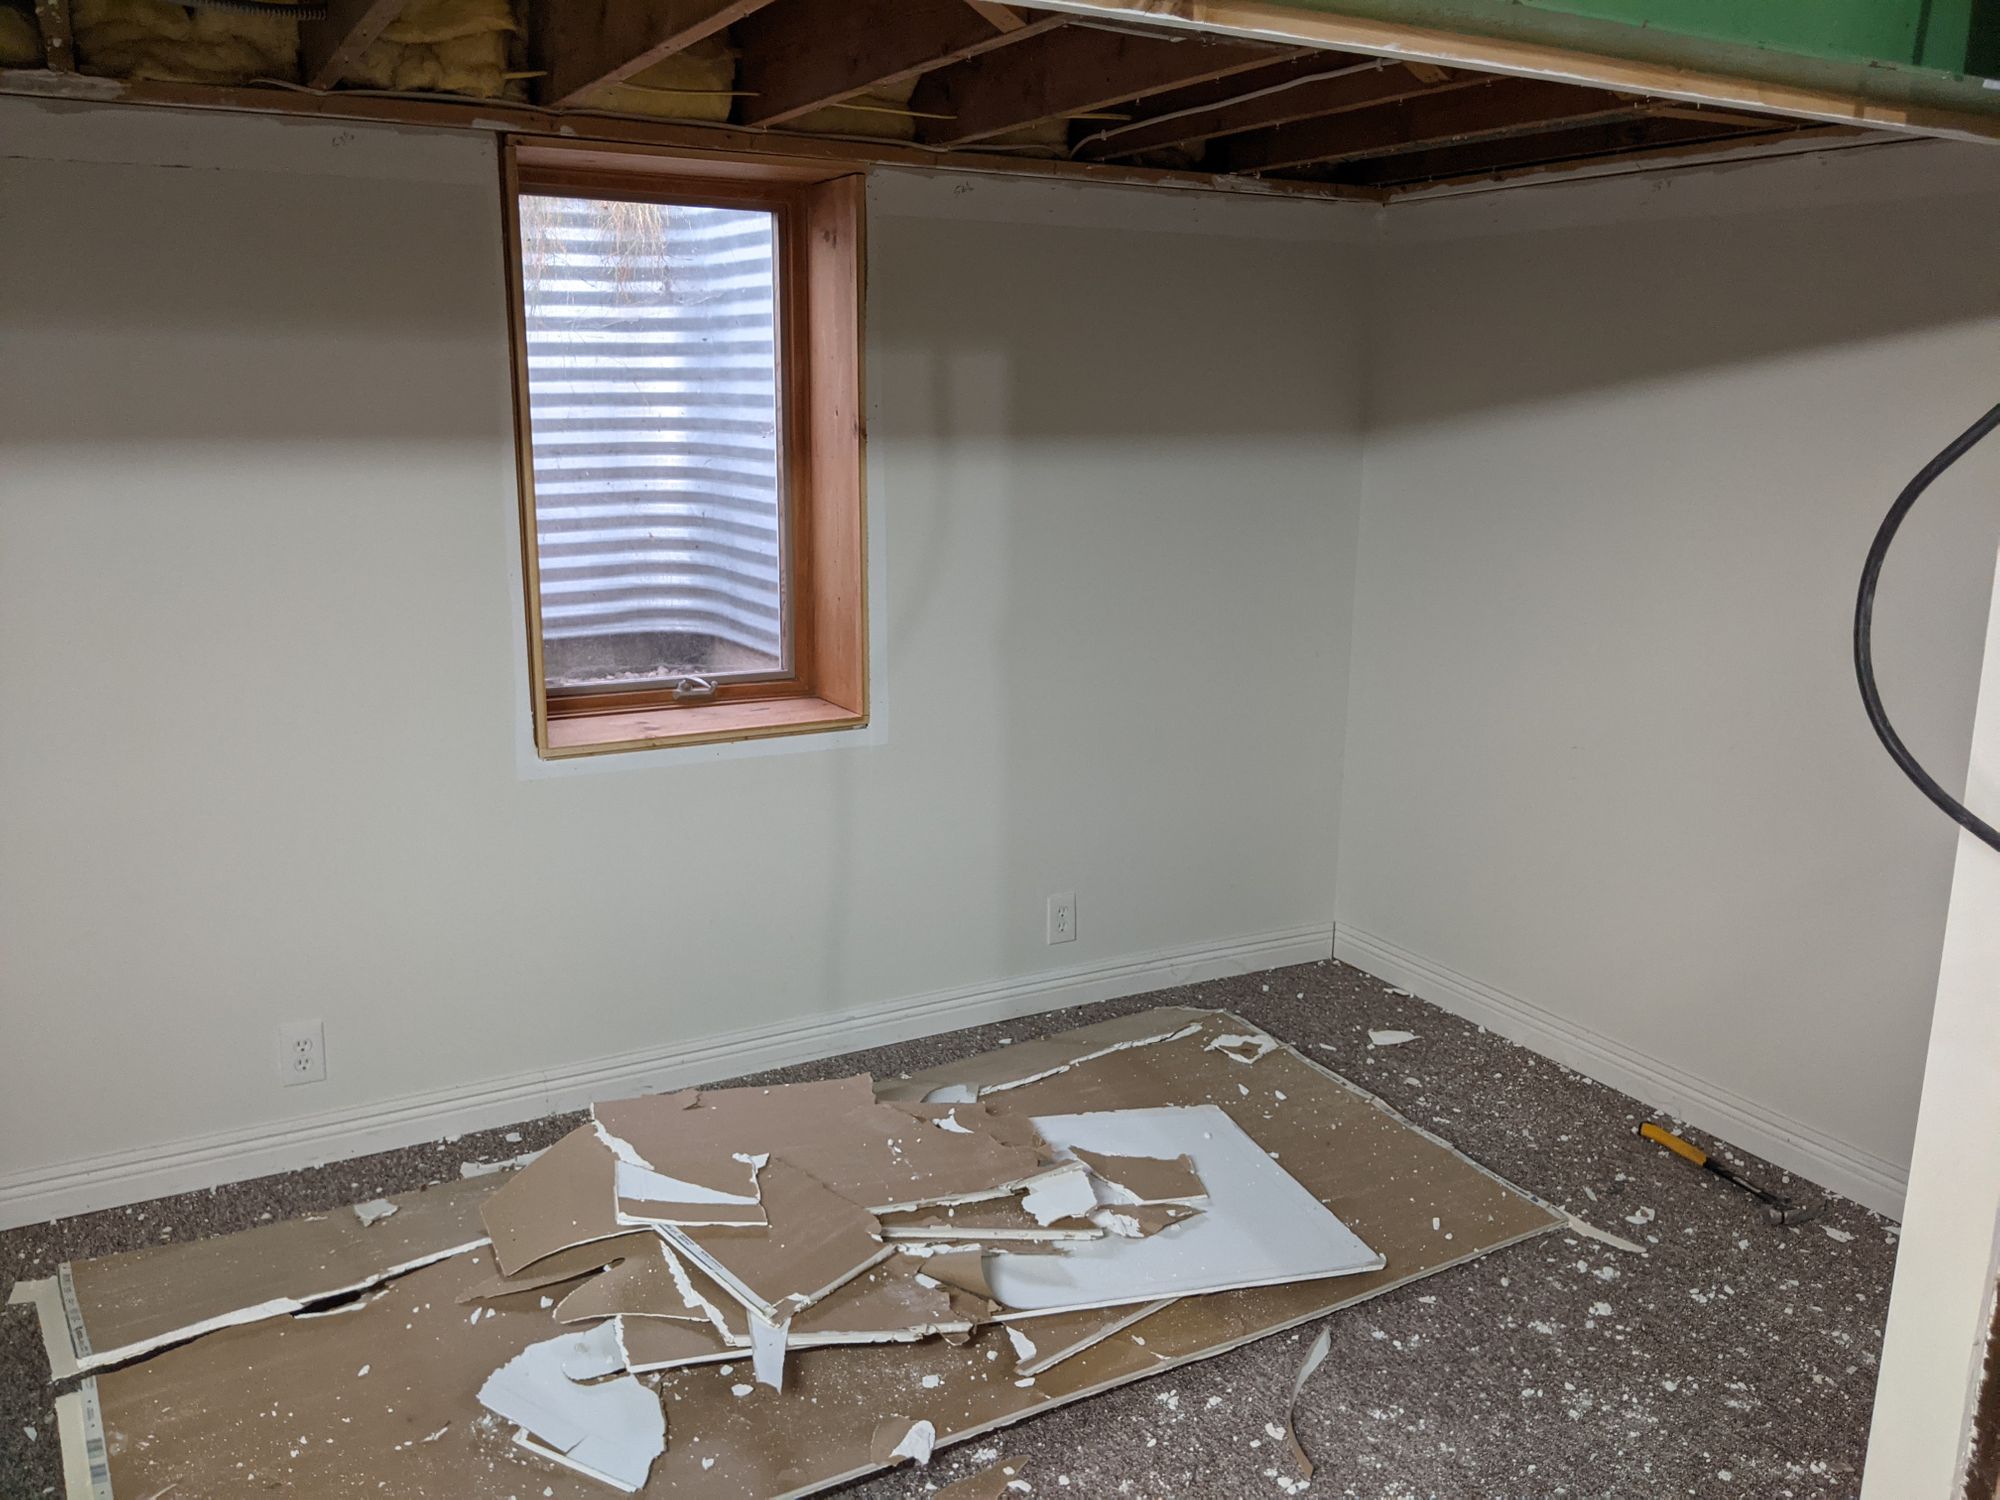
Unlike the stair storage series, I was not doing an entire rebuild of this room. Instead, all I wanted to do was replace the ceiling and floors so to demo I removed all the trim, removed the drywall ceiling, and cut and rolled up the carpet. I also removed the old subfloor which was Tyroc which I intended to replace with DMX.
That was totally a posed photo, thank you very much although Cassie did demo that part. I did all the rest 😂
There was nothing tool-wise I haven't already covered in my stair demo post! Cutting the carpet into strips and rolling it up was easy. I was careful to remove the trim so as not to damage the walls (too much). I intended to prep and fix the walls before painting with Sheetrock 45 like I've done before.
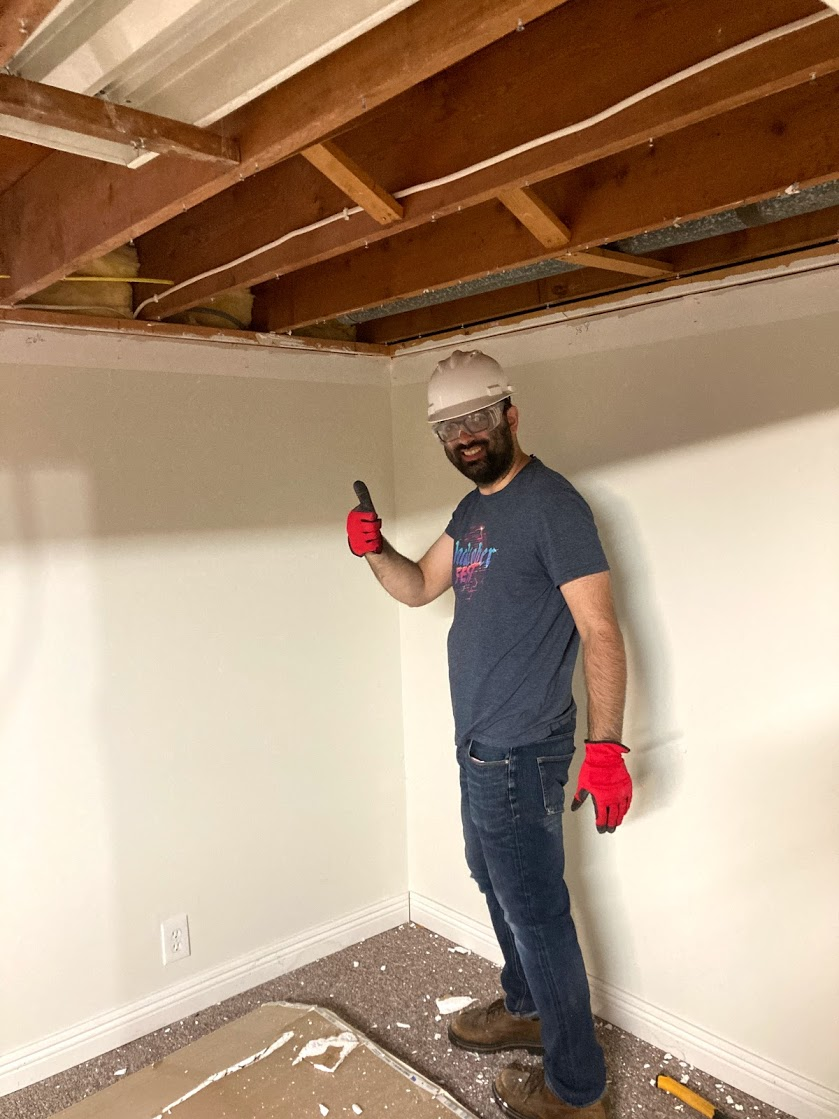
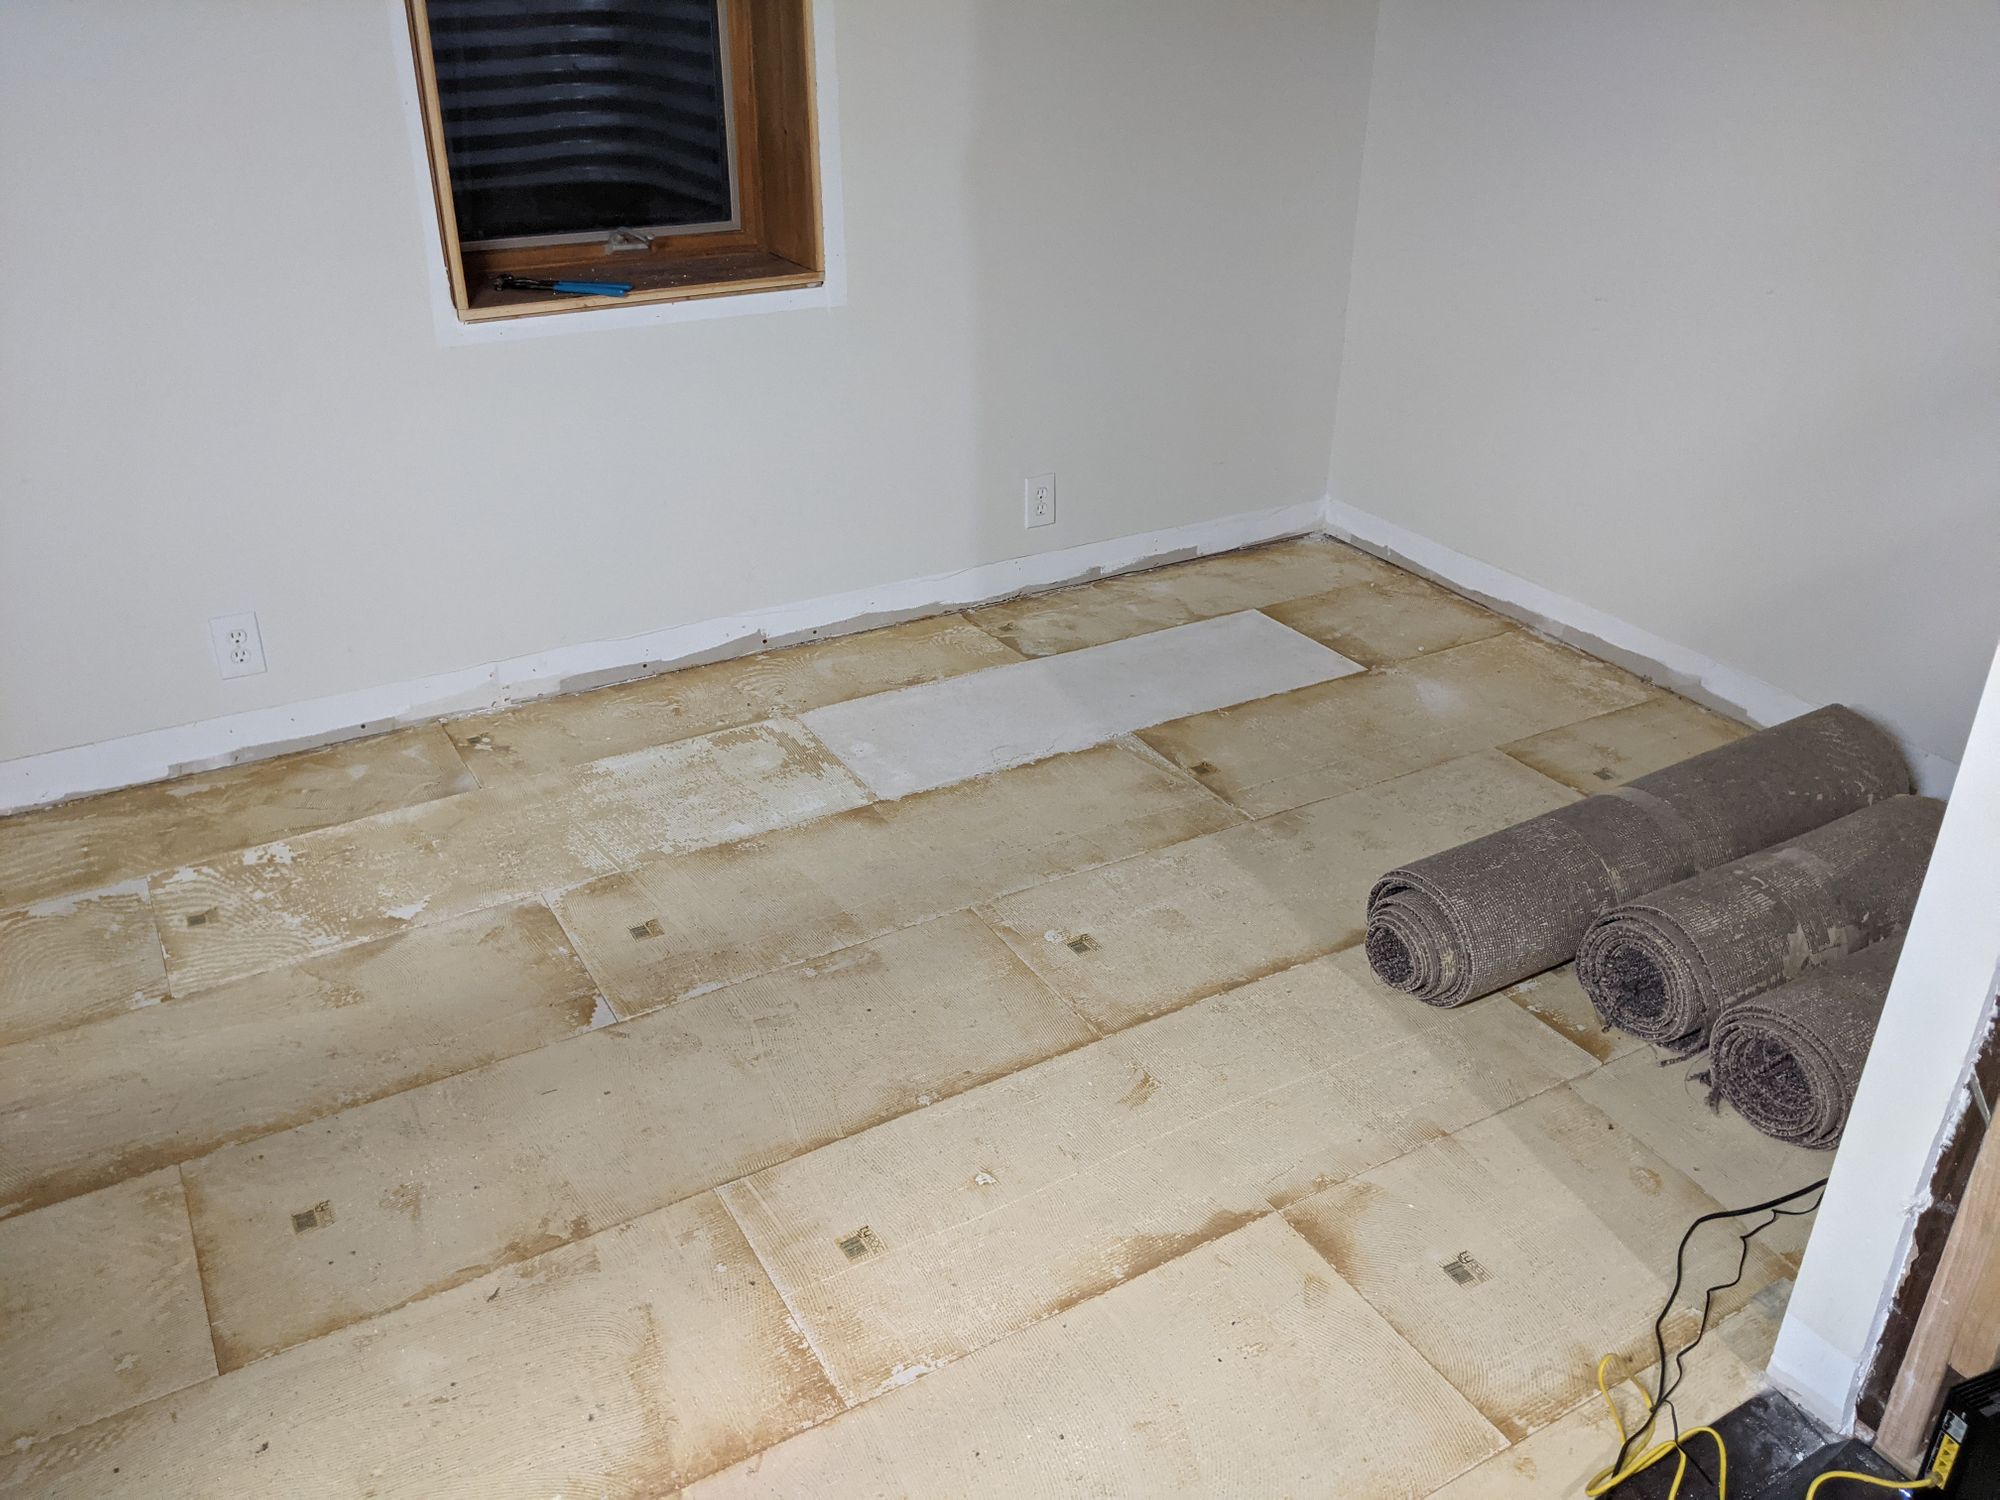

Demo didn't take more than a few hours and I was ready to begin planning how to place and measure all the lights.
Changing the lighting configuration
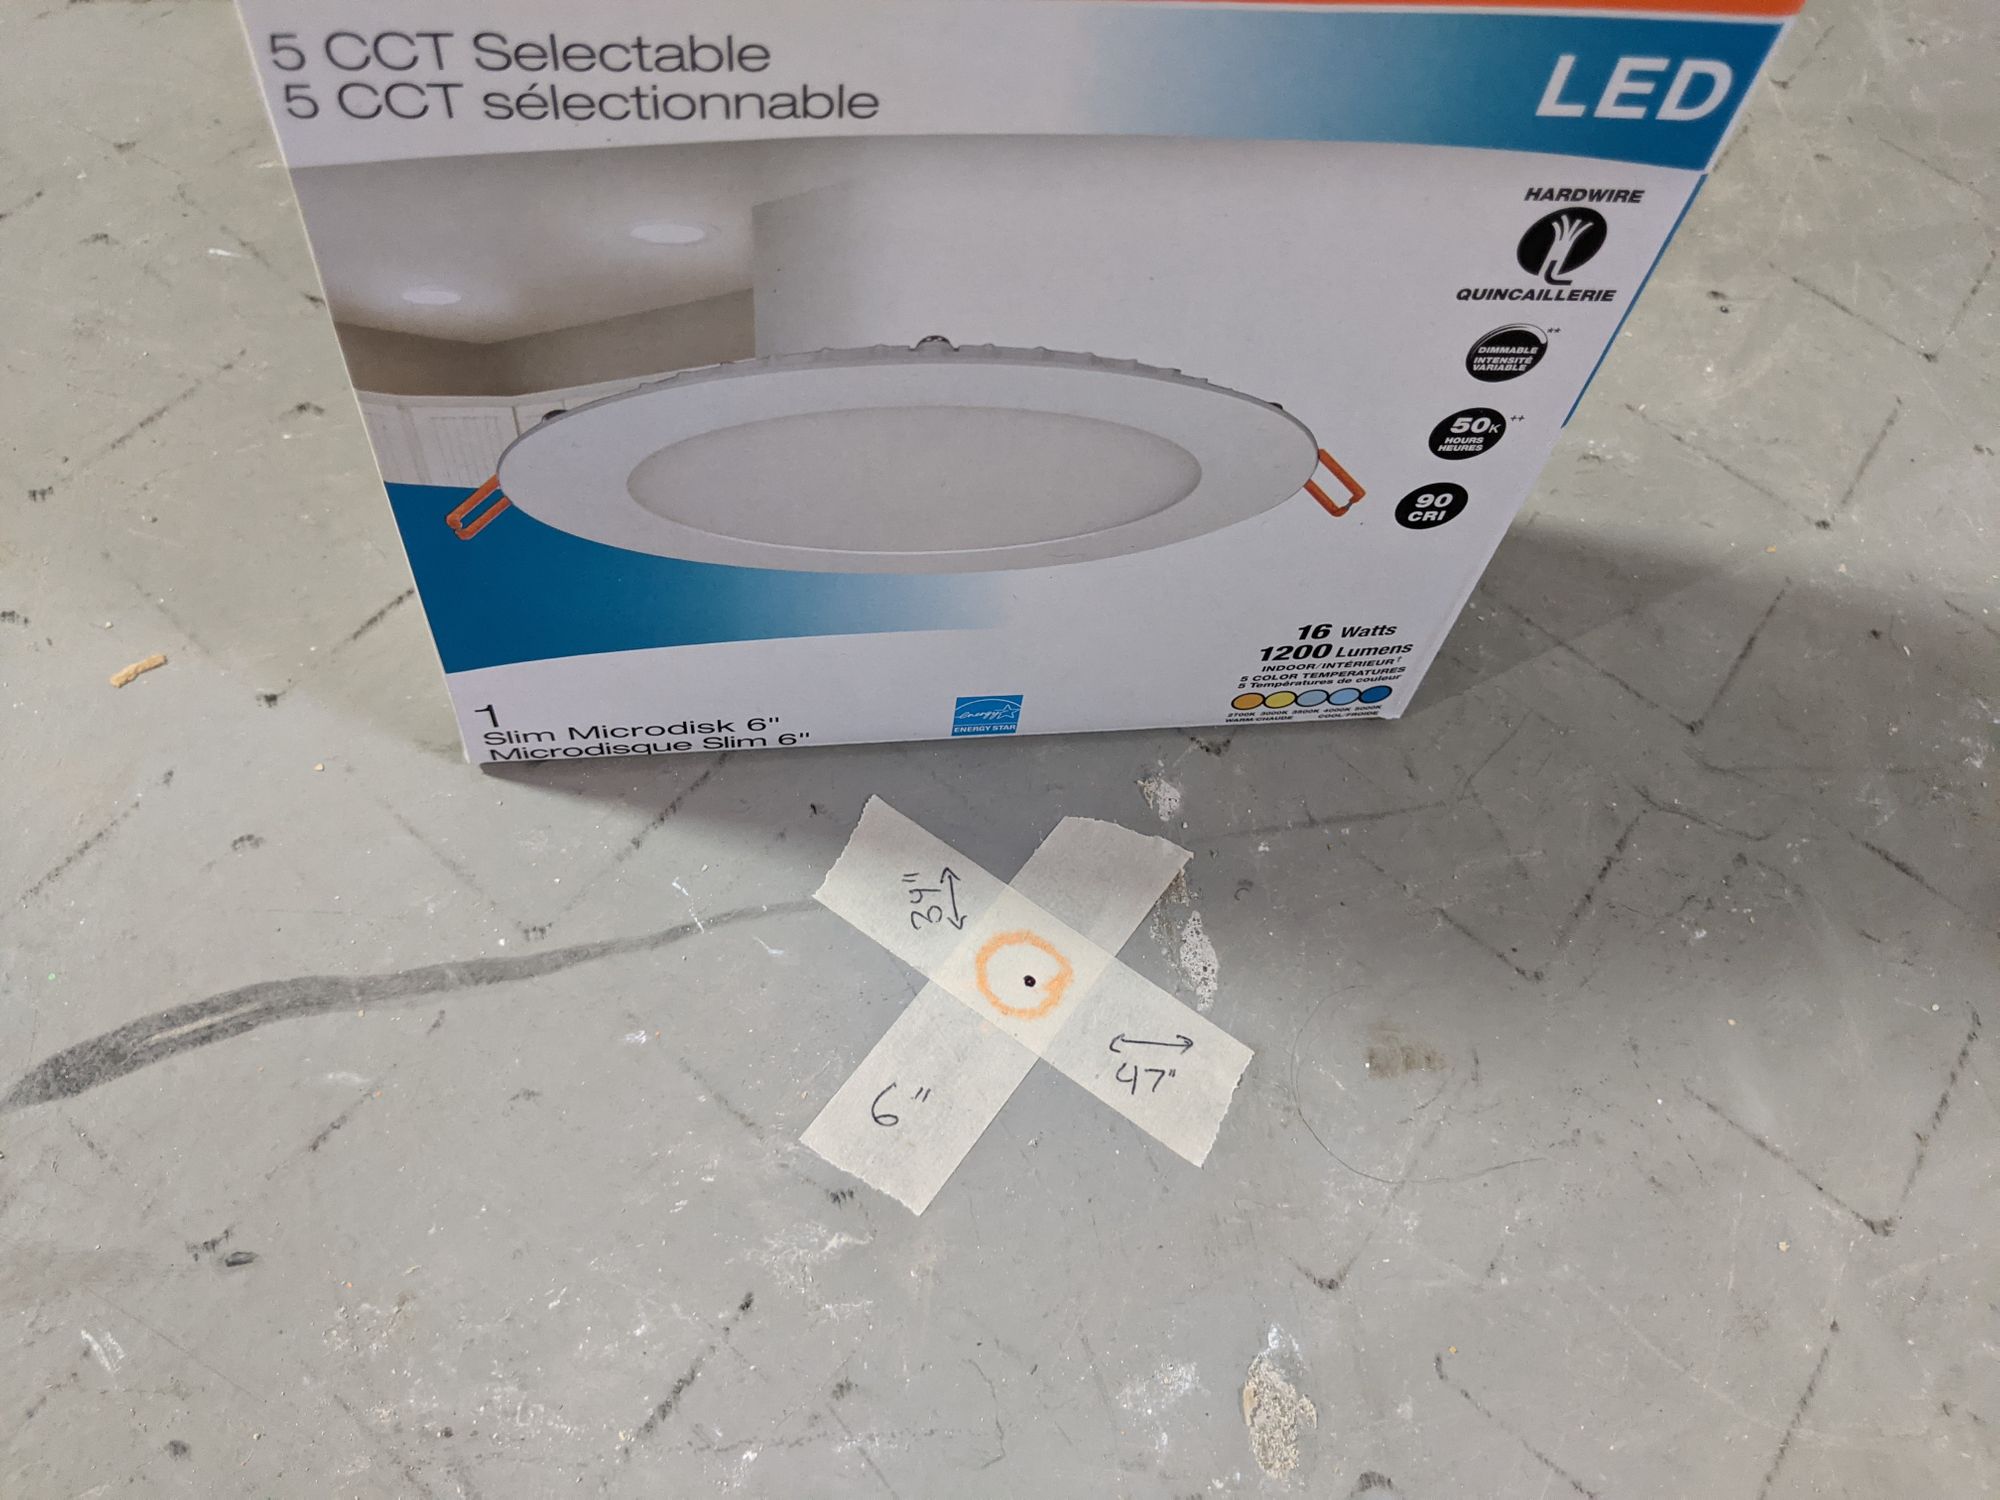
It was at this time I realized that I wanted to change the location of the lights to be 2ft away from the walls instead of only 1ft and that meant I could remove a 6" light. I mentioned this in the last post and seeing them laid out physically on the floor was what convinced me it would be a good idea (spoiler: it was!).
Picking the lights
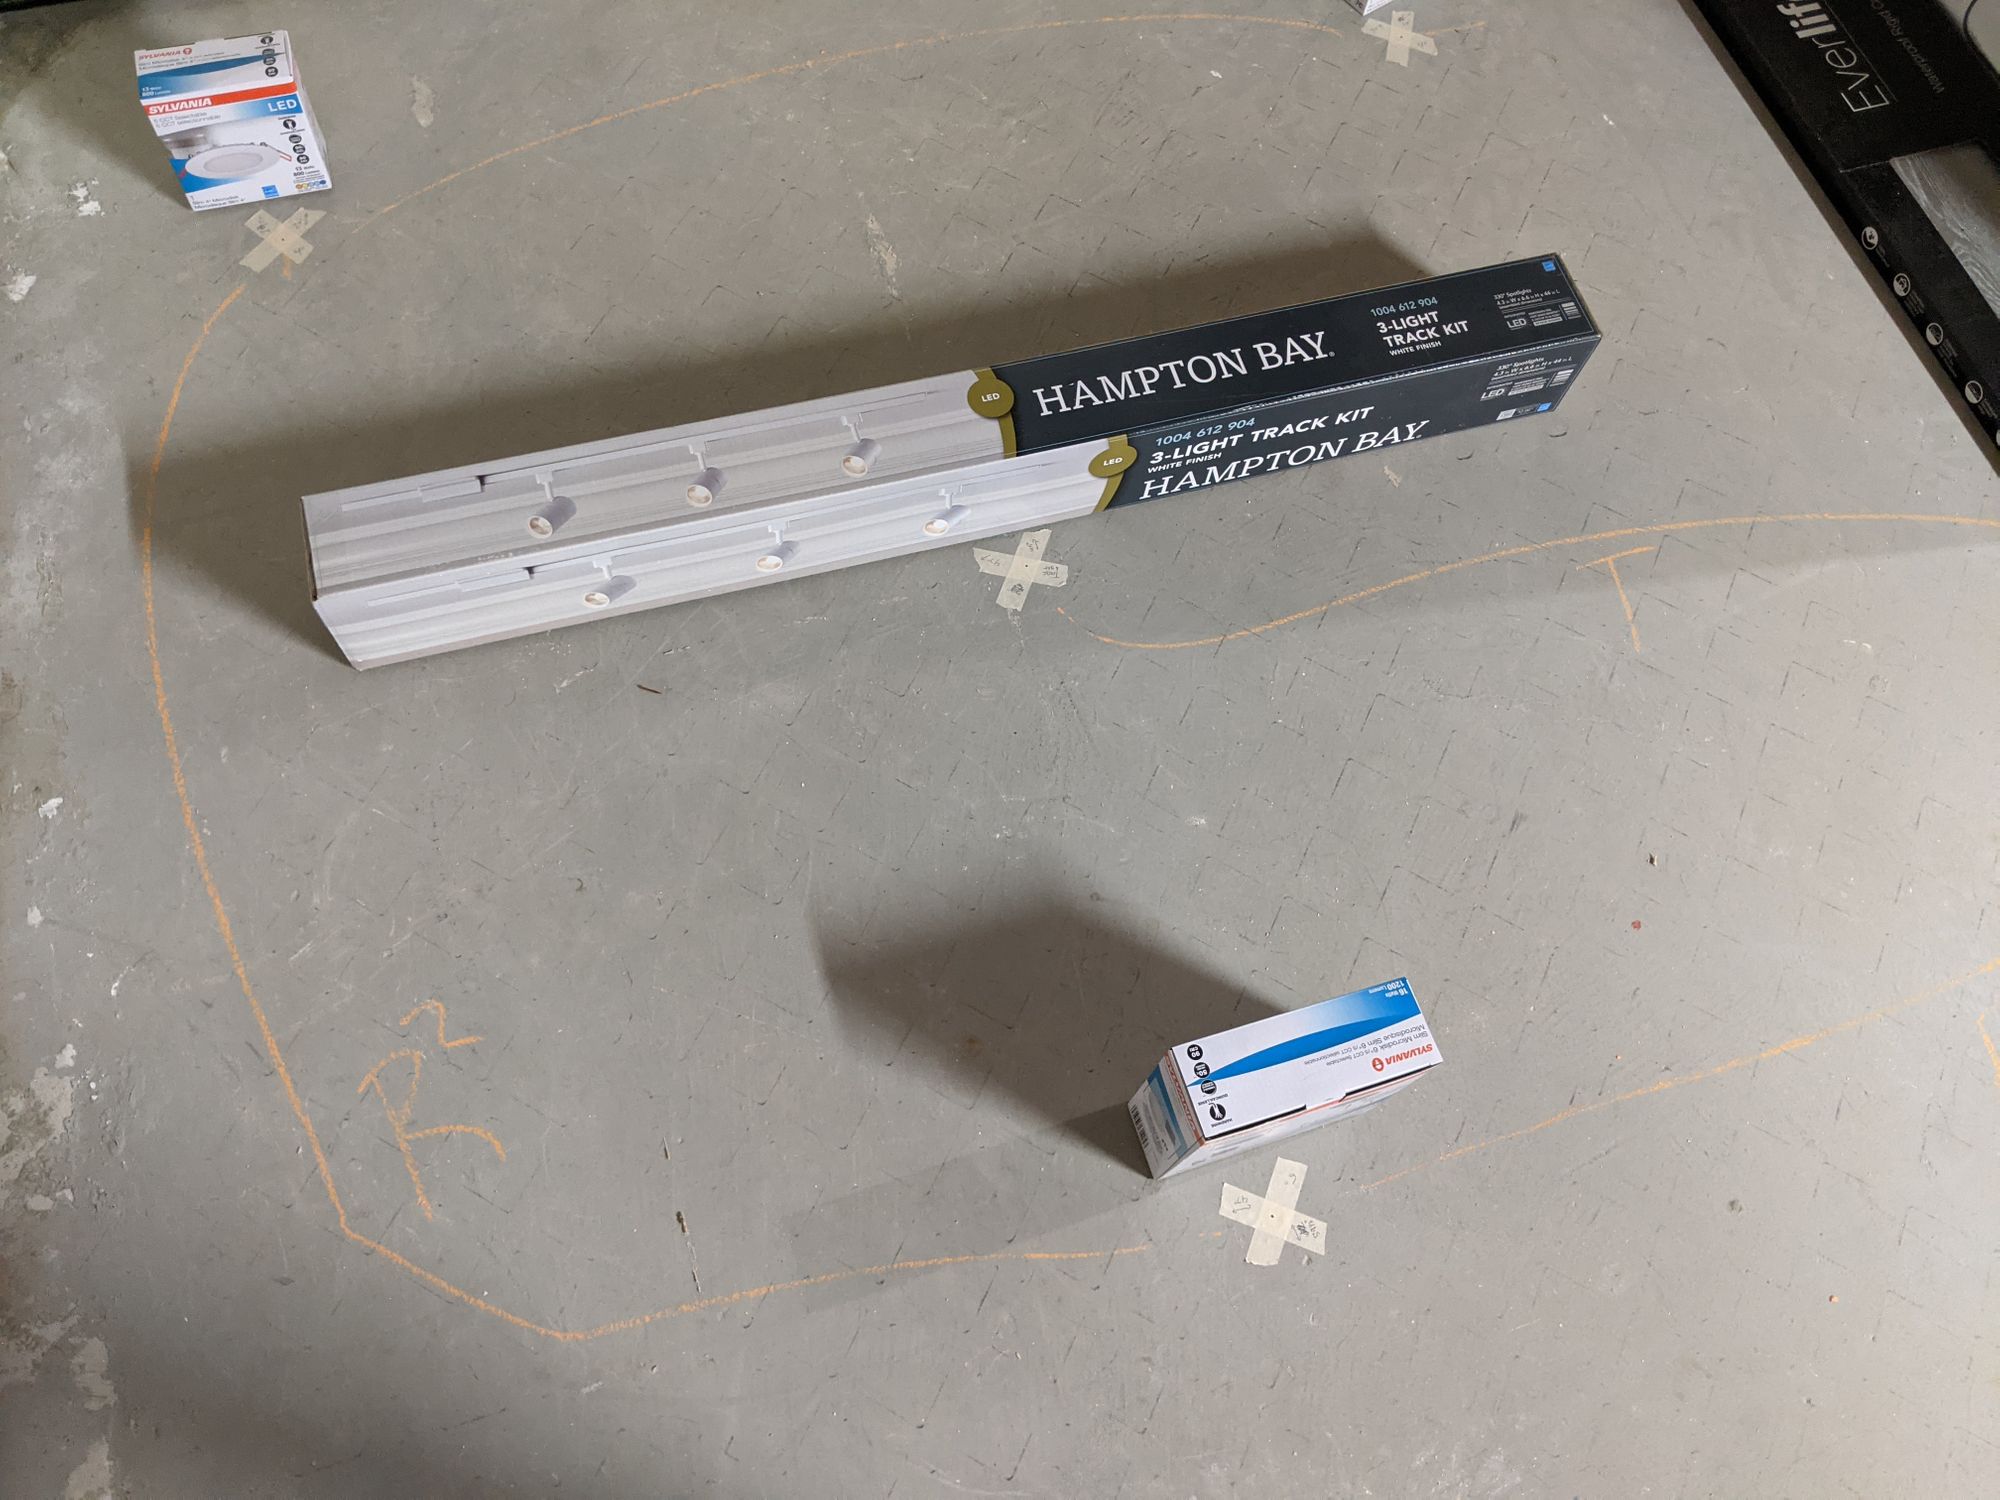
As part of the design plan I had already chosen that I wanted recessed lights and a track light. But which ones exactly?
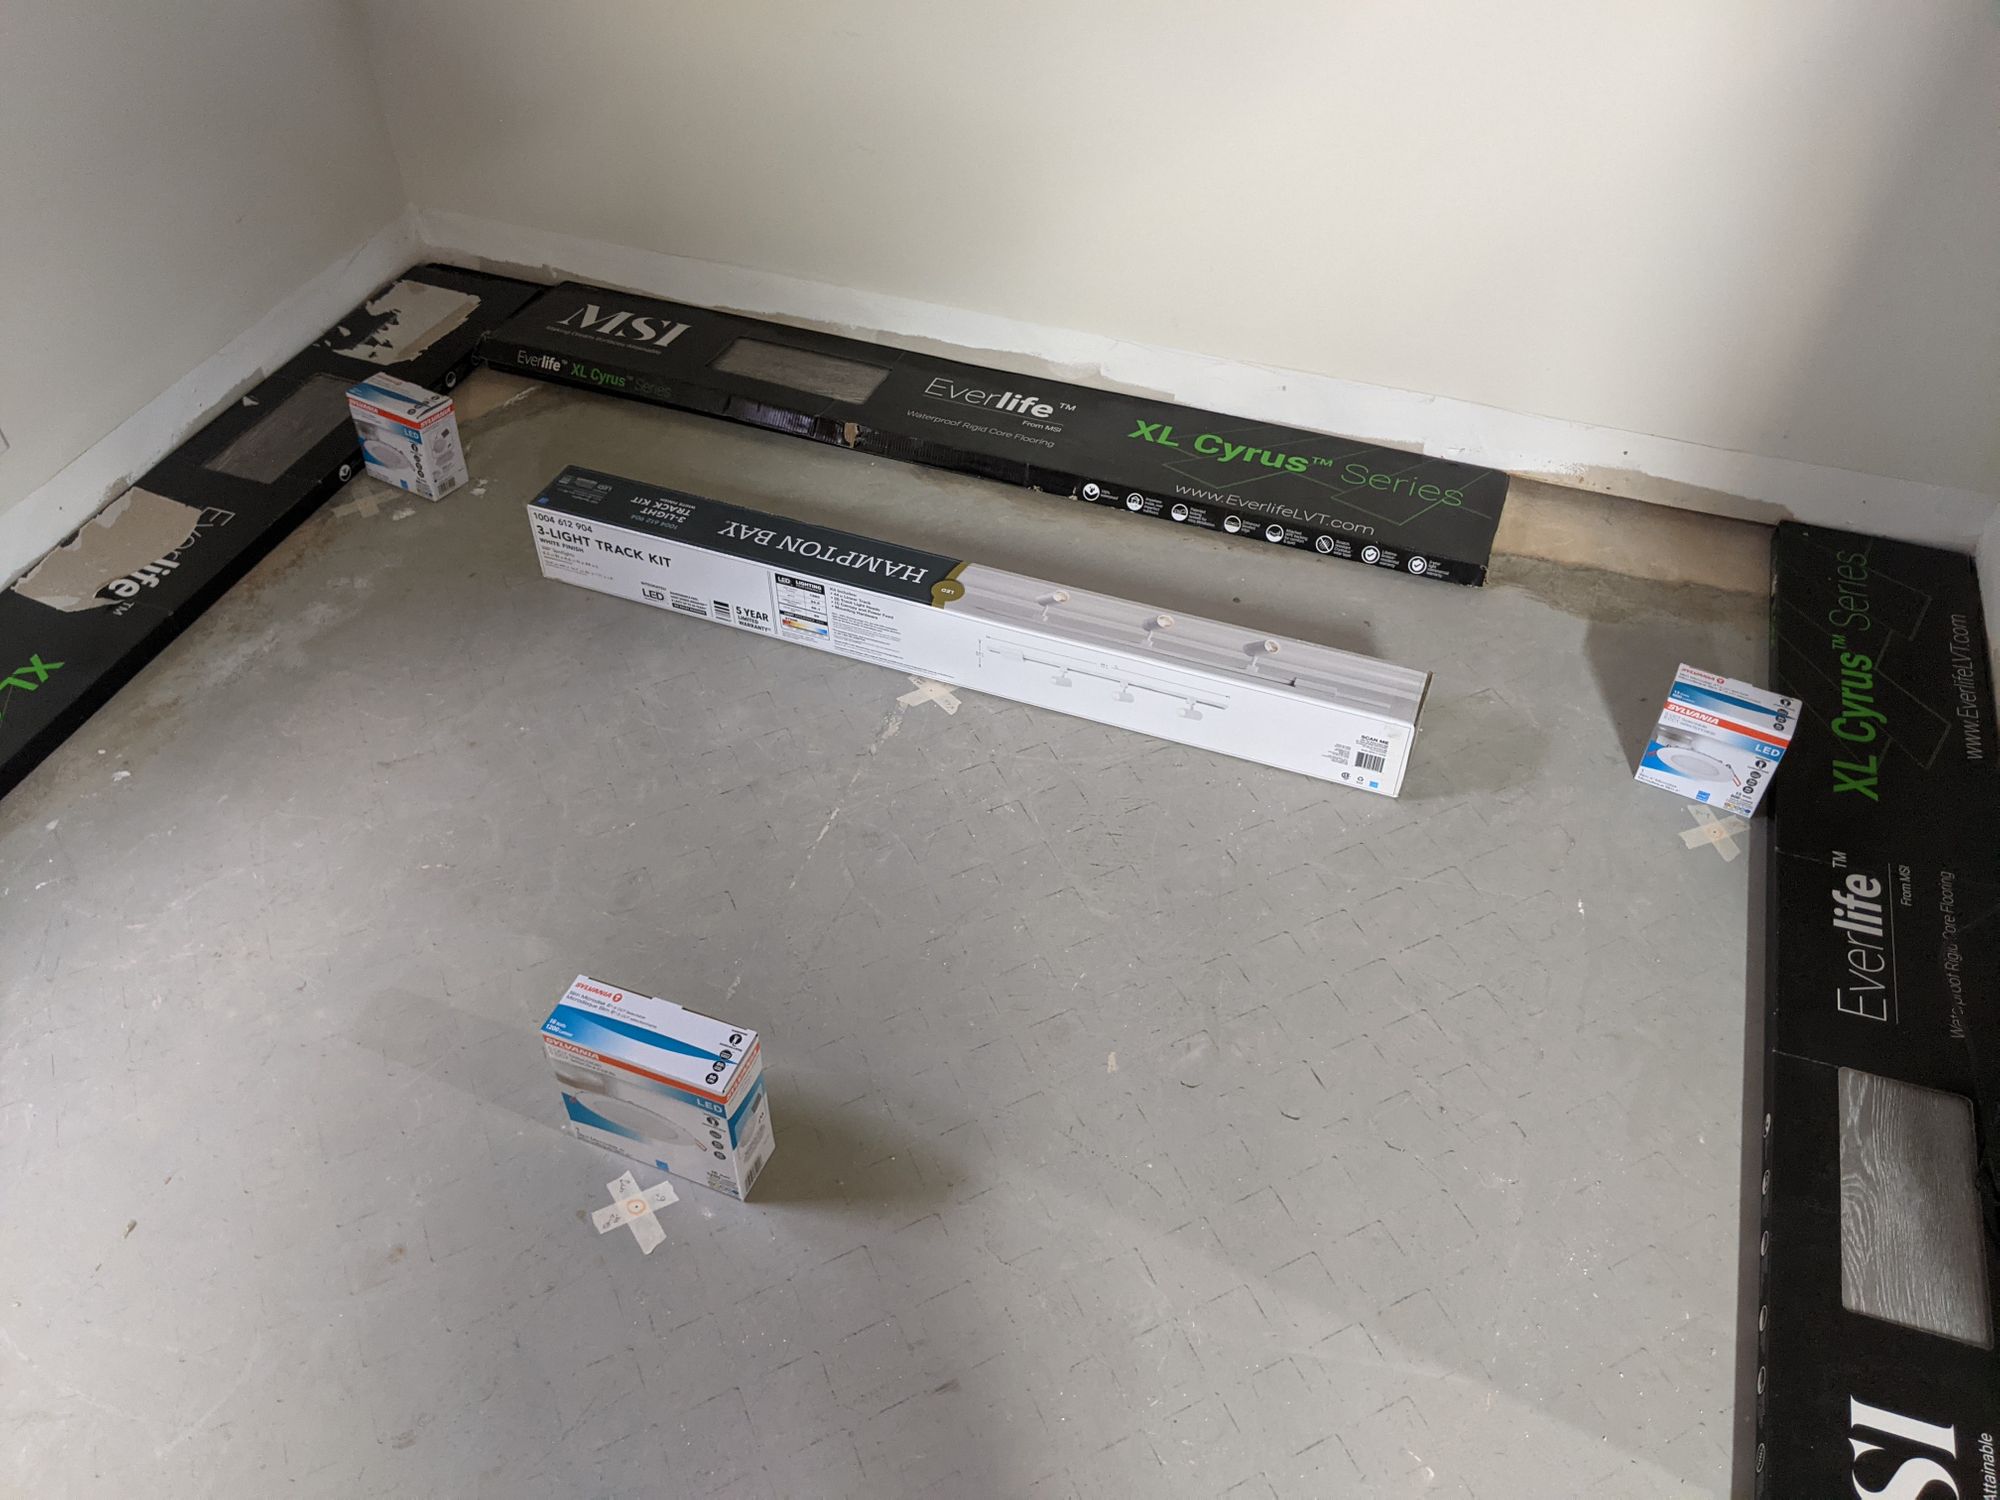
I ordered some Sylvania thin LED lights (4" and 6") from a local electric supply store, Viking Electric. Price-wise, it was slightly less than big box. To be honest, the lights at Home Depot seemed fine too 🤷♂️ But I wanted to see what it was like and they sell to homeowners if you walk in.
I chose the thin "wafer" lights because... well, Jeff said they were awesome:
Unfortunately his affiliate was all out of the lights I wanted so I bought them locally. Sylvania doesn't sell the "gymbal" (rotating) lights unfortunately which I kind of wanted. Oh well!
For the track light, a walk down the aisle at Home Depot led me to buy these Hampton Bay ones which I thought fit the aesthetic and were small (mini cans).
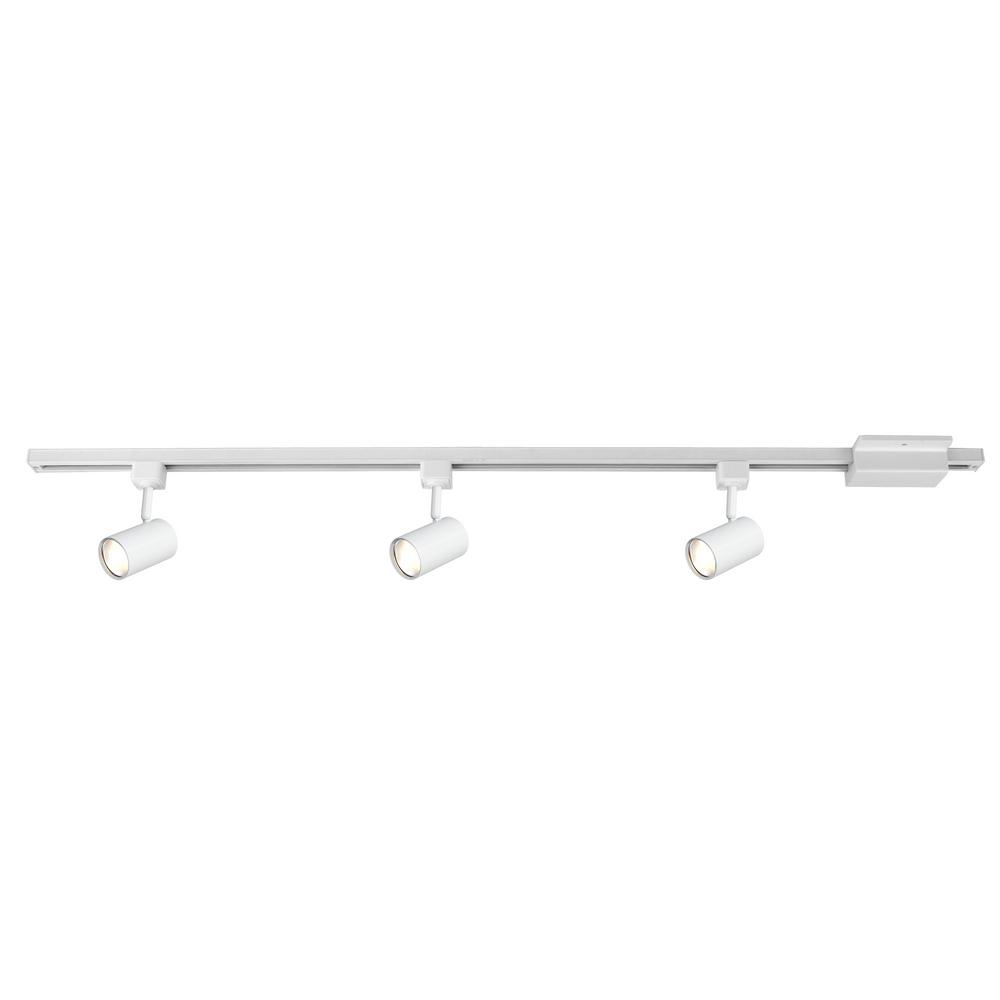
For my design, the power feed/mounting plate would be centered and I'll probably buy a fourth light (or remove a light for symmetry). The track can be cut to measure depending on my needs as well.
Measuring and marking the fixtures
In my plan in the software I had rough measurements for where everything went. I knew I wanted the 4" lights two feet away from the walls so I did those first. Using my laser level, I marked on the floor using masking tape where exactly the center of the lights would go on the ceiling. The laser level was invaluable here because I could guarantee I'd be lining up the lights straight with walls and together exactly.
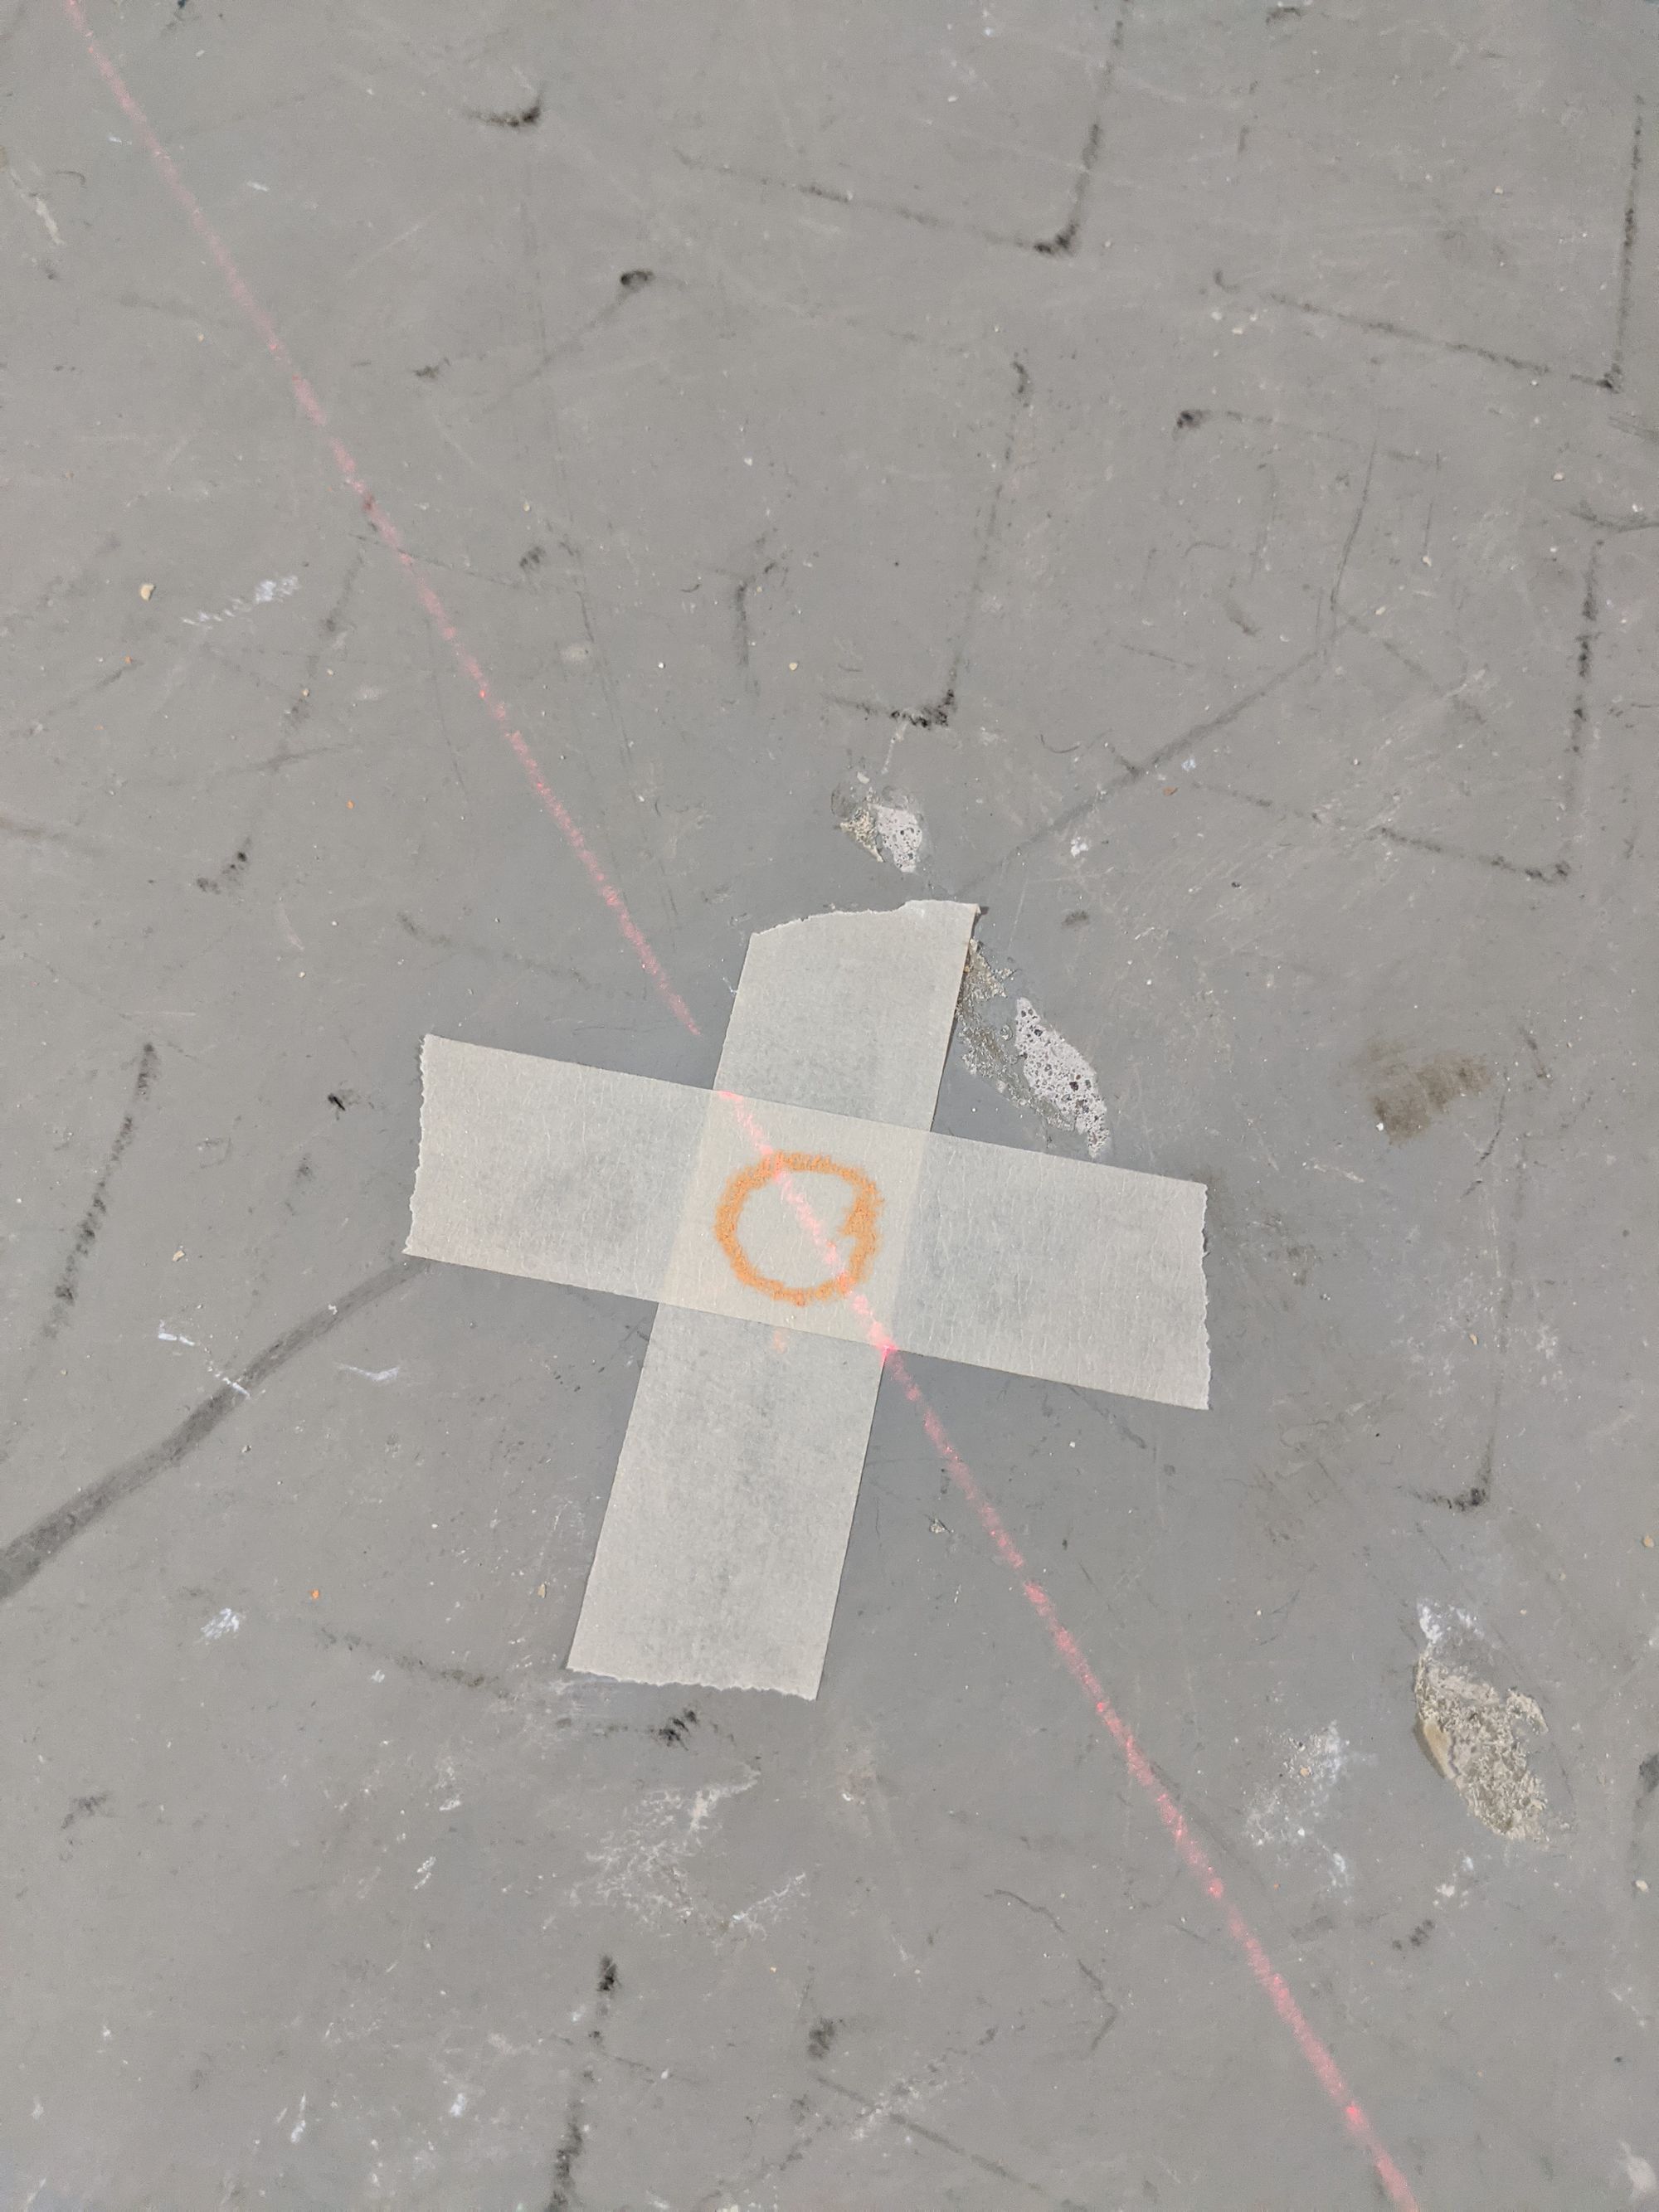
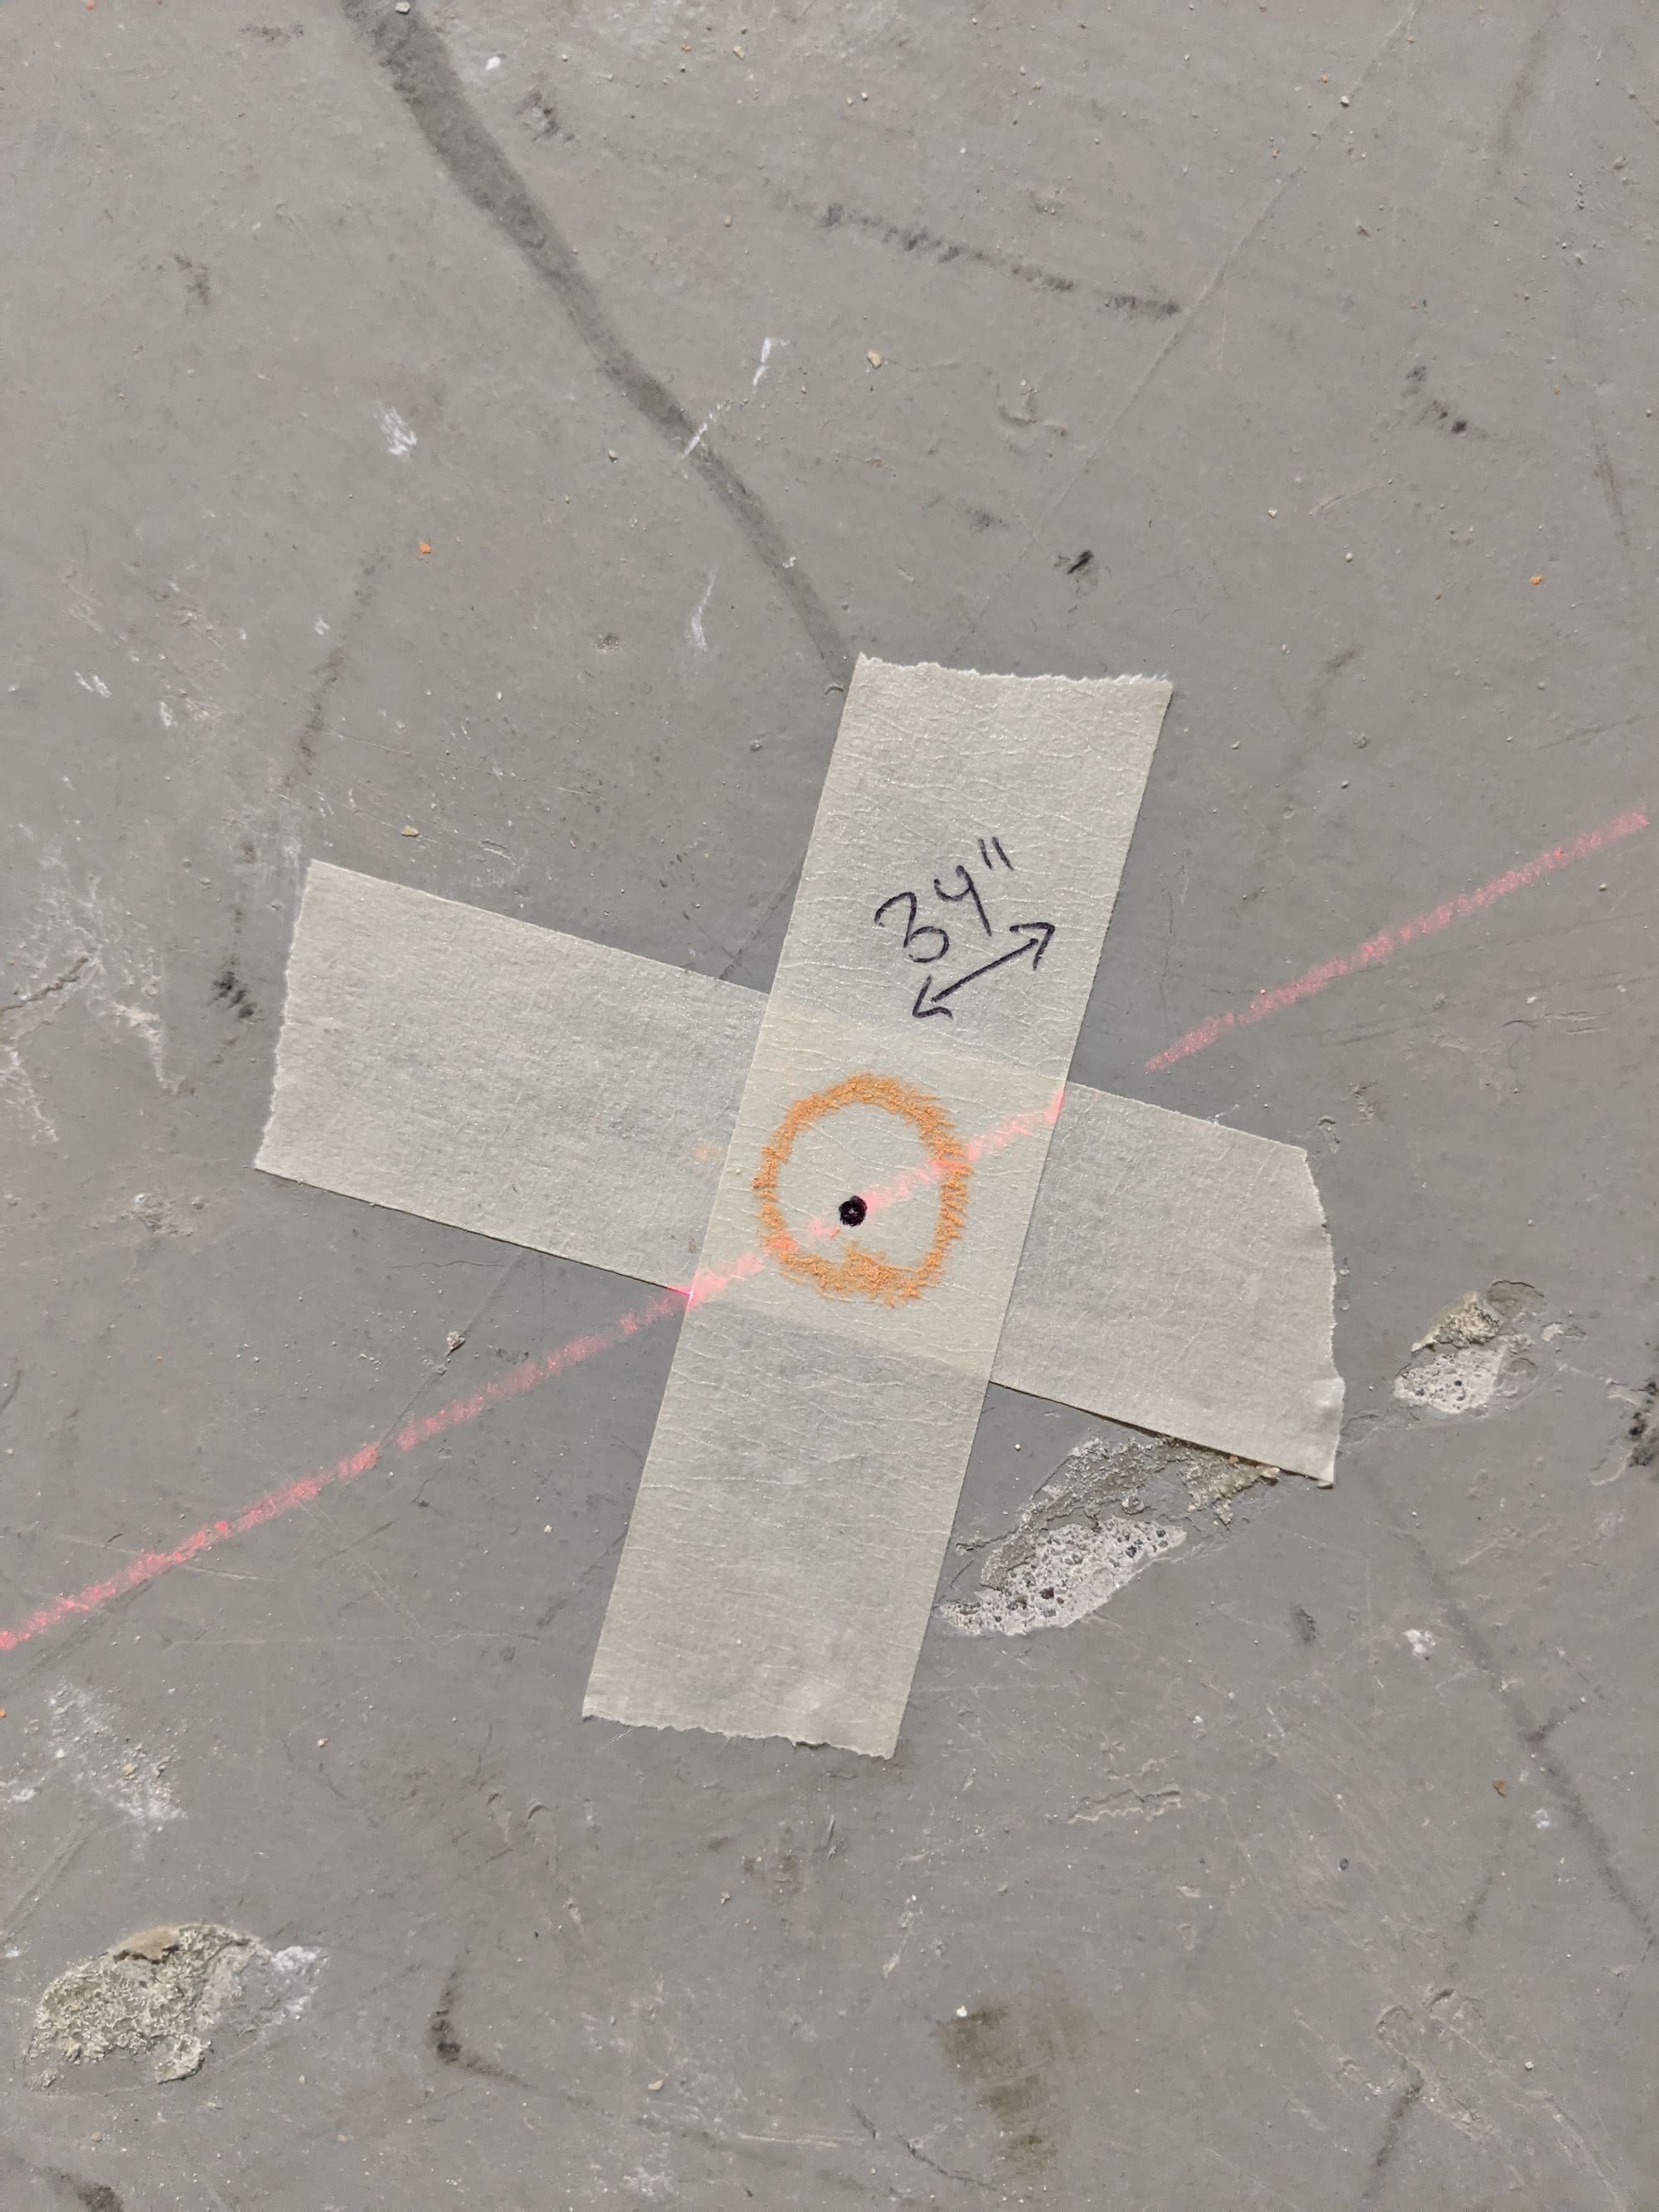
Once I had everything marked on the floor, I placed all the boxes for the lights to account for everything and labeled in more detail so I wouldn't forget anything.
Above the markings in the joists/ceiling, I roughly made marks as to which side the LED boxes would be mounted to since they have to be fastened to the joists.
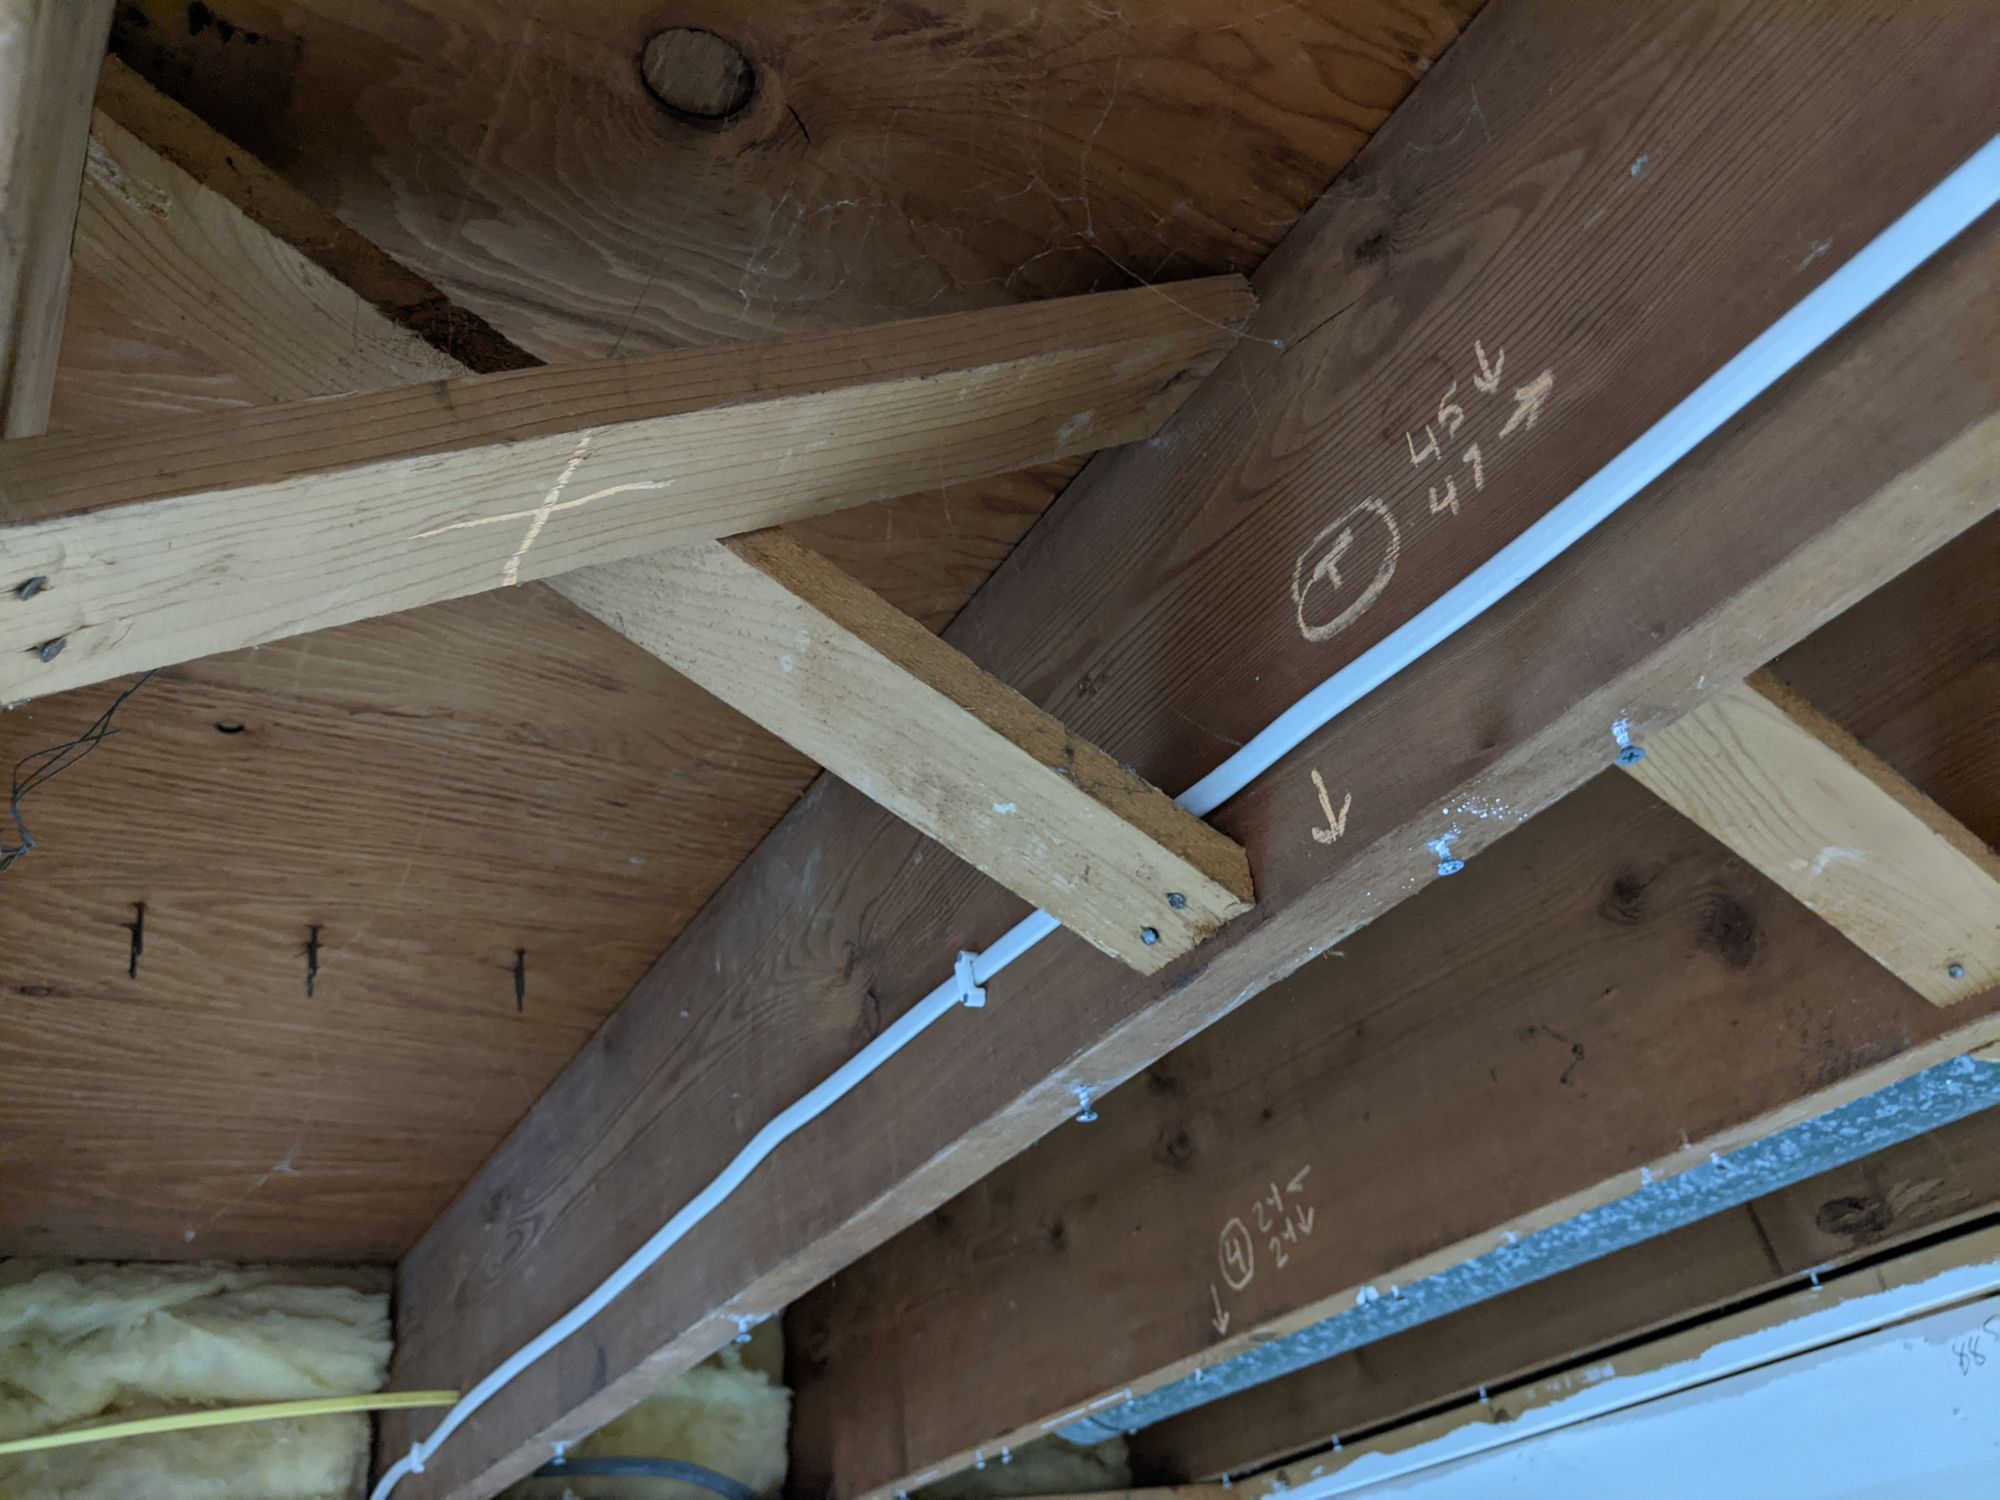
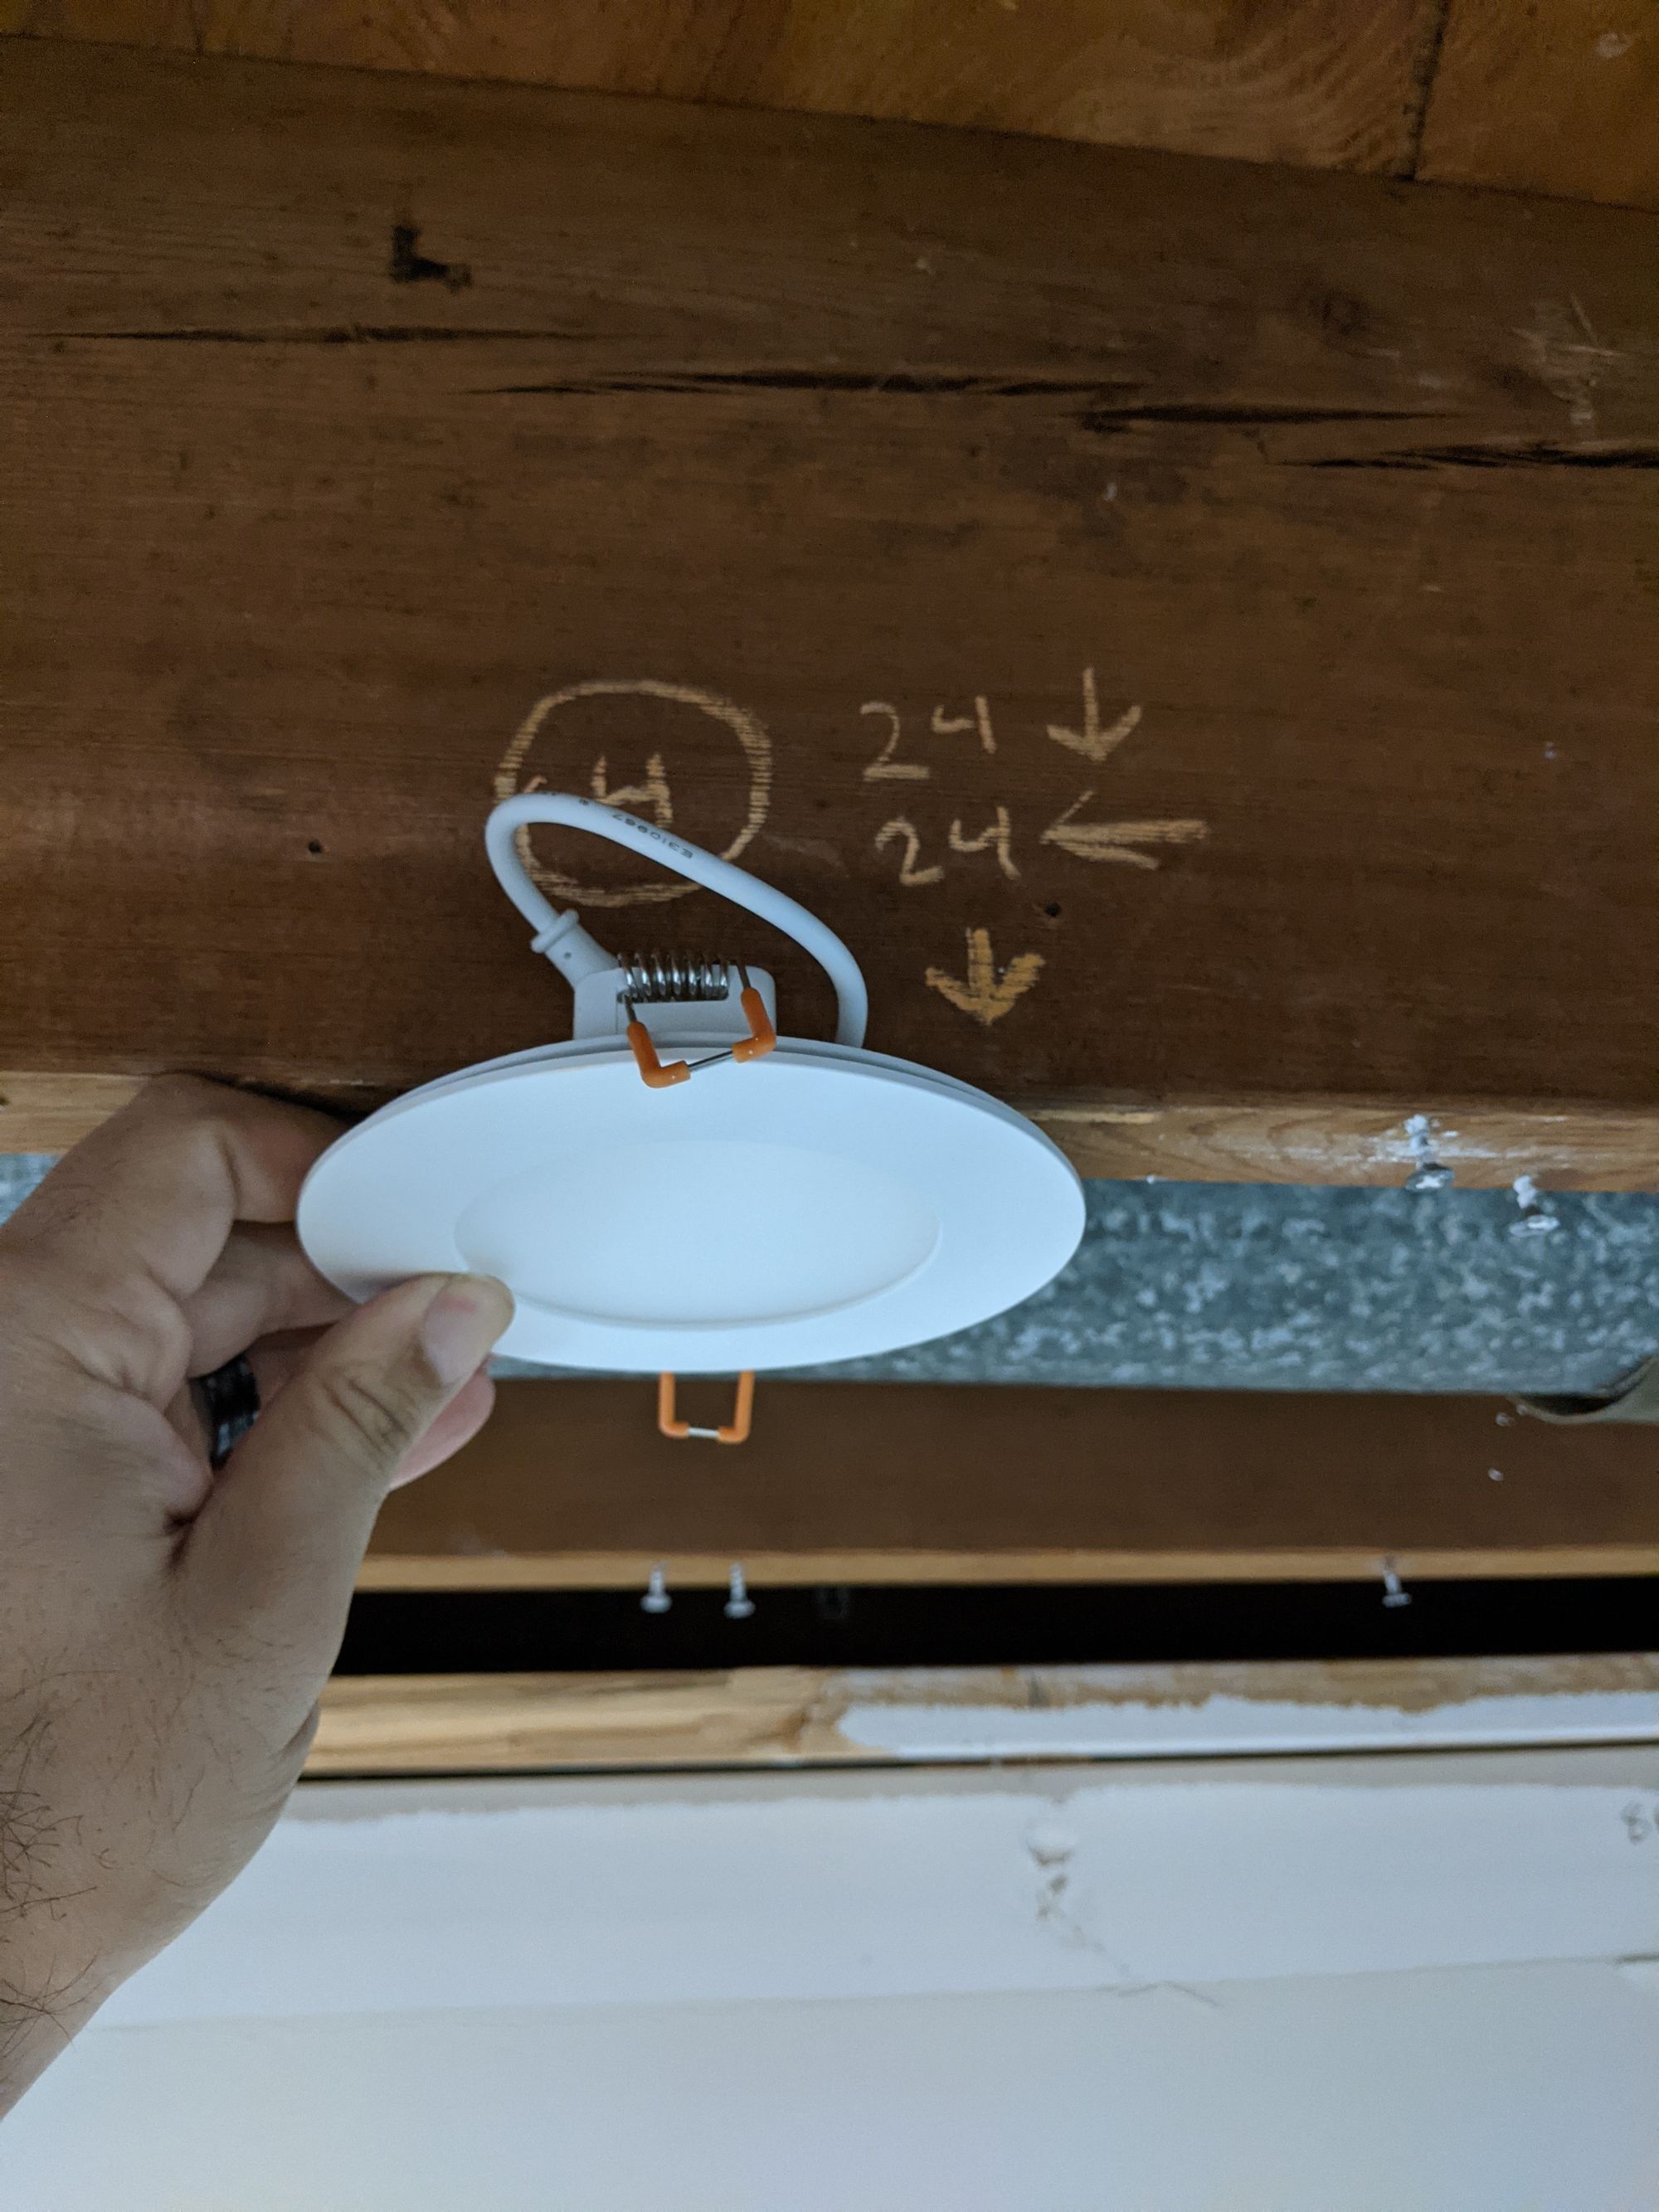
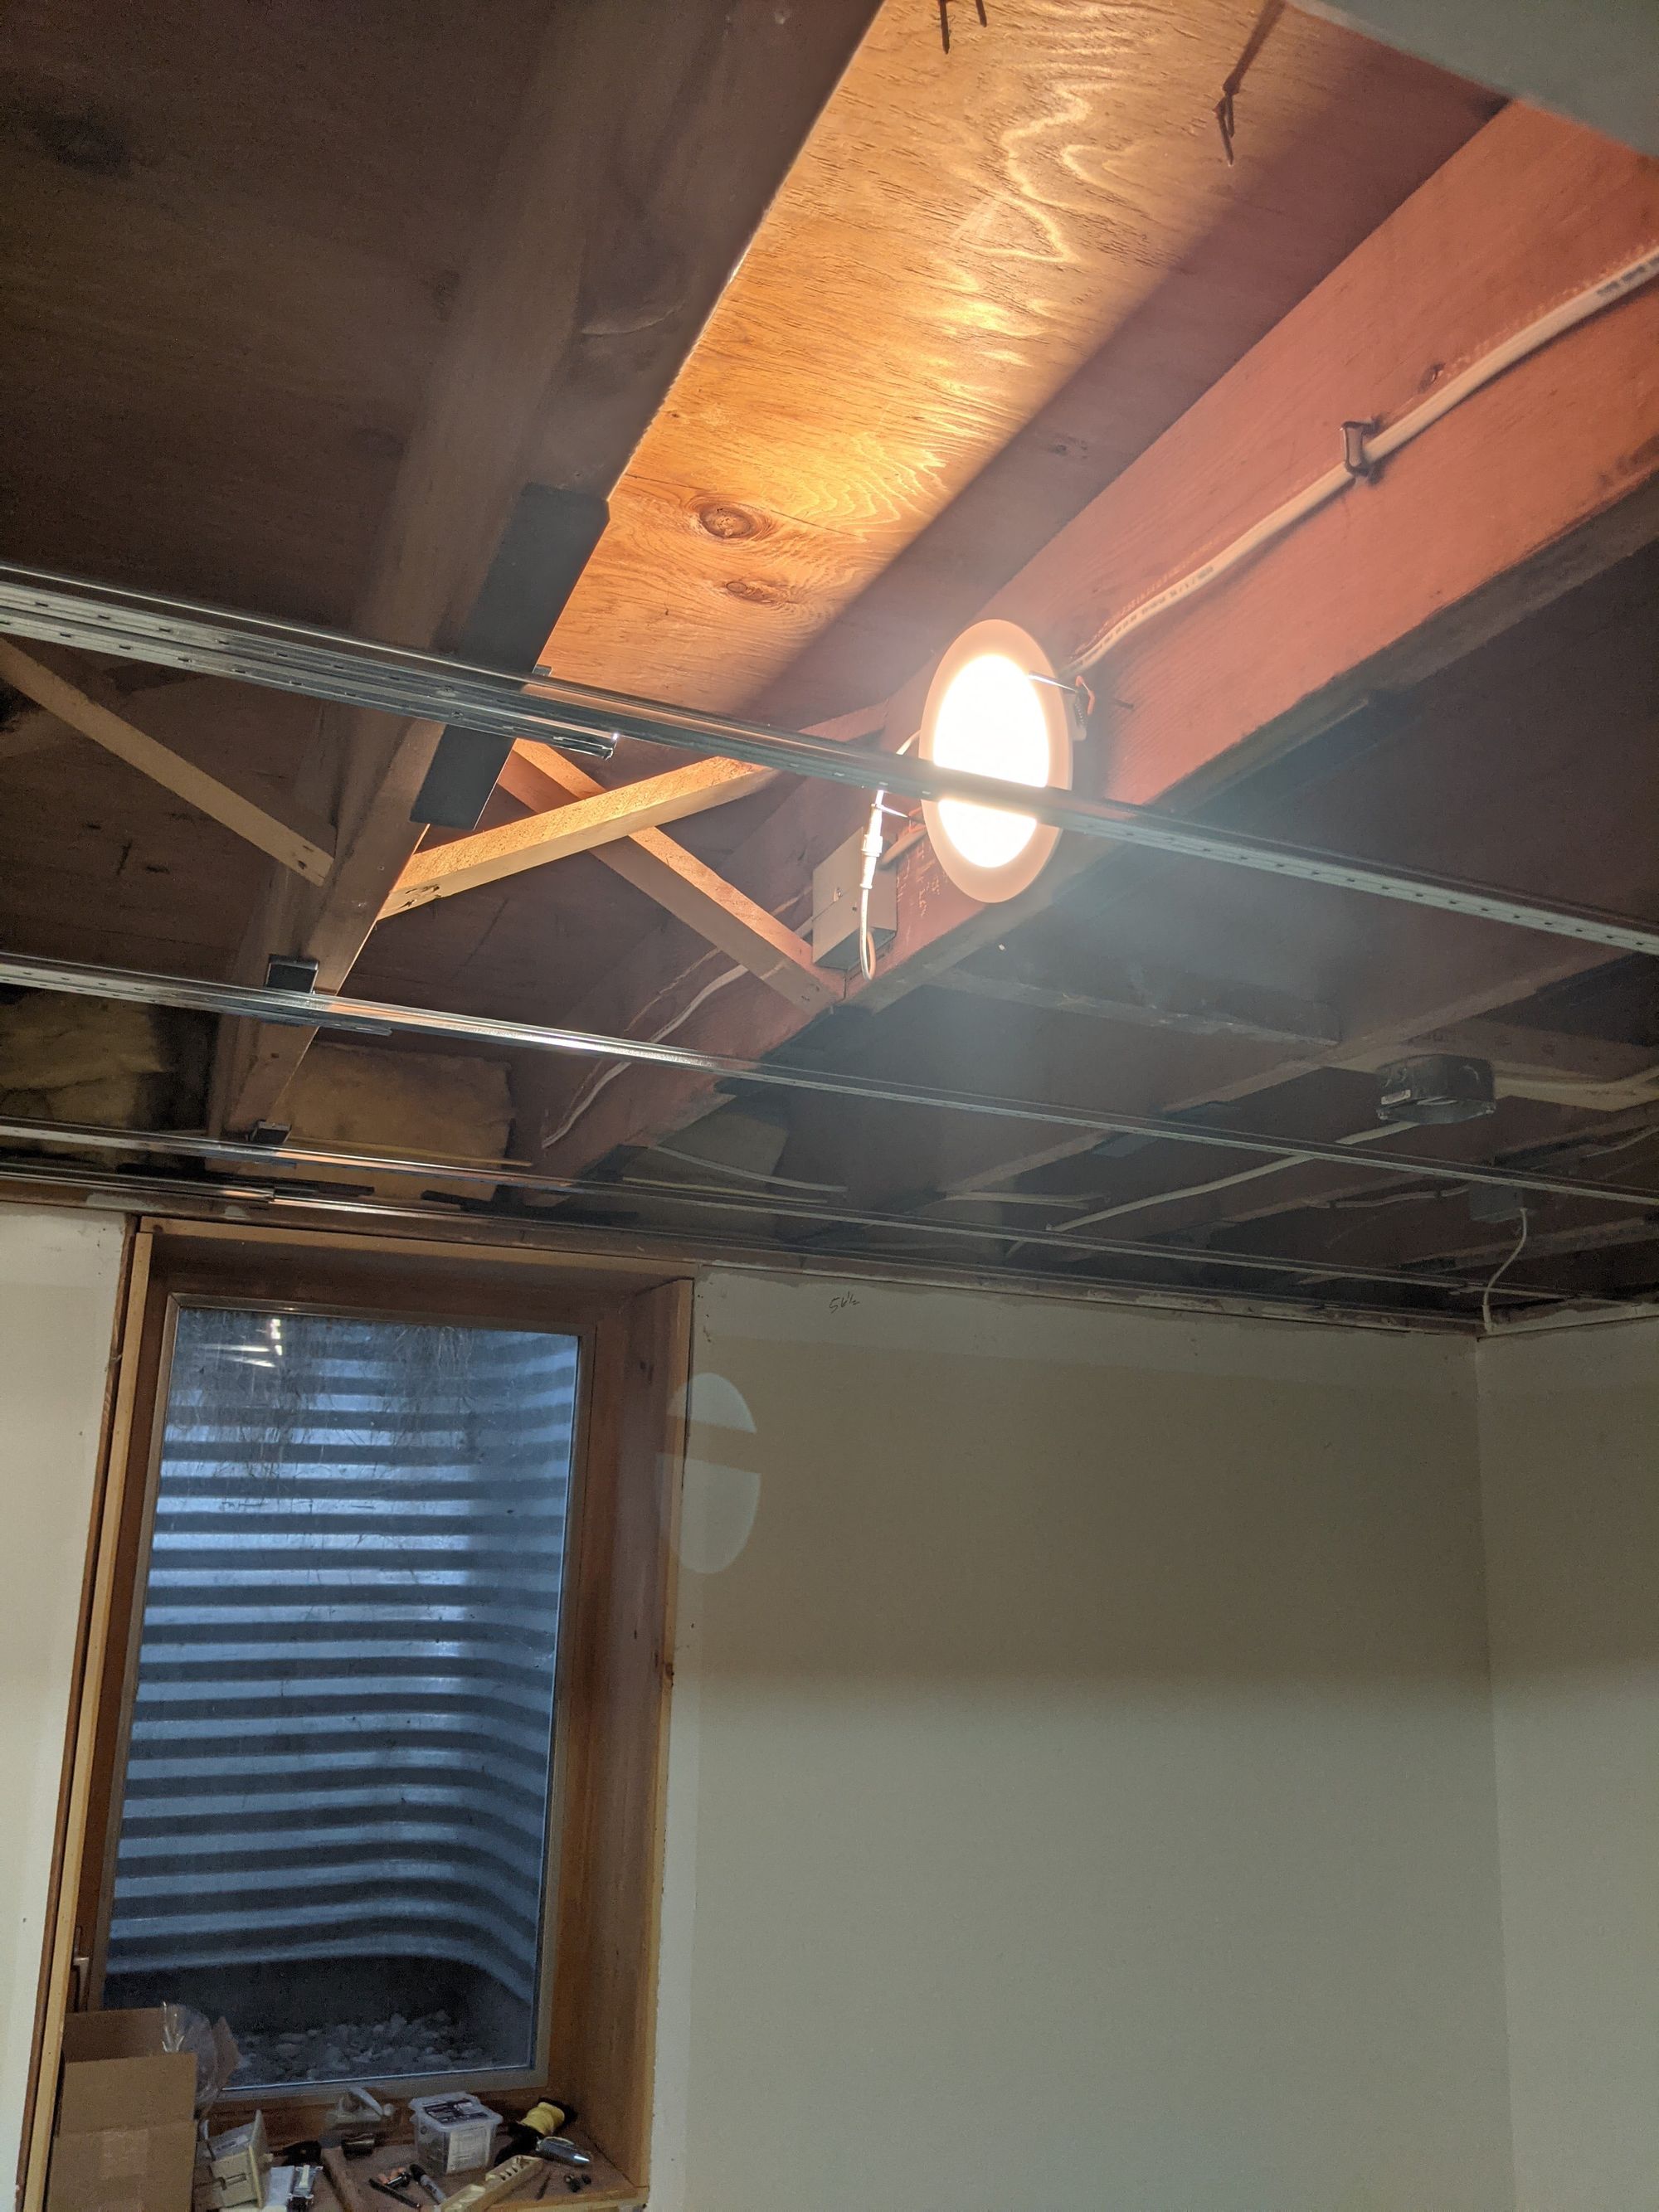
As you can see in the photo the lovely part of the thin wafer lights is that they can fit under joists! 🤩 I didn't have to adjust my measurements at all. The ceiling was going to provide a 1" drop so there'd be plenty of room to fish wire beneath the joist if needed.
Electrical tools I used
I already had most of what I needed inherited from my dad but did have to buy some electrical tools.
Heavy-duty wire cutter?
To be able to do proper wiring you have to twist wire together. I owned a pliers but it had teeth to grip onto things. This actually bites into the copper and if you do it too much, I found the wire would just be cut while twisting and I had to strip more of it to try again.
You can instead buy a "heavy duty" wire cutter (linked above) that has a larger nose for twisting wires that won't bite into the wire as much. You'll thank yourself.
Planning the wiring
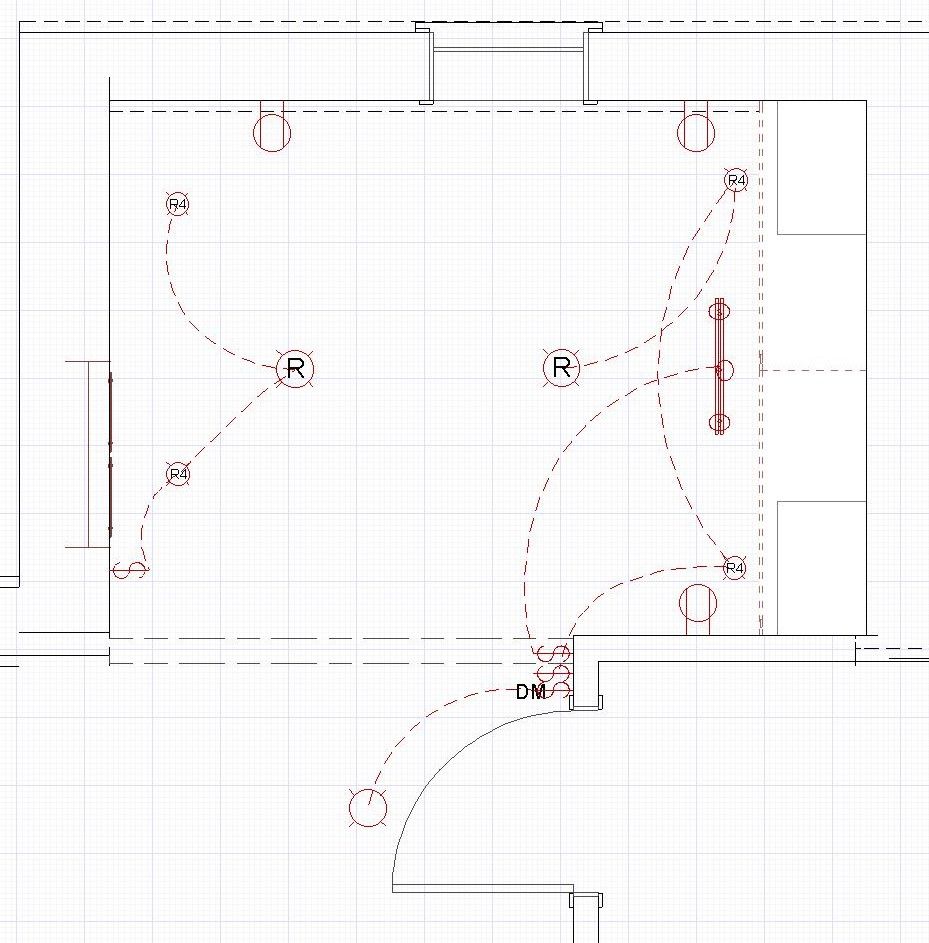
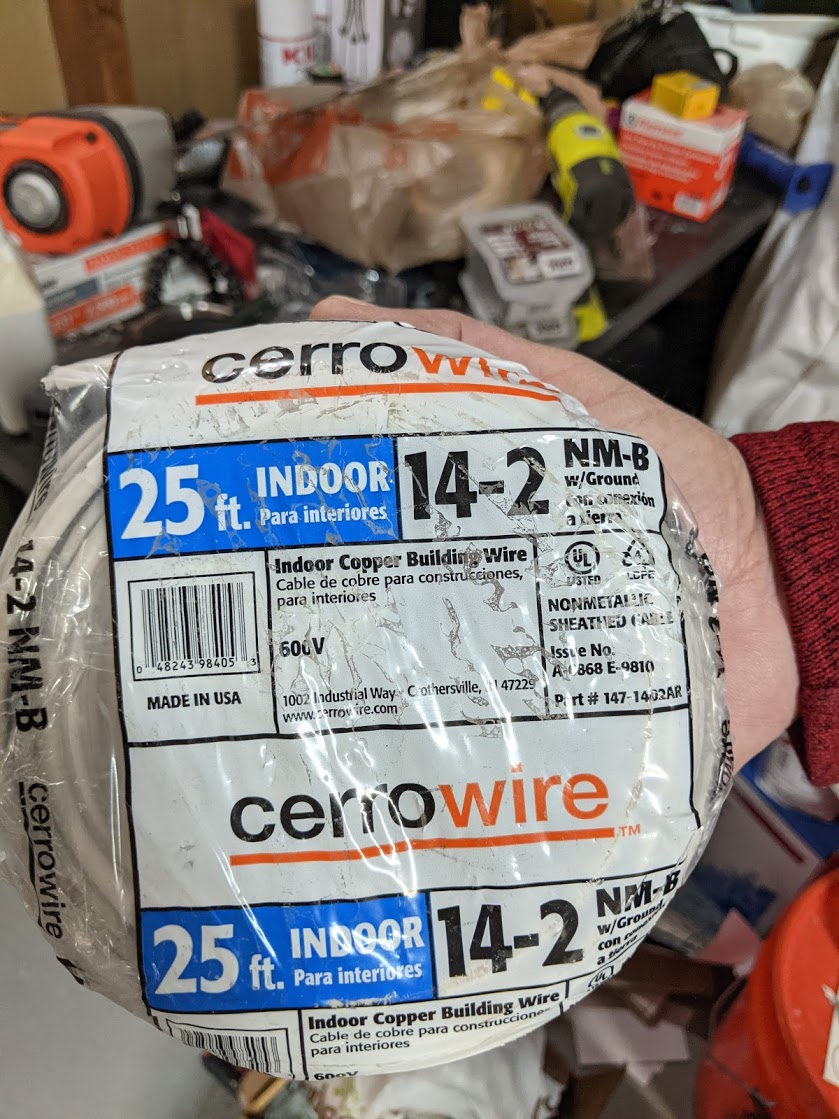
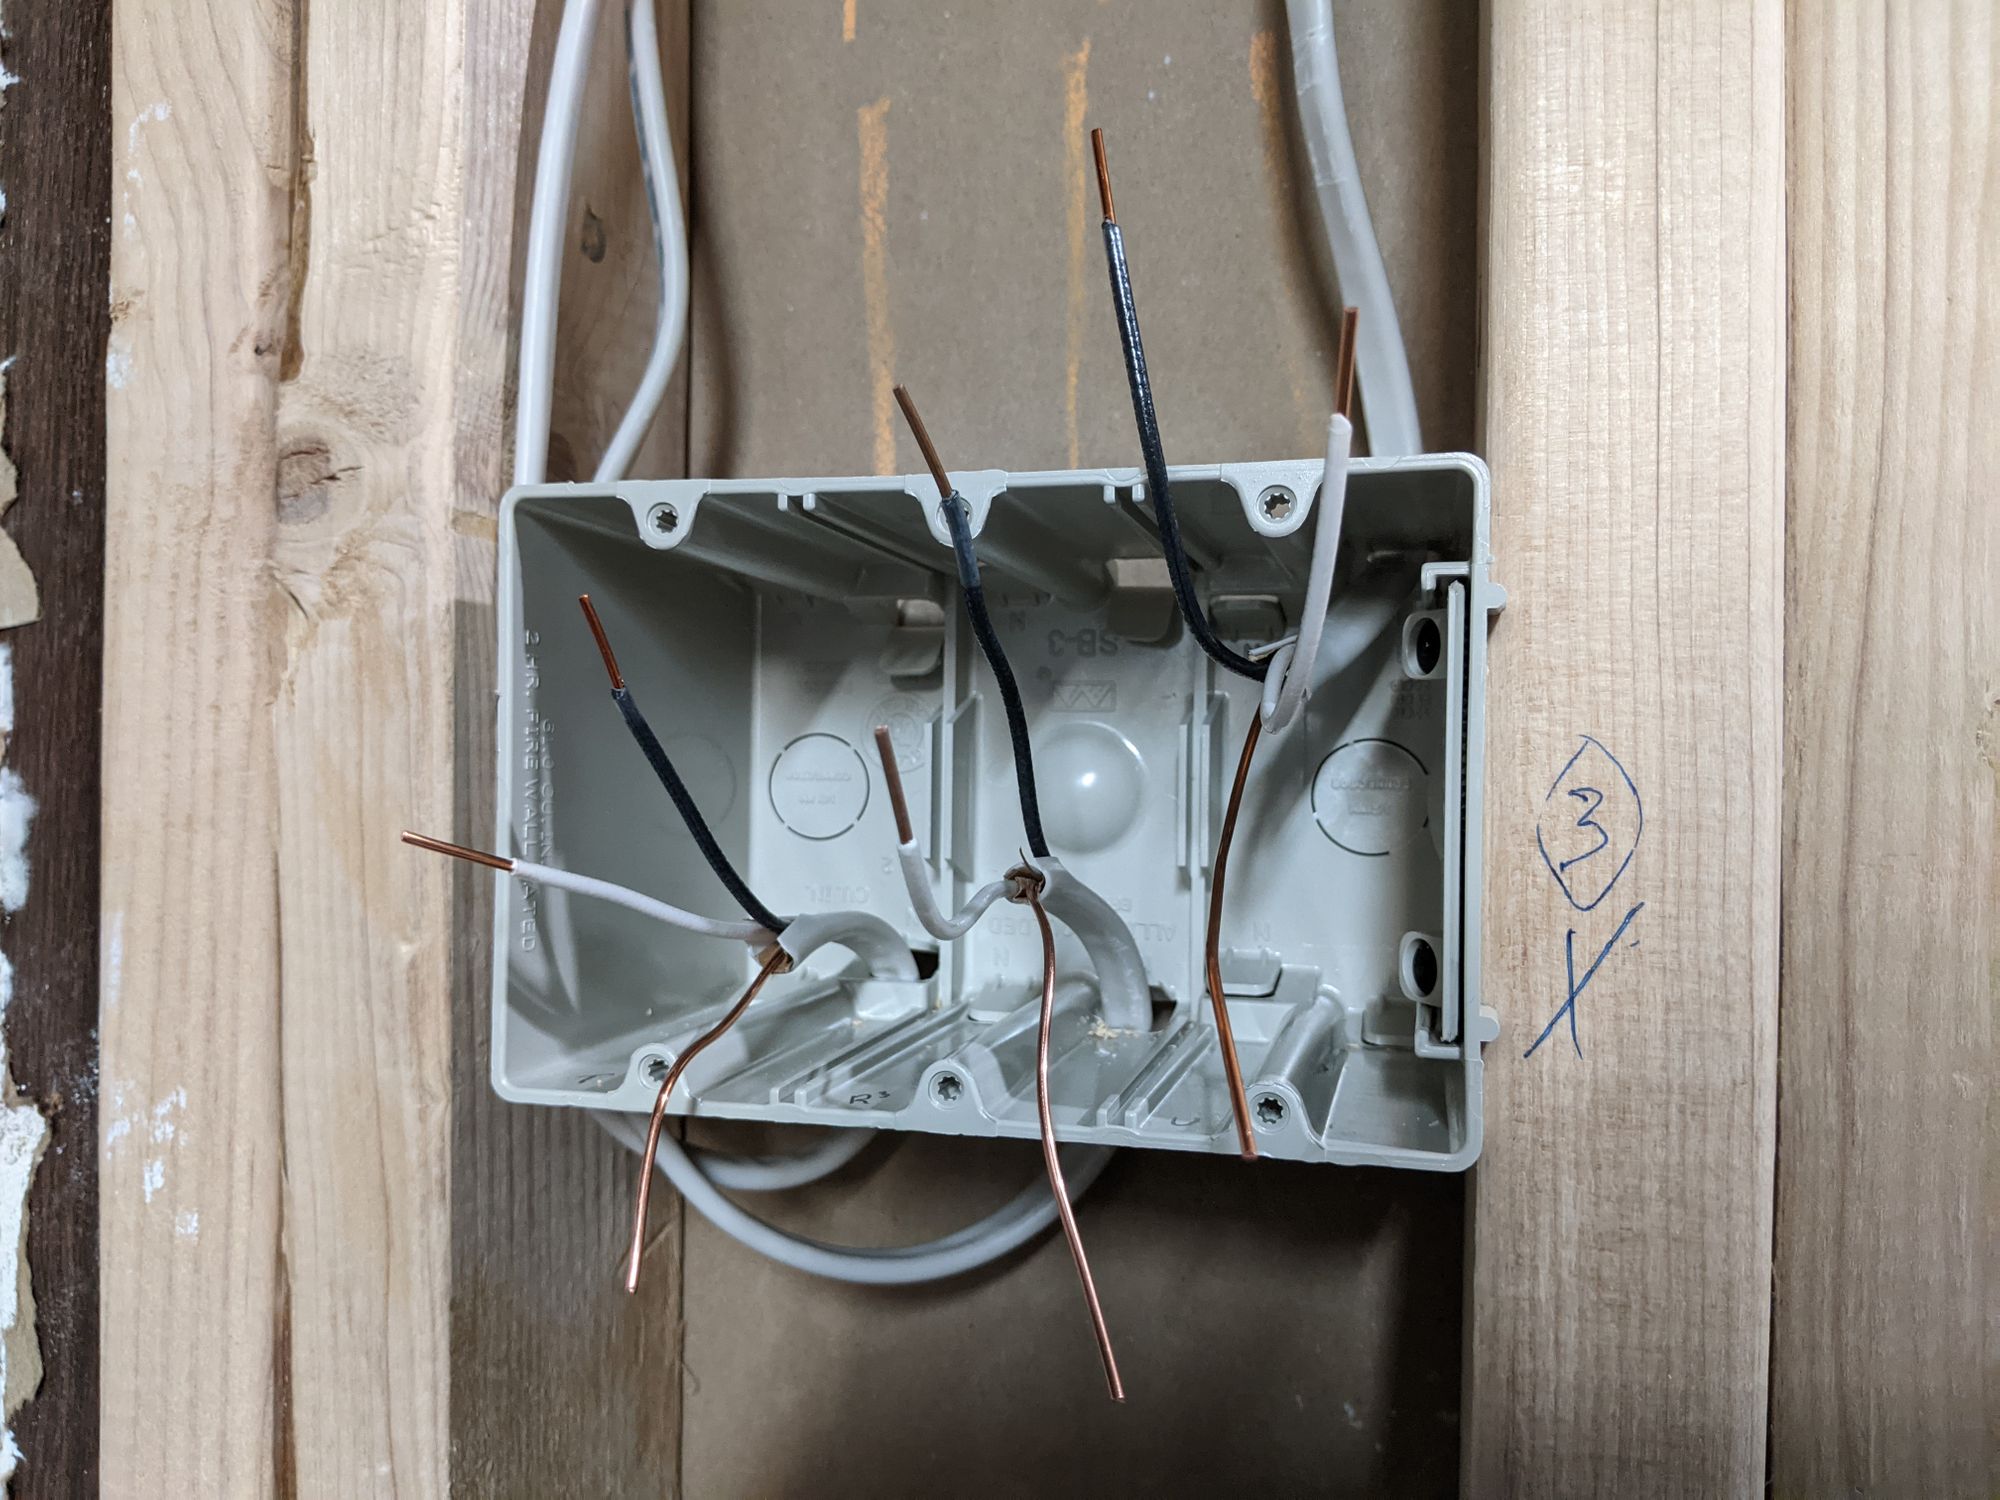
Next I wanted to try and plan where the wiring would go. I used 14-2 NM-B w/ground gauge wire to rough-in which is pretty standard (and I had this all inspected, FYI).
I drew all the planned wiring on the floor and labeled all the lights to the switch box so I could keep track of how it would lay out. I had it in the plan diagram but I felt like seeing it in the room helped plus I marked on the joists where we'd have to notch holes to run wires.
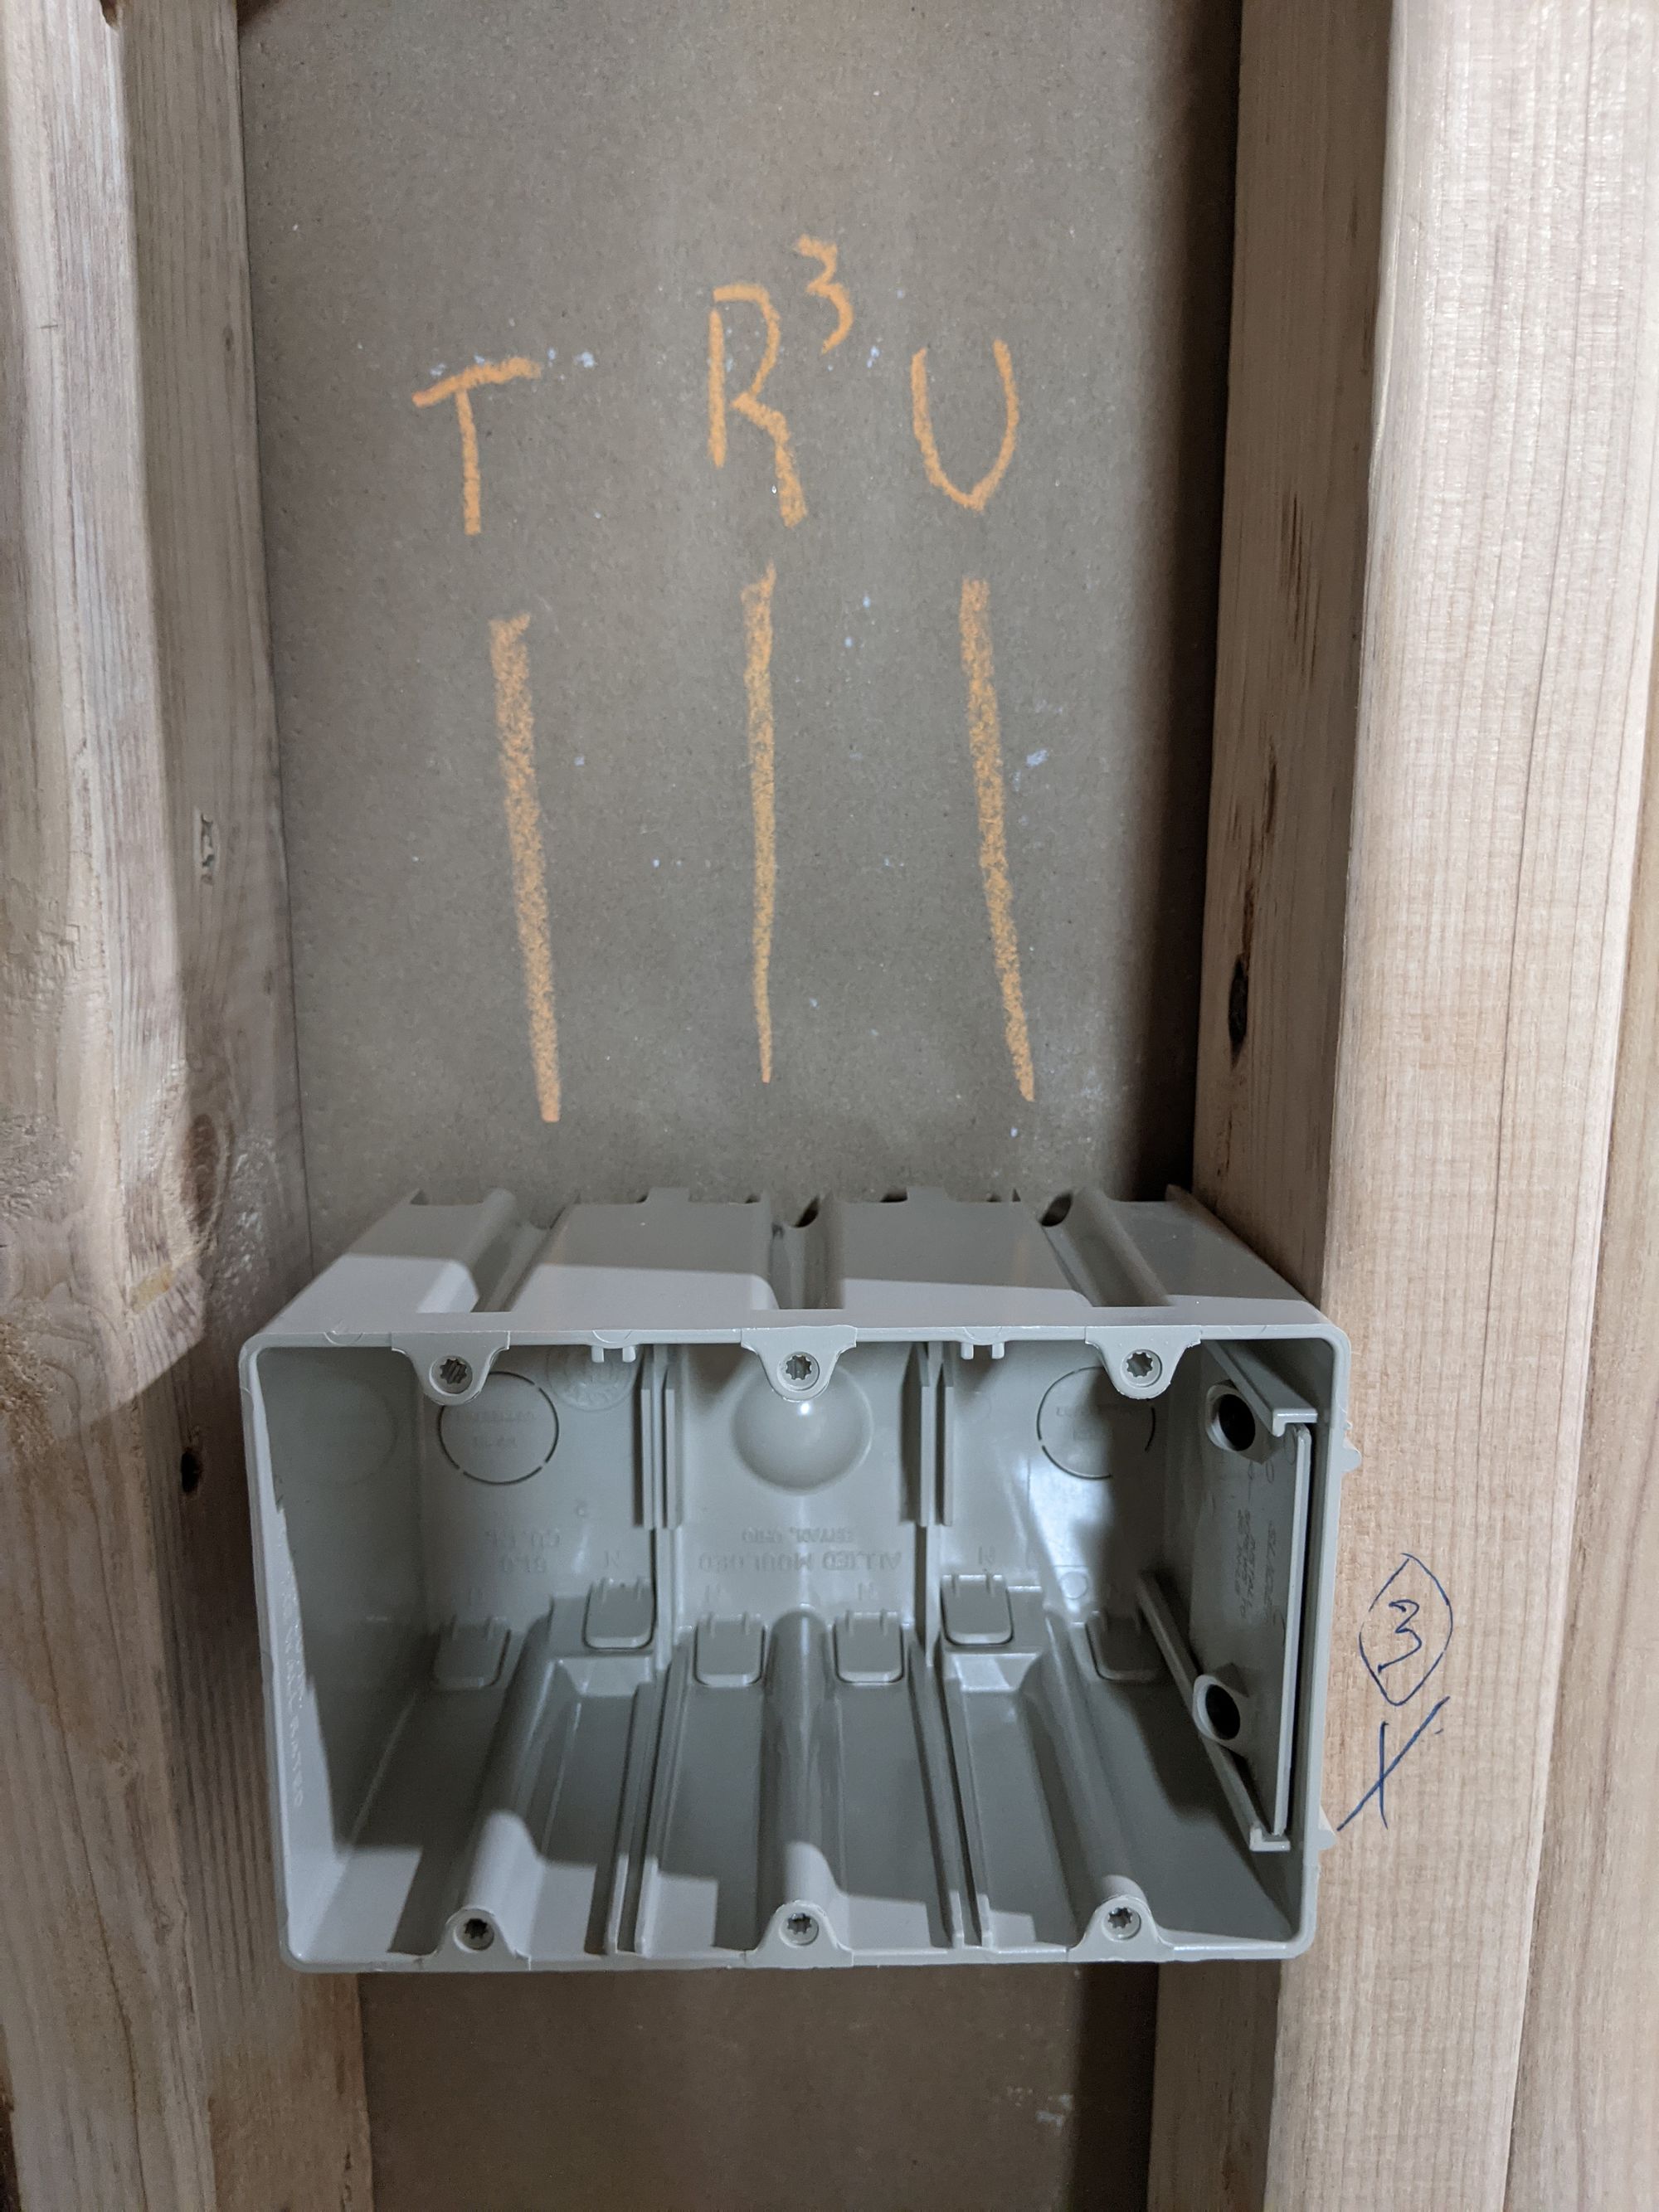
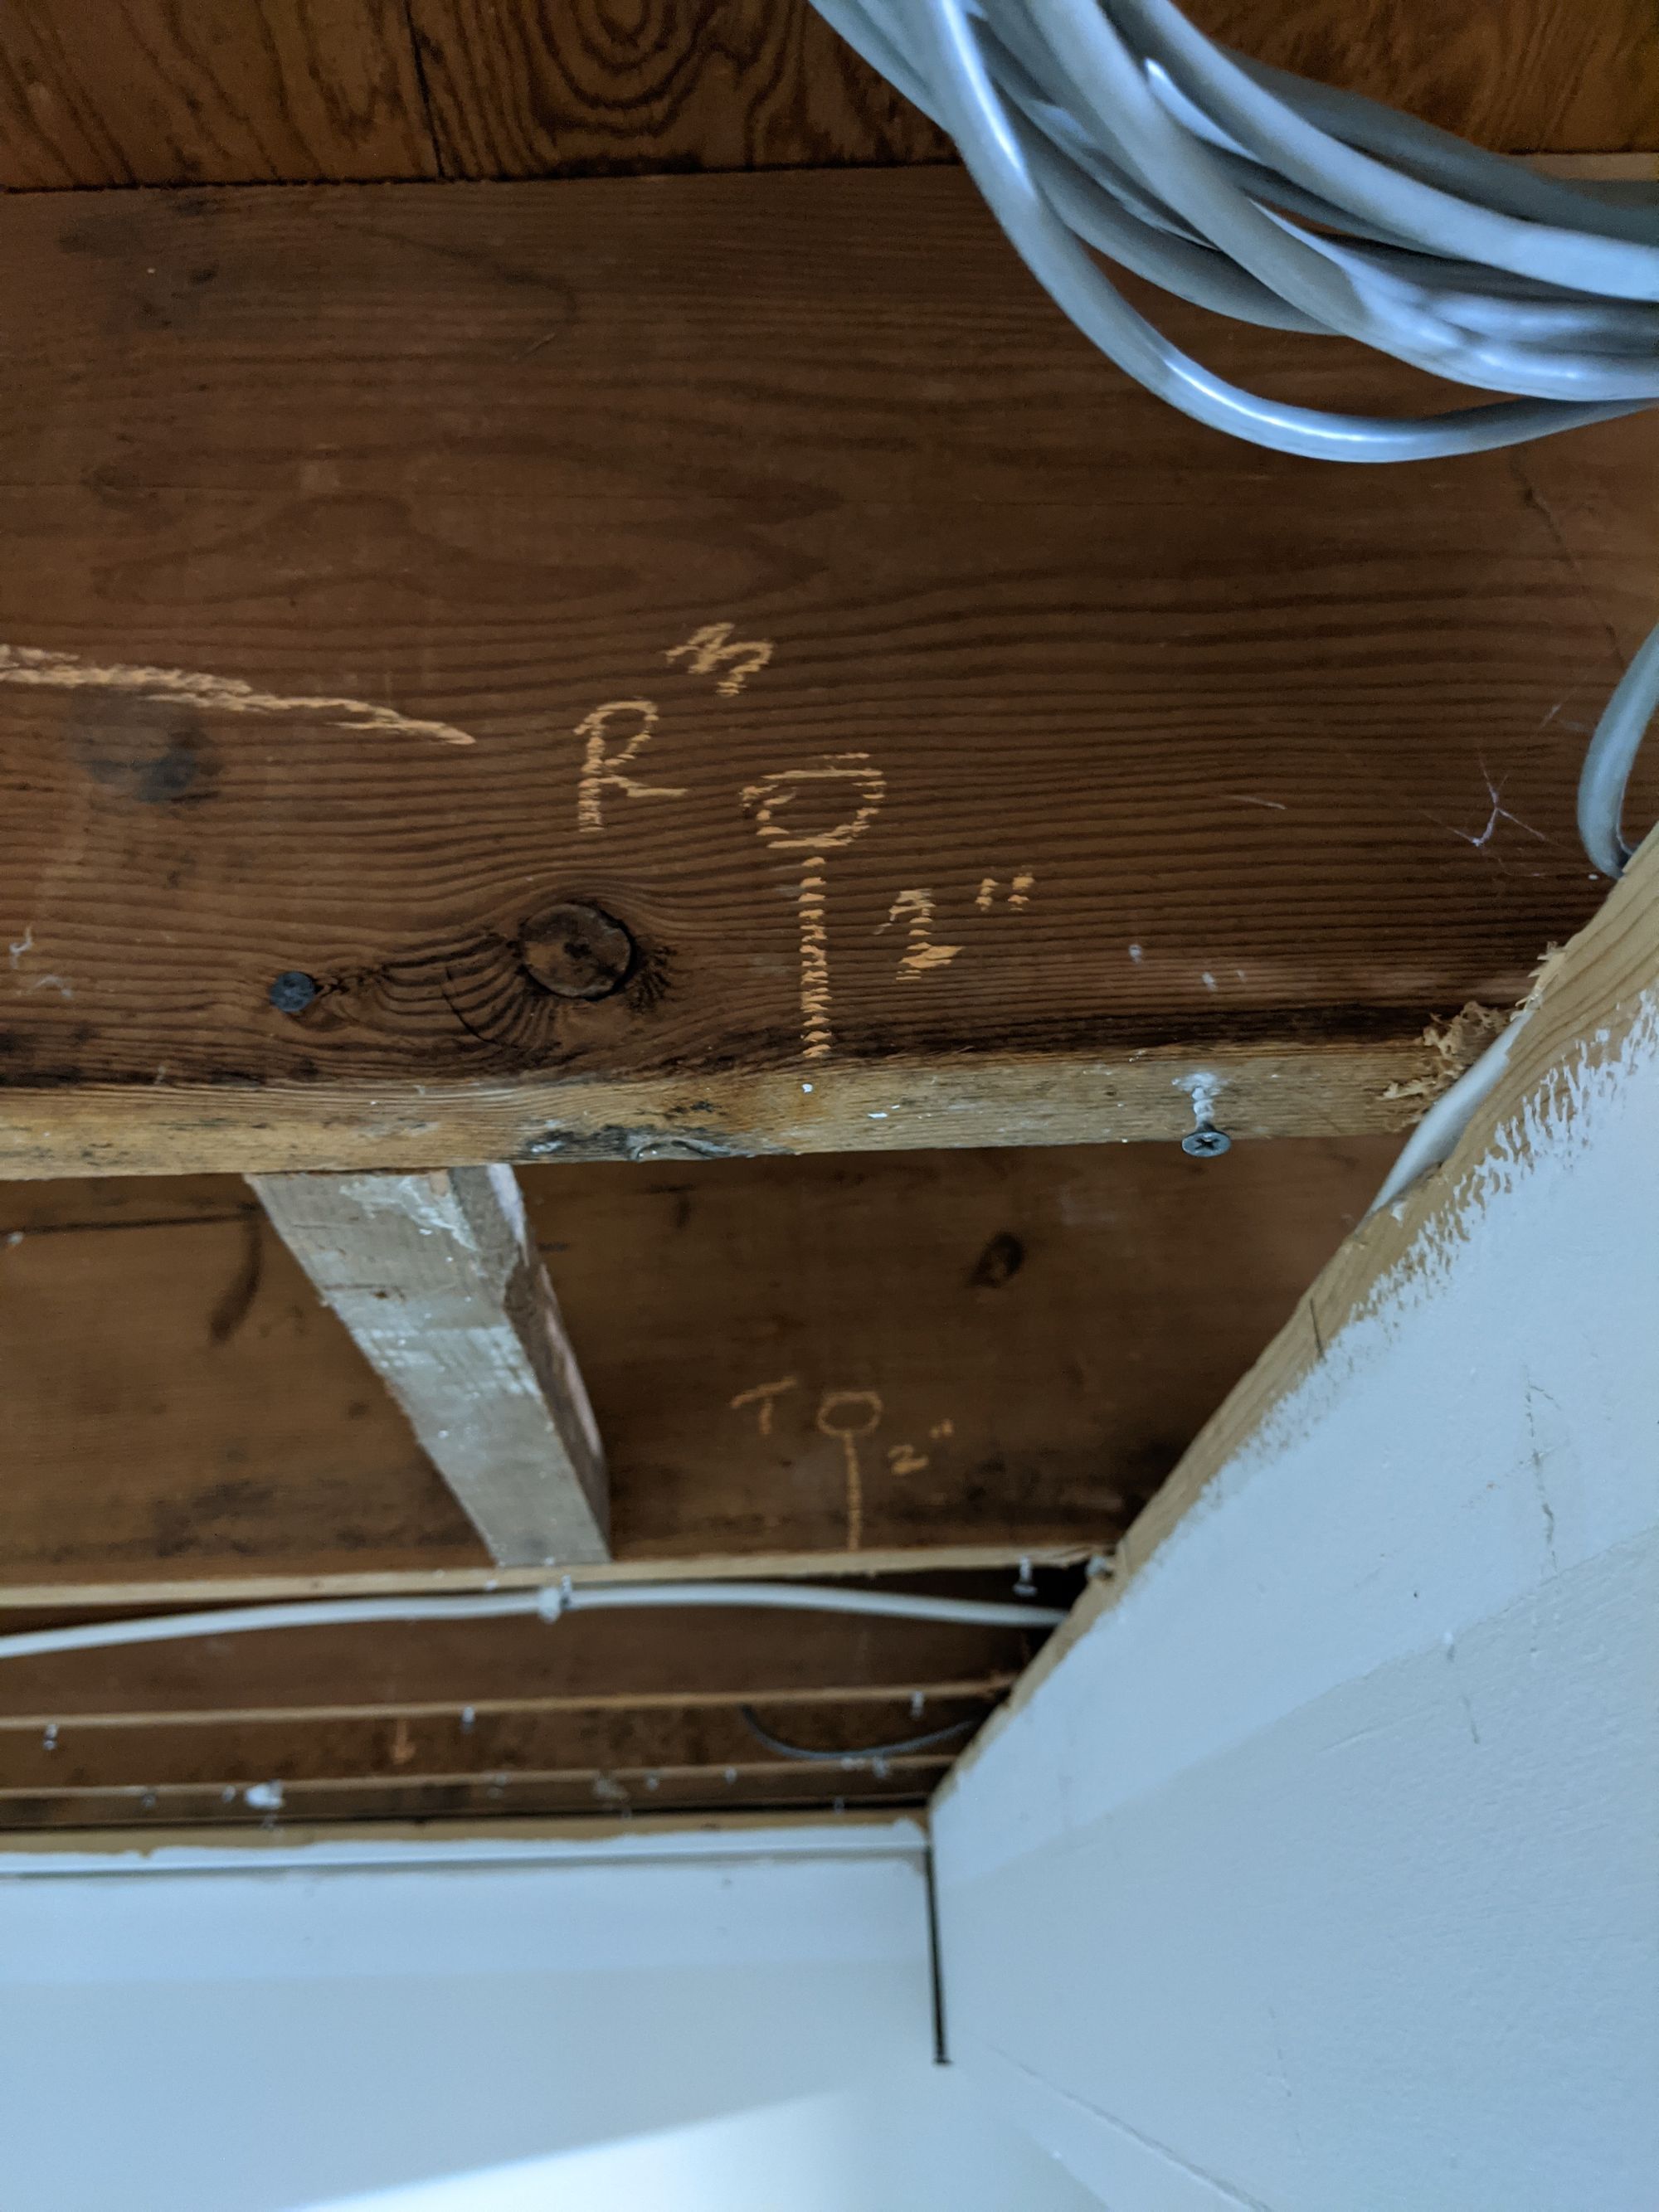
My labels were:
- T: Track light (single)
- R3: the 3 recessed lights
- U: the existing utility lights
Drilling holes according to code
There are specific rules for where to drill holes in the joist which was good to know:
- Holes may only be notched in the first and last thirds of the joist, not in the middle third (length/L) – it's possible this only refers to notches, not holes, but I followed it anyway
- Holes must be more than 2" from the bottom and top of the joist
- Diameter cannot exceed more than 1/3 of the height (or depth/D) of the joist (e.g. 2x8 hole cannot be more than 2.6" in diameter)
- Holes must be more than 2" from each other or a notch
Here's a handy illustration with all the rules (including notches):
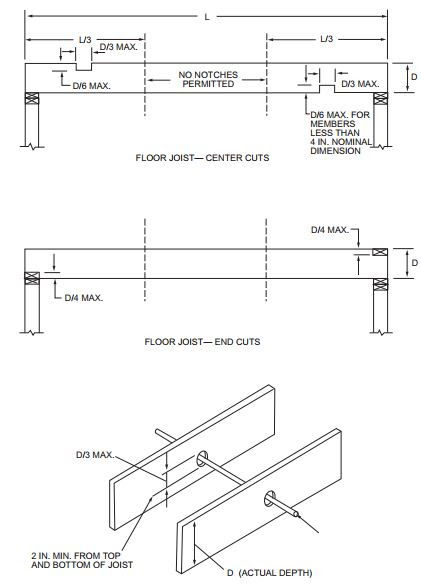
The rules are pretty simple but you need to follow them for safety (read the code!). I made marks wherever I expected to notch a hole based on the wiring. You should also not run more than 2 wires per hole unless it's a 2" one and then you can do about 3 safely.
To drill the holes I used my SDS+ drill with the chuck and some auger bits I had lying around from my dad (thanks!).
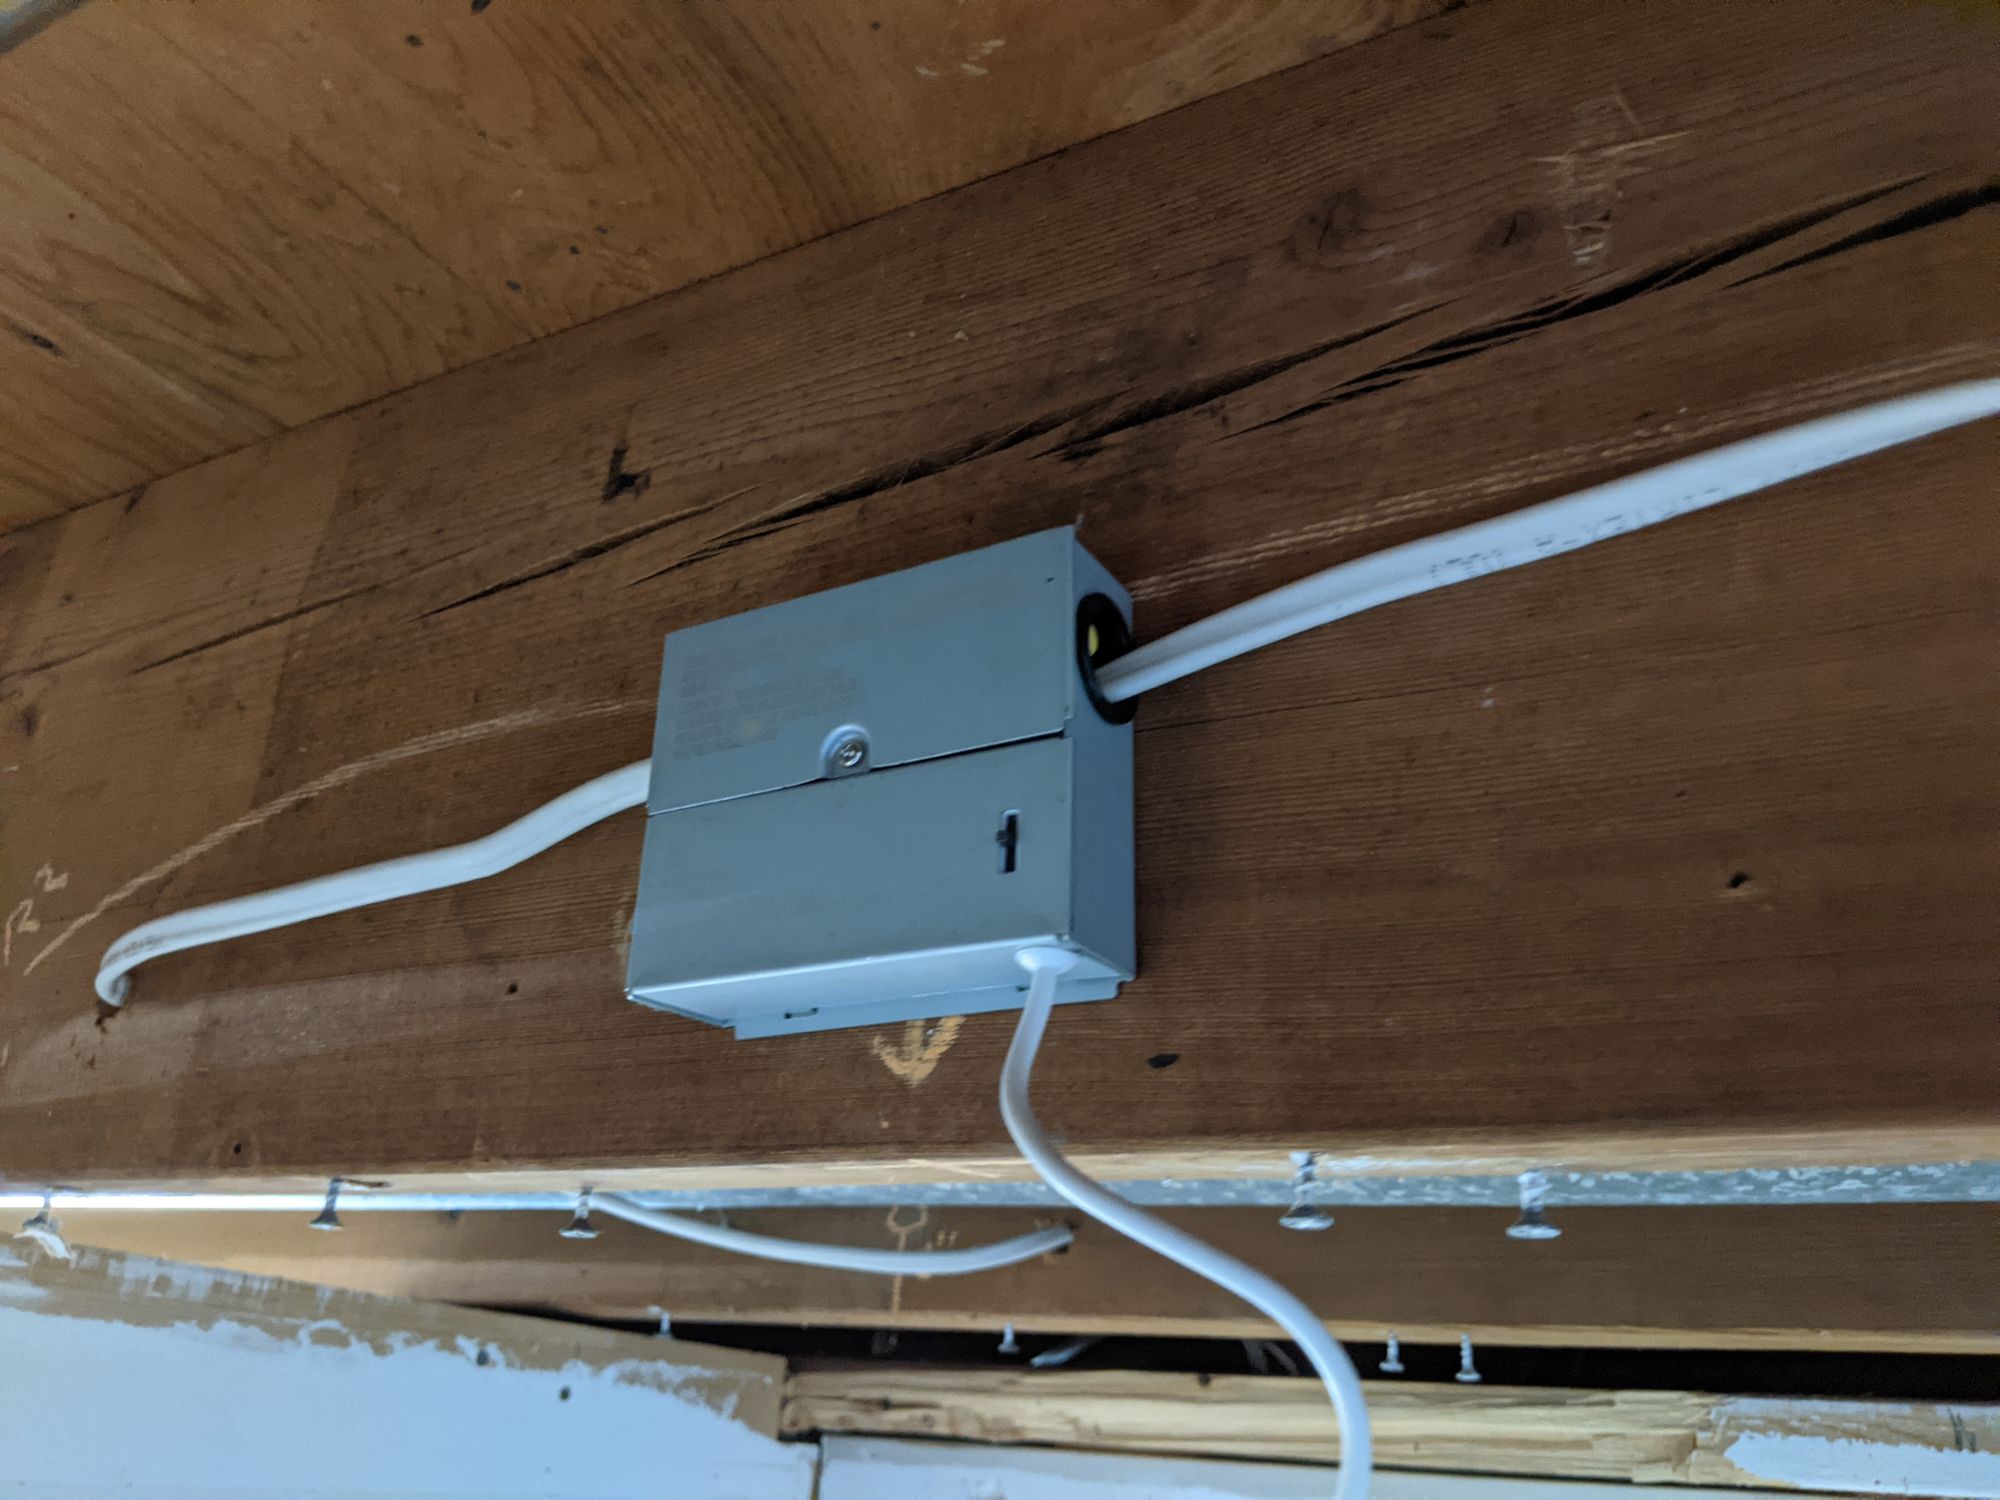
Installing the LED boxes
The boxes were very easy to install even for a first-timer! As a refresher because even I didn't fully understand light wiring:
- Black is hot (live)
- White is neutral (cool)
- Green/bare copper is ground
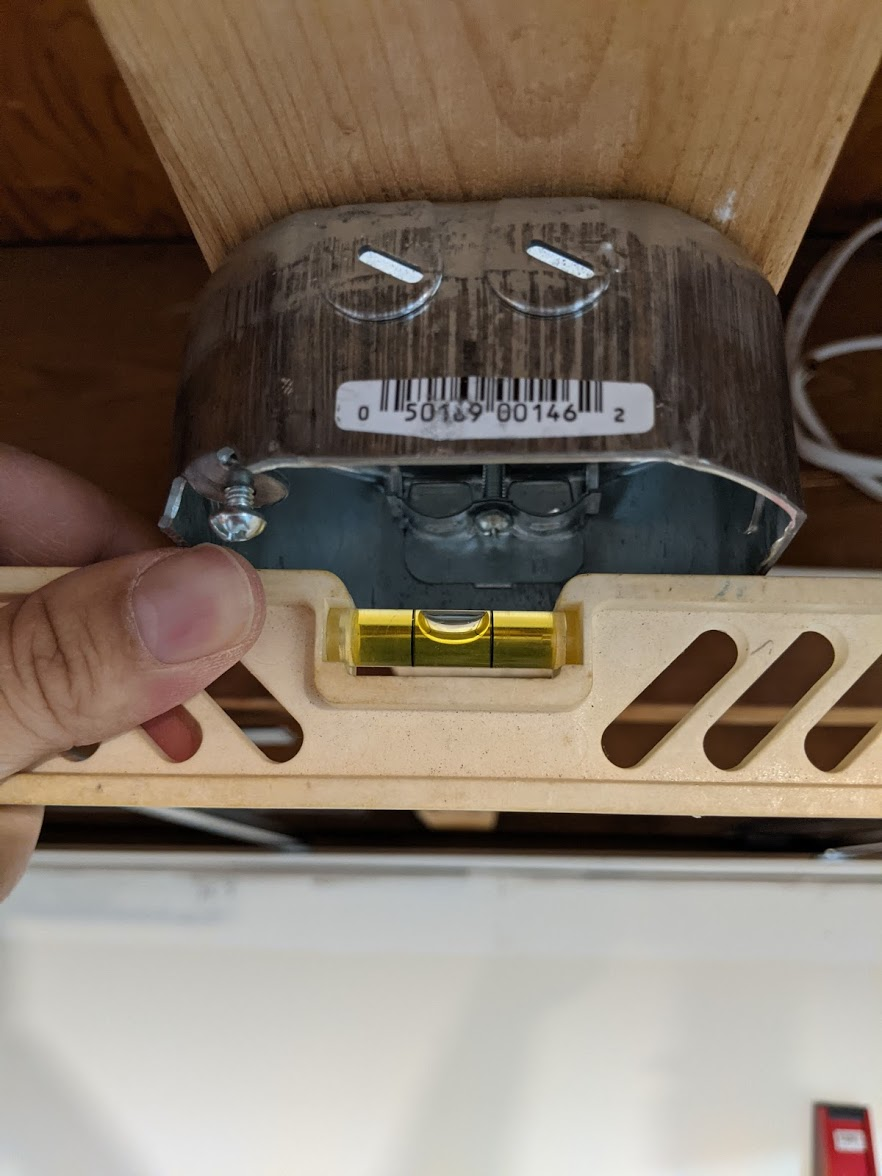
If wiring after a switch, you can safely turn the switch off to cut power. Use a tester to verify! We were able to wire the left side of the room ourselves by moving the wire that used to go to the overhead flourescent light to go to the first LED box.
Now full disclaimer: my dad and brother came and wired most of my lights up while I worked! I made sure to come and watch what was happening like a good general contractor though. 😅
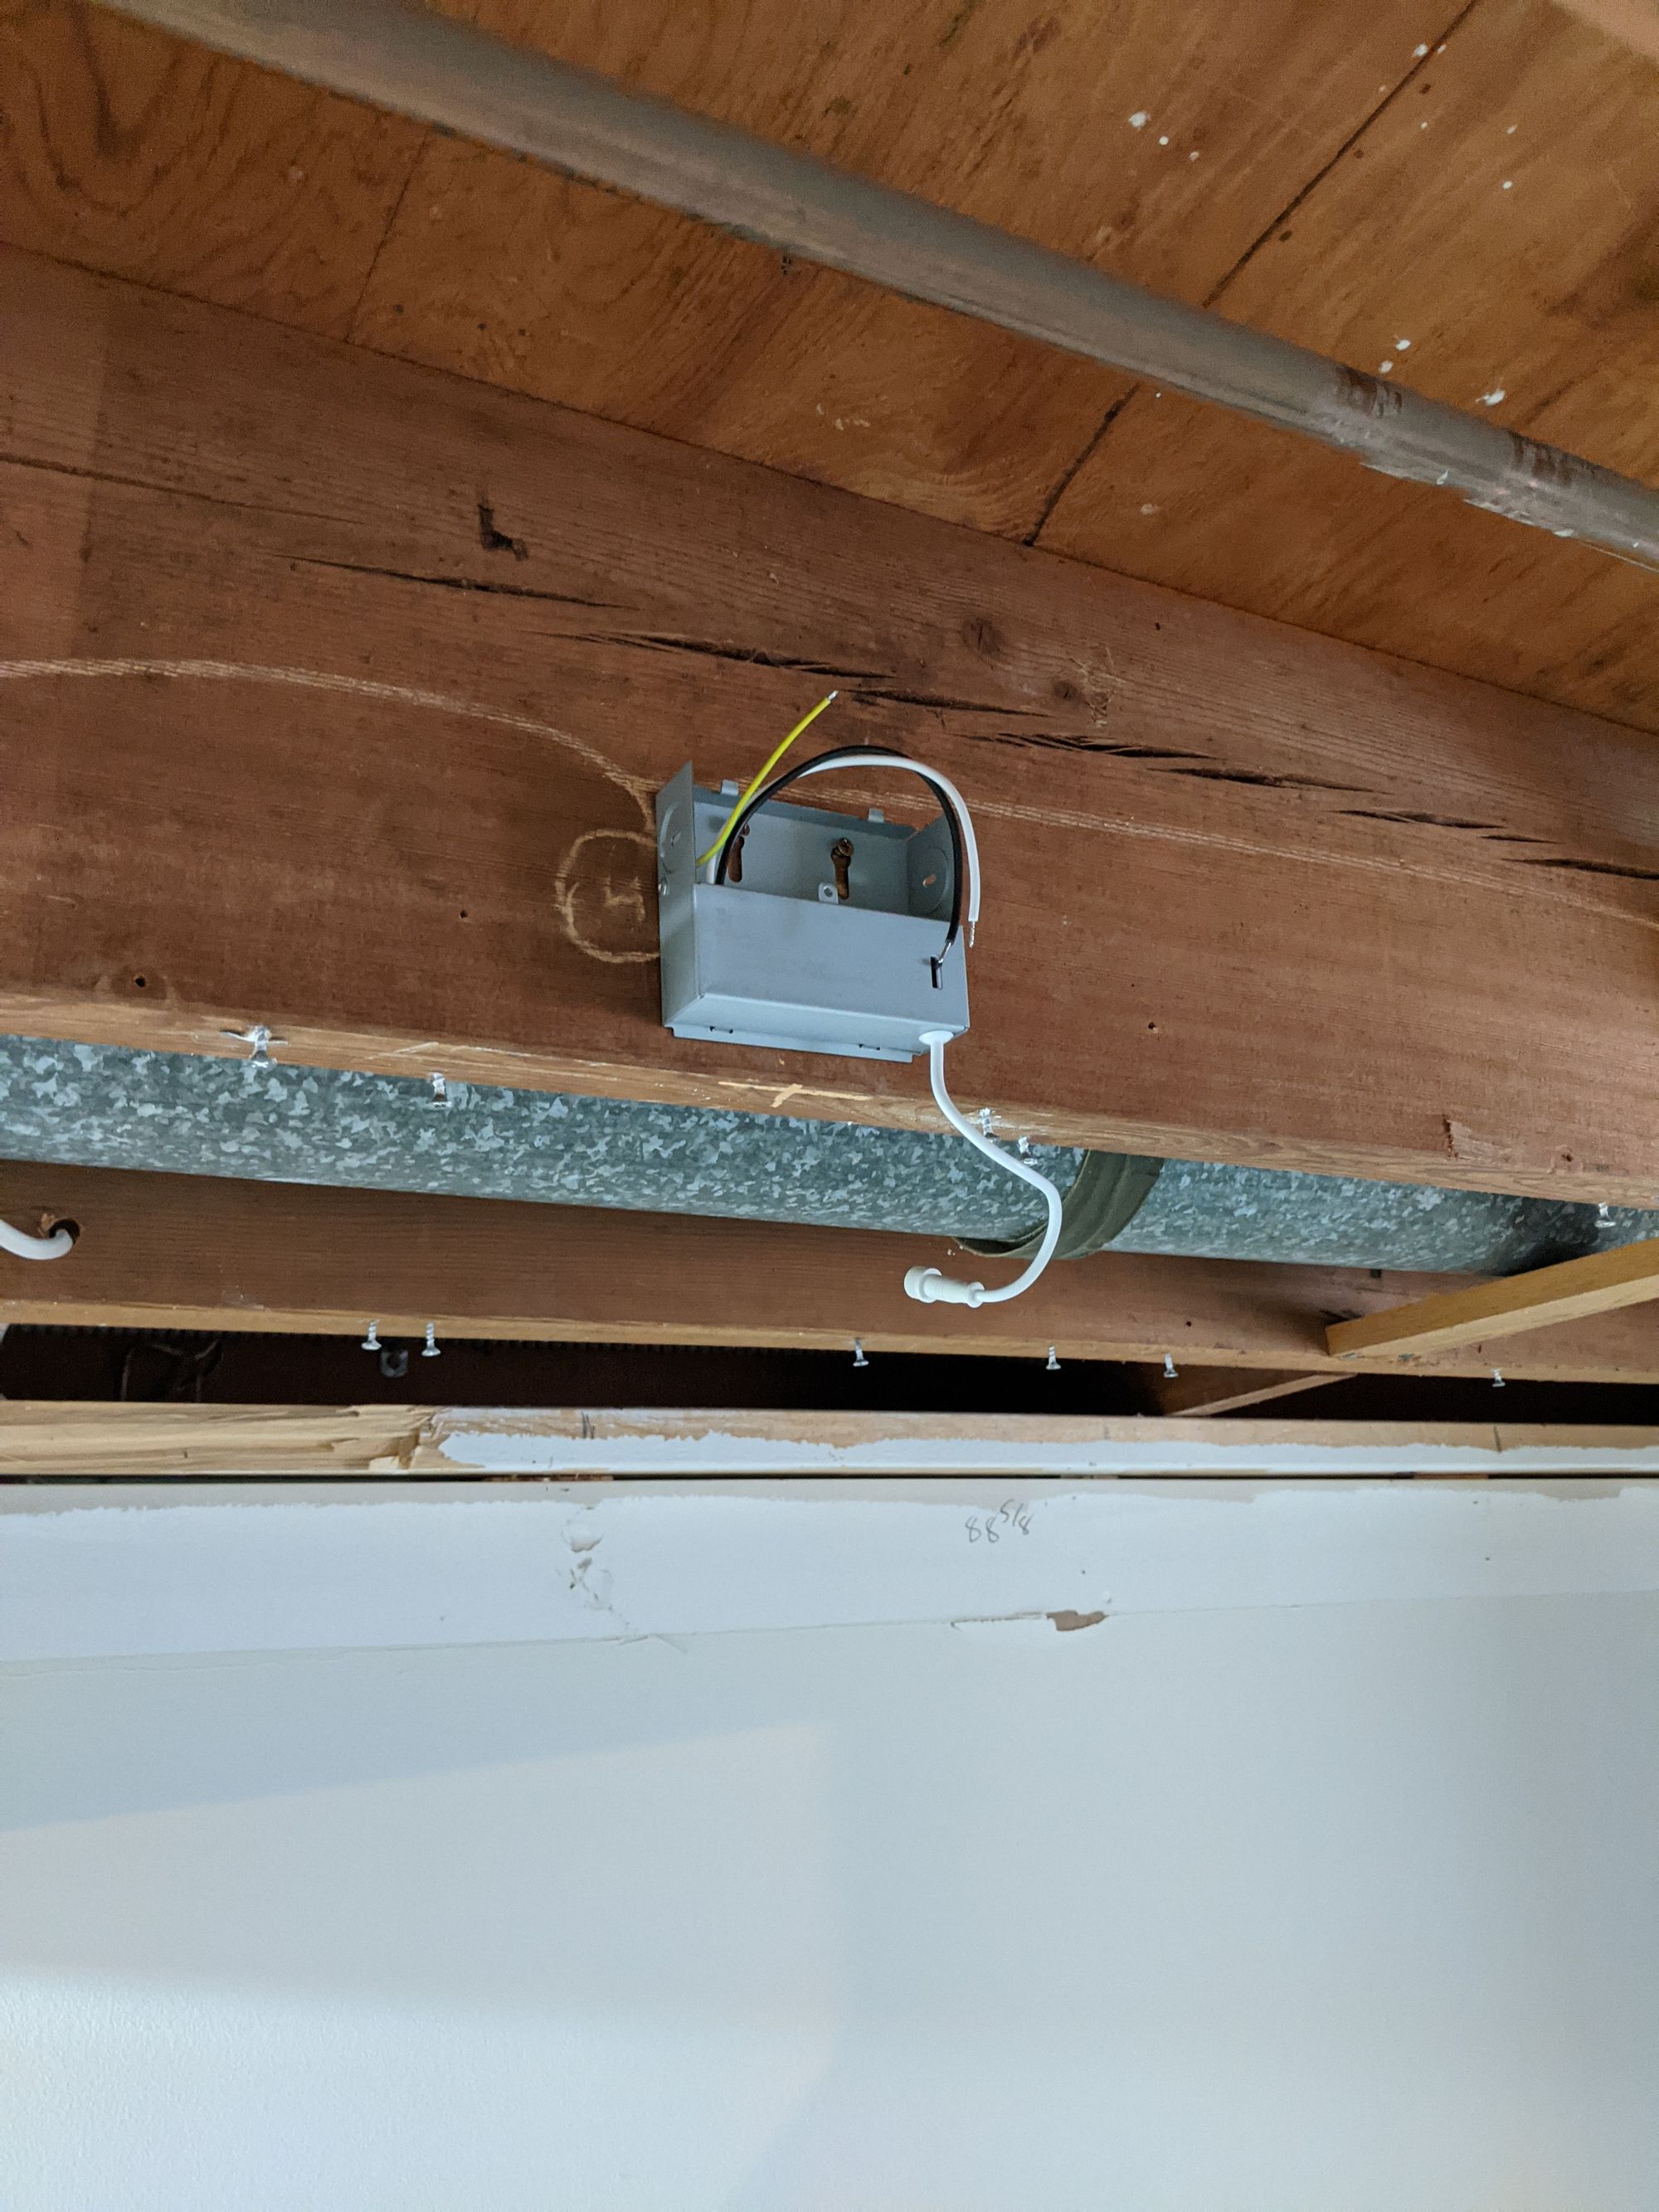
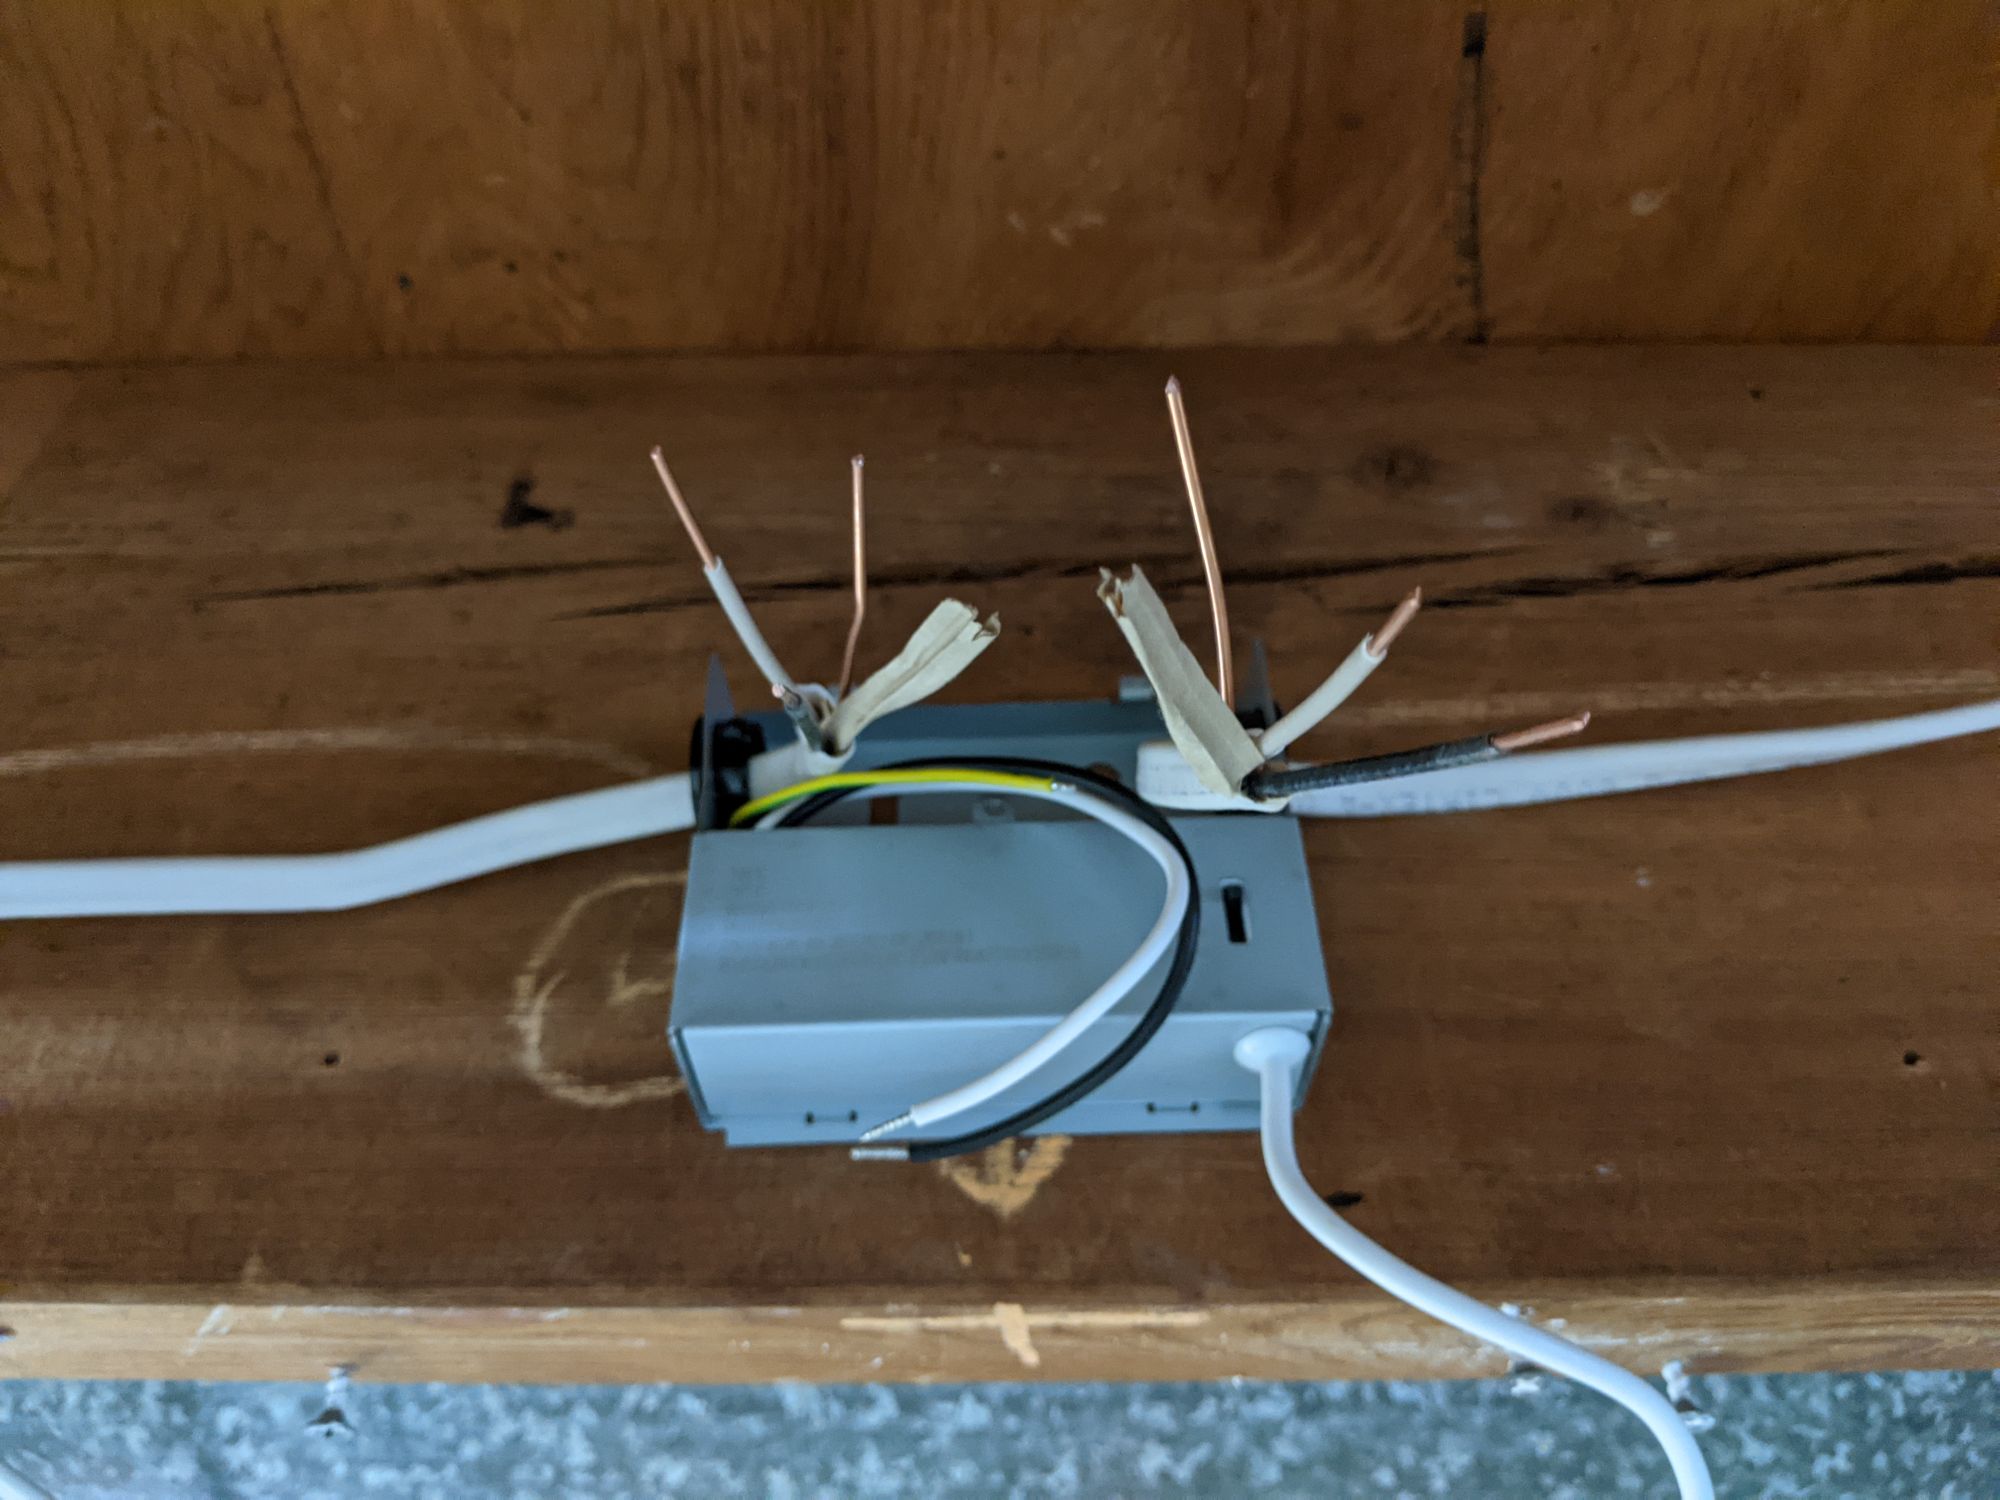
The recessed lights were all done in parallel, so if one goes out, it doesn't affect the others. All that means in practice is we used wire nuts to nut all the same-color wires together and you tuck them into the box!
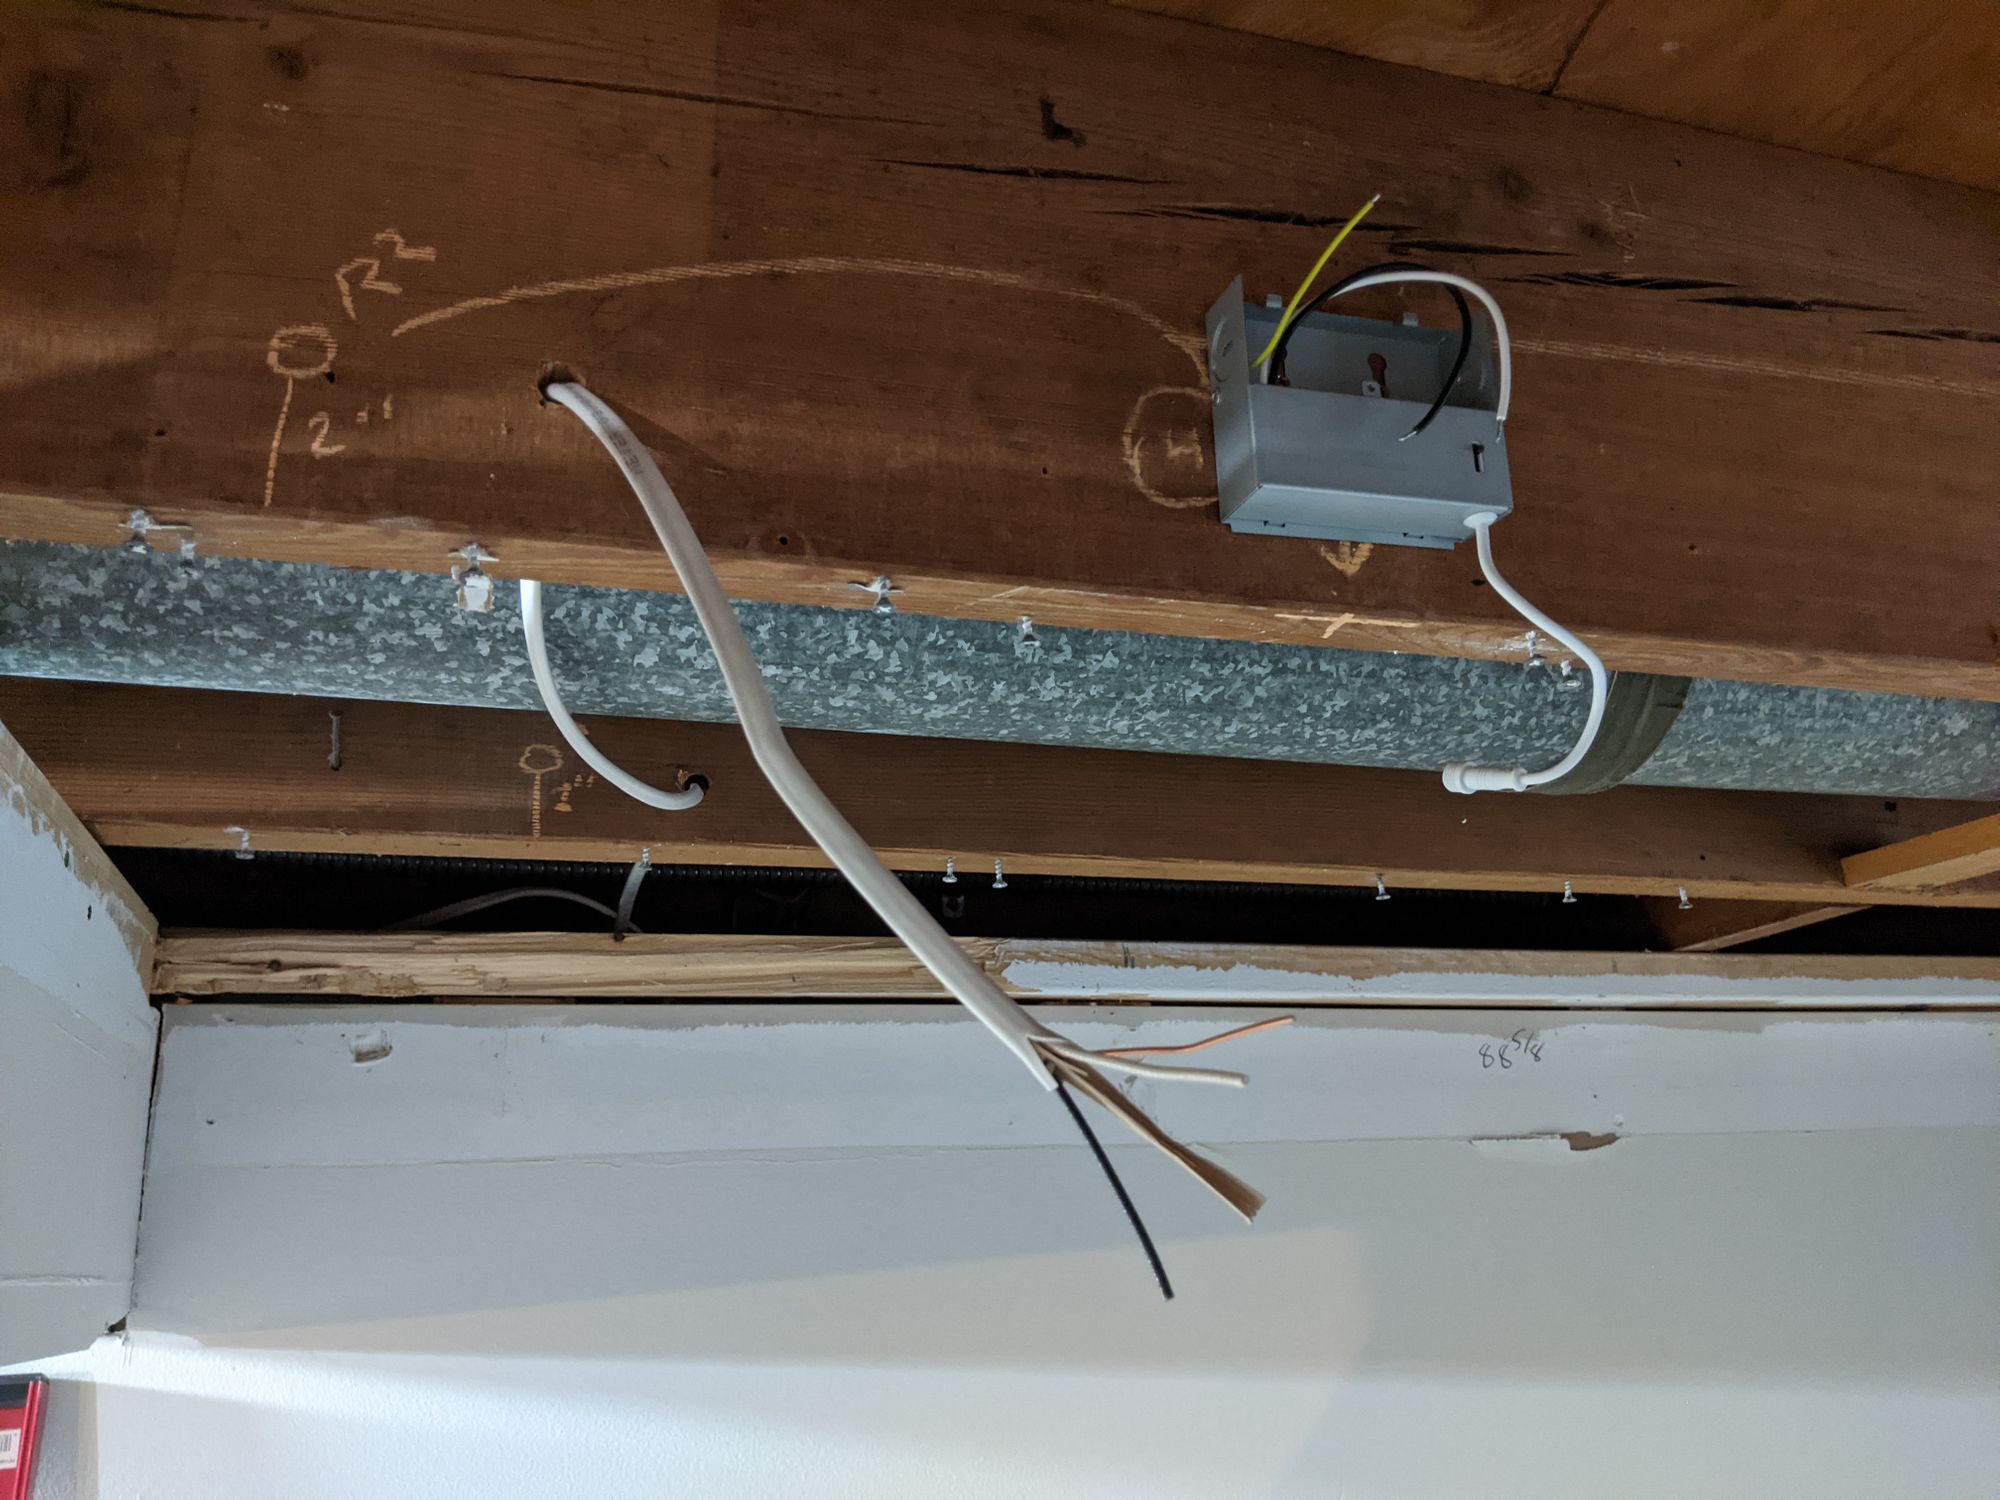
Make sure to add the hole punches
Just a note, don't forget these plastic things that plug into the holes you punch out from the boxes that help protect the wires from snagging:
They are called knockout bushings (I didn't know it until I searched around) and you can find them at electric supply or home centers.

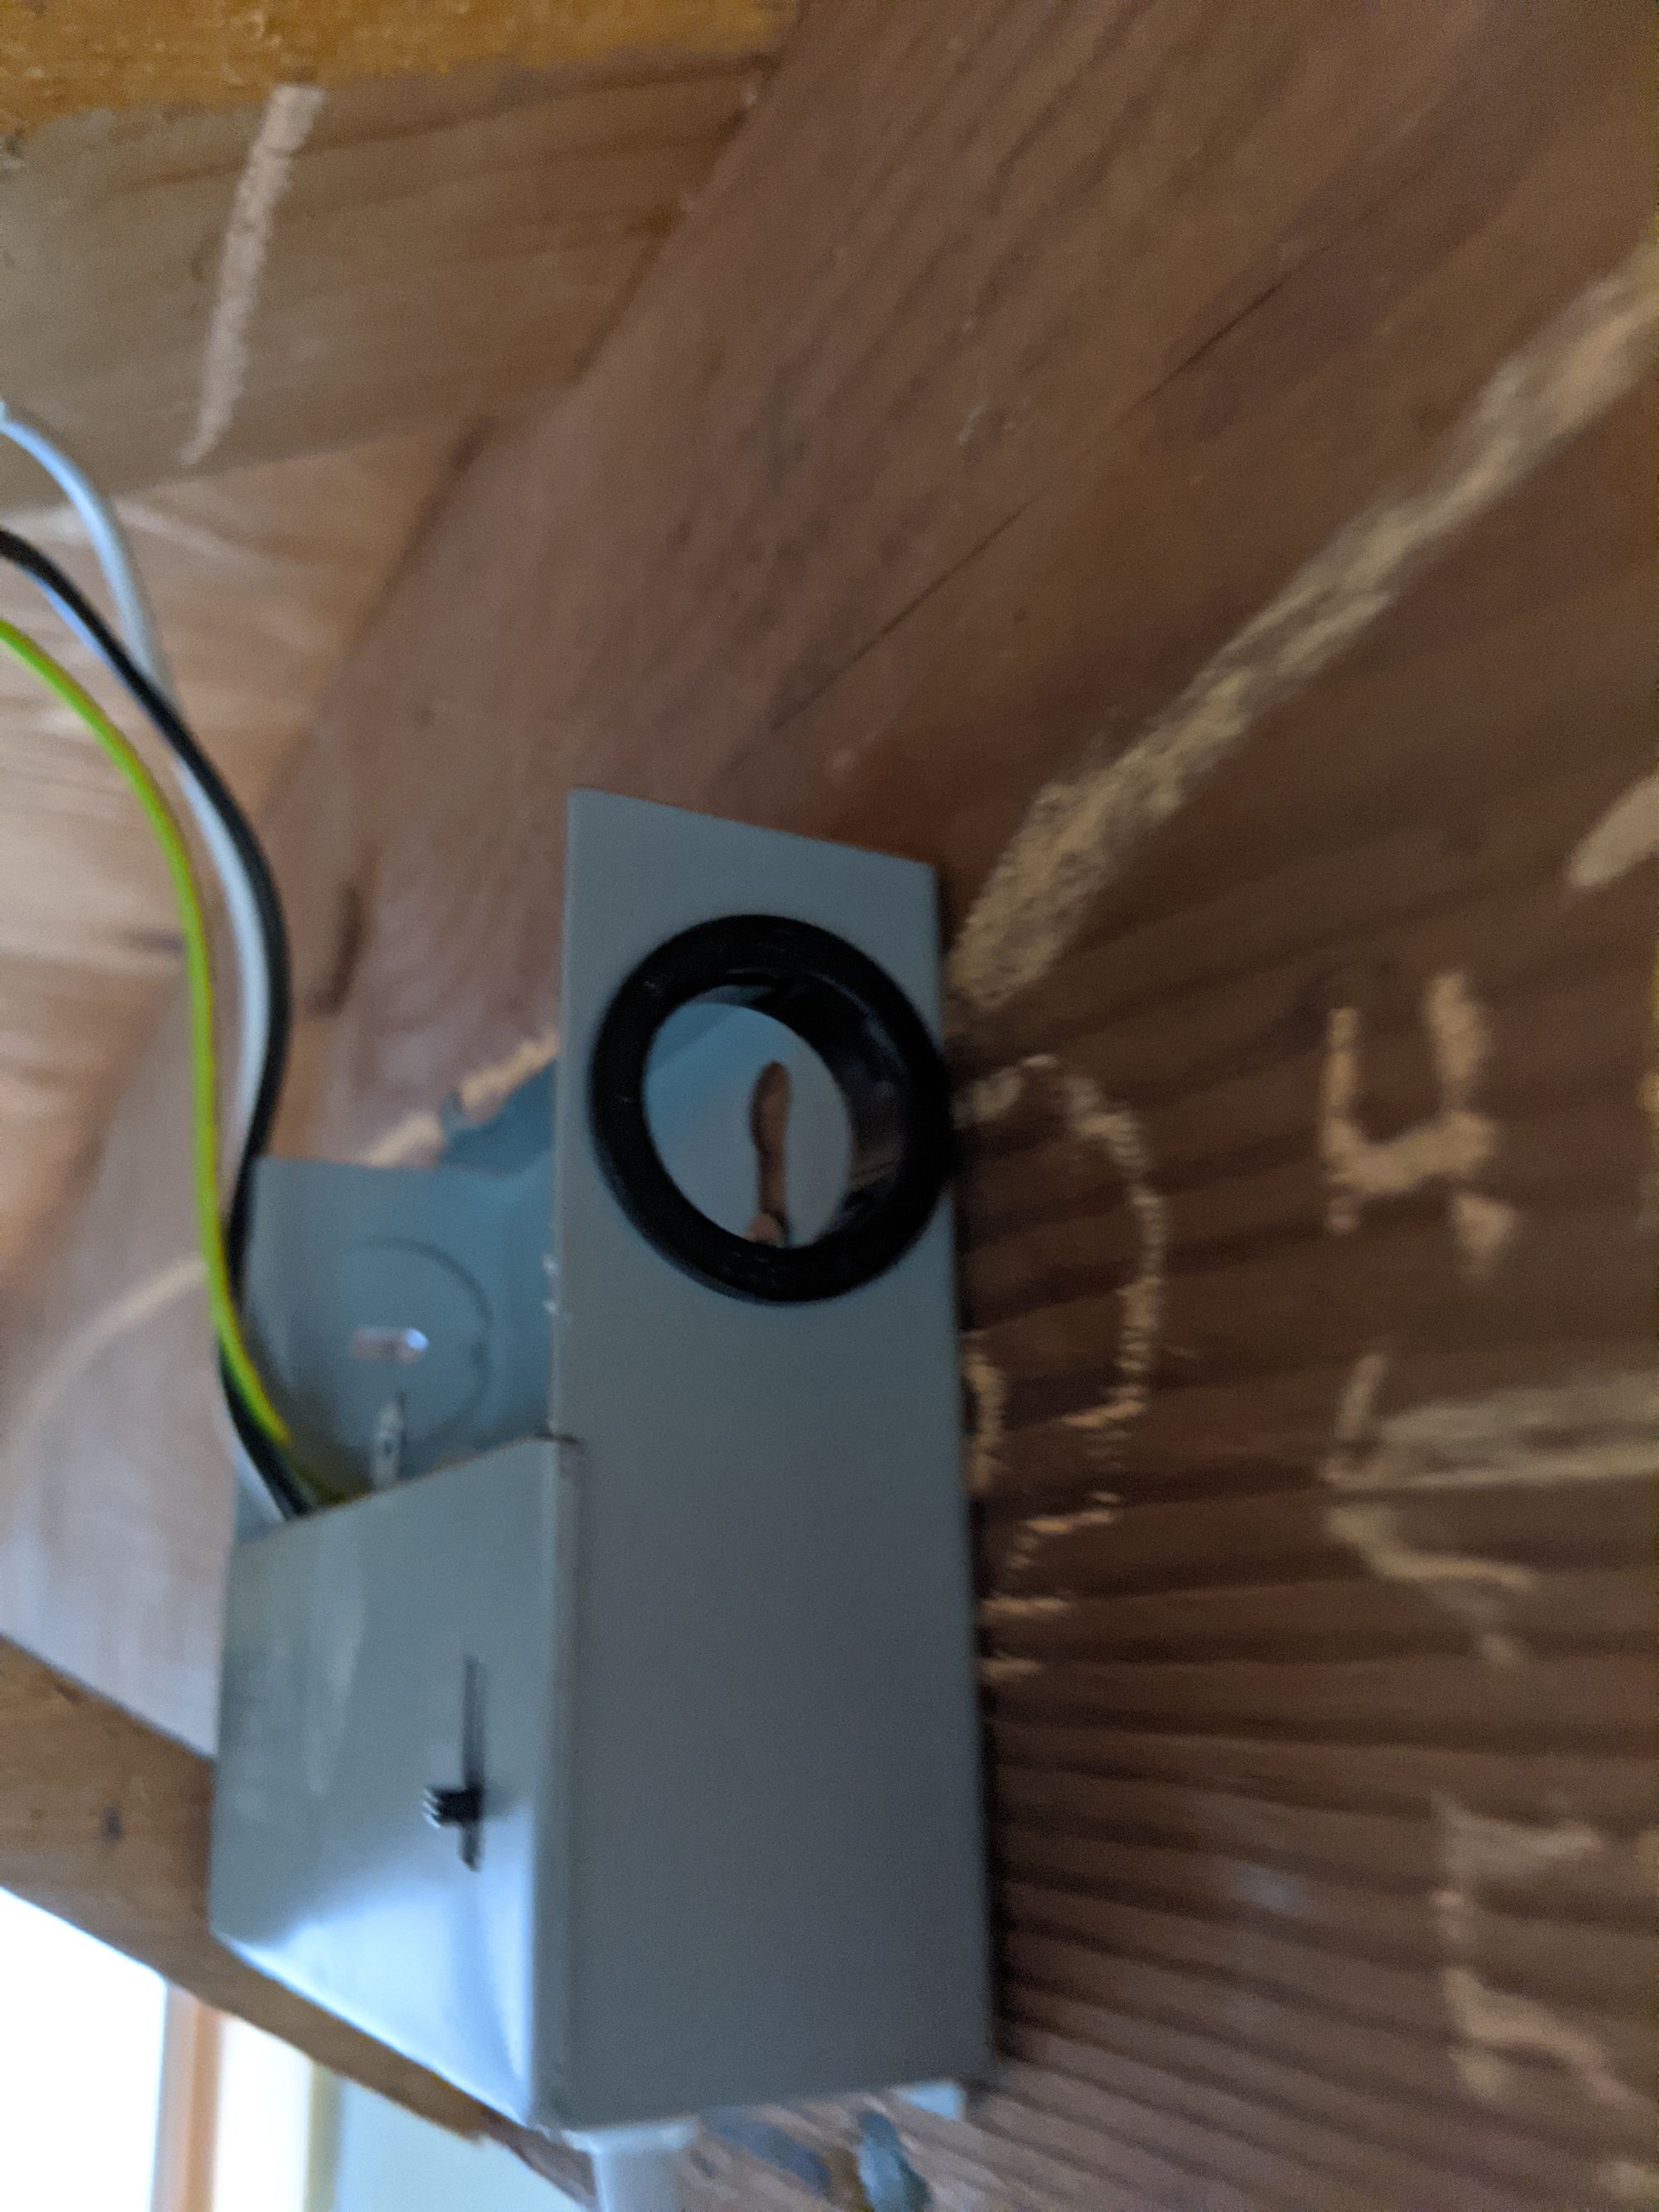
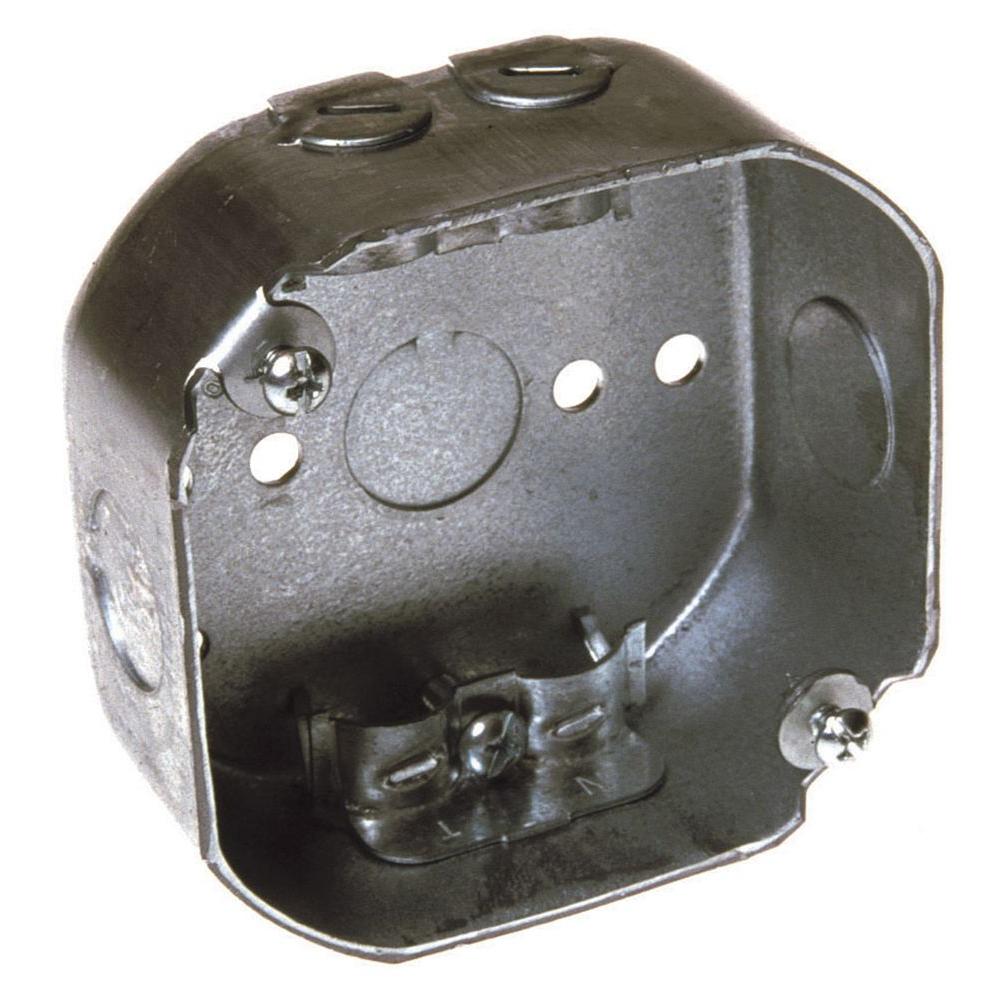
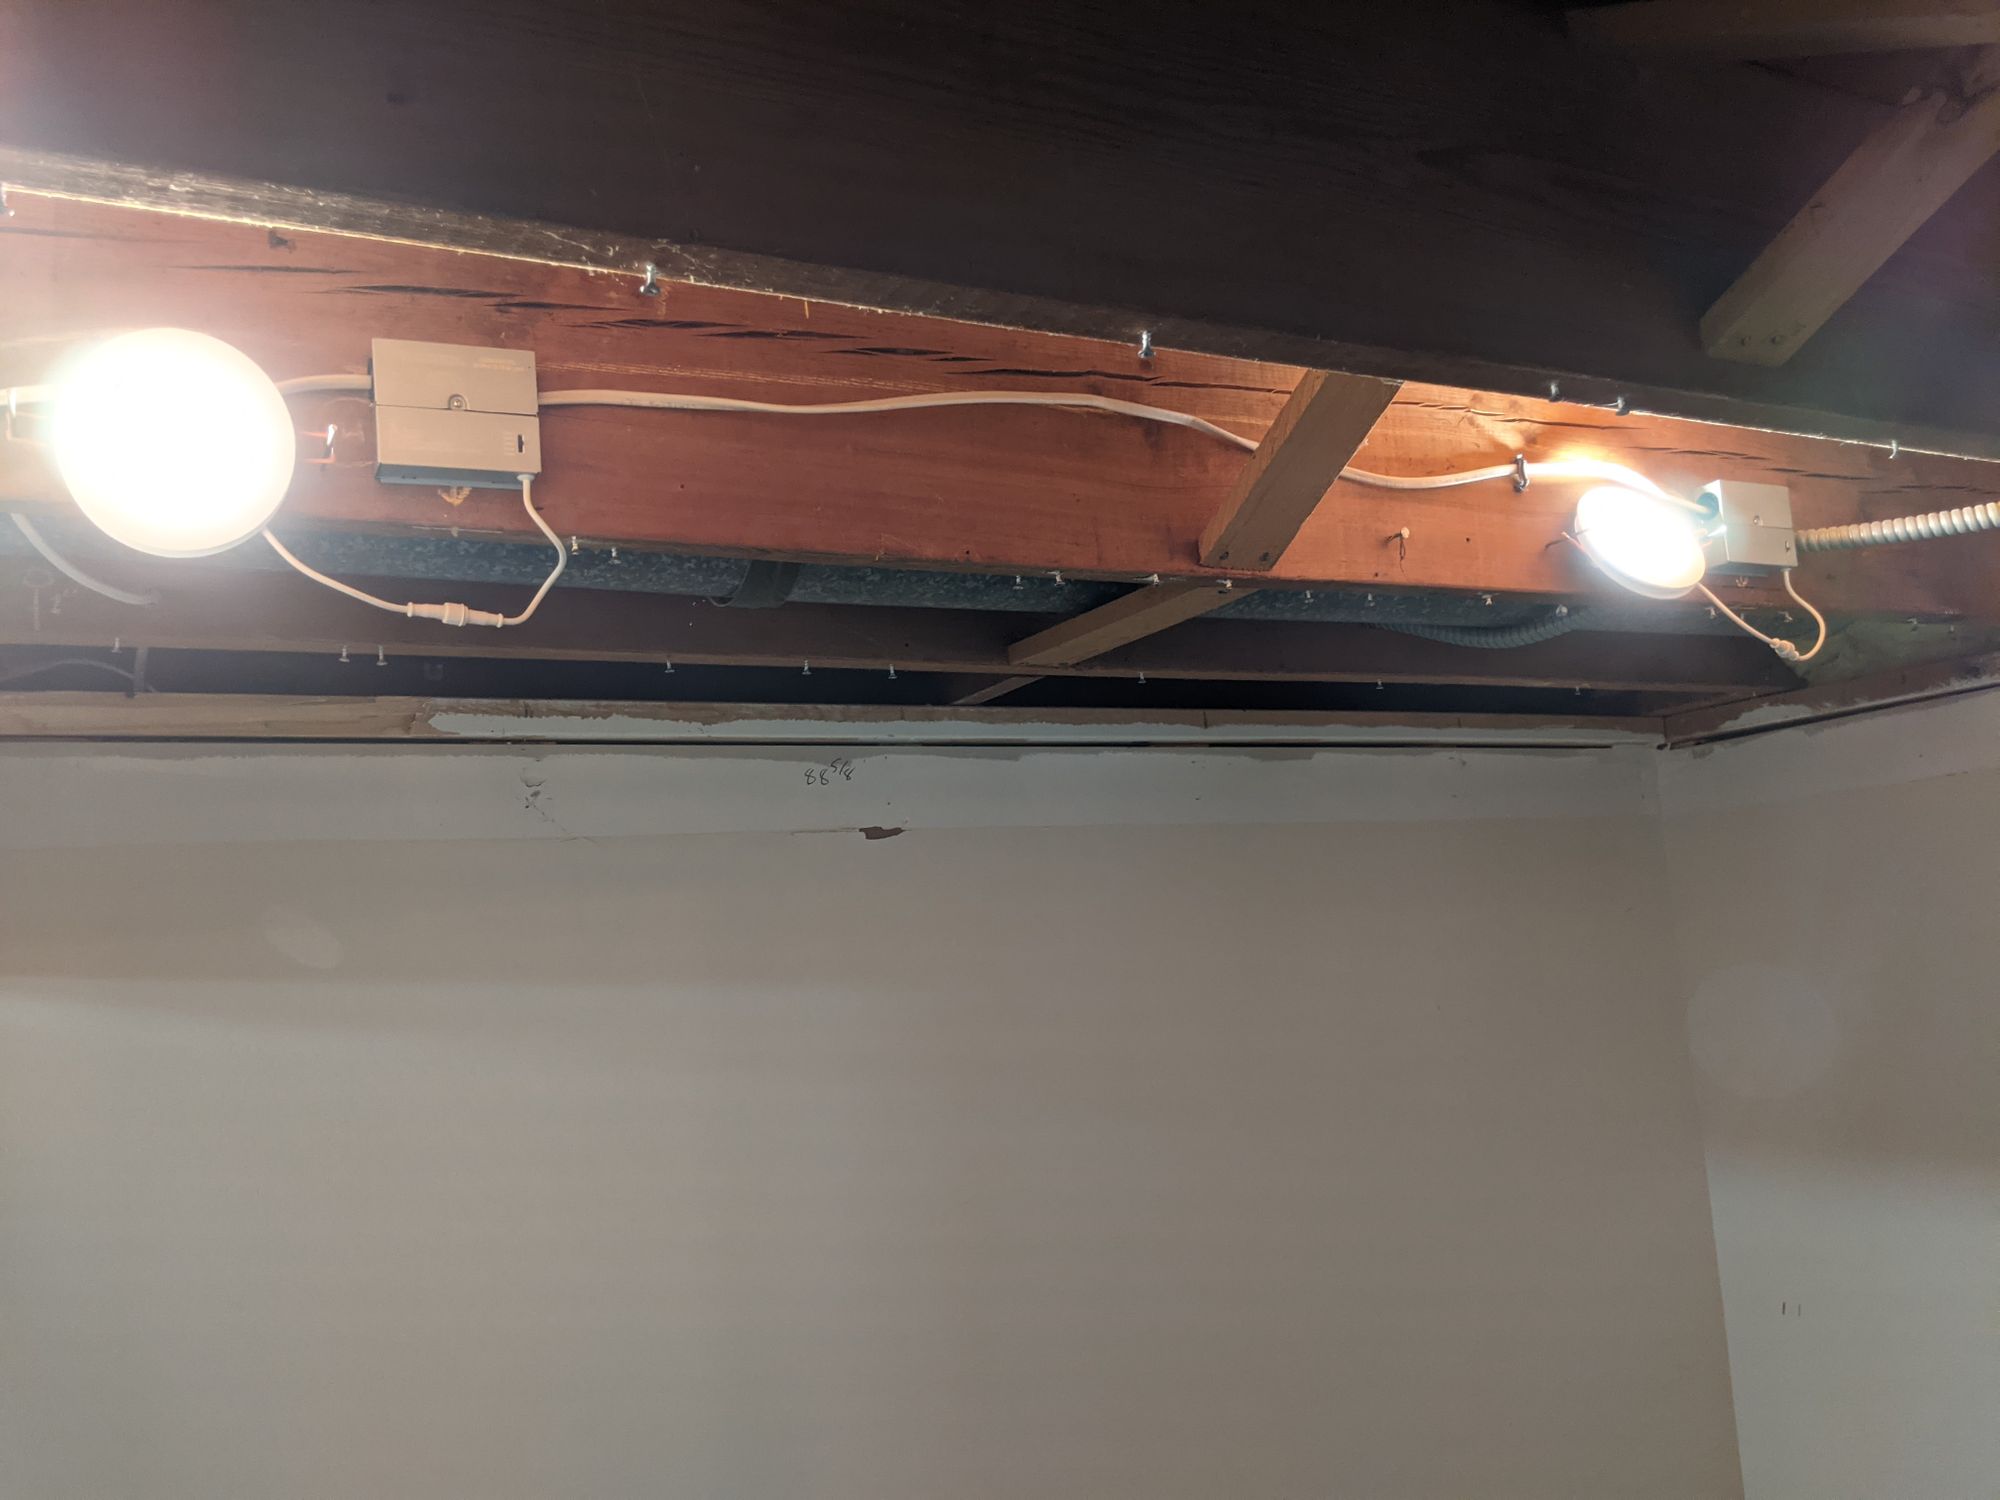
Roughing-in track light fixture
My dad and brother roughed in all the recessed lighting but I did the track light myself. For my light it called for a octogon box and due to my finished ceiling, it had to be at a specific height.
The box I got had NMSC (sheathed cable) clamps and I just got it at Home Depot.
To install it, I needed to add blocking (a 2x4) between the joists and then I marked the blocking with the laser level on the point that would be the center of the box. I installed the box to the blocking with screws.
I did not fasten the blocking, I just left it in compression fit until I could install and level out my ceiling tracks for the planks. I'd be using shims so I couldn't know what the final measurements would be. This would allow me to adjust the height of the blocking so the box would be in the correct position for the finished ceiling height.
Roughing in switch box
I followed Jeff's system of doing all power-in coming to the top of the box and all power-out to the fixtures coming from the bottom. I marked which switch controlled what lights.
I did not bring power into the box myself. Instead I just ran all the wire from the fixtures into the box and fastened them all to the studs/joists as needed.
After thinking hard on it, my dad and I realized we'd have to bring two cables into the box. One to power the lights in the craft room and the other to create a switch circuit for the existing utility lights. To do this we'd have to adjust the junction boxes.
Instead of trying to DIY this, I knew I should just hire a professional.
Hiring a pro electrician
The major benefit of DIY is to save money. In the case of electrical, you can rough-in almost everything yourself using basic wiring skills. This saves a ton of money. But when it comes to bringing in power from a box or panel, you should probably hire it out.
That is what I did and this is what I asked them to do for me:
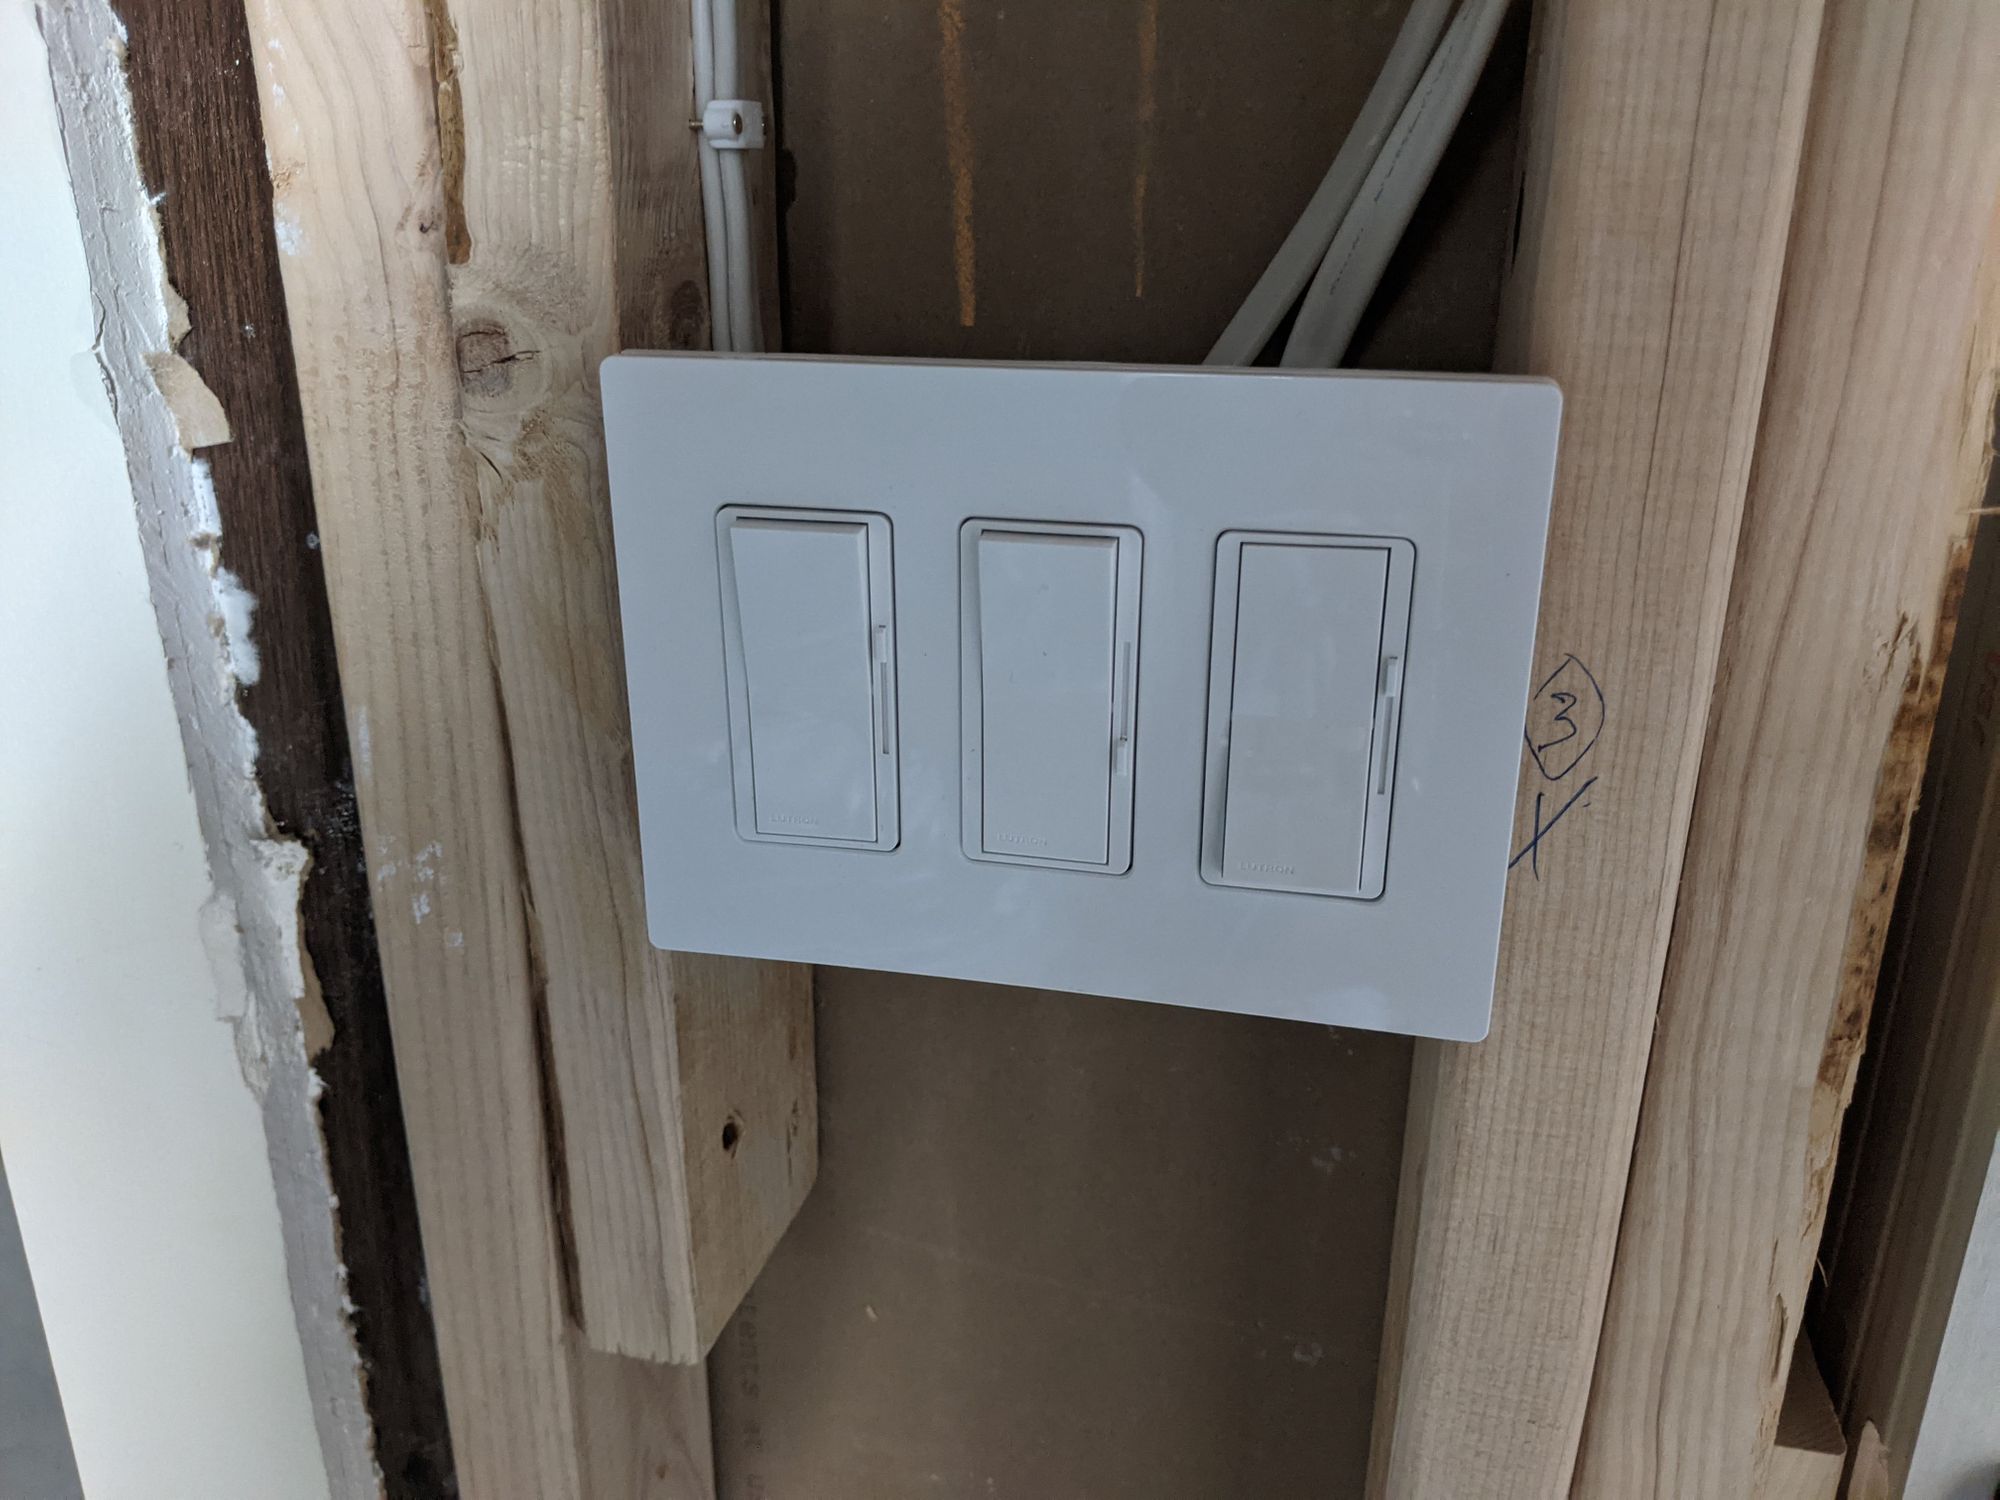
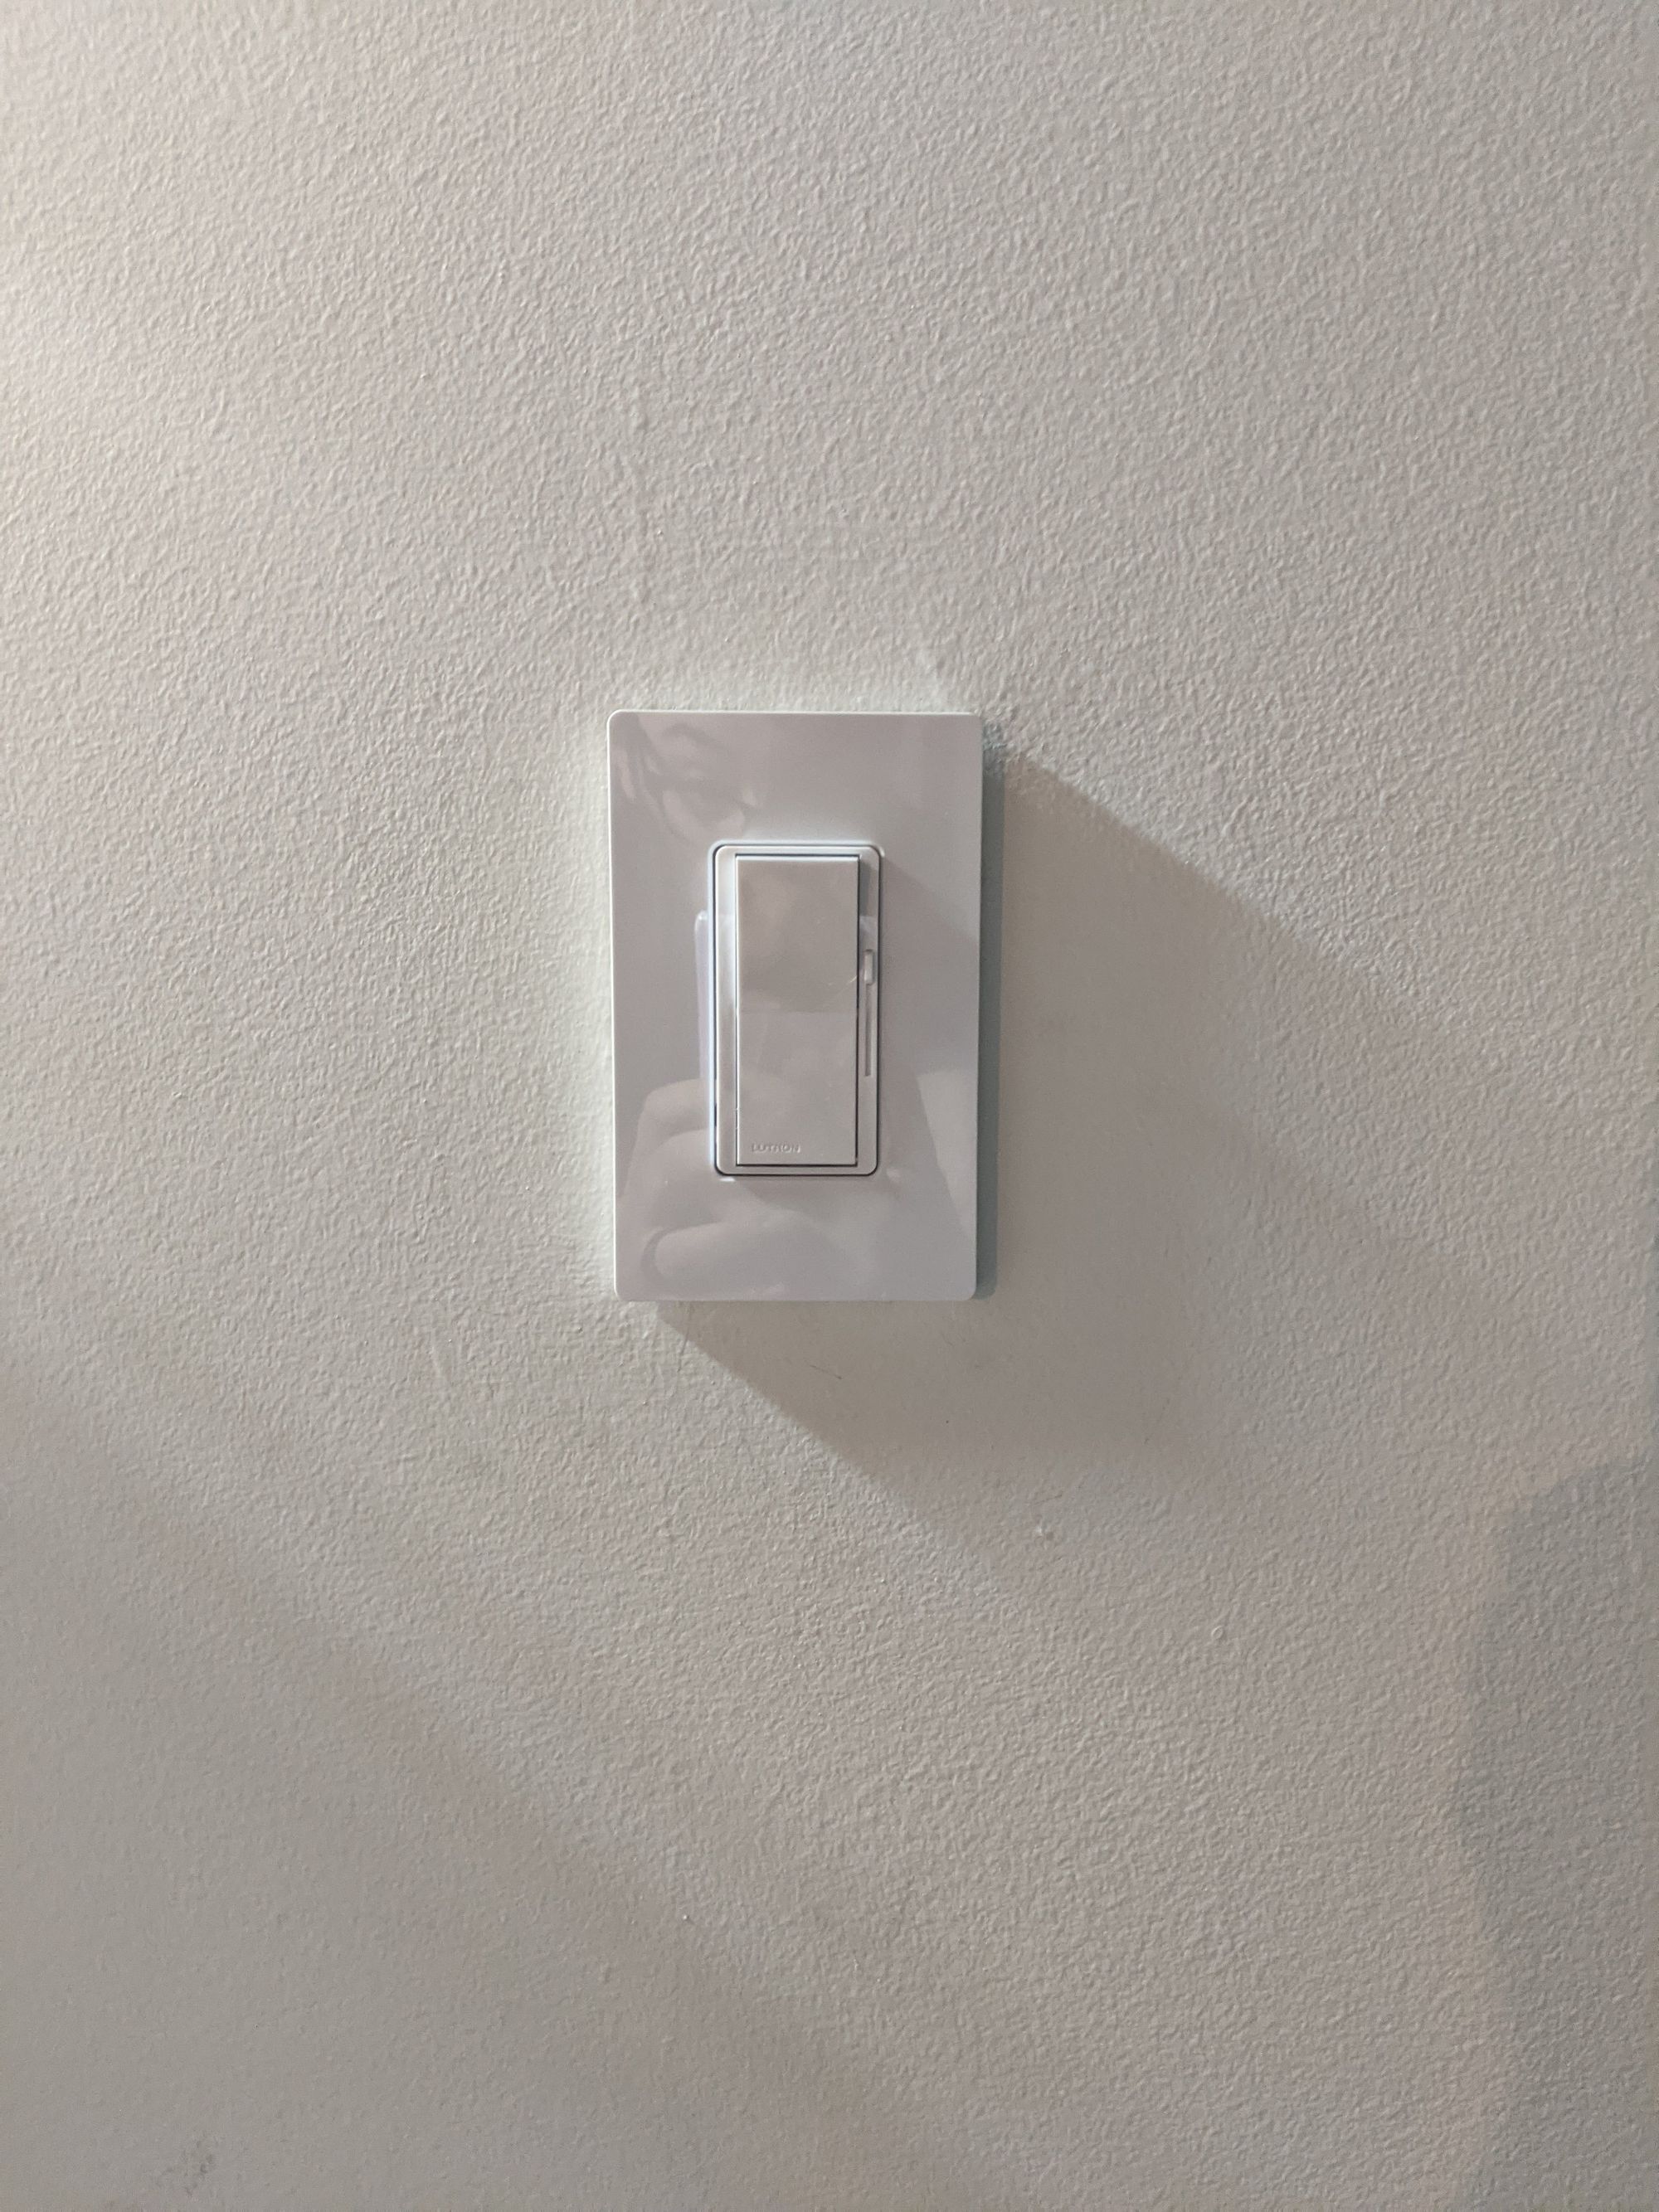
- Install the 3 dimmer switches
- Replace a switch with a dimmer switch
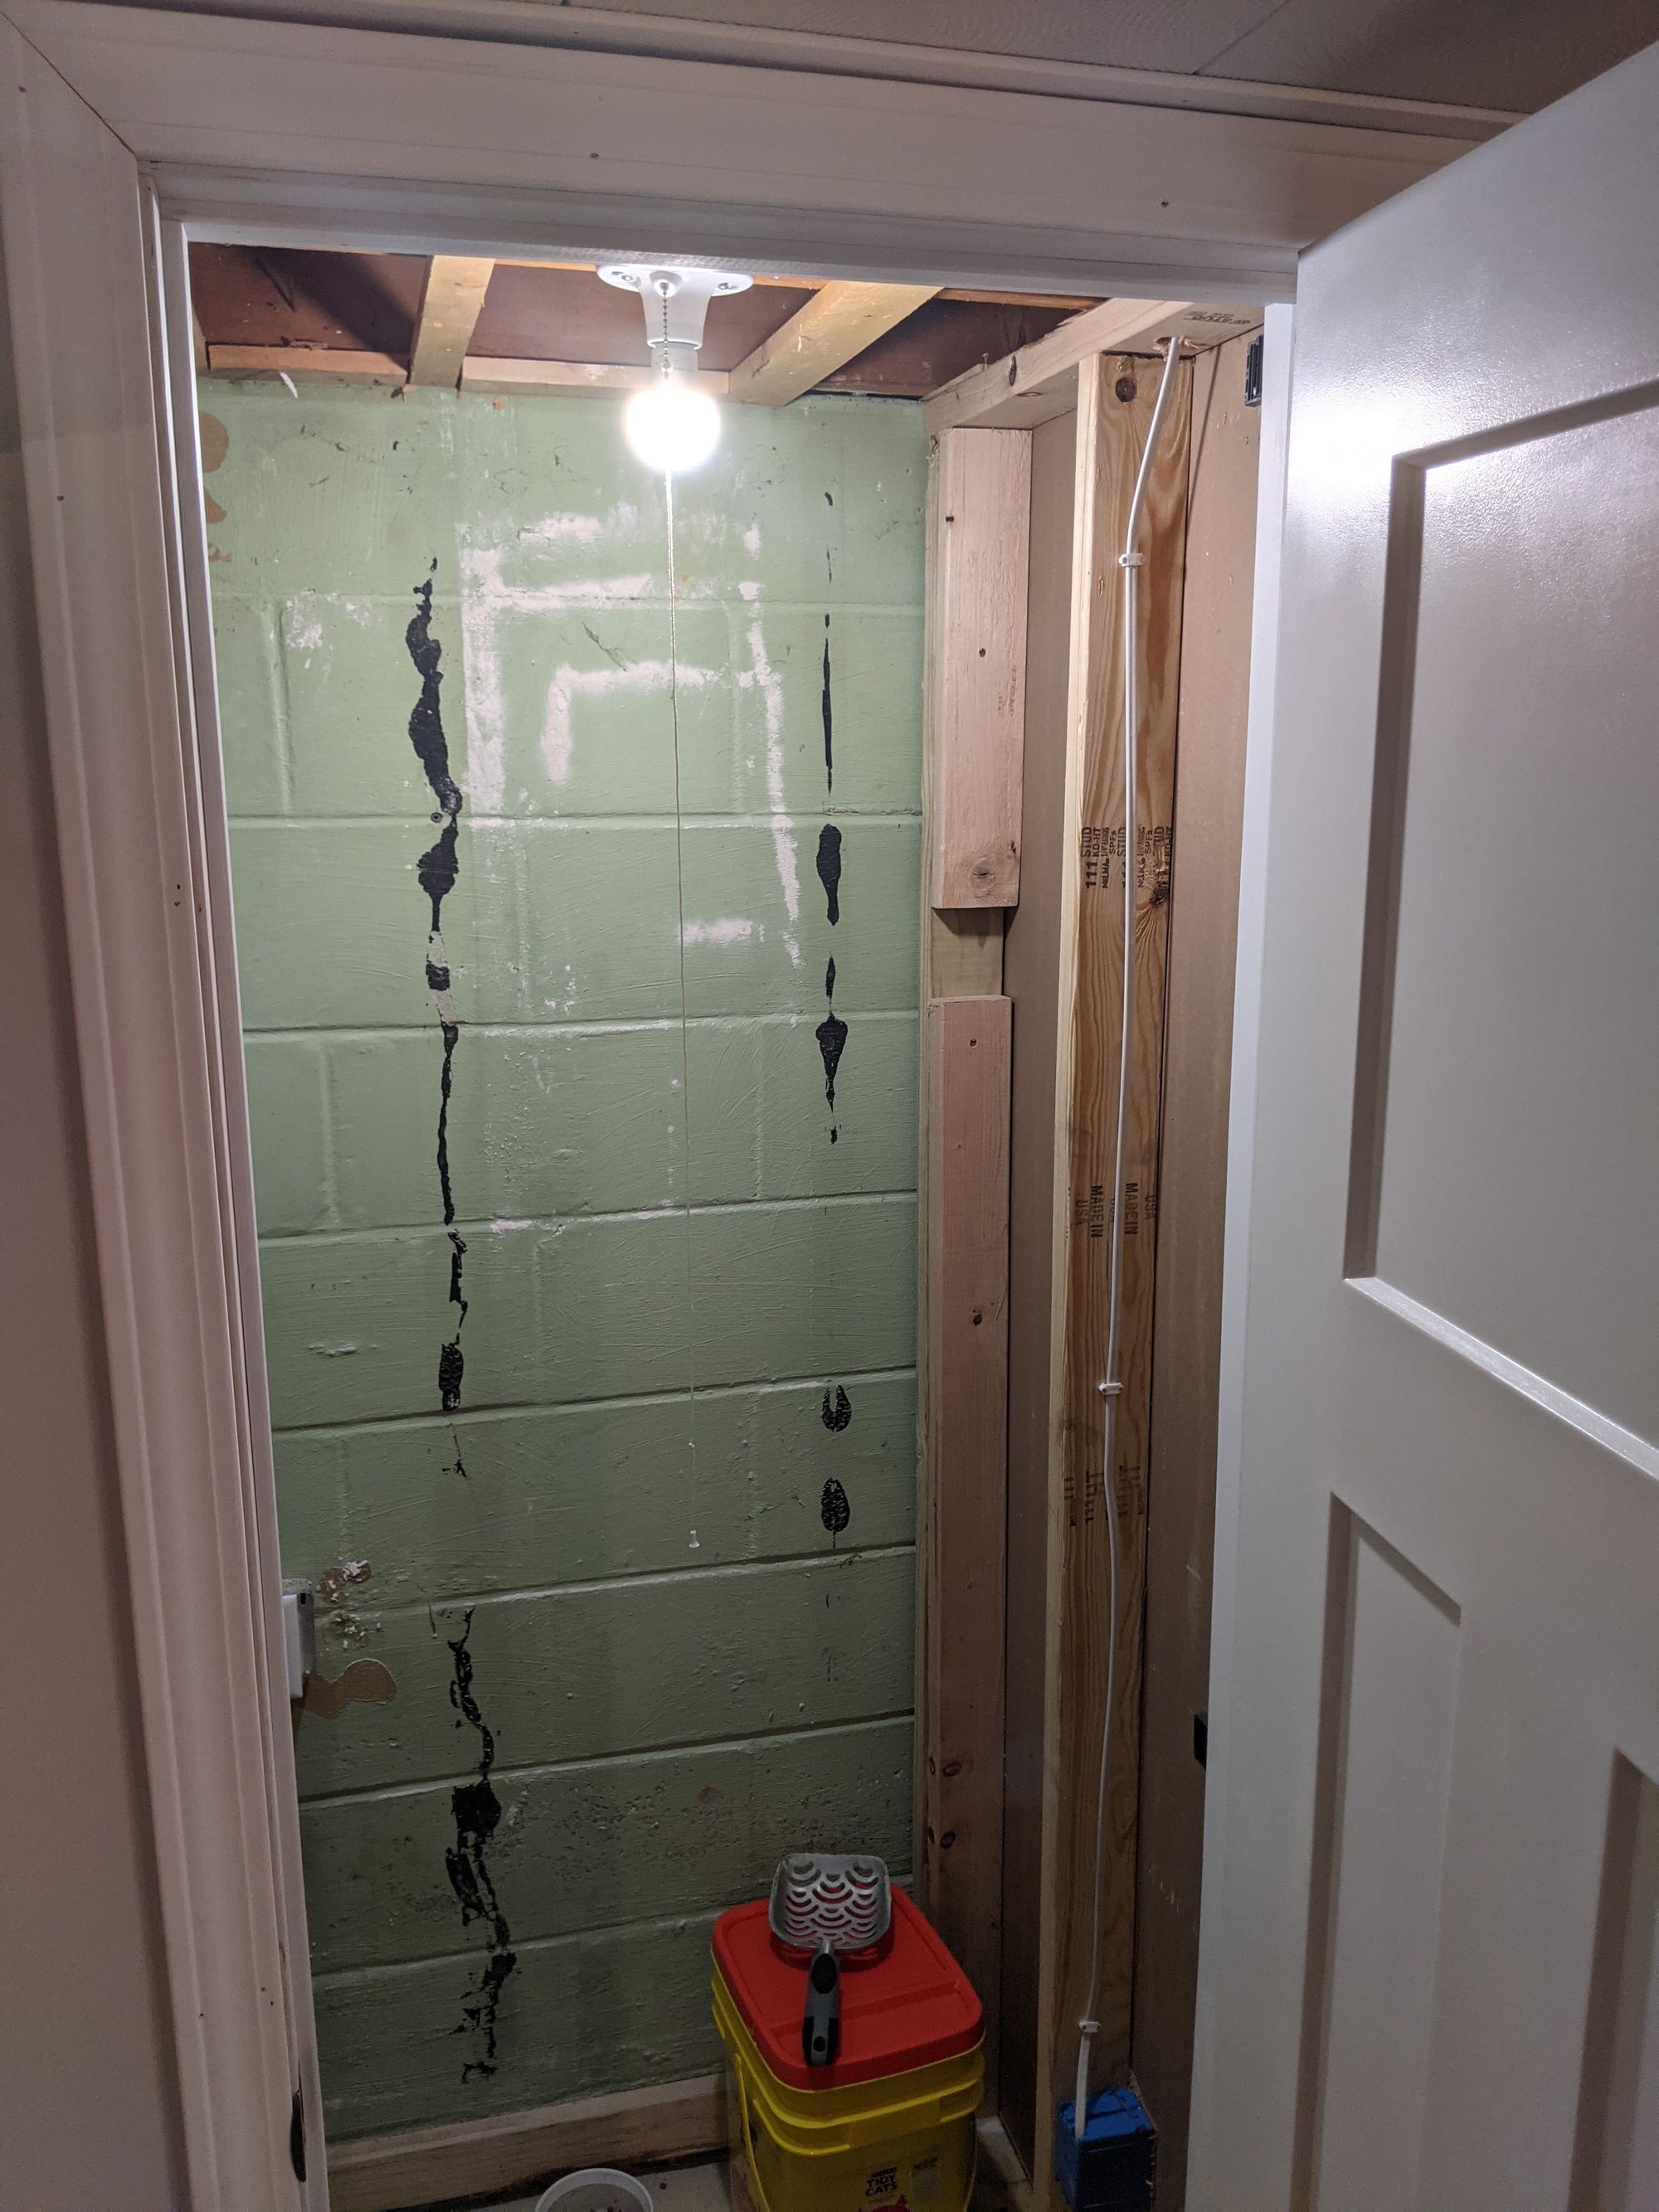
- Install a brand new outlet into the stair closet
What they ended up doing was that and more:
- Added arc-fault protection for code compliance
- Rewired several circuits for code compliance
- Added a light fixture to the stair closet for convenience
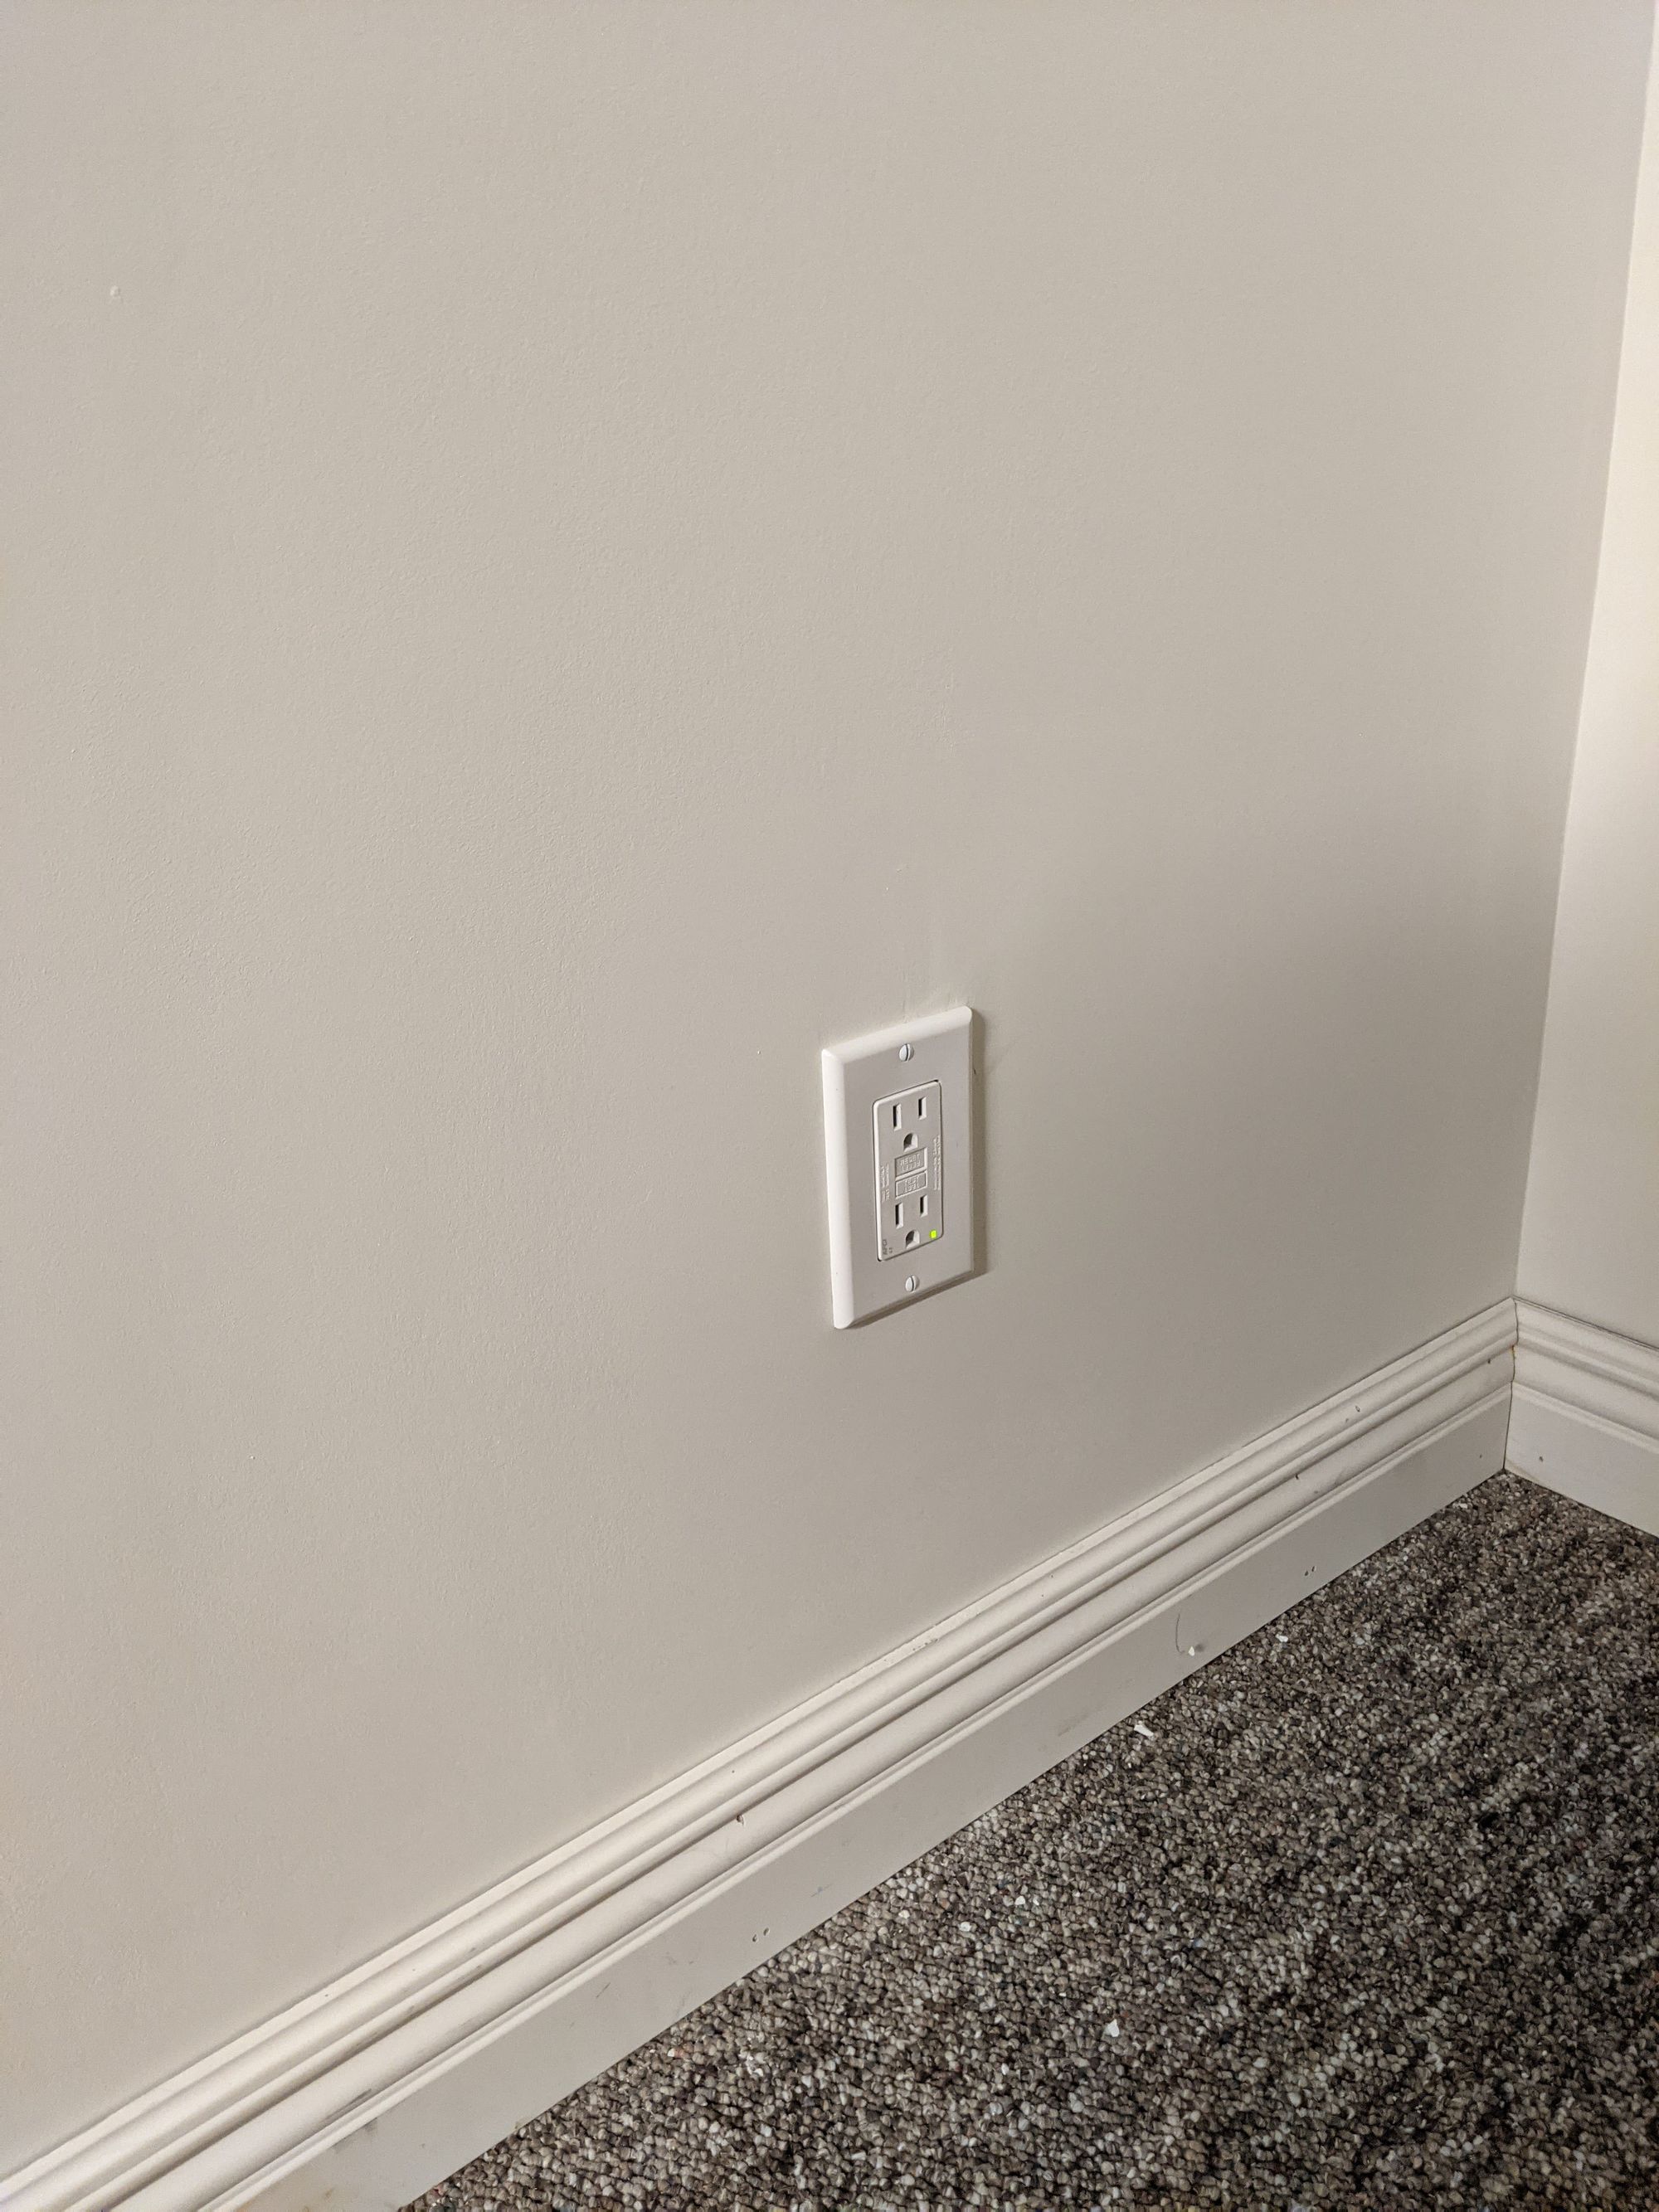
- Replaced the stair closet 4 gang outlet box with a 2 gang GFCI outlet for code compliance
- Wired up my track light to the junction box I roughed in for convenience
It took 4 hours and I definitely couldn't do what he did very easily, not without a lot of research and video watching and hours of my life. I was happy to pay for it (costs will be tallied at the end).
If you're in the Twin Cities metro area in Minnesota, my electrician is South Side Electric. I'd recommend them as they did a great job (and passed inspection).
DIY but don't skimp on safety. We are frugal not cheap.
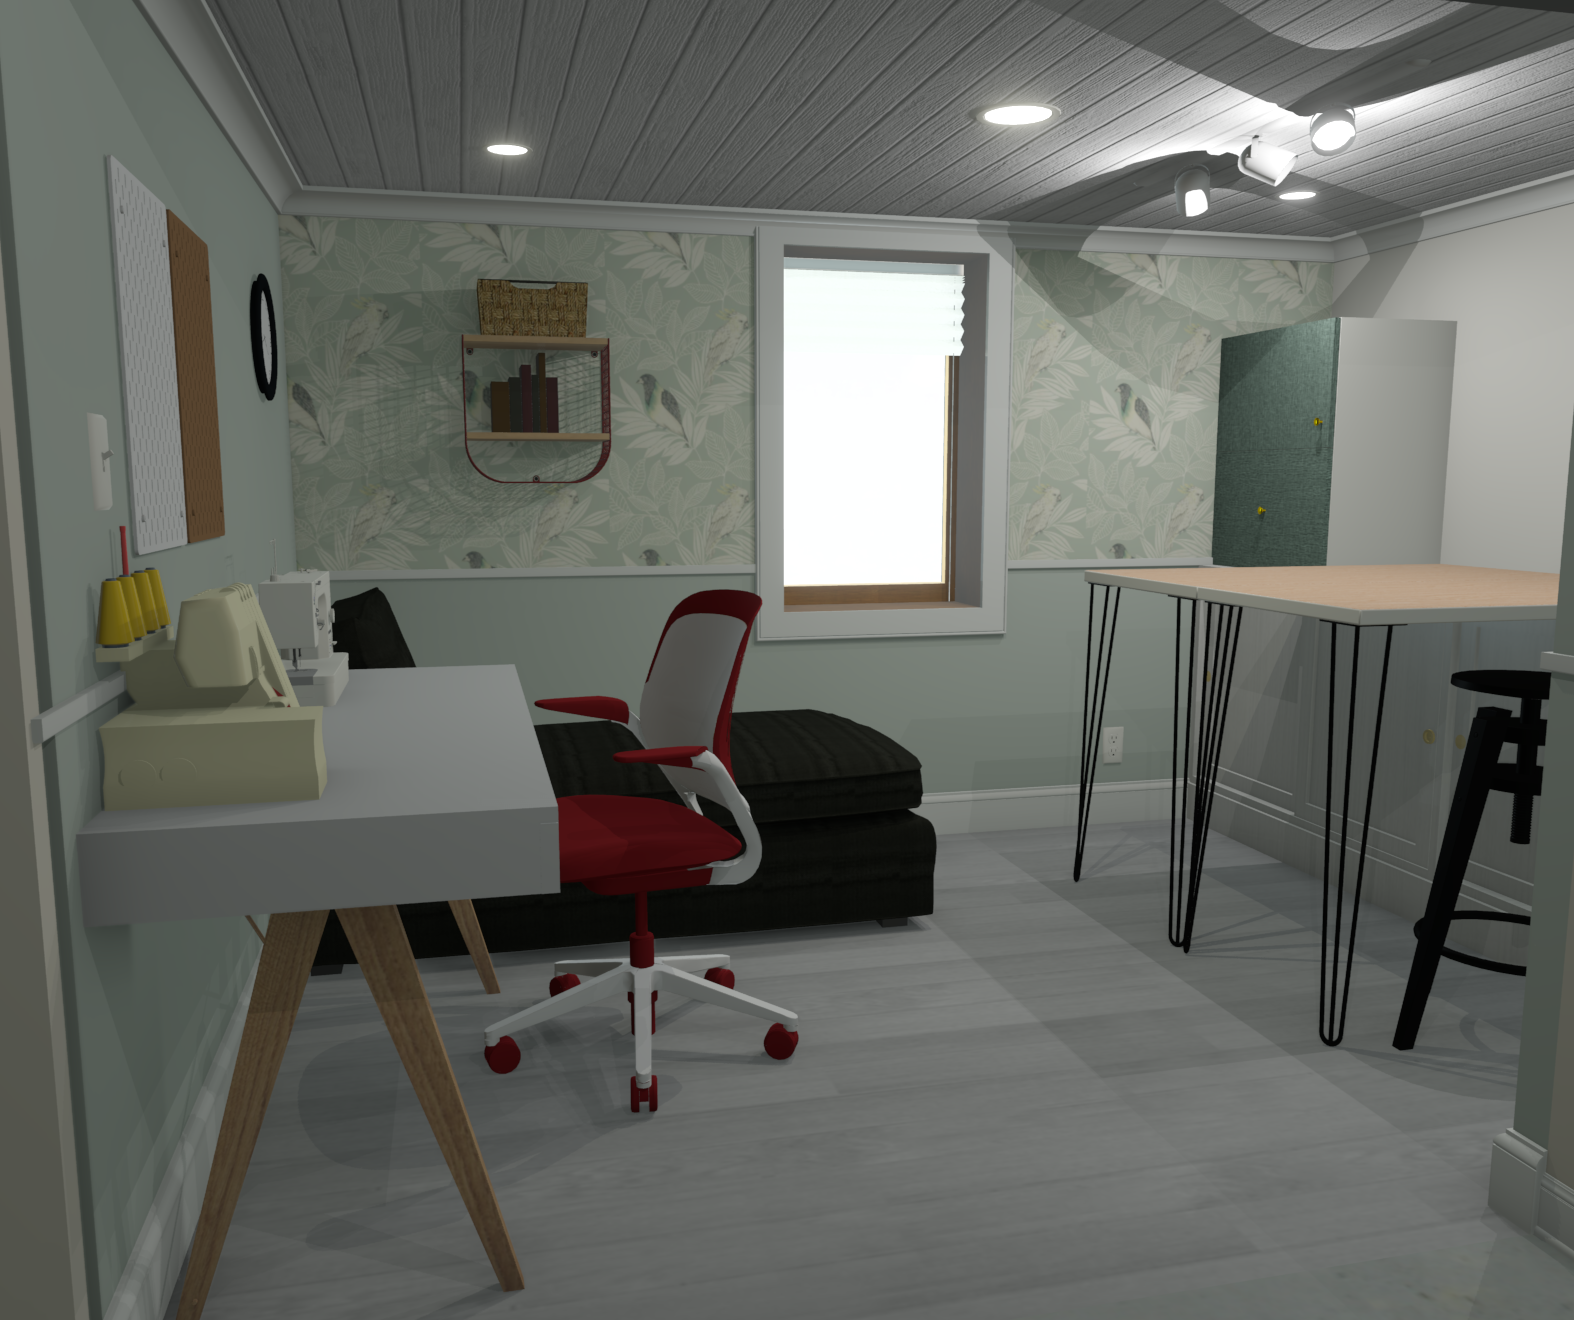
Let there be light!
After my dad and the electrician were done, the room was wired for brand new lighting!

Up next: the ceiling
Happy days! After the electrical was finished I called in the inspector, he okayed it all with no further changes and I could move onto the next phase of the project: the ceiling! I did an Armstrong Ceiling WoodHaven installation which I'll cover in the next post.