Disclosure: Some links on this page below are affiliate links, meaning, at no additional cost to you, we will earn a commission if you click through and purchase. Read our disclosure for more info.
Awhile back I mentioned I wanted to take care of this ghastly sump pump the previous owners installed in the basement:
 Kamran
Of course, I'm thankful we have two sump pumps and waterproofing in the basement but they left the design up to us to deal with. That's OK – we chose this house because in many ways it was a blank slate. However, it means we gotta do somethin' about it. And the time is now!
This is part 1 in my Stair Storage saga. For the rest, check out the series page:
May we suggest an author? Cassie Kamran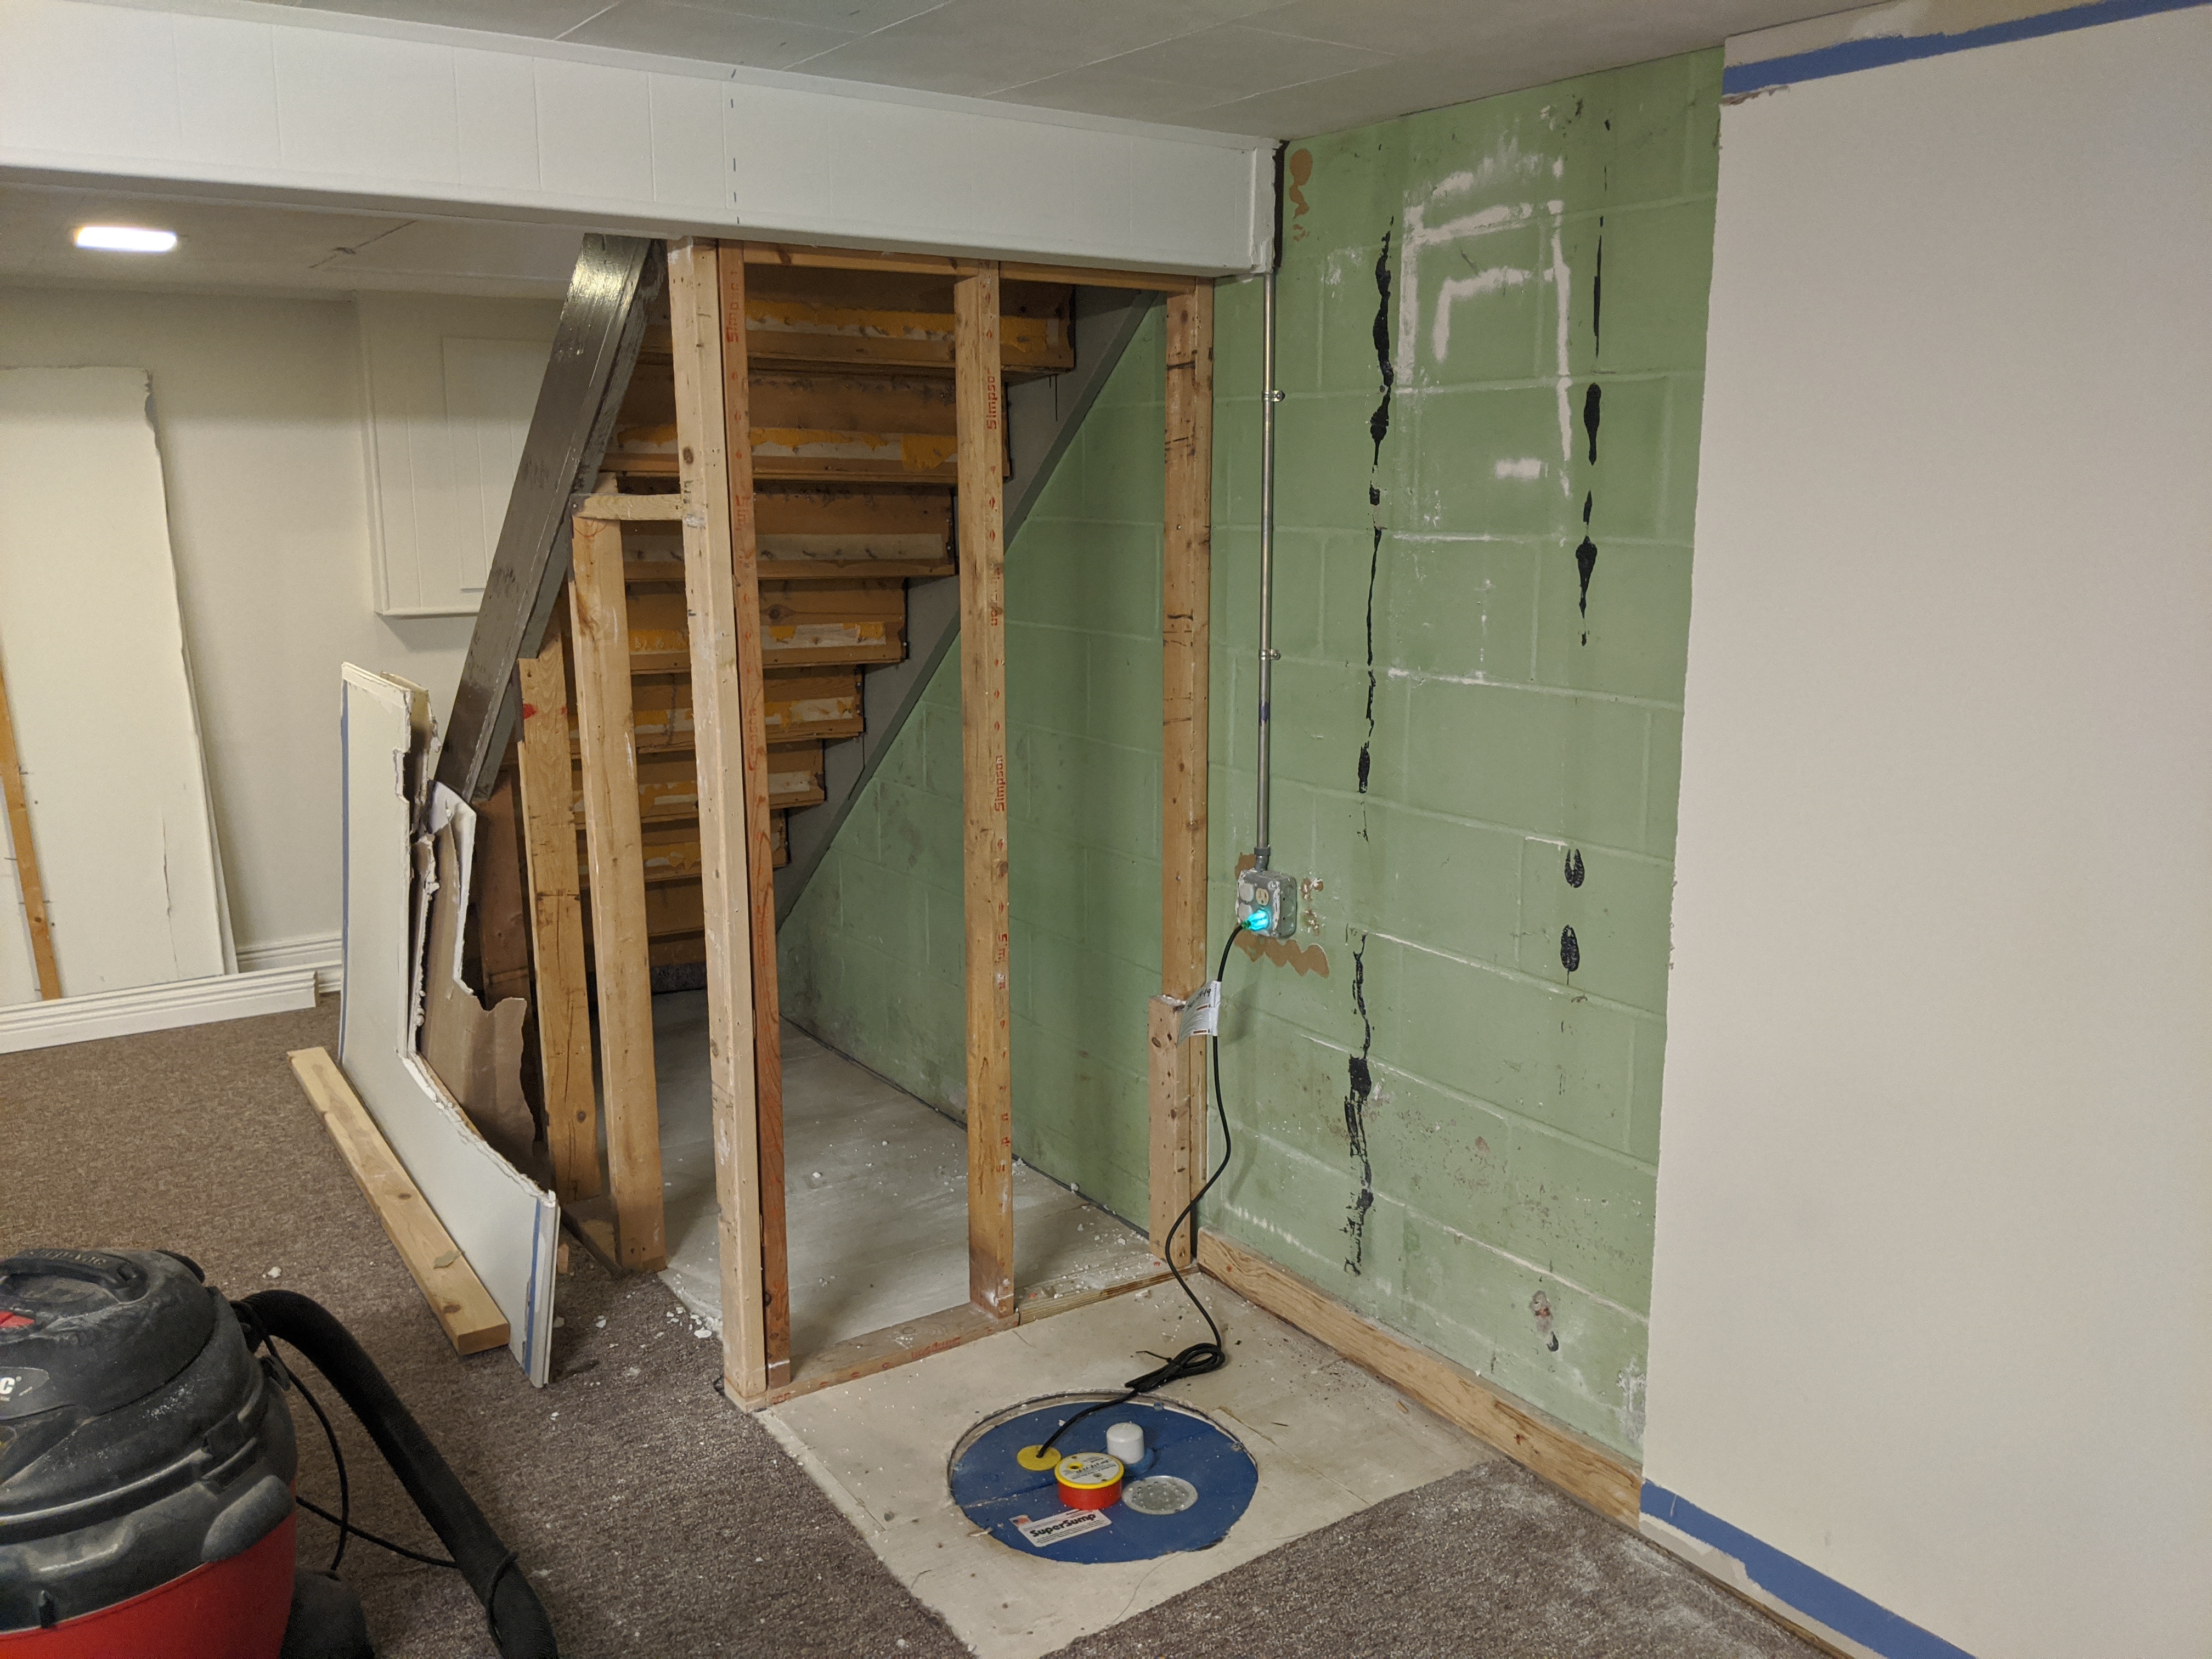
I figured this would be a solid indoor project to take me into winter and spring. Due to the pandemic, I've been working at home and will continue to do so until at least winter 2021 (if not longer) so one silver lining is that I can make time to work on this while the kids are at daycare during the day. I have my van now which means transporting materials is something I can do on my own time without having to bother with renting.
I plan to try and post weekly updates of this project with notes, challenges, fails, and anything else on my mind.
The proposed idea: storage under the stairs
I decided that the most appropriate and appealing way to handle this situation was to extend the existing nook under the stairs that has an awkwardly-sized opening and build a proper closet/storage area.
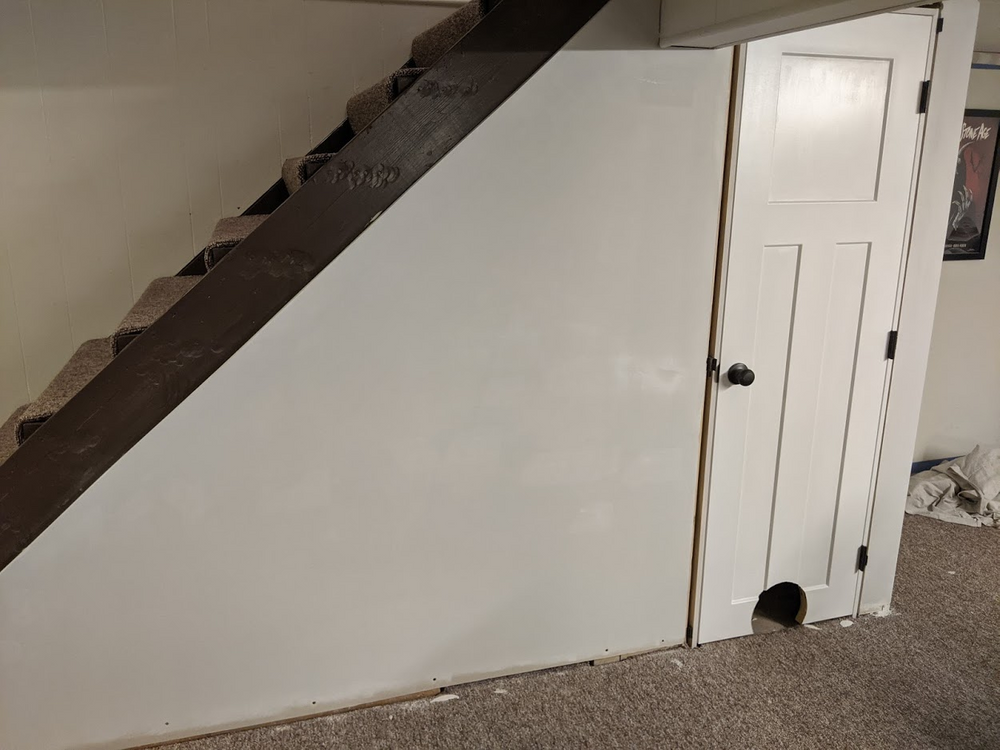
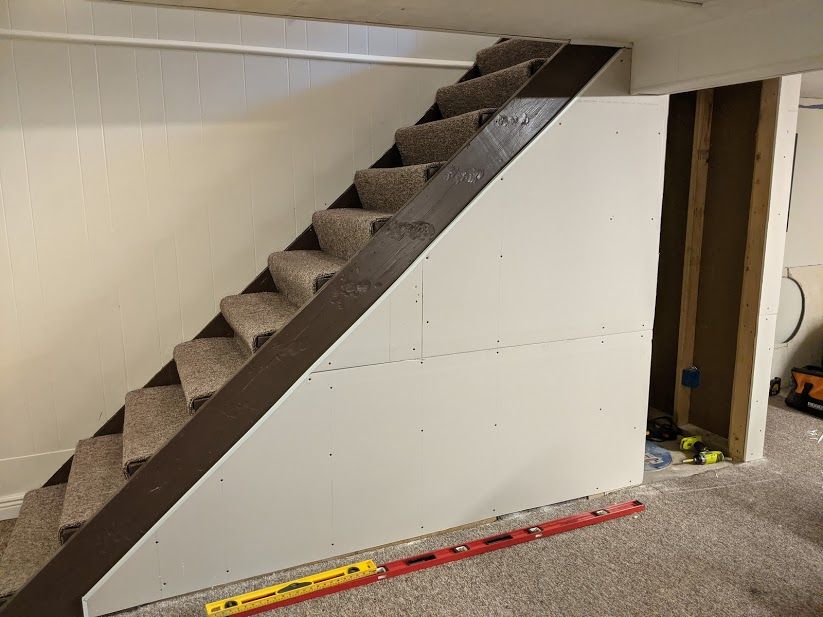
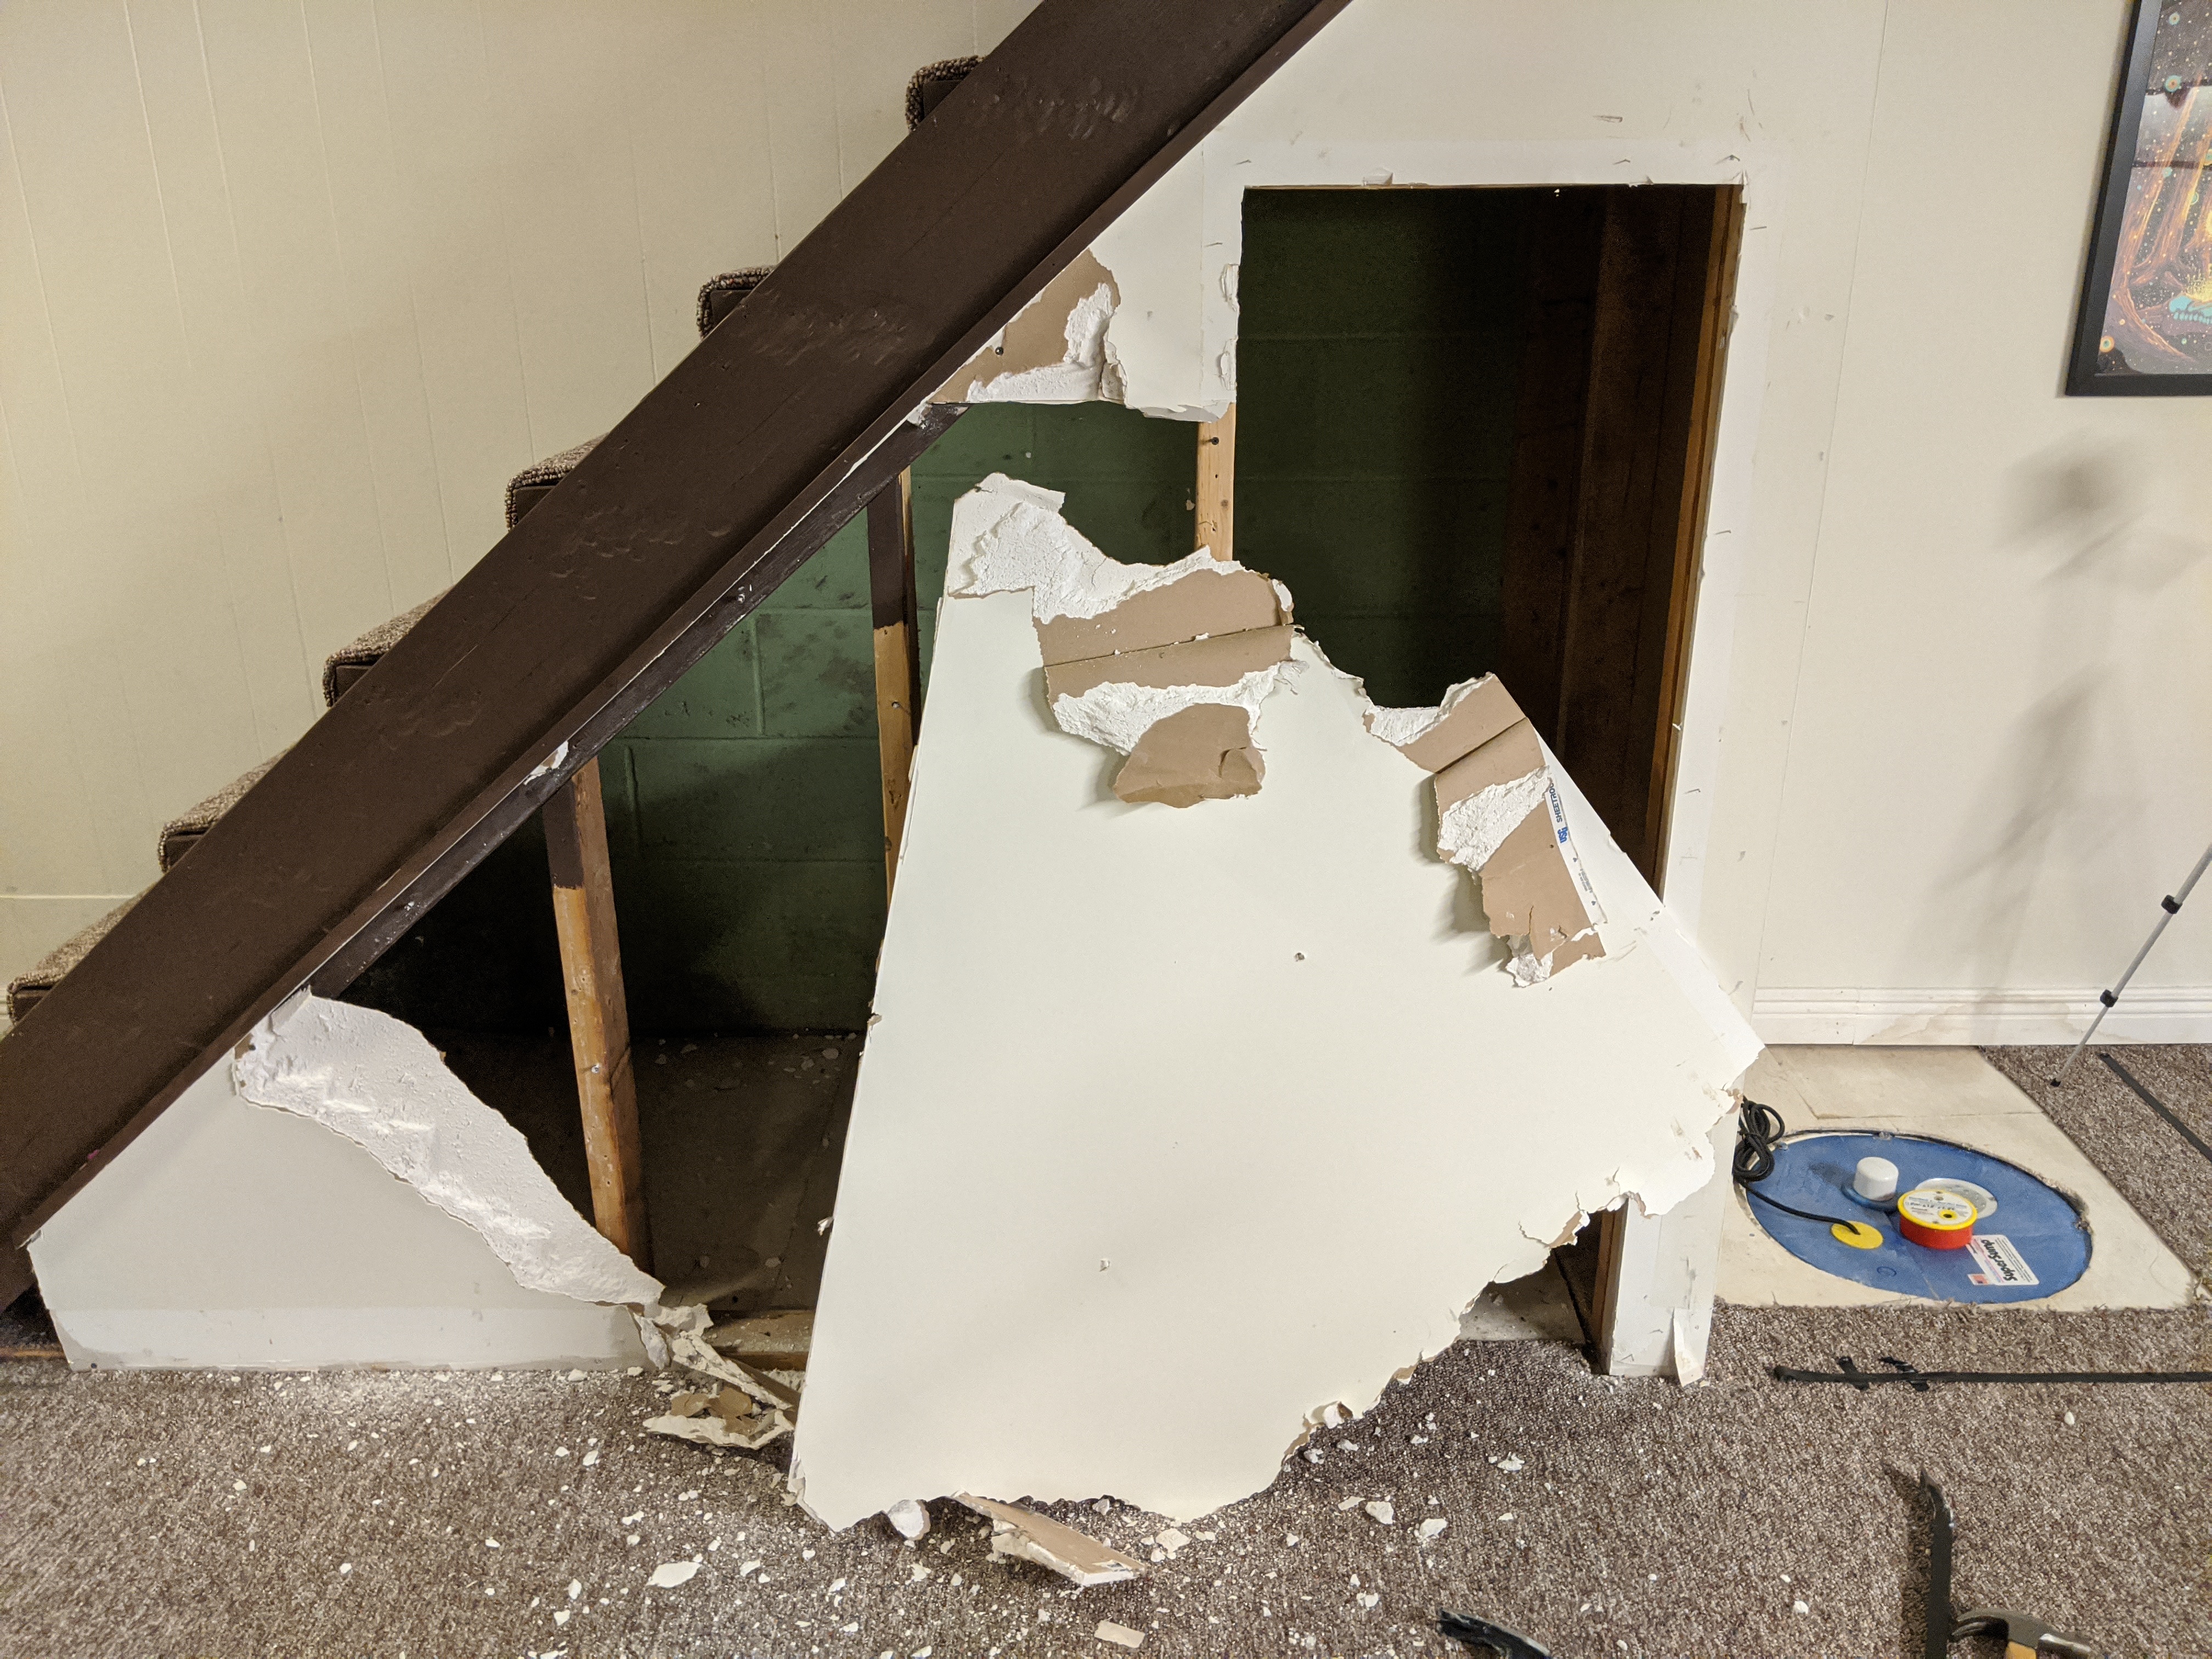
As a reminder, here is what it looks like as of today:
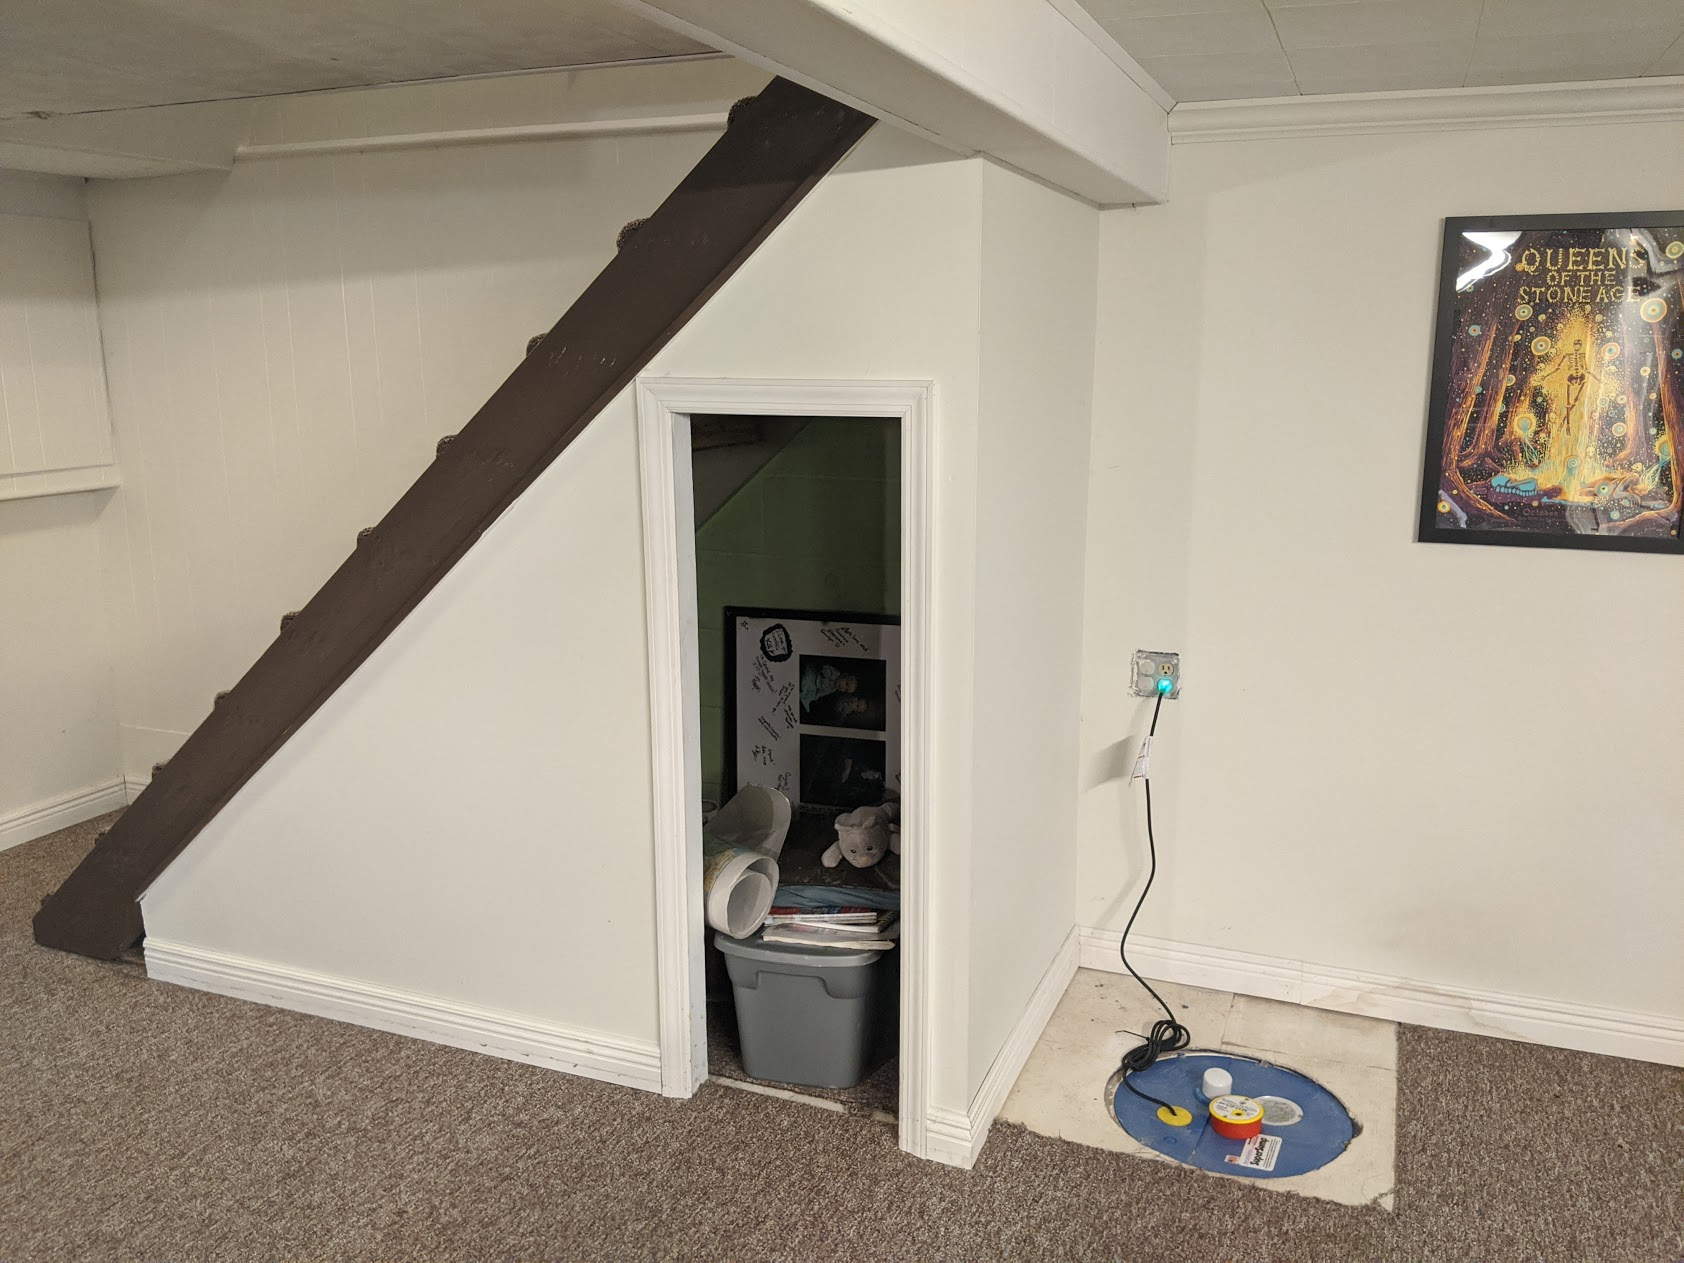
As you can see, this doesn't look good to us (heh). Something needs to be done, but what can be done?
By extending the storage area to encompass the sump pump and outlet, I think that will offer the best solution and still look OK. There is plenty of space to the right on that wall that can fit a sofa, TV, bookcase, etc.
The door to the closet will face outwards. Minnesota Residential Building code only specifies minimum widths for "means of egress" doors which this isn't one (i.e. you don't walk through it to get out). I confirmed that with my local building inspections office too.
What we're dealing with
I want to point out some things from the photo that maybe you don't see right away that I expect to deal with on this project:
- Possible water leakage/issues with foundation (see baseboard)
- Possible lack of vapor or air barrier behind the wall (see exposed foundation wall under stairs)
- Framing around a steal I-beam
- The stairs are already not to code (a contractor told me) – will I need to replace those first before framing a new storage area?
- That is the only outlet on that wall. Once it's enclosed, the closest outlet will be on the right wall (not shown). Not ideal.
Consulting building codes
Yes, I am the weirdo that runs ideas by the local inspection office. I like to follow rules! The way I see it, if I plan to get any work done by anyone other than myself in the future, anything I do now will influence that so it may as well be to code to avoid being redone later.
My local inspection office is very responsive via email so I'm thinking they'll be a great resource as I get into these projects.
For this project, they said as long as I don't rebuild the stairs or mess with electrical I won't need to pull a permit. If I do end up deciding to rebuild the stairs myself or hire a contractor, then I'll need a permit and inspection.
I also consulted them about some building codes since I am brand new to this.
Choosing framing nails
One of the first things I researched was what exact framing nailer to purchase and what nails to purchase.
The types of fasteners allowed in MN building for wall frames is laid out in Chapter 6. There is quite a table of fasteners to try and follow, Table R602.3(1). Now, if you consult the table, it seems like the 0.131" diameter nails are shared by most cases in framing. They are also the most common collated nail packs I can find with different lengths and degrees. According to the code, this is acceptable but only if you use 3 of them when end-nailing. OK – that is what I wanted to know!
I learned "Collated nails" refers to nails taped together to feed into an air nailer magazine. Common nails are ones you hammer in. Collated nails also come with different heads, round and clipped – clipped is usually what you want as they are more compact and the paper collation leaves a clean hole.
Closet door size
I wasn't sure if there was any code that specified the requirements of a storage area door and I confirmed with my local building inspection office there isn't (only code covering "means of egress" doors). So I will probably go with a door between 24" (smaller) and 32" (standard). It depends how much I want to eat into the space to the right and I'm thinking, less is better otherwise it runs the risk of looking way too awkward with empty space. The door will be an outswing door but it's height is short, which will need to be cut.
I will cover more of the framing measurements for the door in a later post as I get closer to that. My preliminary measurement currently is an extension of 41" to the existing framing.
Getting the tools
This is my very first time trying to do framing. I didn't really have all the tools yet so I had to acquire some. Anything I was missing I bought new but of course, an enterprising person could probably find these used. In my defense, I did try looking for the laser level used but no one had the model I was looking for around here.
- Dewalt Self-Leveling Cross Laser DW088K (Amazon)
- GPX 42" tripod (Amazon)
- Paslode 3 1/4" compact framing nailer (Amazon)
- Paslode 3 x 0.131" framing nails 2000 pack
- Ryobi 18-volt Impact Driver (Amazon)
- Ryobi Impact-rated Driving Kit
- Dewalt demolition hammer
- Ramset Yellow shot (#4 power) 200 loads for concrete
- Ramset 3" drive pins (100-pack)
- Rotozip cut out tool
- Demobags
These links are affiliate links and help support the site.
Choosing a framing nailer
In my case, I went with a Paslode 3 1/4" 30 degree framing nailer which allows me to easily buy packs of 3 x 0.131" collated nails. Consulting the building code table, the only other size I really would need when framing is 2 1/2" length (maybe). So this seems like a good middle-ground if I don't want to hammer in the nails myself.
In one of the videos linked below, Jeff is using these Tomahawk 3 1/4" clipped head framing nails with an air nailer and that's what I initially looked for. However, it seems that 0.162" diameter collated clipped head nails don't really exist based on some searching around, only common nails that you'd have to hammer in. That's why I went with 0.131" diameter as they can commonly be found in collated fashion for many different degrees and lengths you'd need.
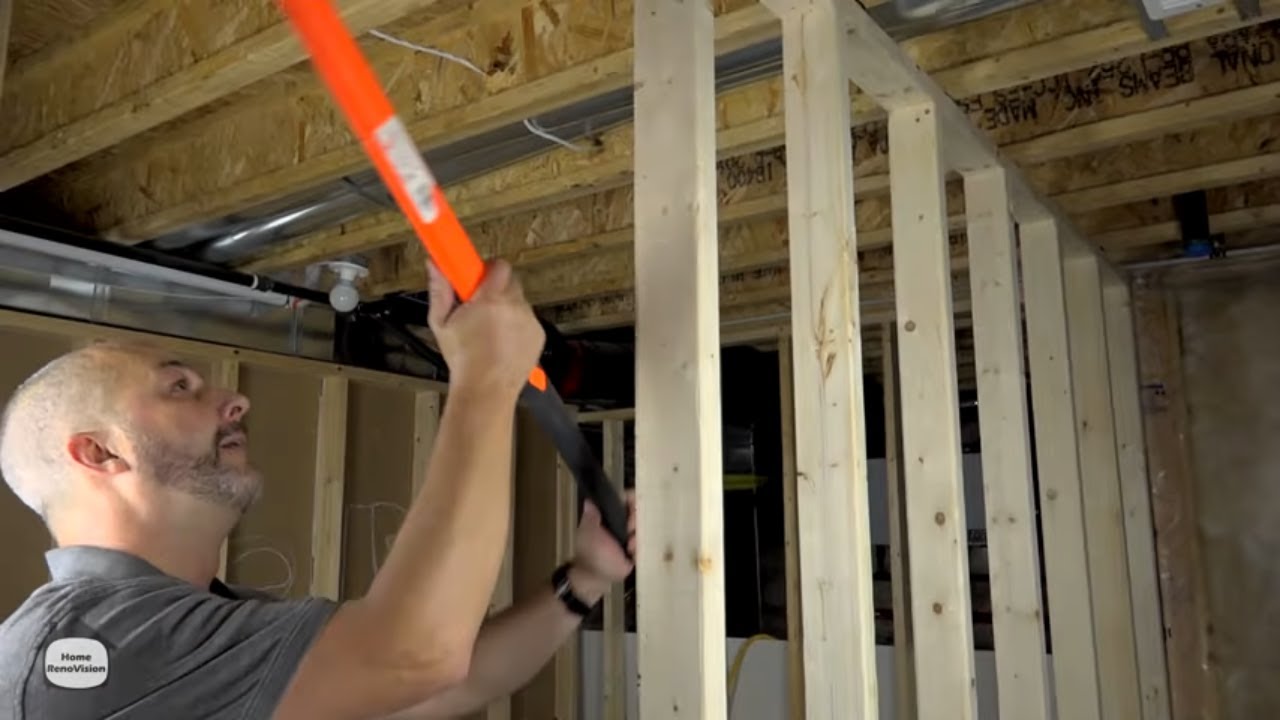
What's a Powder Actuated Tool?
One of the tools I've come across multiple times now for framing basements with concrete is something called an "impact" nailer, also called a Powder Actuated Tool.
These tools are basically guns that fire nails with 0.22 caliber powder shells. Some are very fancy and are semi-automatic but most use a trigger or hammer to shoot. Based on reviews, it seems either Ramset or Remington is the standard in this space.
I ended up inheriting one from my dad, a Duo Fast Single Shot (no longer sold). Alternatively, as shown in this video, you can use a hammer driver with tapcon screws. The impact nails will work on the concrete and steel I-beam just fine, though for non-load bearing walls.
👉 Note: My basement has waterproofing on the outer edge of the wall. Some waterproofing installers will void your warranty if you drill into the concrete floor too close to the edge of the wall as it could damage the waterproofing. Impact nails avoid that issue. Check your warranty for stuff like that if you have waterproofing.
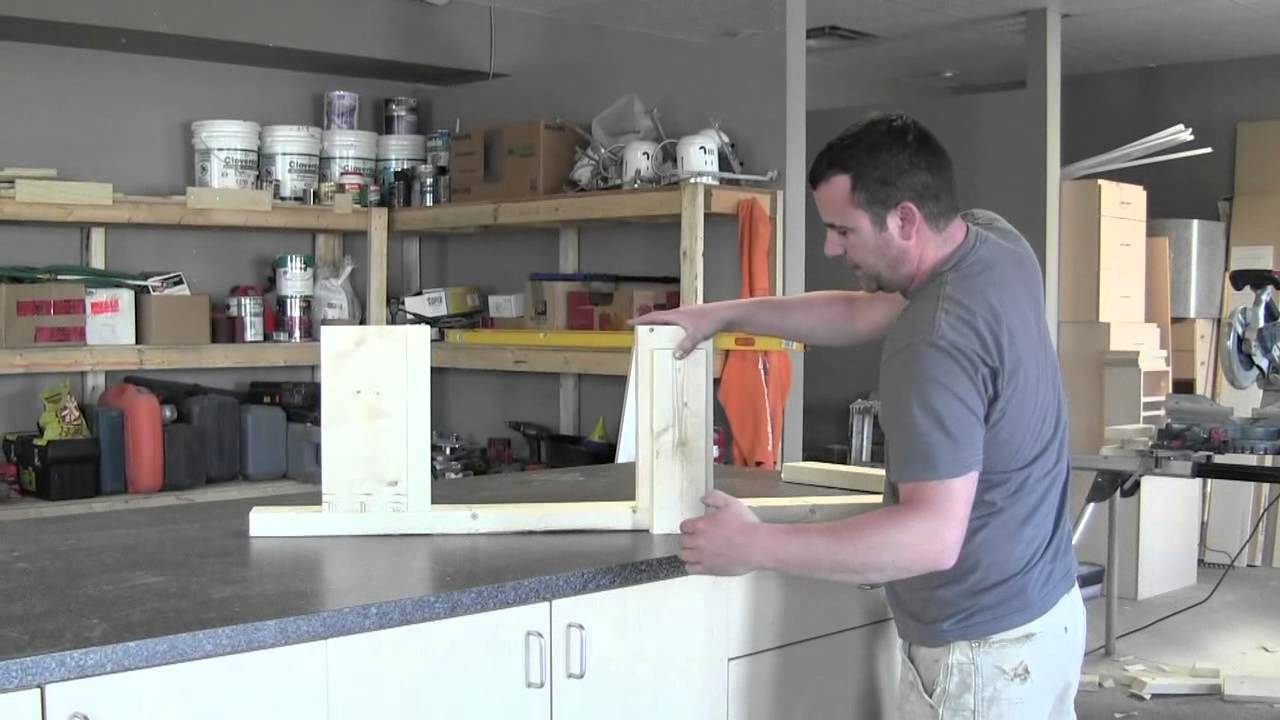
How to Frame Like a Newbie
In order to complete this project, I'll be learning a ton of new skills with probably the first one being making a frame. This closet framing will not be load-bearing so that complexity is avoided.
The resources I studied and took notes from include the following videos:


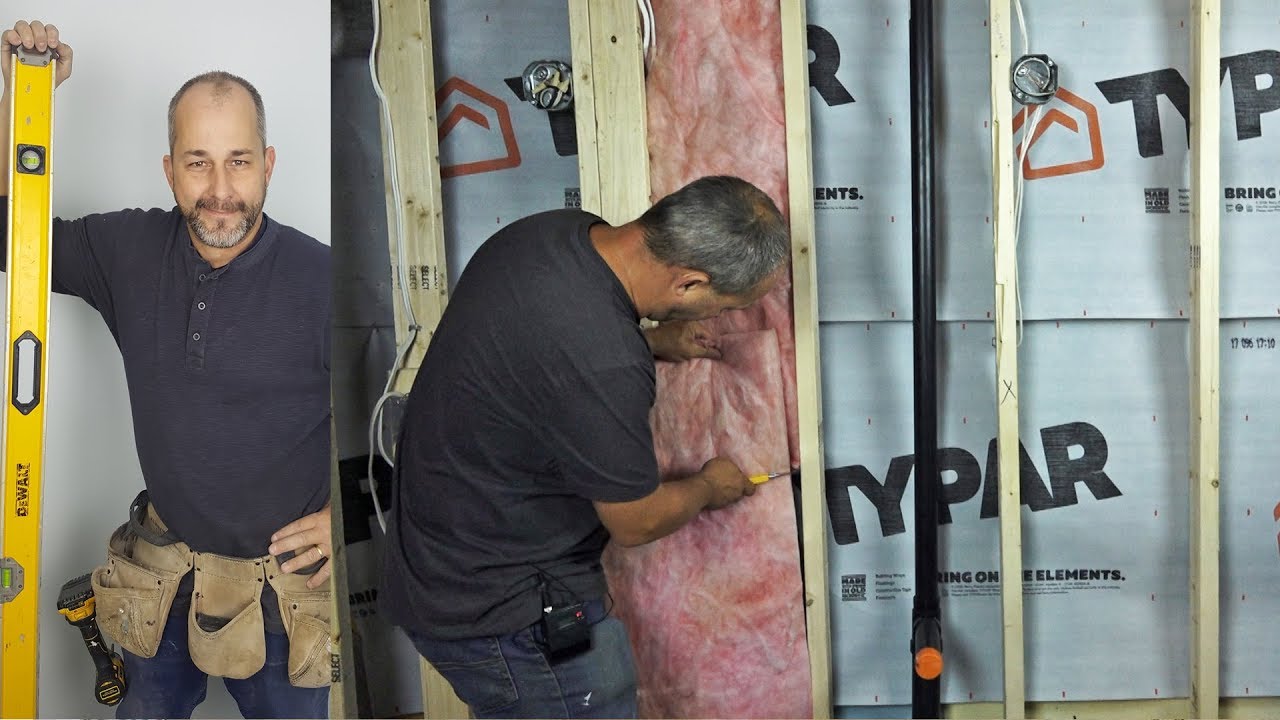
There's loads of excellent advice, tips, and approaches here. Framing is not so simple when you're dealing with existing structure.
Some terminology I had to learn:
- Top plate - The top 2x4 in a frame. Sometimes you have to do double top plates, depending on your building code.
- Bottom plate - The bottom 2x4. On a concrete basement floor, this must be pressure-treated lumber (in Minnesota at least) to avoid moisture issues.
- Fastener - Nails, screws, things that fasten. Framing requires specific types of nails for building safety for different connections.
- OC - "on center" meaning the center of a stud. Usually in regards to spacing e.g. 16" on center
- Jack stud - A stud on the inside of a door frame usually made from scrap studs, doesn't have to be anything special (see video above)
- King stud - A stud on the outside edge of a door frame
- Header - A larger block of framing that goes above doors and windows
- Blocks - Smaller pieces of wood used in-between framing or for "backframing"
- Backframing or Deadwood - Wood blocks used for drywall surface mounting
- California corner - A framing technique for a corner that allows insulation to be added
- U intersection - A framing technique for a T-intersection but this doesn't allow for insulation unless you do what the Deep South Homestead video shows (nice tip!)
For the closet, I'll be dealing with the following framing aspects:
- Framing a low ceiling height door
- T-intersection to exterior wall
- Corner
- Exterior wall frame
This is made more complicated by the fact that my current stairs and exterior wall framing is not to code (and doesn't use 16" OC consistently). More on all that later!
Demo Day(s)
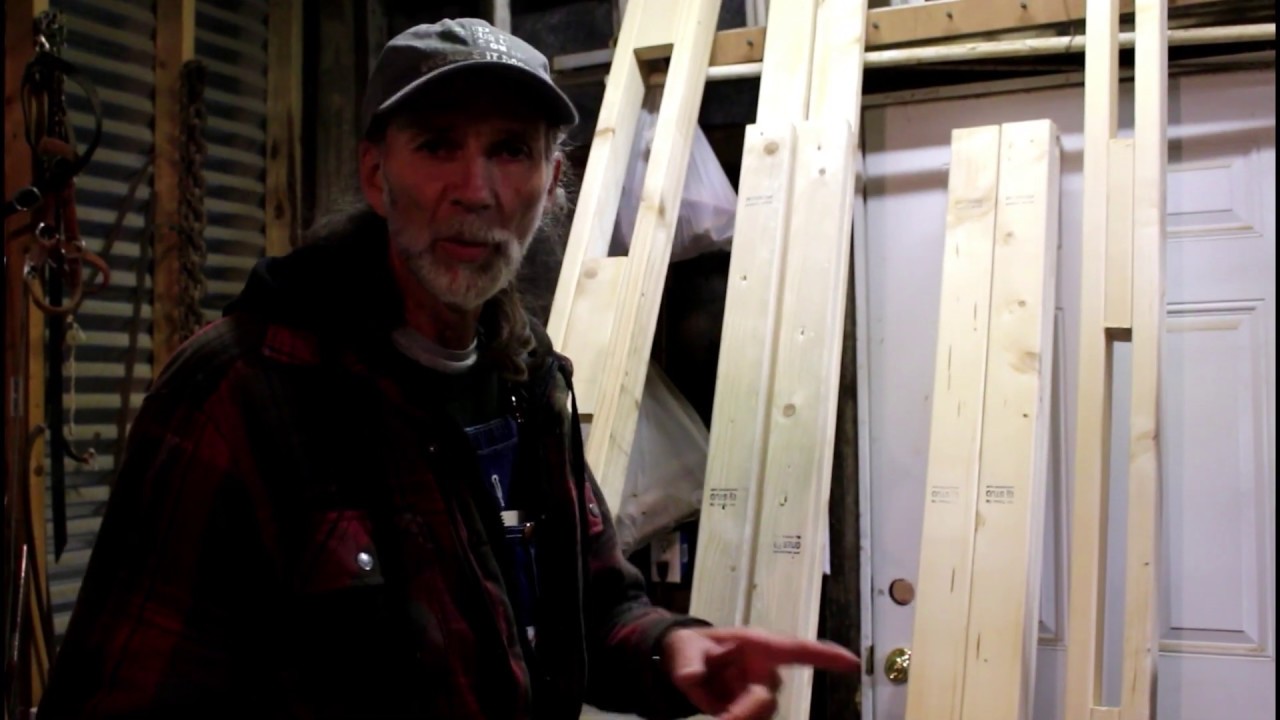
After having done the research and initial planning on the approach, it was time this past weekend to demo the area to see what I'd be working with. Jeff talks about this all the time – bring things back to the structure, if you want to do it right and build it back up properly.
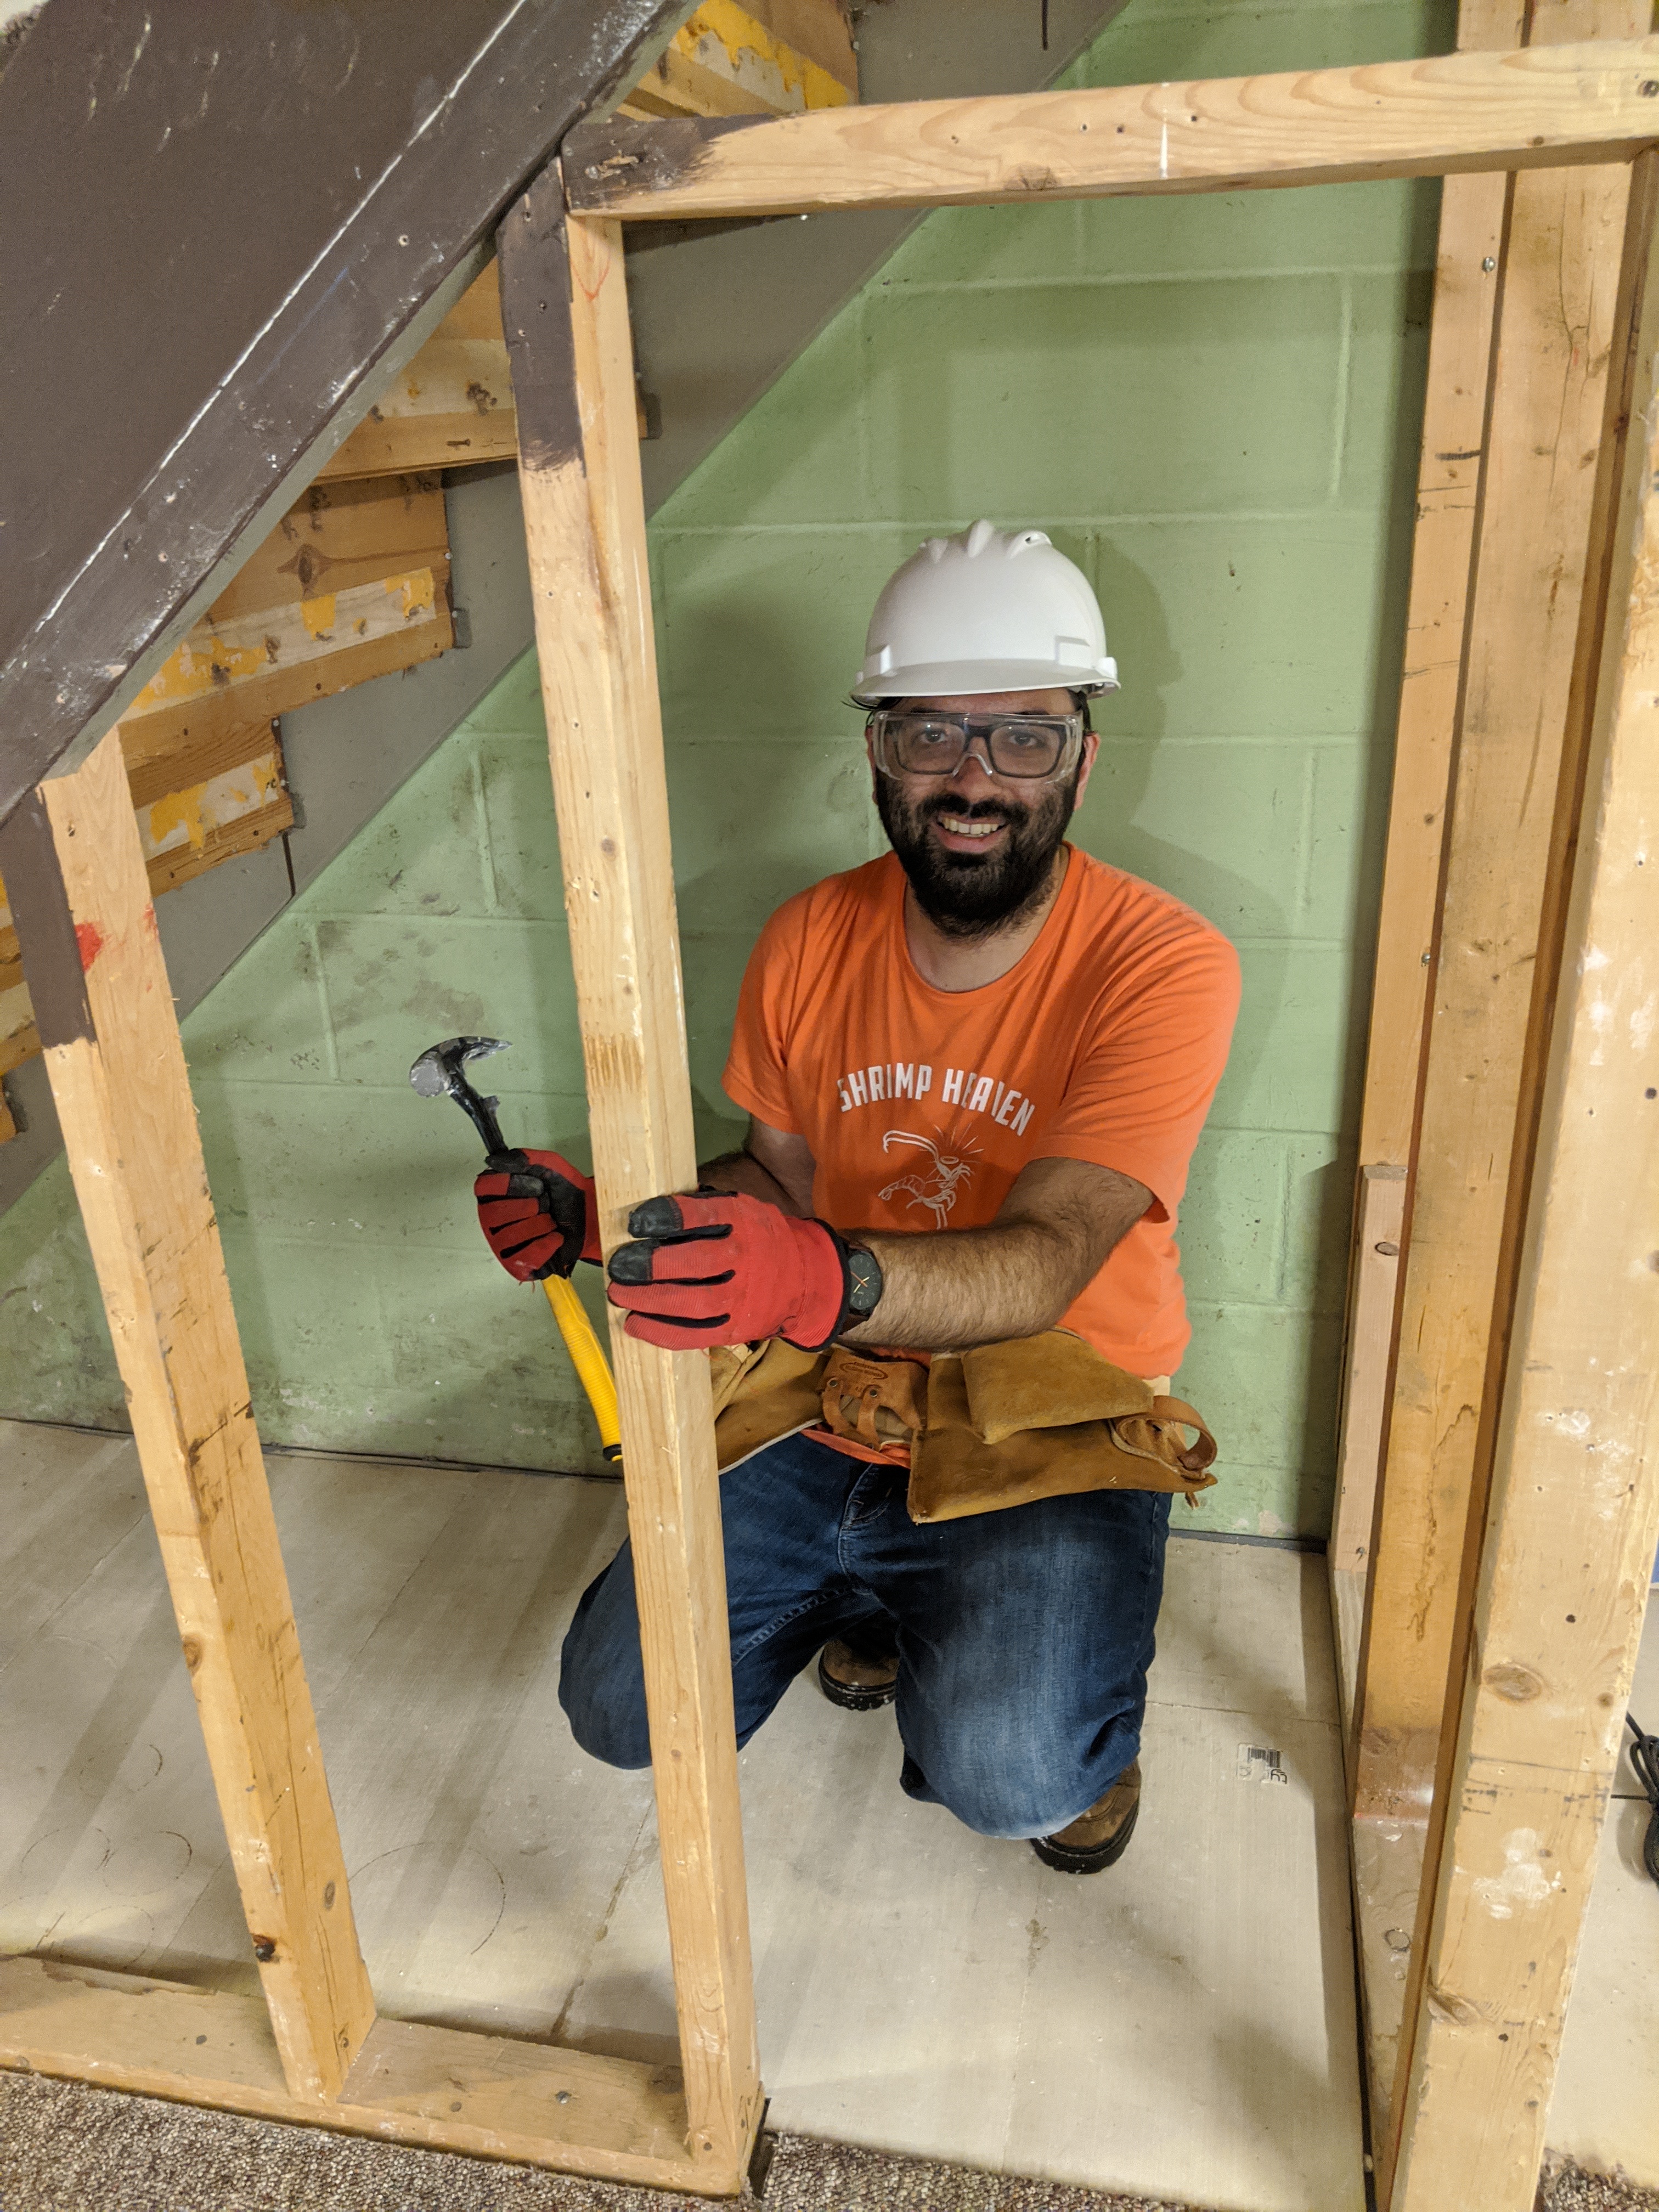
I had Rami and Saira do the first blows with their little plastic hammer! Cassie even made a hole or two 😁
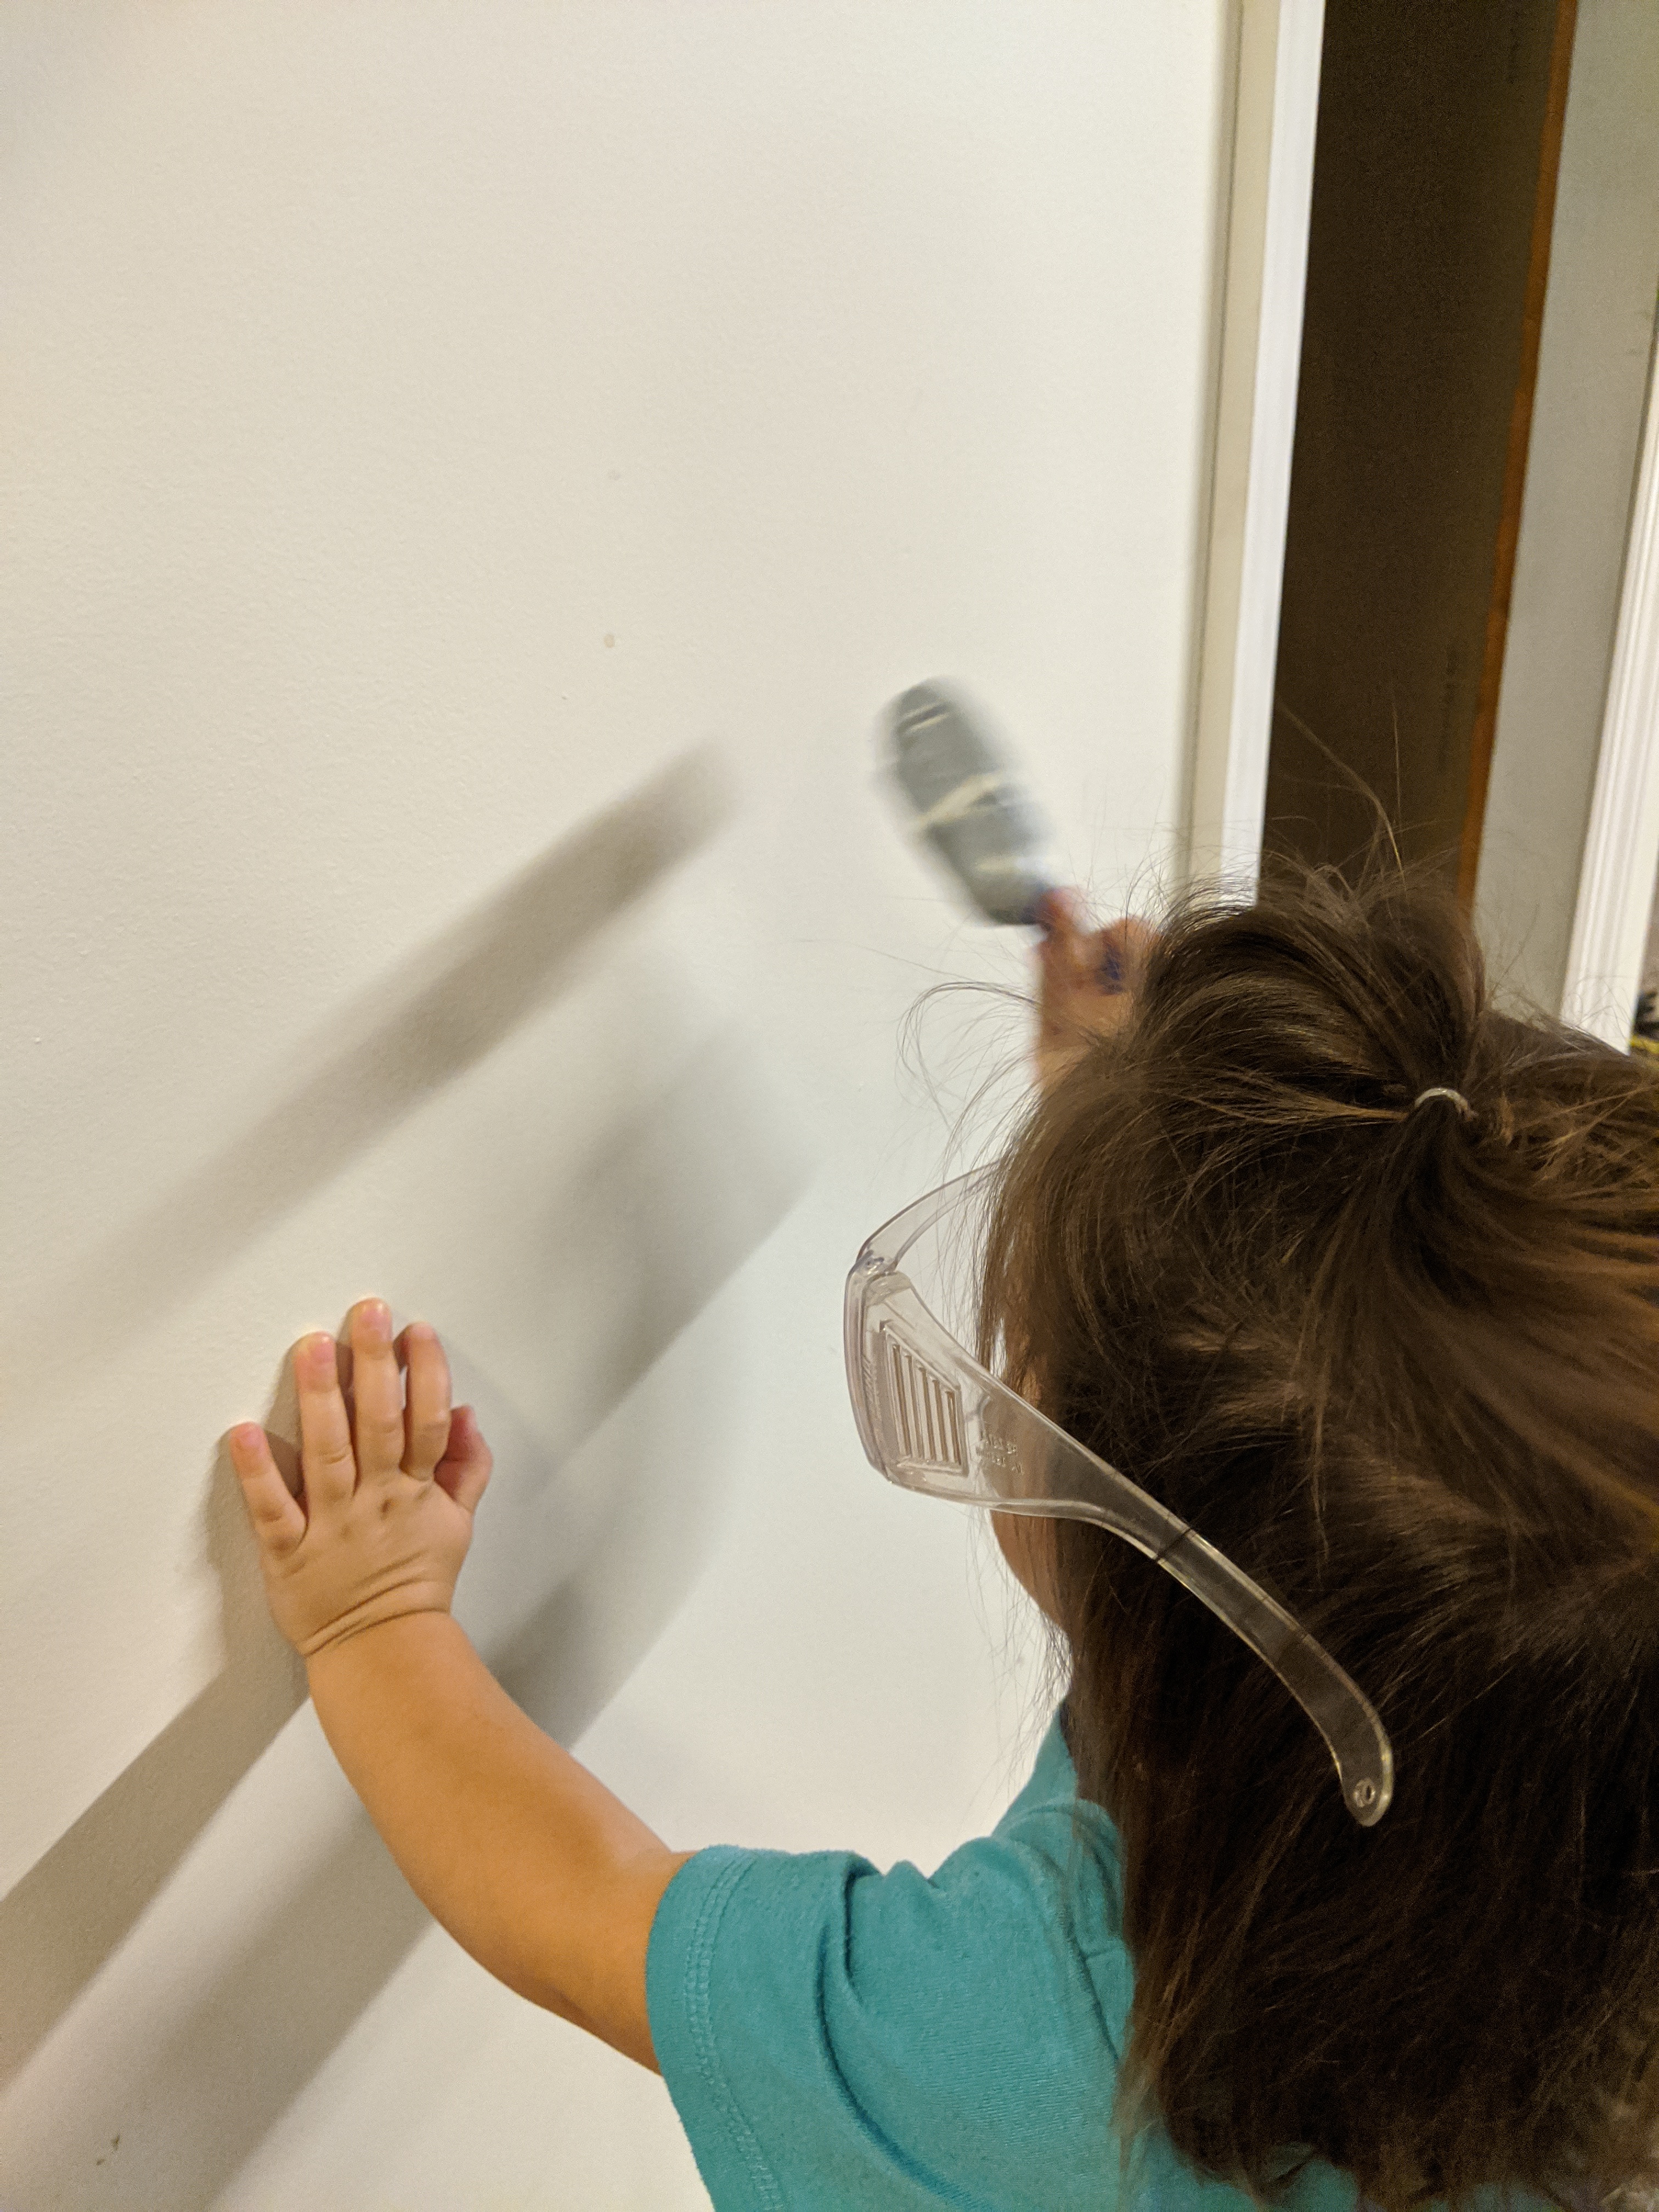
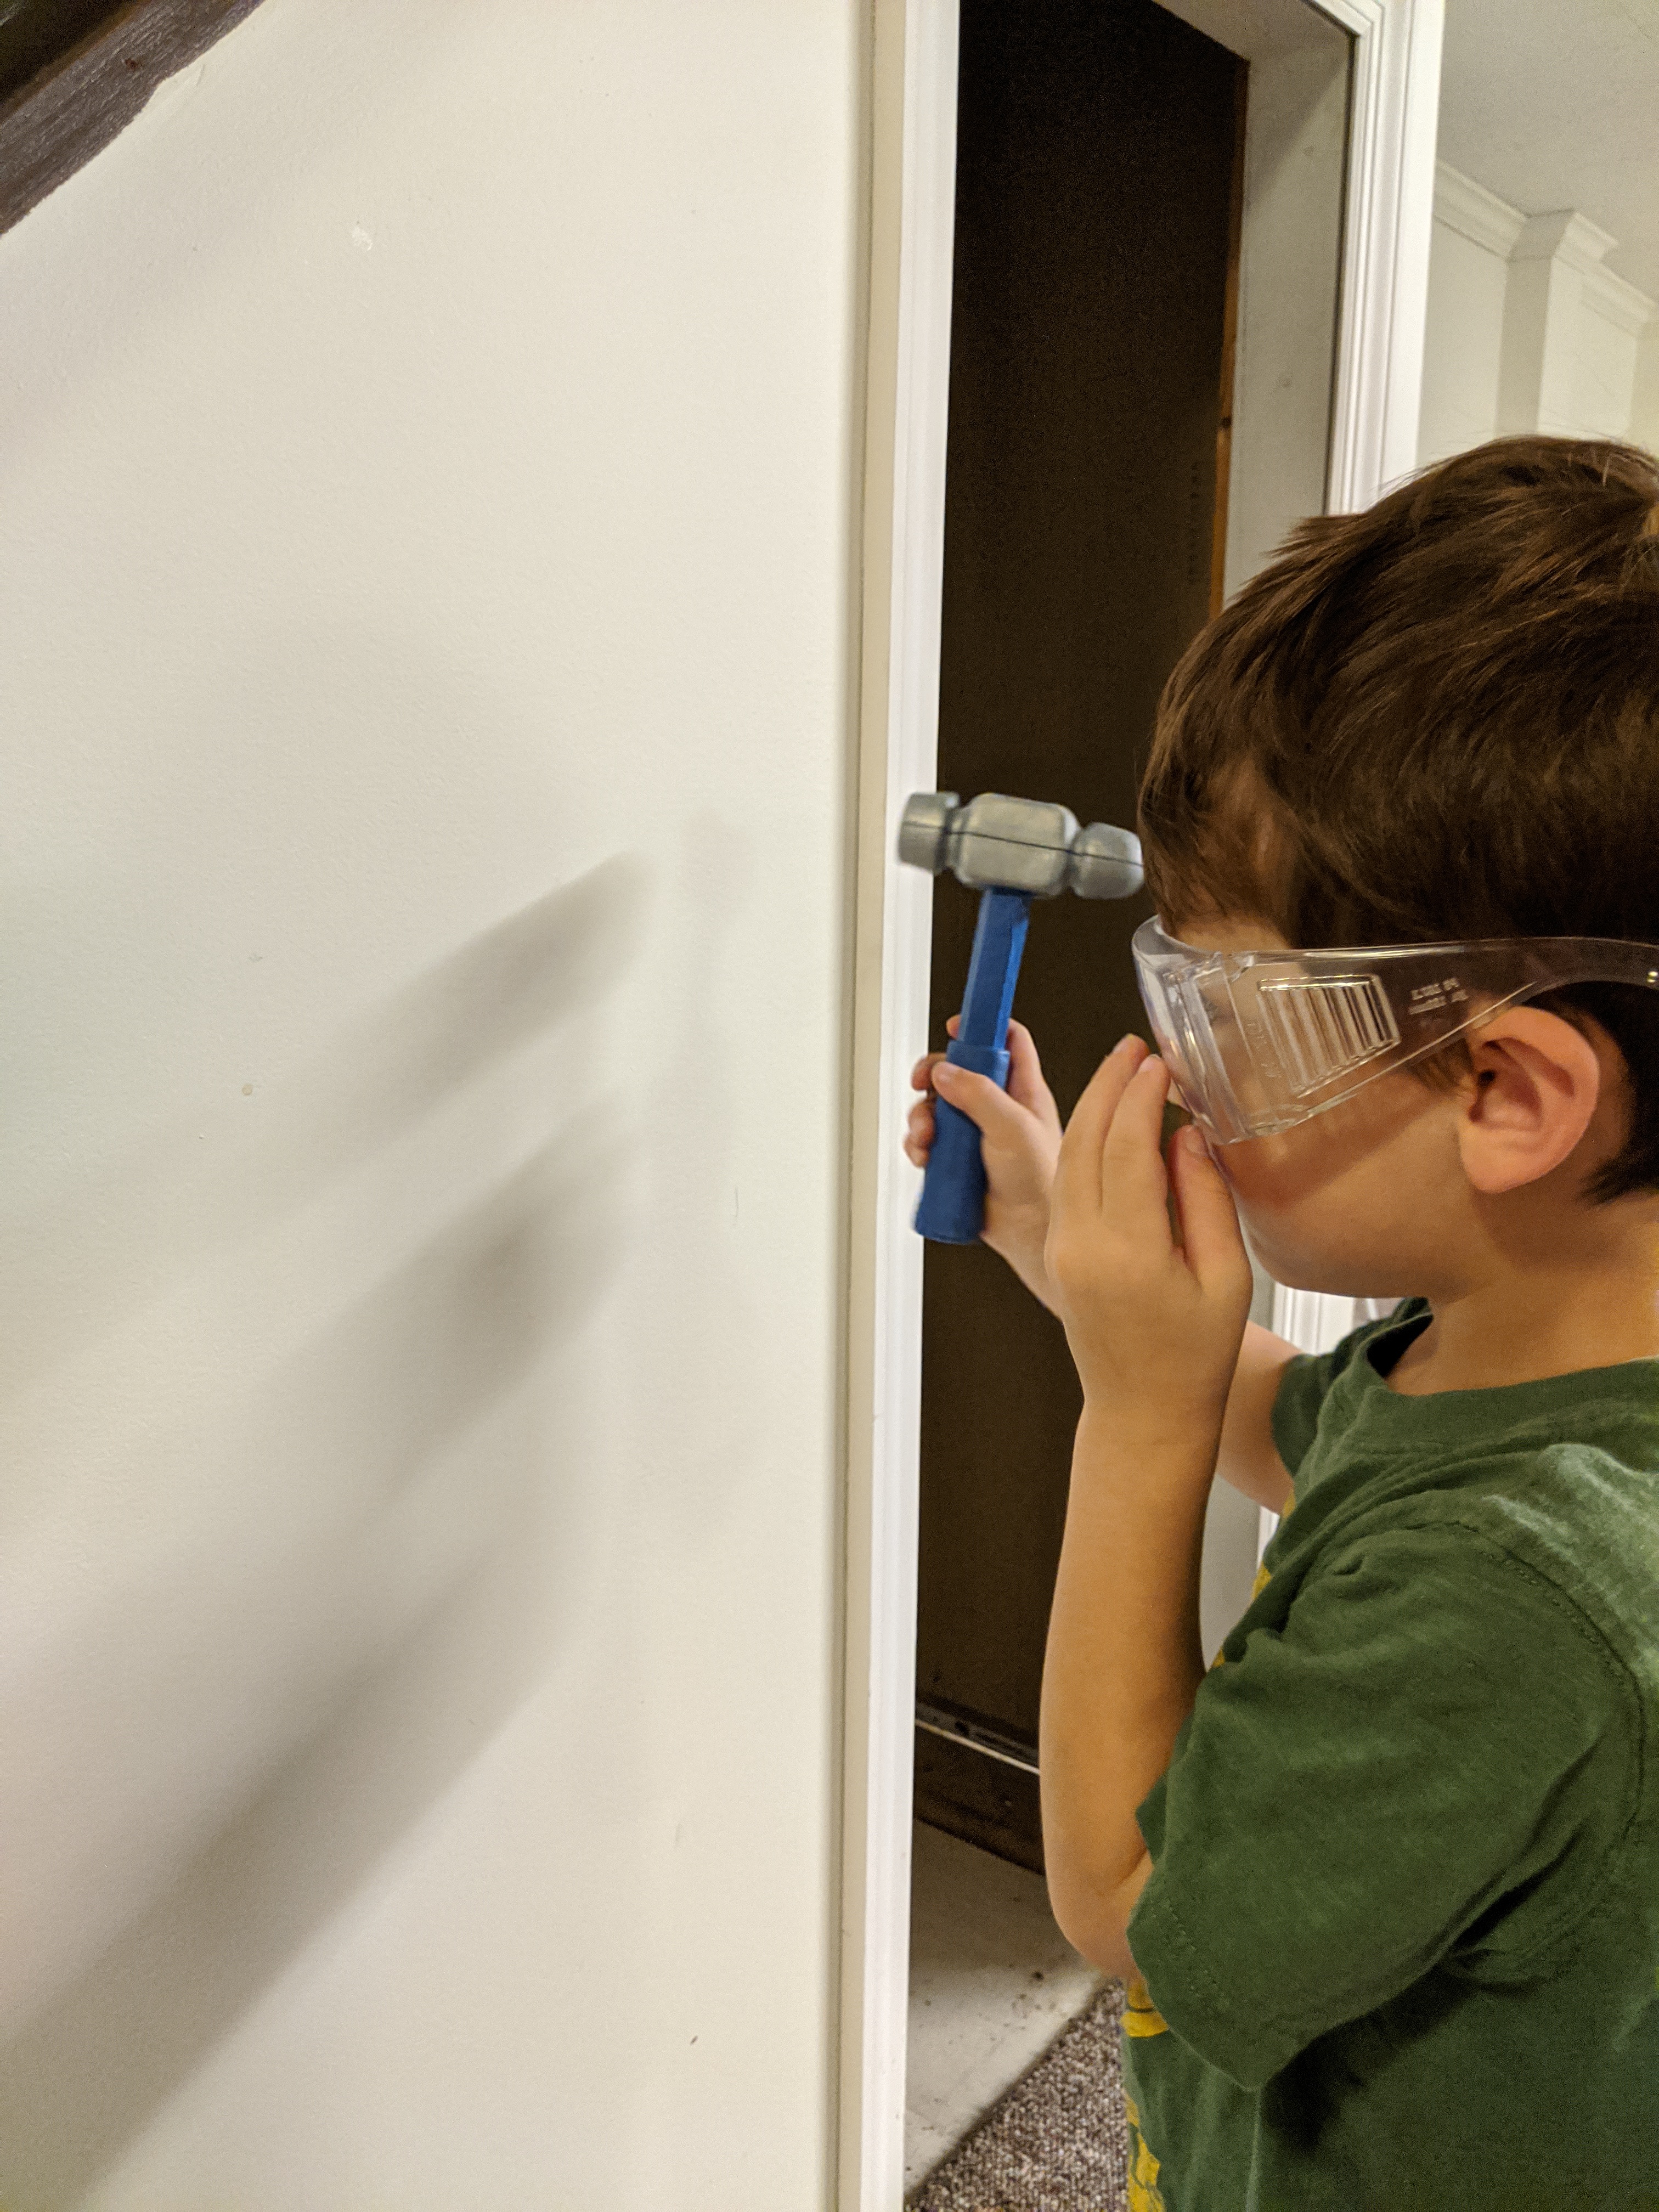
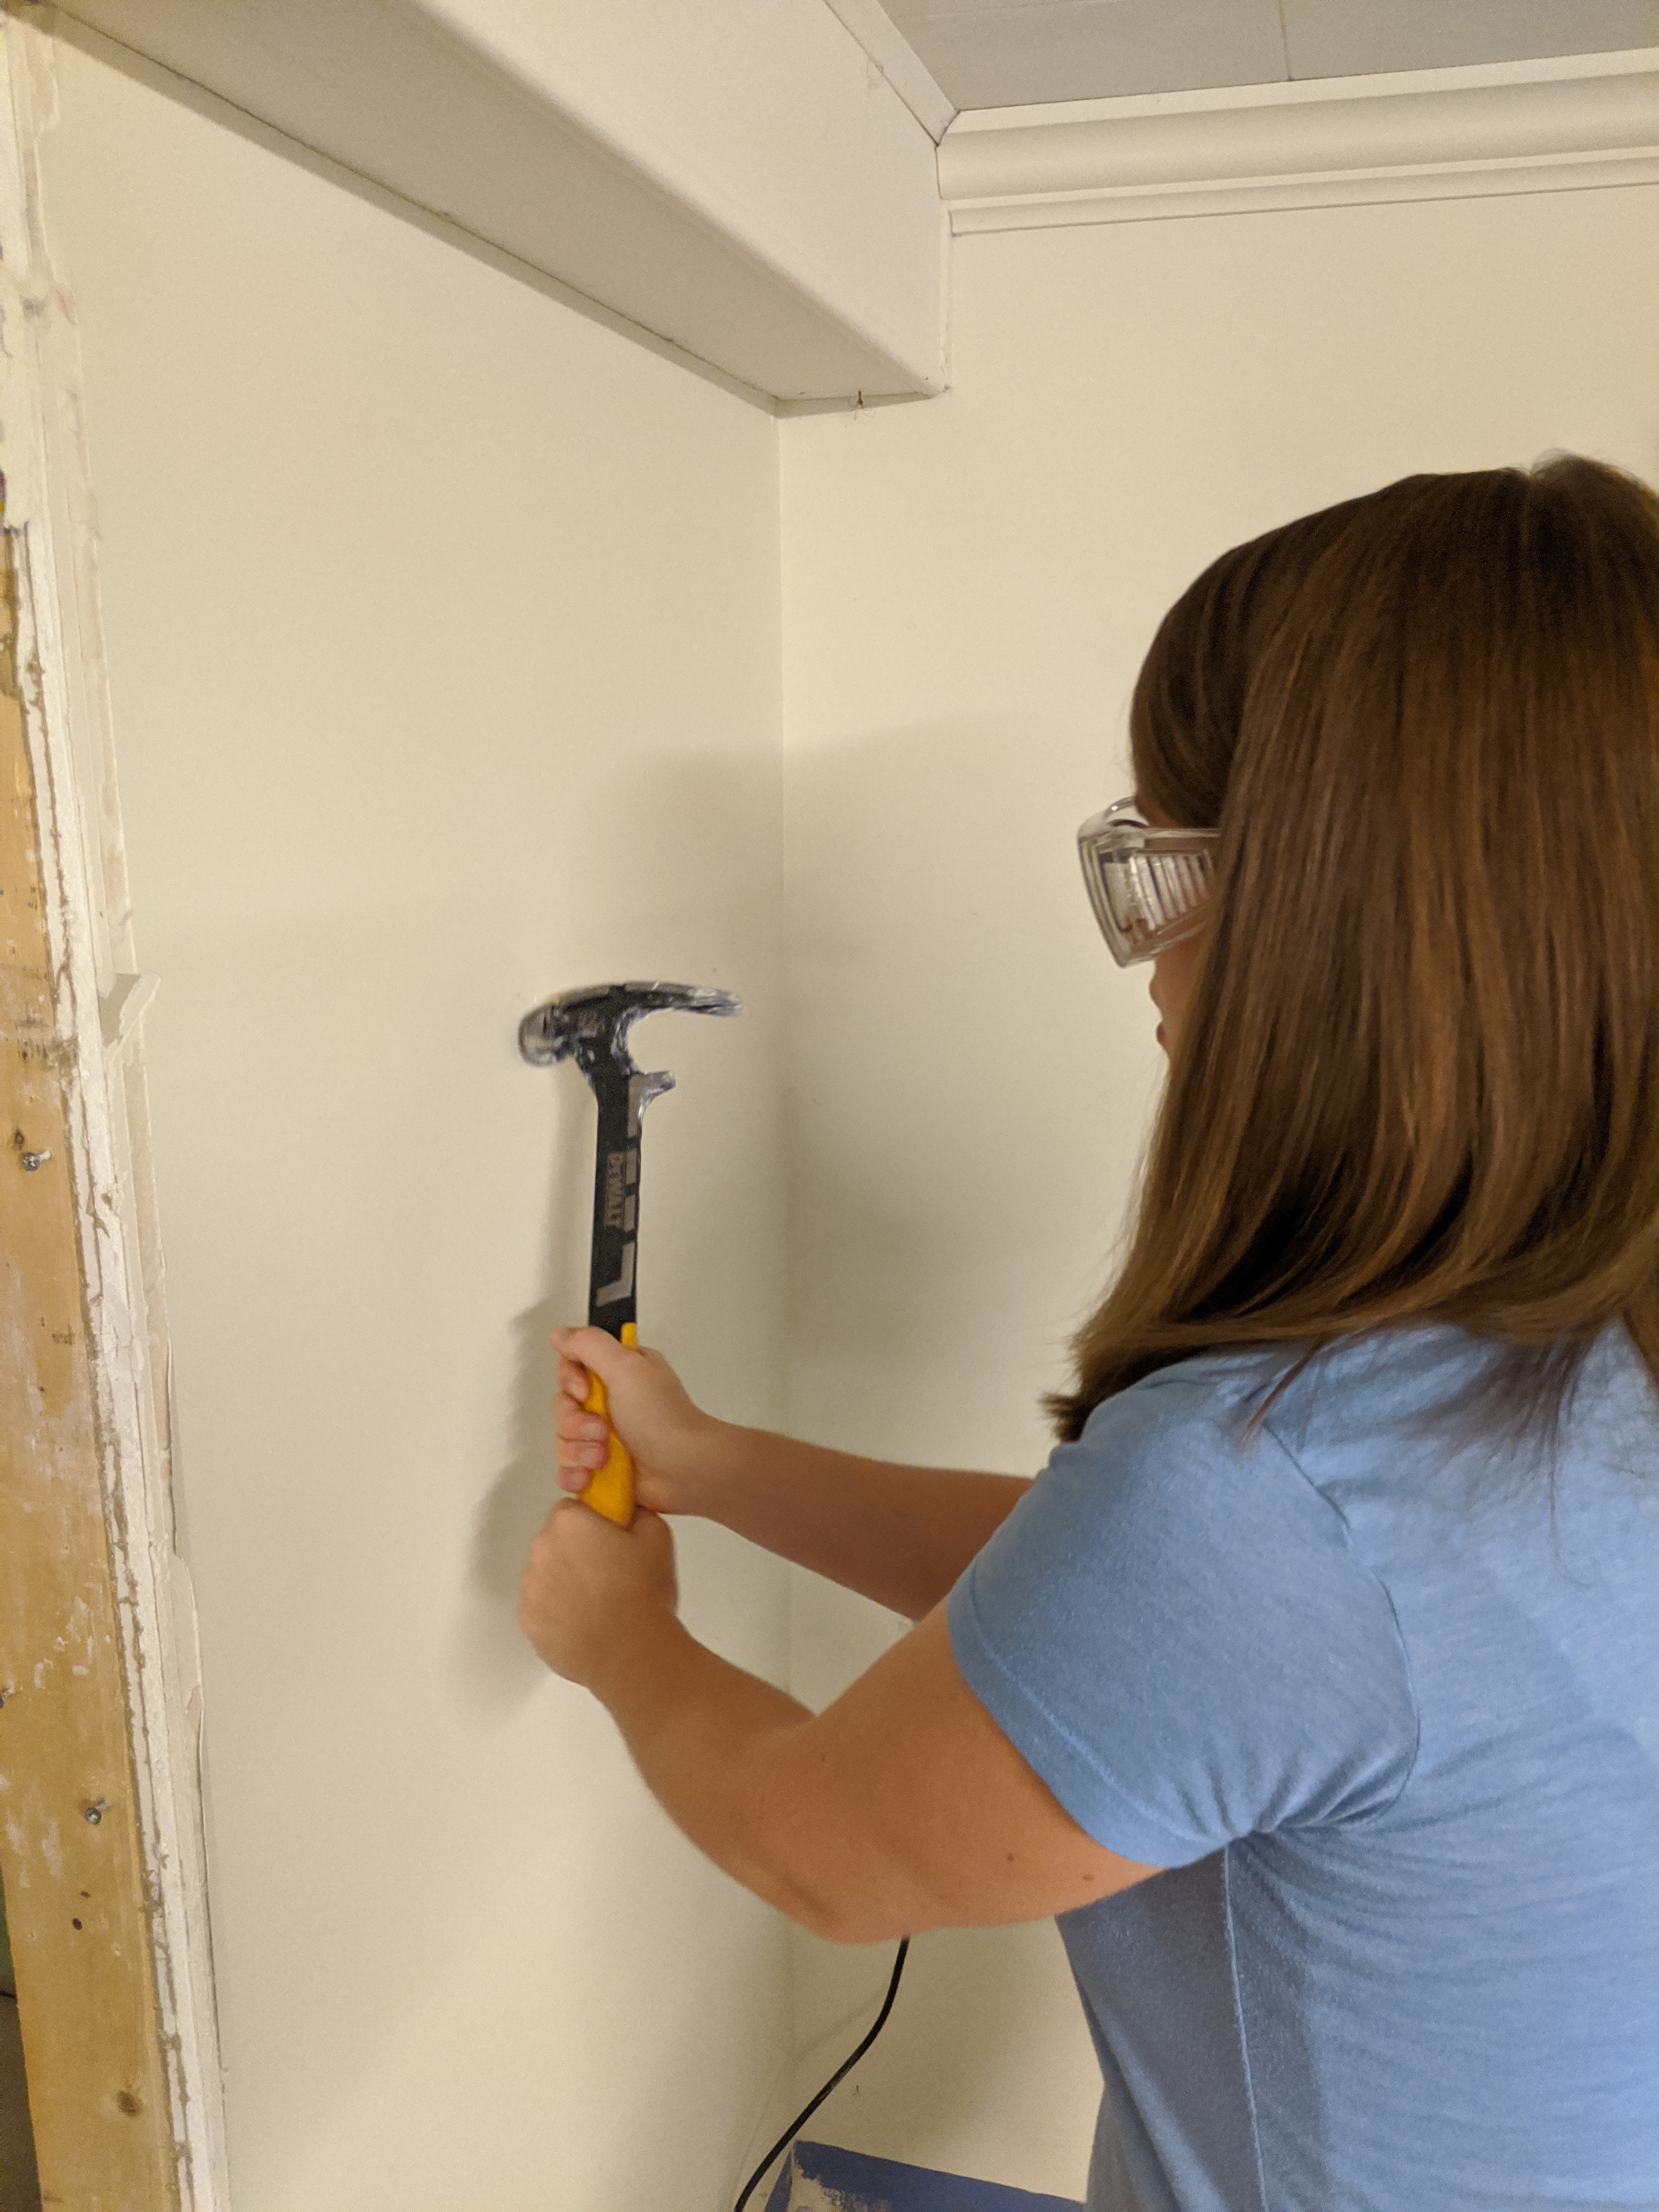
I followed the advice and protocols I see on Jeff's channel – safety glasses, helmet, etc. I used that awesome demo hammer which made quick work of the drywall.
Some tips Jeff has shared in the past I used:
- Drywall is structurally weak – if you jiggle it enough, it loosens the screws and you can basically punch out huge chunks (see photo above). It's still messy but it helps make the process go faster.
- Make sure you clean the area for little feet. I cleaned multiple times with my Shop-Vac and I bought some contractor bags for debris
- Take nails and fasteners out of scraps and the demolished area, or bend them to avoid injuries
- I used a Drywall jab saw when I was nearer to the electrical as I didn't want to bank on it being to code and didn't want a power tool to slice through it. Luckily, it was enclosed in metal piping so I didn't have to disturb it.
- I used the Rotozip to make small test cuts up and down the exterior drywall to ensure nothing was behind it. Also, I was able to adjust the depth of the cut to exactly what I needed to avoid hitting the concrete, which was about 1 1/4" from the outside wall.
- I cut the carpet with a utility knife against my laser line.
- I marked the laser line on the ceiling and floor so I didn't have to keep it on all the time, this let me do measurements to cut the drywall properly. I used my 6' level to mark the drywall with a utility knife for a clean cut on that exterior wall, since I wasn't sure if I was going to leave it in place or eventually demo that wall more.
This is where I'm currently at:
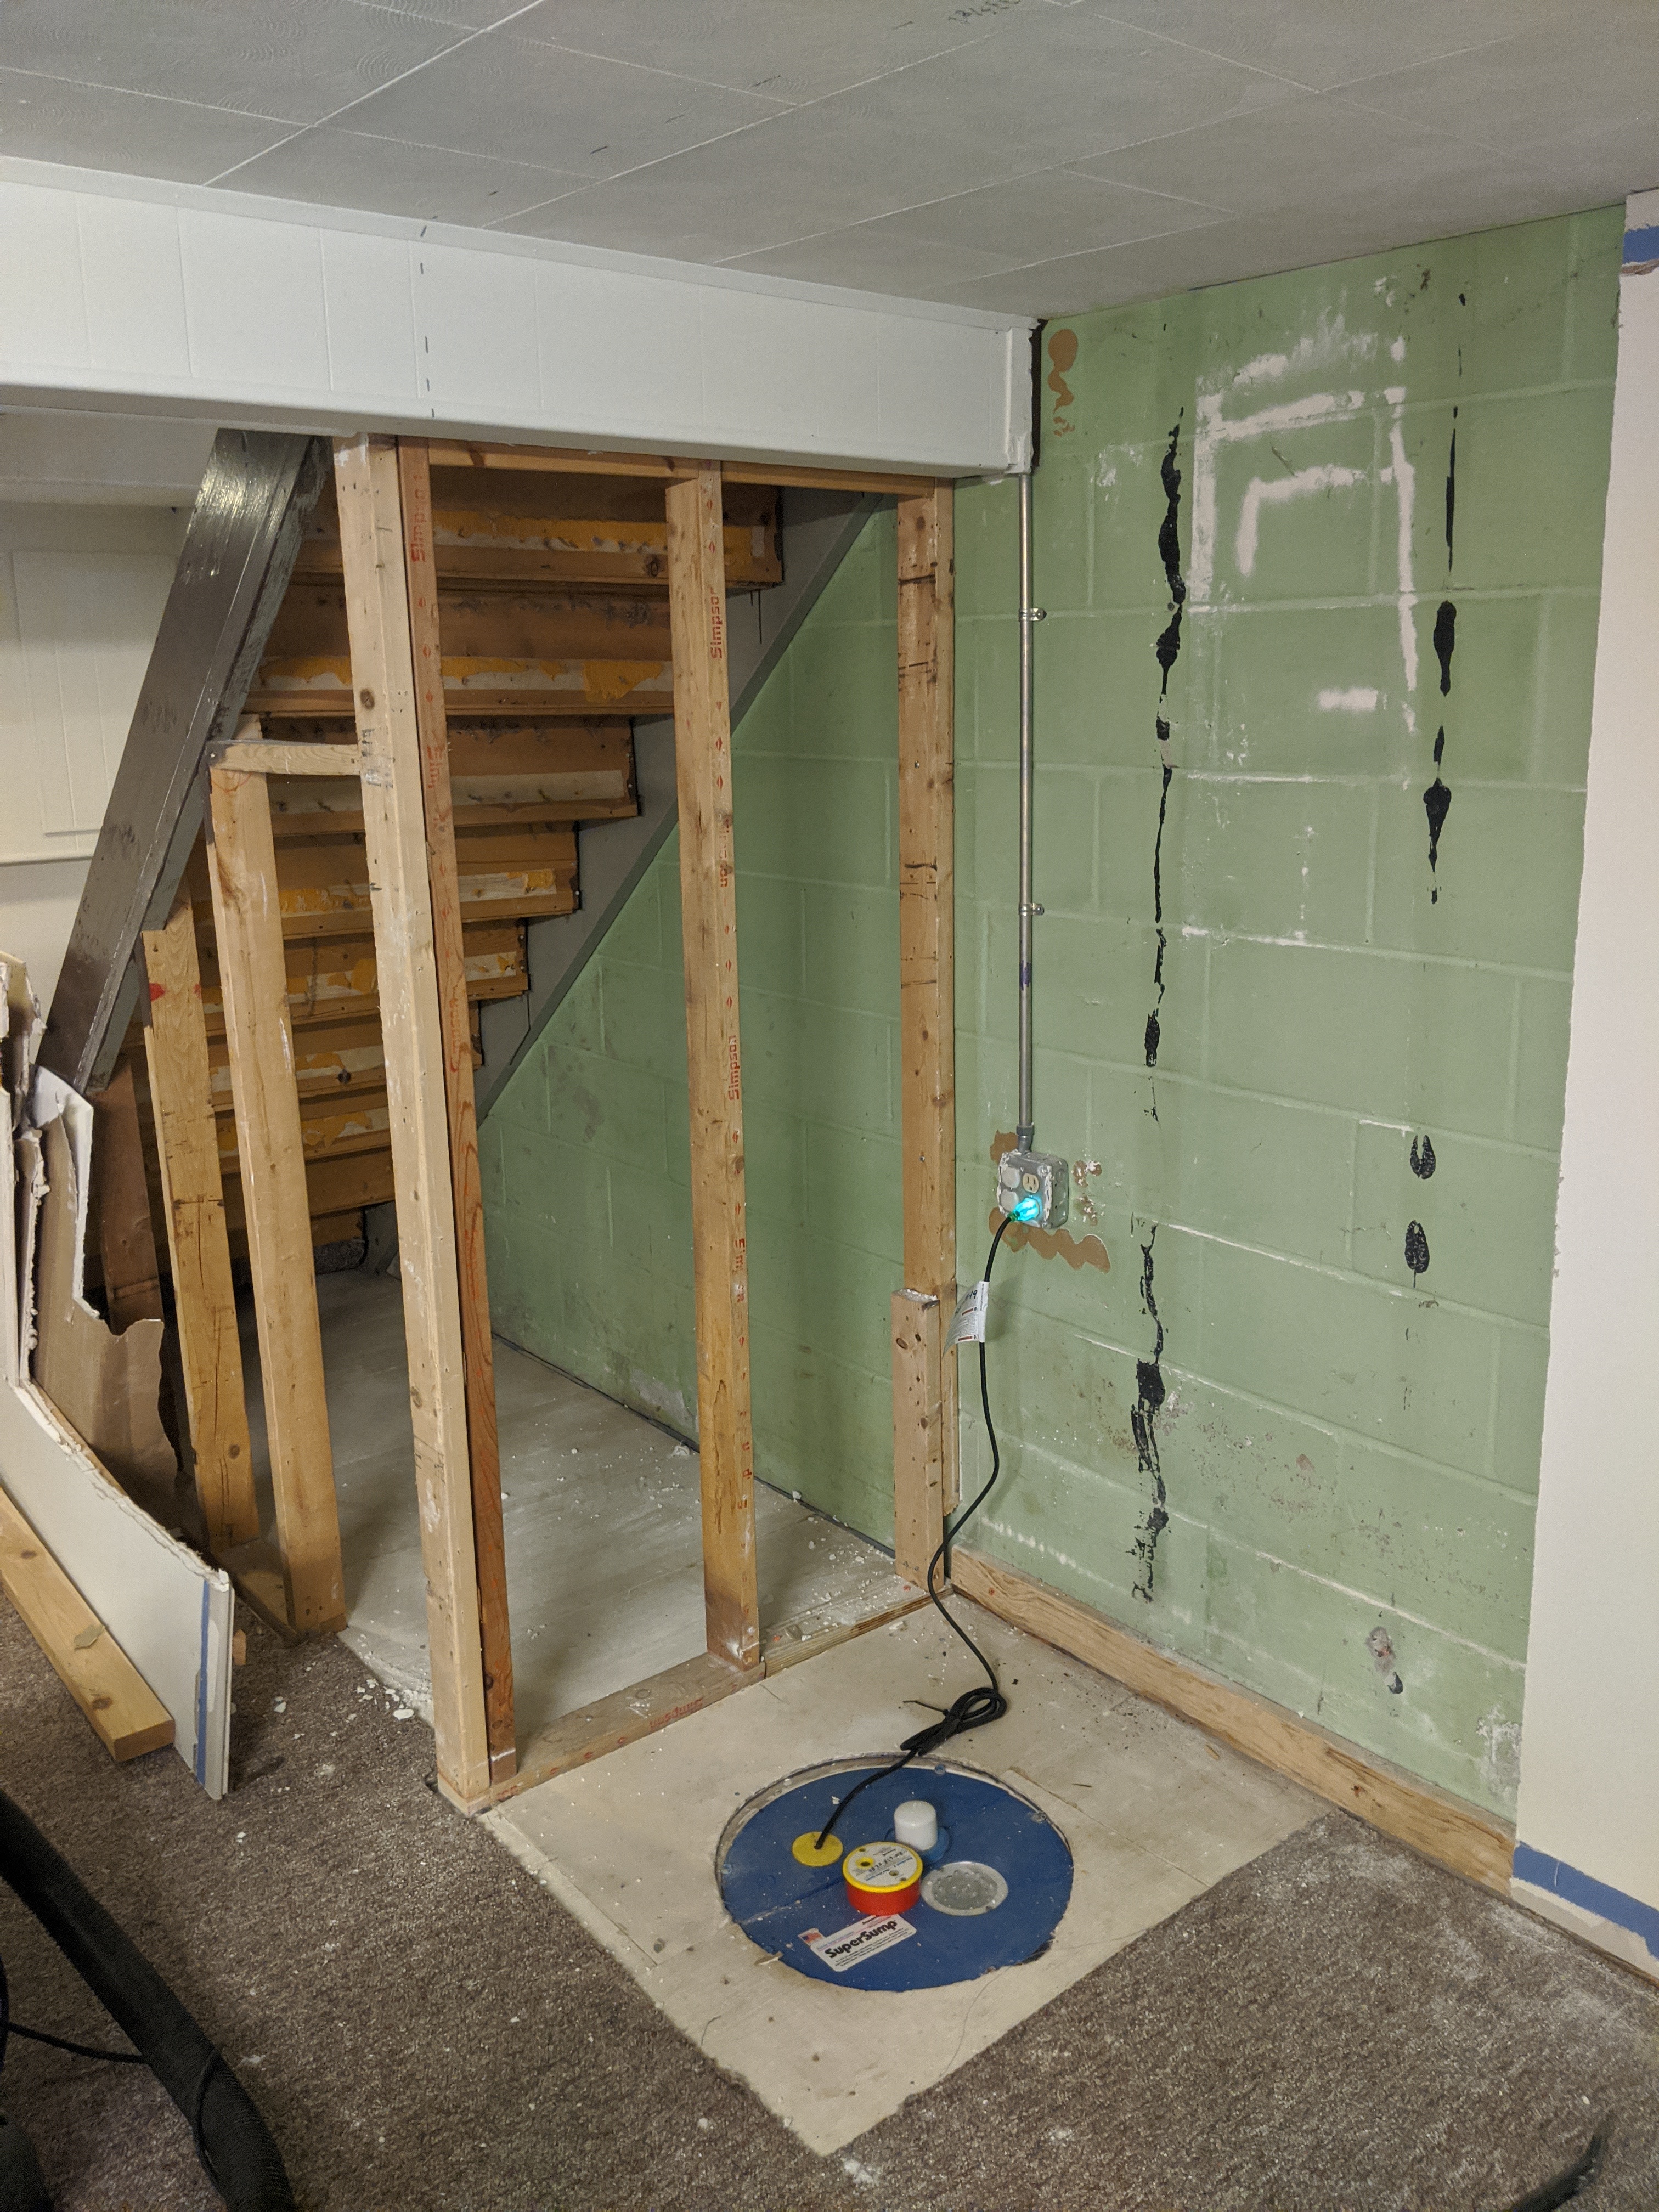
Up next: rebuild the stairs?
That was basically "week 1" of this project. Now that the area is demo'd I have a good sense of what the next steps are. I only demo'd up to the point where the closet would end but it seems likely I will have to redo that whole exterior wall section due to the framing approach used currently.
I also have to decide on what to do with the stairs. I've started researching that and making some plans, as well as reached out to people for advice on it. It seems very unlikely I can actually rebuild the stairs all the way to code with the way this house is structured currently. Is it a lost cause? We'll see!
I'll be discussing the stairs, how I measured them in place, and what software/calculators I used to make new plans in the next update!
Kamran