Disclosure: Some links on this page below are affiliate links, meaning, at no additional cost to you, we will earn a commission if you click through and purchase. Read our disclosure for more info.
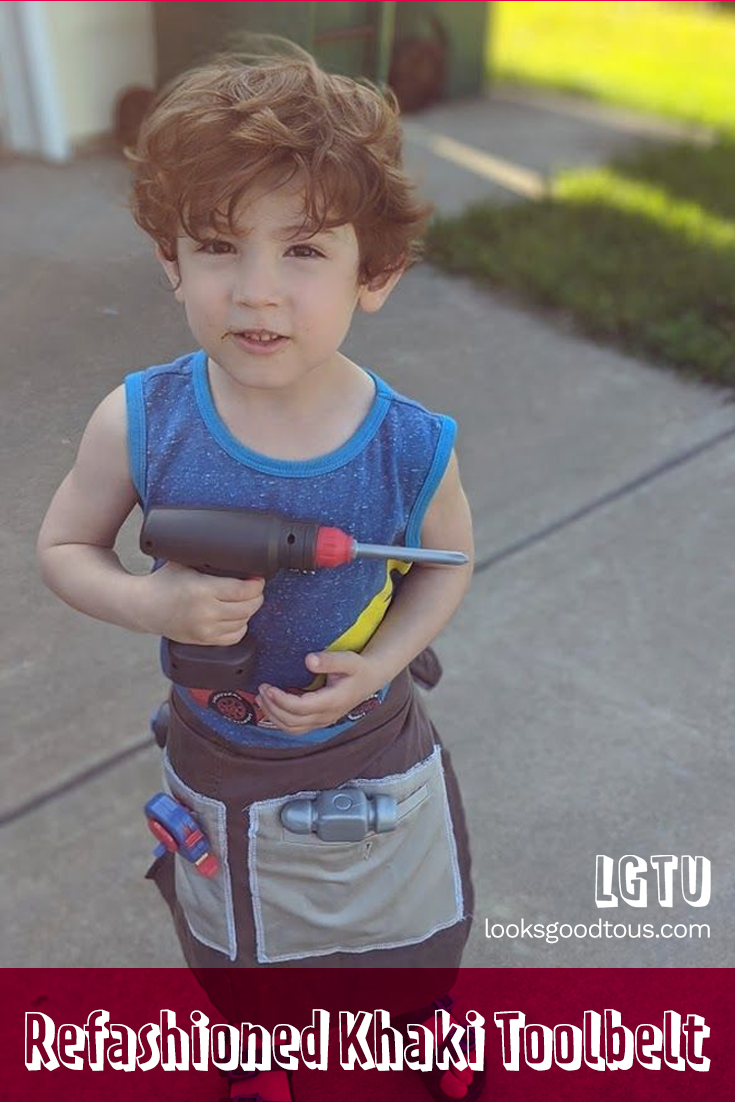
Rami has been asking me for a tool belt for his play tool set since he got it for Christmas. I had it in my mind that I would try to re-purpose a pair of khakis I had, because they seemed like the right type of fabric for a tool belt. After finishing some quick projects (like the toddler pajama pants and the reusable napkins), I decided the toy tool belt could be a good quick project to start using my new serger.
My hope with this little tutorial isn't necessarily to talk you through how to make exactly the same tool belt as I'm making. In fact, I hope the one you make is better and that you can think of other creative ideas to add on. My hope with this post is to give you ideas for what you could do to refashion old clothes, and maybe to inspire you to know that you can try new things without perfect step-by-step directions. I went into this project knowing that it could be great and it might be a disaster. Throughout my attempts at learning to sew, I've found that taking risks like this has been the most fulfilling part of it all. Even when that means I fail.
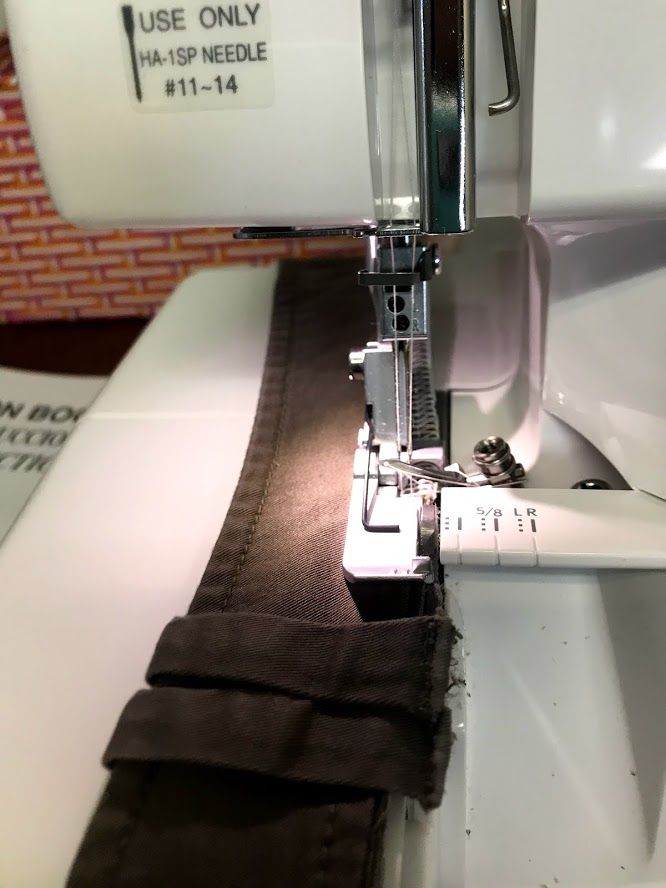
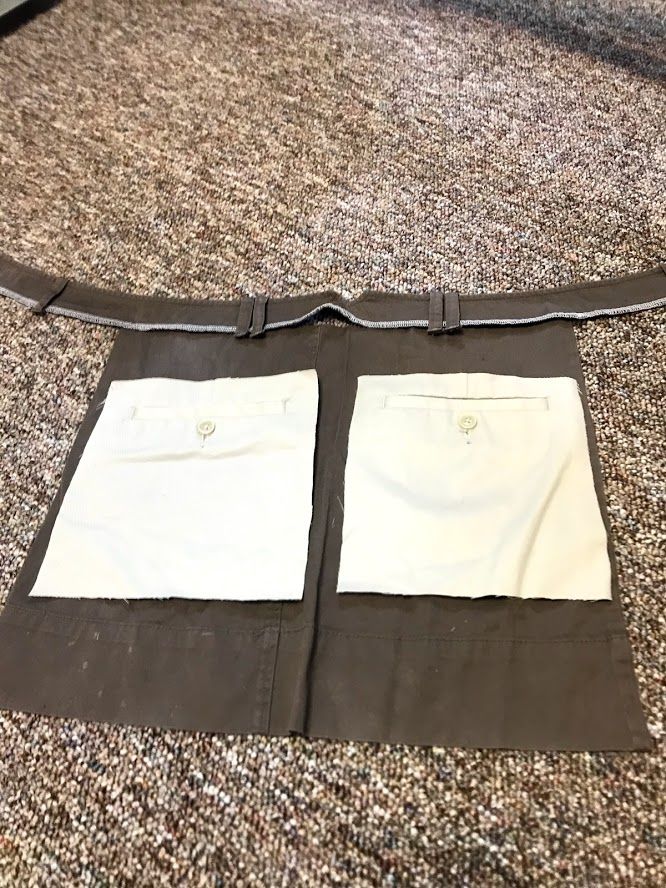
The first thing I did was cut off the waistband. It looked like it might be long enough to be both the waistband and to tie together in the back of the tool belt. I used my serger to close the raw edge. I really probably didn't need to do it, but I was excited to use my new serger!
Next, I cut the bottom leg off of the pair of pants. These pants were from college or maybe graduate school, so they had more of a flared or boot-cut leg, so they definitely had more room than the current skinny jeans (or are those "in" anymore? Maybe not.) I opened up the bottom pant leg and ended up with a large rectangle of fabric, which I knew I wanted to use for the "apron"-piece of the tool belt.

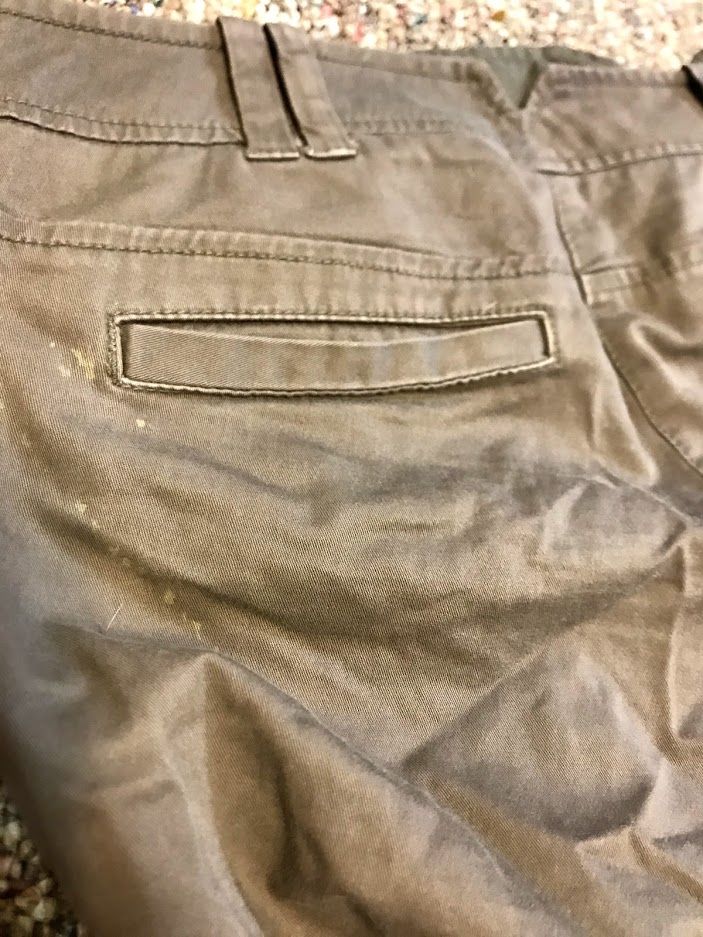
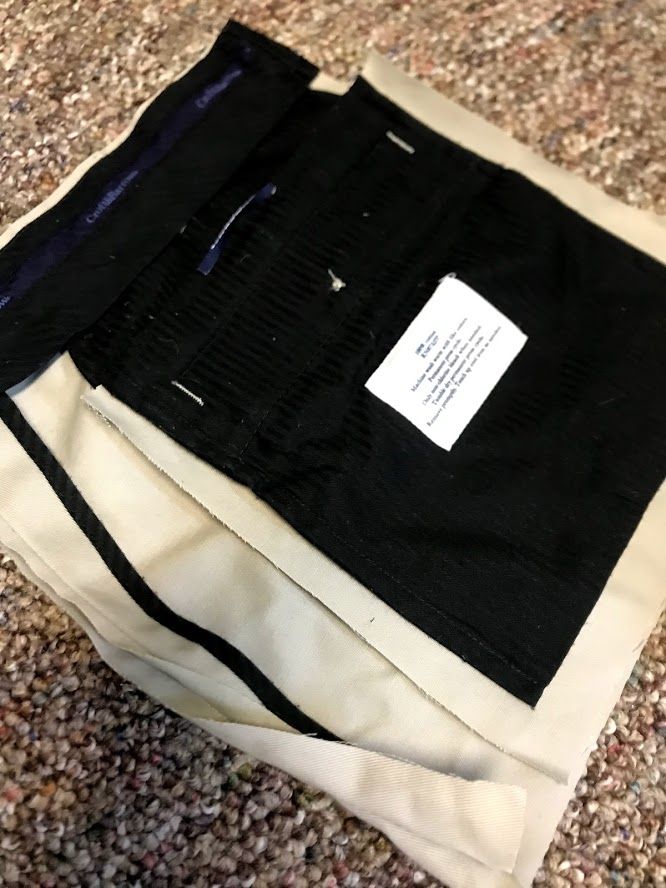
Next, I took another pair of khakis that used to be Kamran's. They had these wide back pockets (my khakis didn't have back pockets) that I wanted to use to hold the tools. They have buttons in the middle of the pockets that divide them into two sections for two separate tool compartments, or they can be unbuttoned and it can just be a large pocket for all the tools together. I cut the pockets out and serged around the raw edges.
My project was starting to take form. I had to take three days off from the project because the rubber feed dog on my sewing machine broke and I had to wait to get a new one when the sewing store opened up. Once I got that piece, though, the rest of the project was quick!
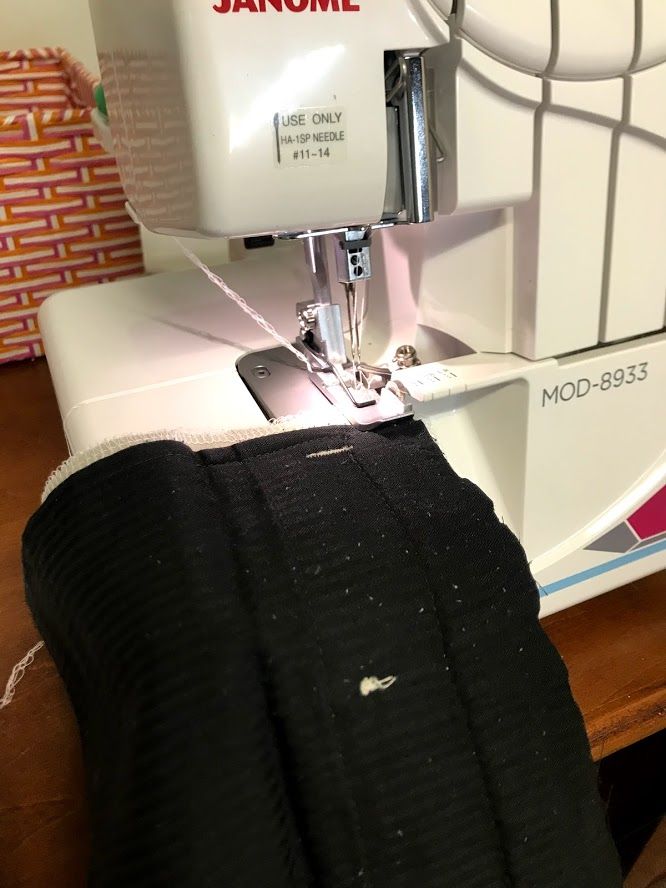
I sewed the pockets on and sewed the waistband to the apron. I then cut off the belt loops and attached two of them to the side of the waistband, sideways, so that tools could be stuck through them. I love the idea of re-purposing old clothes that I don't want anymore, and giving them new life. Especially when that means giving them to my kids. It's just neat to see something old becoming new again and giving joy to someone else.
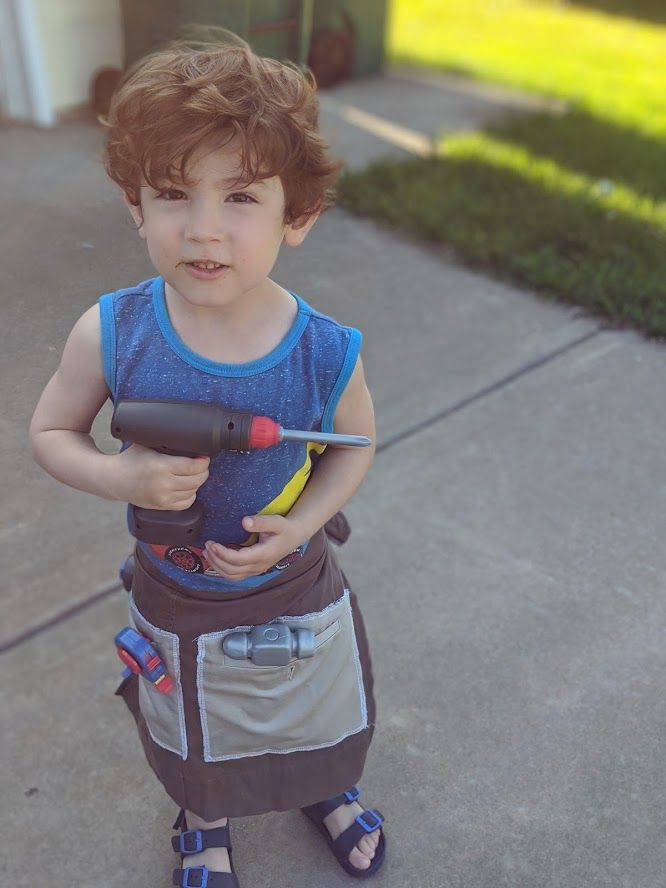
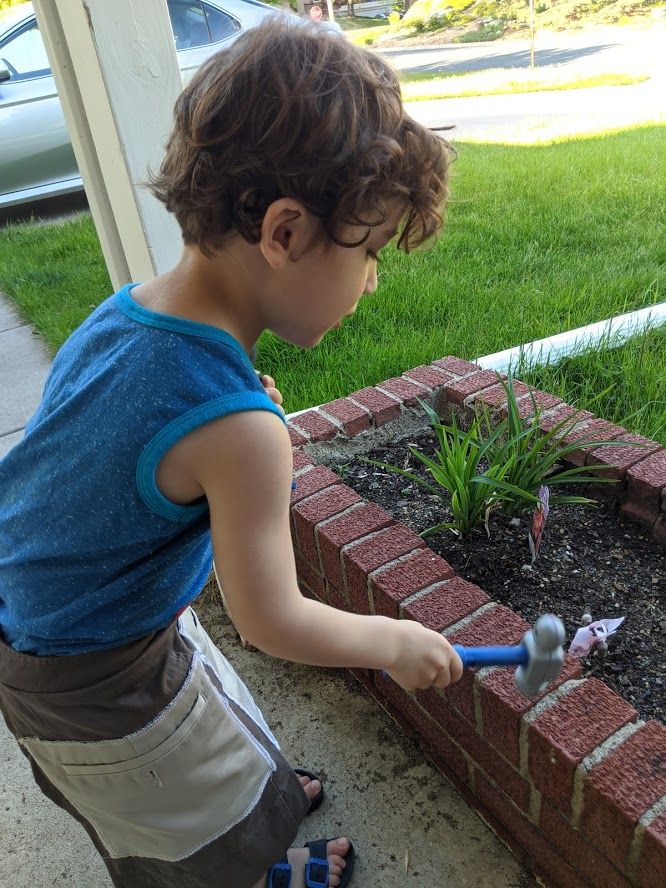
I think maybe someone more creative than me or someone who knows about tools could design a much better tool belt. But this tool belt made my son so excited and happy. What more could I ask for?