Disclosure: Some links on this page below are affiliate links, meaning, at no additional cost to you, we will earn a commission if you click through and purchase. Read our disclosure for more info.
Be sure to read the previous part in this series to learn the background of what this project is about as well as progress up to this point with my learnings, tips, and research.
 Kamran
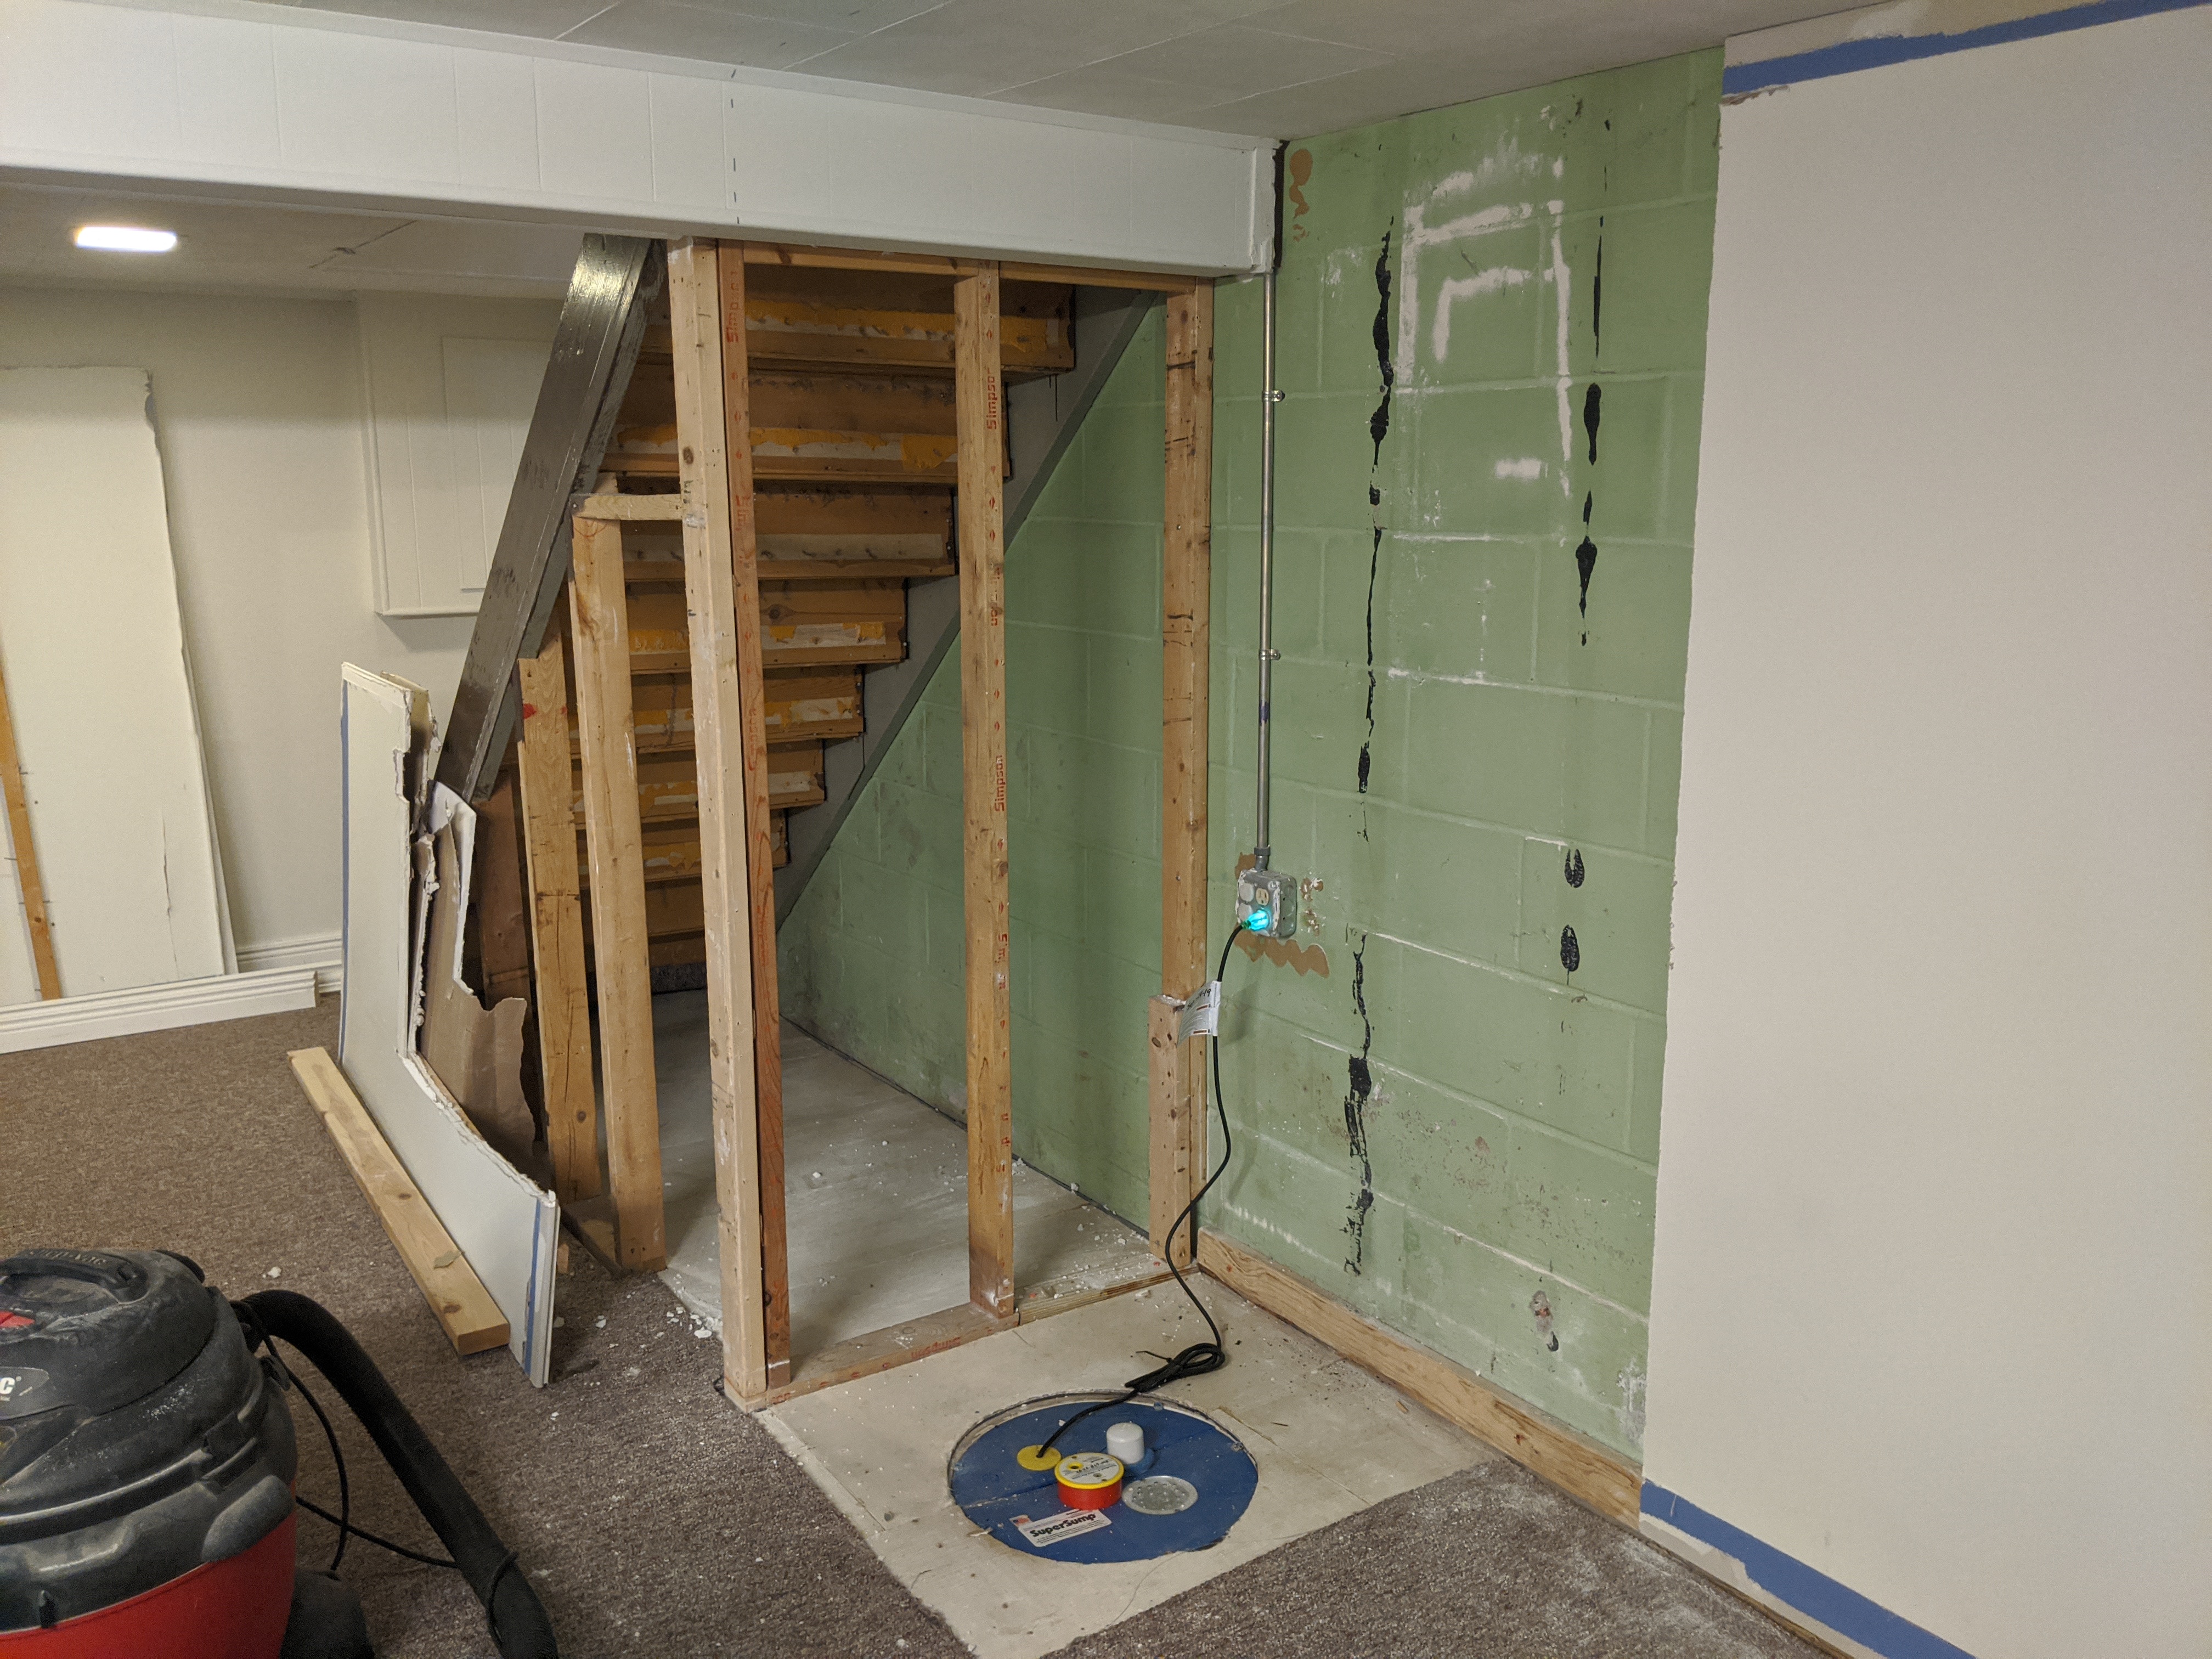
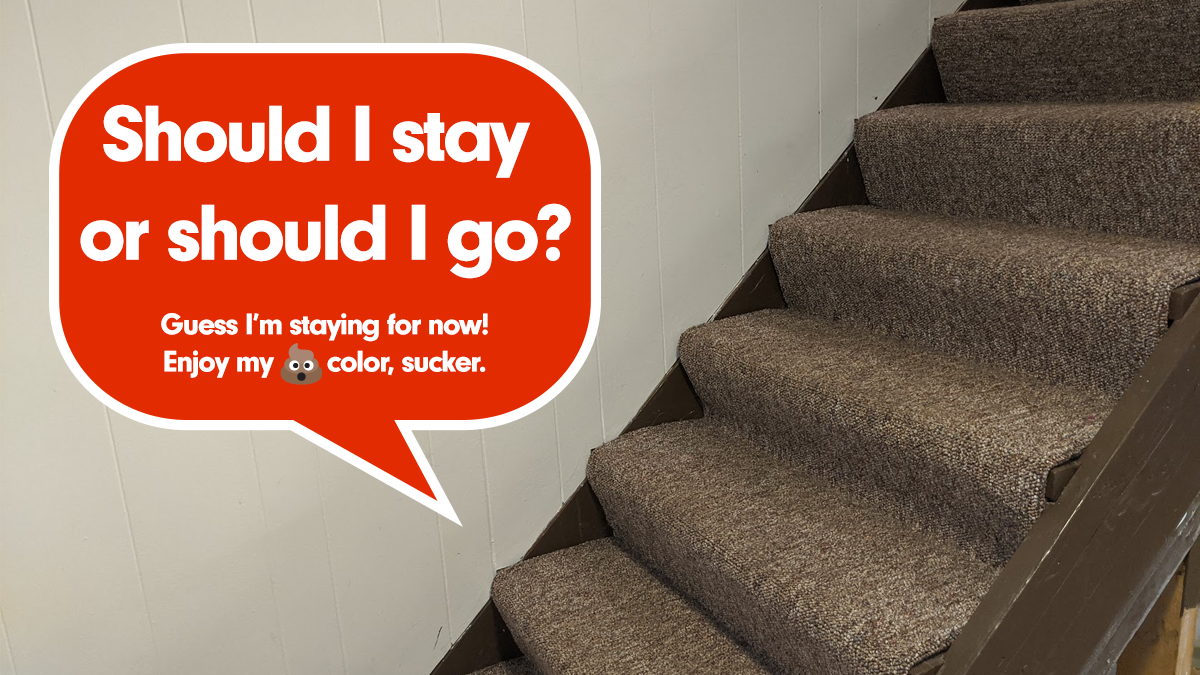
This week has mostly been about deciding what to do with the stairs – should I leave them alone or try and rebuild them to code? Well, I learned soon enough that it would be basically impossible to build stairs in place that are to code without major renovations upstairs.
But before discussing that, let's start with...
What are stairs, even?
But like... seriously, did you know what a stringer was until looking it up when researching stairs? Maybe you came across this article from a Google search for someone who is rebuilding their old-ass stairs and you're a total amateur like I am.
Before I could really understand my stairs I had to do some preliminary research to understand the terminology and parts of stairs.
You'll need to know terms like rise, run, treads, stringers, and skirtboards. I recommend reading the stairs4u site developed by Greg Vanden Berge, a carpenter who also makes instructional videos on the stairbuilding YouTube channel.


What's wrong with the stairs?
So now that I understand how good stairs are built today, I had to take a closer look at my old stairs.
Why am I even considering making the scope of this project larger by redoing the stairs? Can't I leave it well enough alone?!
My question, at least initially, was whether I wanted to build new framing under these stairs if I thought it was at all possible I'd redo them in the near future anyway. I'll share my conclusion but I started out expecting to rebuild these damn stairs.
Code-wise, I think there are several violations but I haven't had an inspector tell me exactly what's wrong – these are just educated guesses based on Minnesota's code.
Difference in risers must be less than 3/8"
According to code, the total variance between all risers cannot exceed 3/8". Well, that's clearly violated in these stairs as the first step's rise is like 4" vs. something like 7-8" used in the other risers.
Landing space must be greater than 36"
According to code, there needs to be at least 36" of space in the direction of travel at the bottom of the stairs. Currently, there's only 29" of space so another clear violation of the code.
Handrails are required for stairs with more than 4 risers
This one is obvious, you need handrails and guards. This stairs has zilch.
Run is probably not 10" minimum
The run on these stairs is very close to 10" but I suspect it's not quite 10".
Framing isn't to code
There's quite a number of fasteners used to build these stairs with different types of wood, I am betting it's not to code either. There are some safety concerns with the treads pulling away from the notched slots in the stringer against the exterior wall.
What can be brought up to code and what can't?
If I rebuild the stairs, I can bring things closer to code, at least for safety but there will still be at least two violations I would need to get exceptions for (hopefully).
- The run I choose will be below minimum. I have one plan with a 9 1/16" run which results in the same total run as the current stairs (which meets headroom requirements).
- If I adjust the rise for a steeper angle, it will be about 8 1/2" which is above the 7 3/4" maximum. However, this would allow me to use a 10" run which could be more comfortable.
- The landing will not be code compliant in any case unless I drastically increase the rise, to an uncomfortable angle.
Either way, the landing will always be in violation and the rise/run will be in violation.
What would it take to be fully-compliant?
I did spend time to plan a new stairway and I fiddled with the measurements as much as I could to get as close to code as possible. However, the only option I can see to be fully compliant is redoing the upper floor design and moving the stairs. There's just no way it could ever be to code in their current location, even if I somehow introduced a turn (too close to the door to the backyard). The space is just too tight and the ceiling height won't allow for it.
We'd have to move the stairs somewhere else, possibly nearer to the front entrance. Yeah, we aren't up for that!
When I had talked to a builder about a whole-home renovation they could do things like raise the house – that would add more basement ceiling height and possibly allow for a new stair design. At that point though, we'd be talking a whole renovation anyway so moving the stairs would be possible. Also that would cost yes money 🤑.
What did the experts say?
I reached out to my local building office (they're probably tired of me!) and I also sent the details (in video form) to Home Renovision and this is what they said (abbreviated):
"If you want, you can rebuild the stairs according to the original code when the house was built." - Local building office
"These stairs are grandfathered in, you don't have to rebuild them. Aesthetic updates without changing the rise or run should be fine!" - Jeff
In other words – if I want to – I could try and rebuild them. In theory, the inspection office would say, "Cool, um, this probably isn't to current code but when the house was built, it was probably fine."
Do I want to, though? Rebuildng stairs is a lot more work than I planned (and it's not a beginner project). What about just cleaning them up?
Could I just dress up the existing stairs?
This is the option I am going with, after reviewing the situation. It also satisfies my desire to keep things simpler and avoid the added cost and pain of new stairs. Since the stairs exist, they are grandfathered in and I won't need an inspection or need to pull a permit if I leave them alone.
What about the new framing? No big deal, I think. The new framing will extend beyond the steel beam which is not under the stairs. I will use screws to tie into the old structure so that if I have to at a later date I could reclaim or adjust some of the framing.
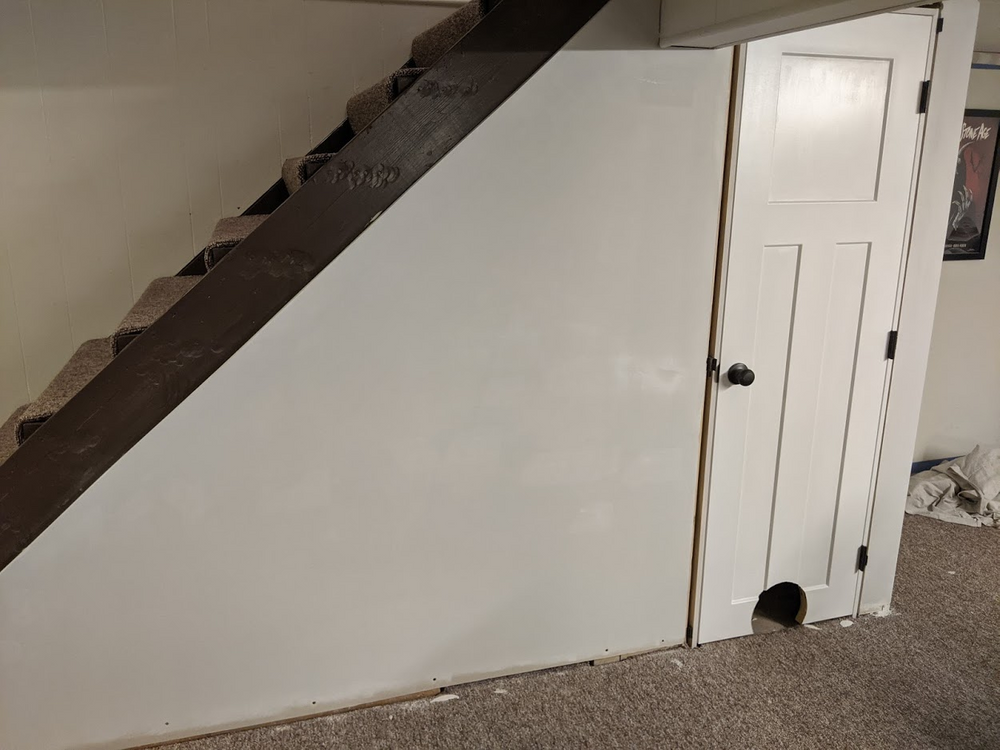
My main issue with the stairs is their aesthetic, not the code violations (besides the safety issue, which I can address). Whoever put them together didn't care that much what they ended up looking like.
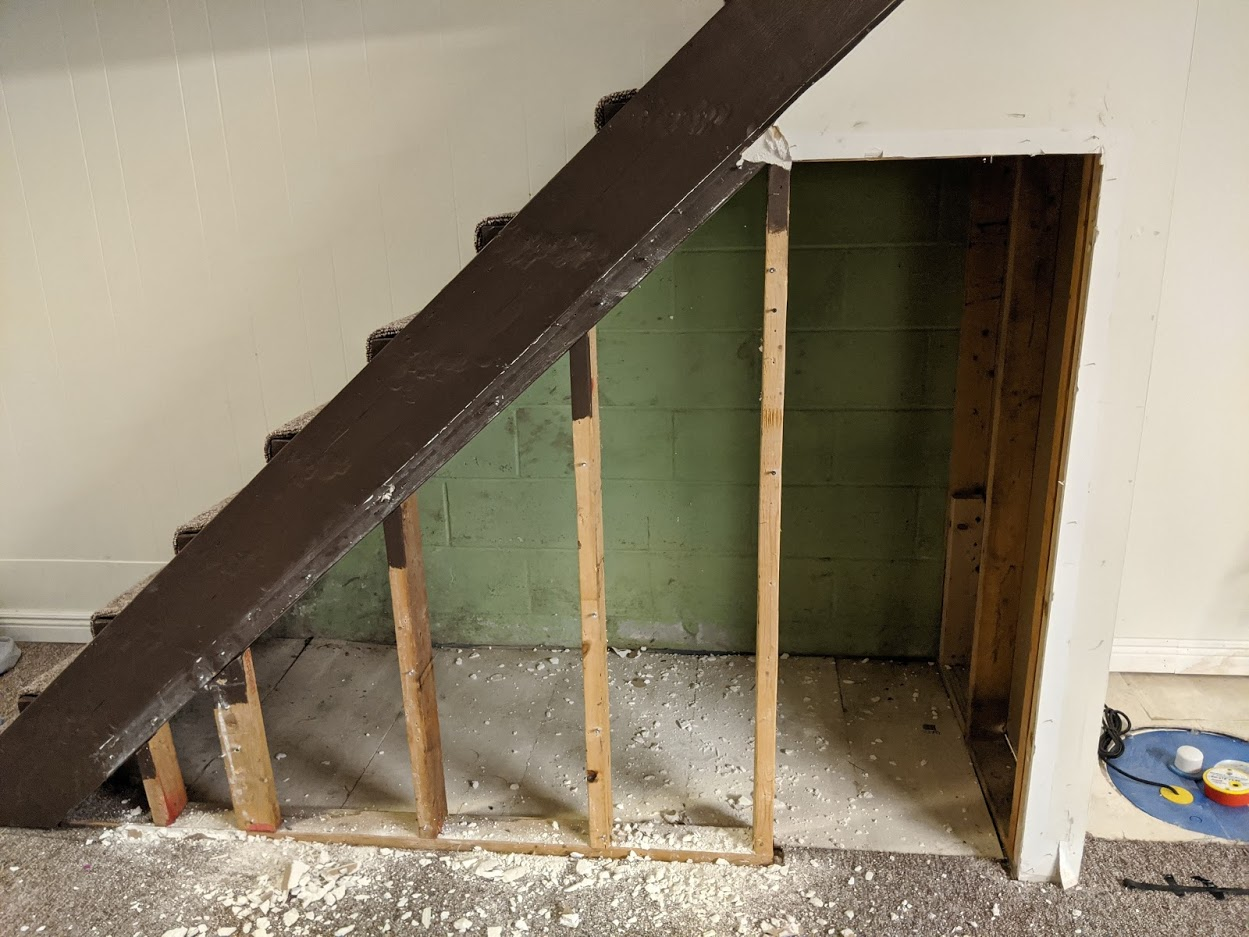
The catch with these stairs is that they were boxed in after-the-fact. The original staircase is the more dated design of a single board with notches ("dados") for treads to fit into. They have notches where the treads are supposed to slide in and then they added risers nailed to the back of the treads.
To dress it up, I'd want to have plain wood treads which means I would remove the carpeting and then sand down the existing rough treads (2x10s?). I could look at the "retrofit" treads which only add 5/8" to the rise, this would still be OK I think as I have 1/2" of headroom available today. I'd have to figure something out for the tread projections since they extend out and are currently all painted poop brown.
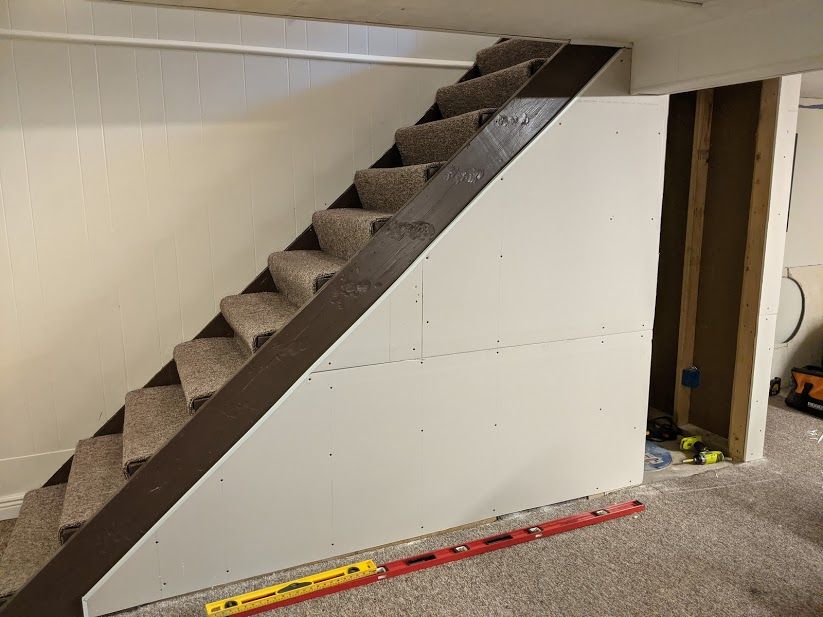
That leaves the current stringer facing out into the basement. They really did a number on it, with huge hammer dents and big ass nails into the sides of the treads. There's no way I can fix that without replacing the whole stringer.
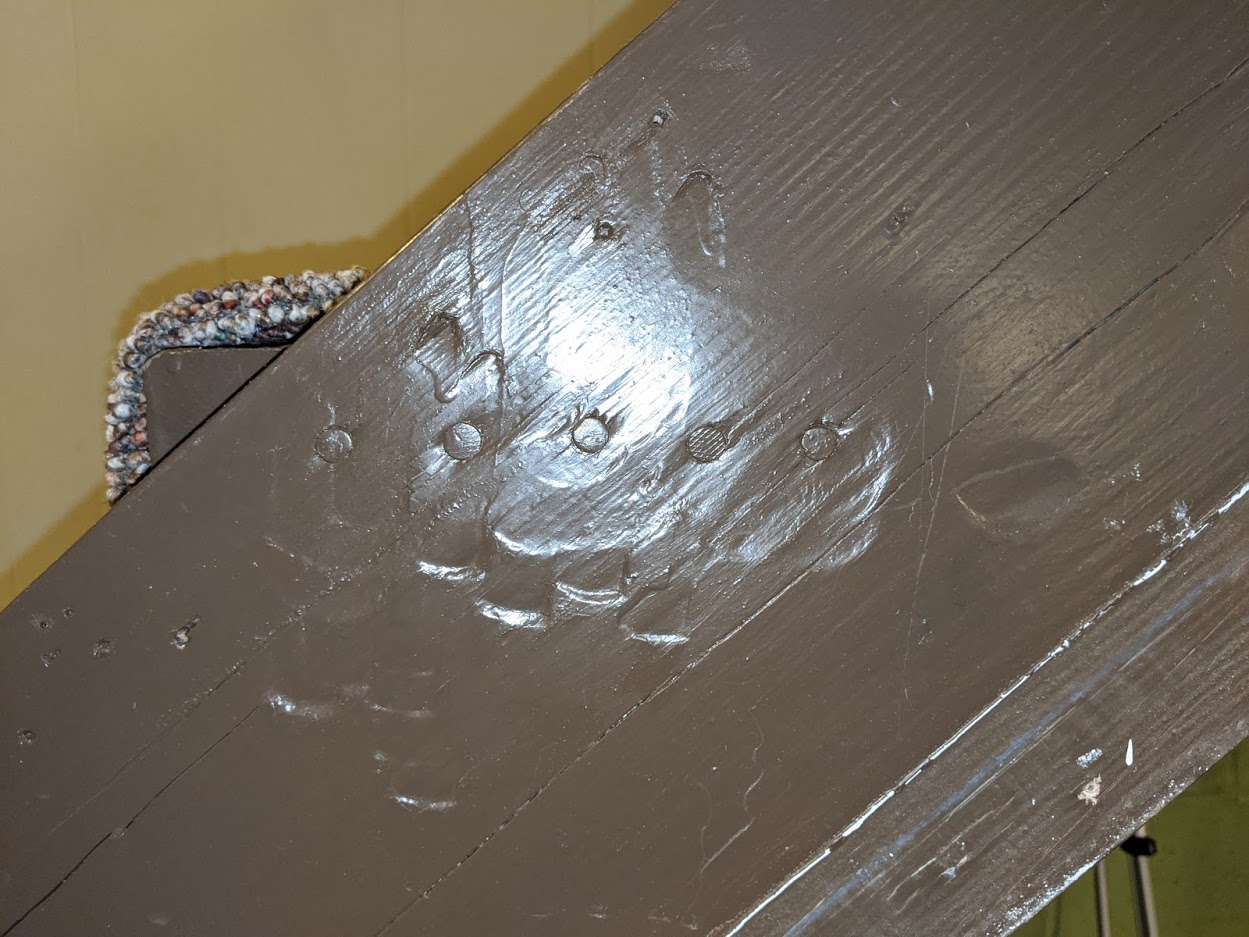
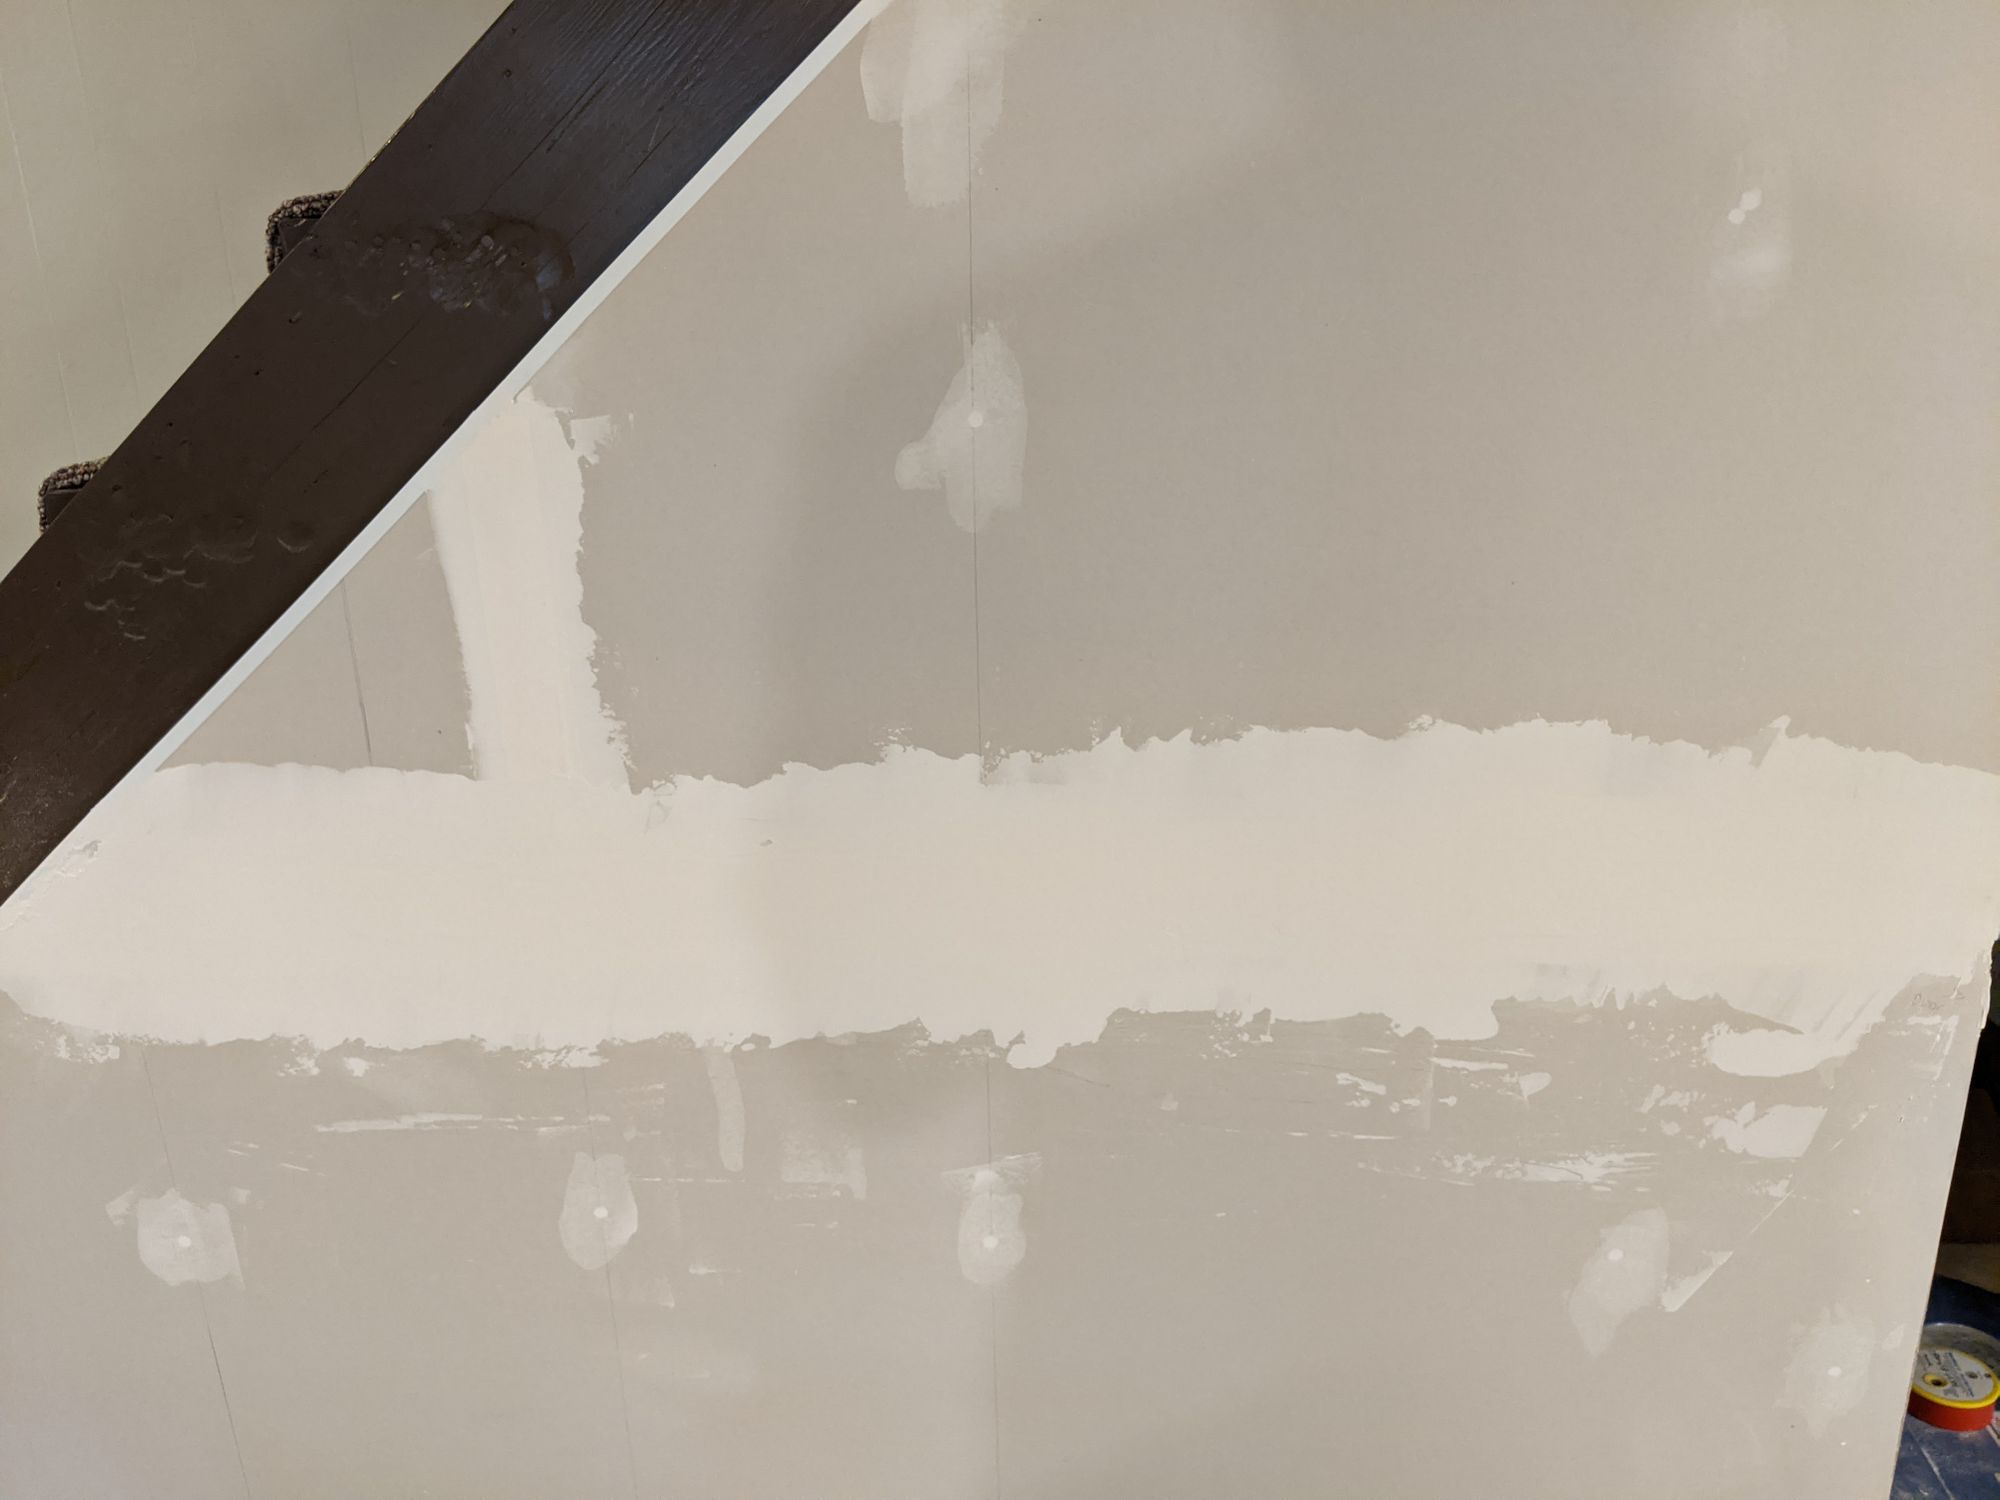
It's unlikely I could easily pull these nails out so I would probably try to make a new skirtboard to cover it up with a piece of top trim. I have to do something like that anyway to cover the drywall edge (they used a small piece of trim before).
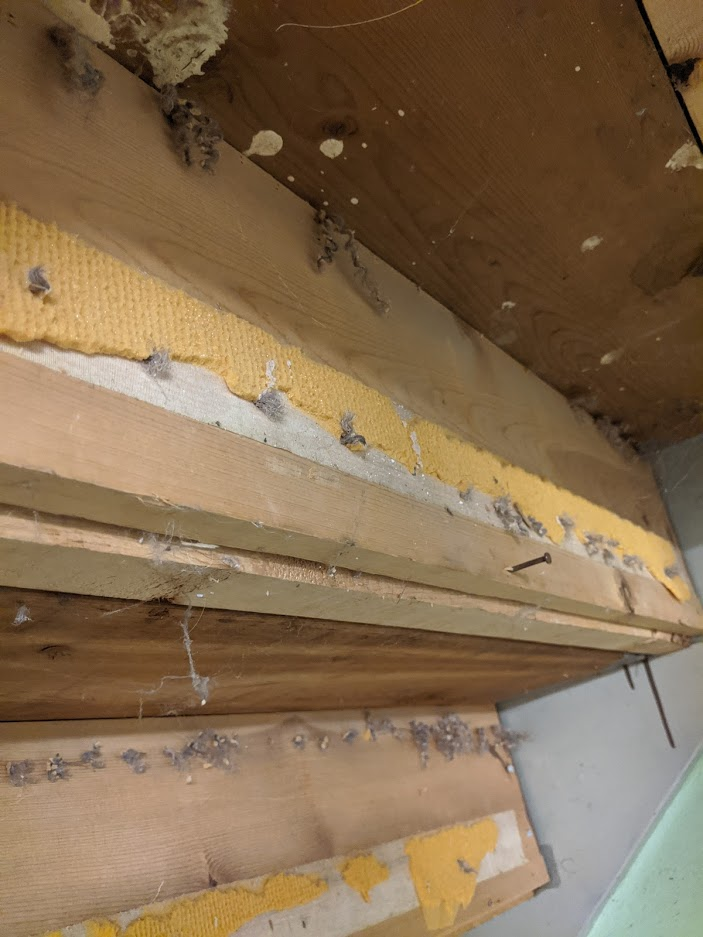
Finally, as you can see here, the treads are coming away from the slots on the exterior side of the stairs:
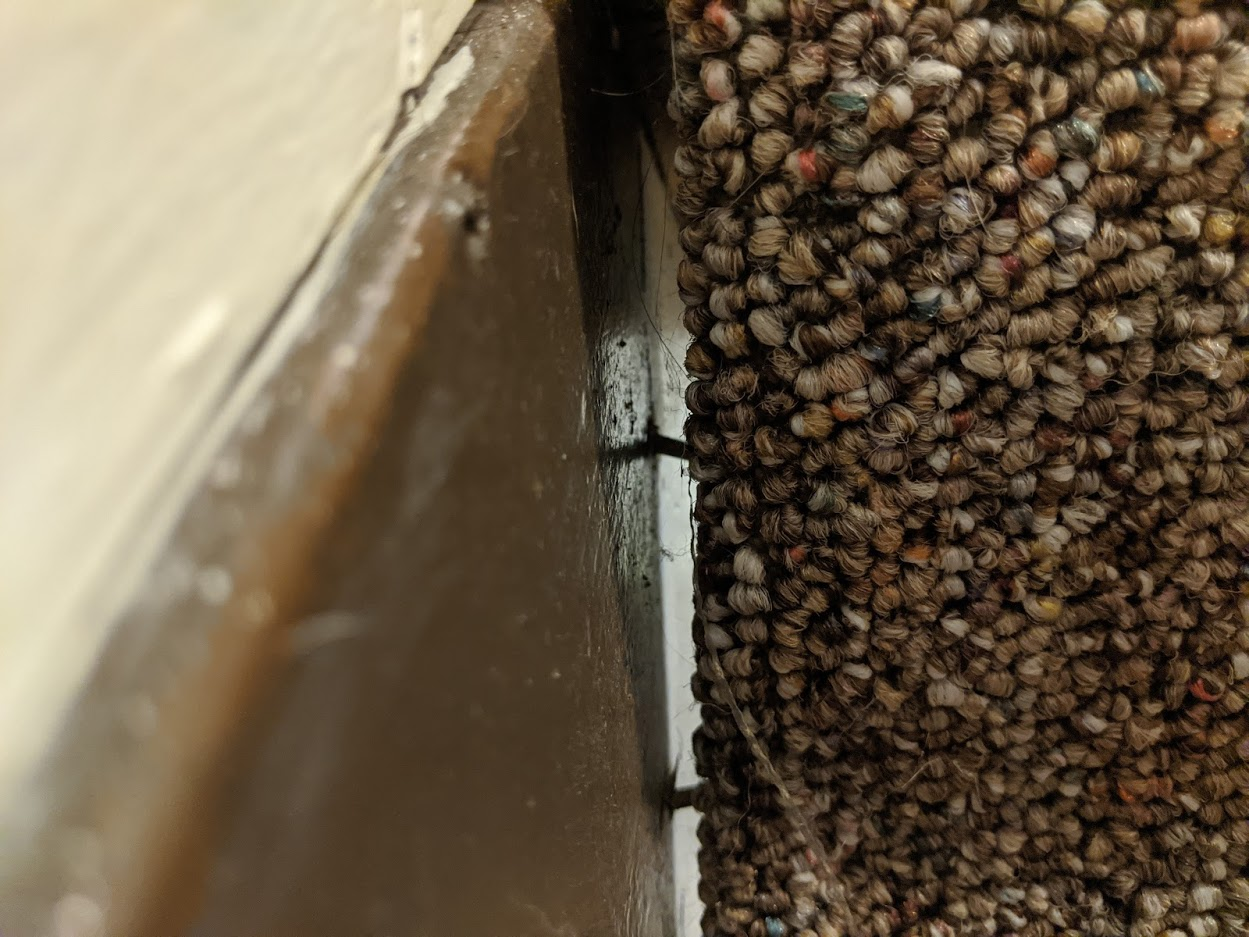
The stairbuilder YouTube channel has some excellent videos on how to fix this (or at least make it safer!), which I'll do right away using A35 angle brackets under the treads.
As long as I don't adjust the rise/run of the stairs, aesthetic updates could be done. Long-term, yes, I probably will rebuild the stairs especially since these kinds of stairs are no longer built due to safety issues and them coming apart like this.
So that's it, stair updates will be a separate project after this one! I was able to remove this big question mark from the picture. 😅
What would new stairs look like?
But if I were to rebuild the stairs, how would I go about it? I can share some resources I used to create some plans while I was researching this.
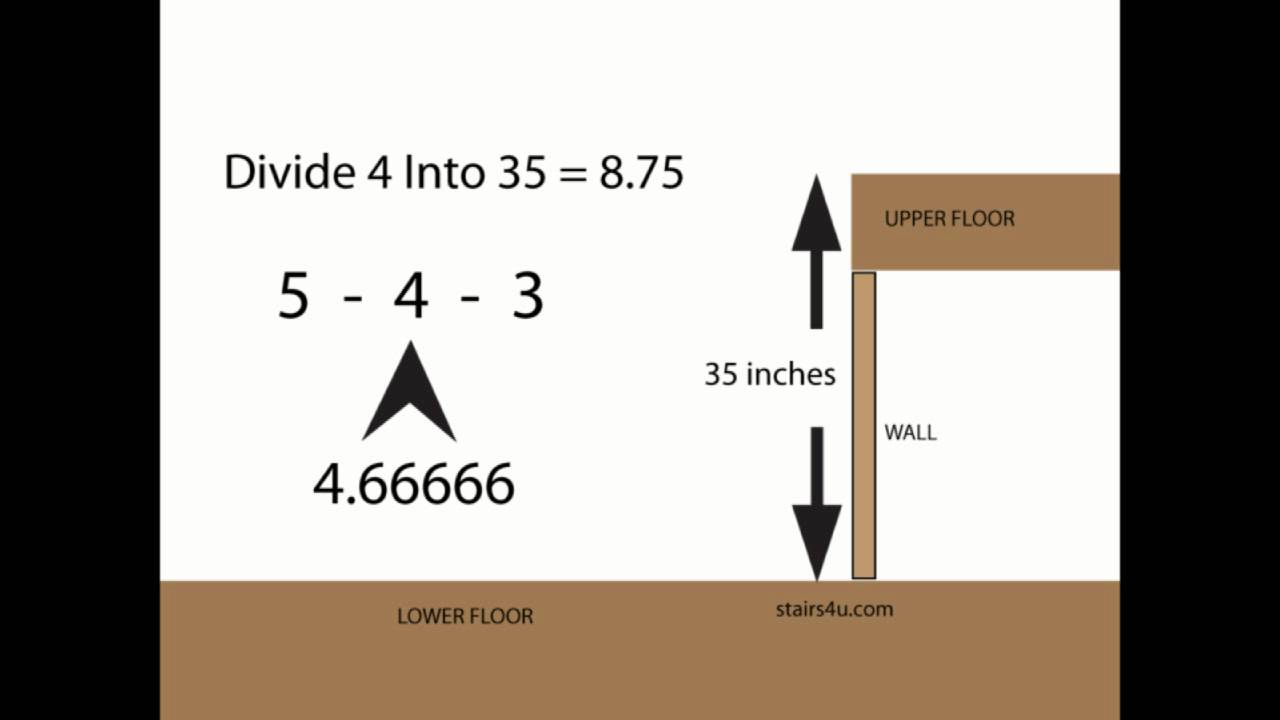
I recommend reading about what math makes comfortable stairs (Fine Homebuilding is another excellent site but it requires a subscription to view more articles):
 Michael Maines
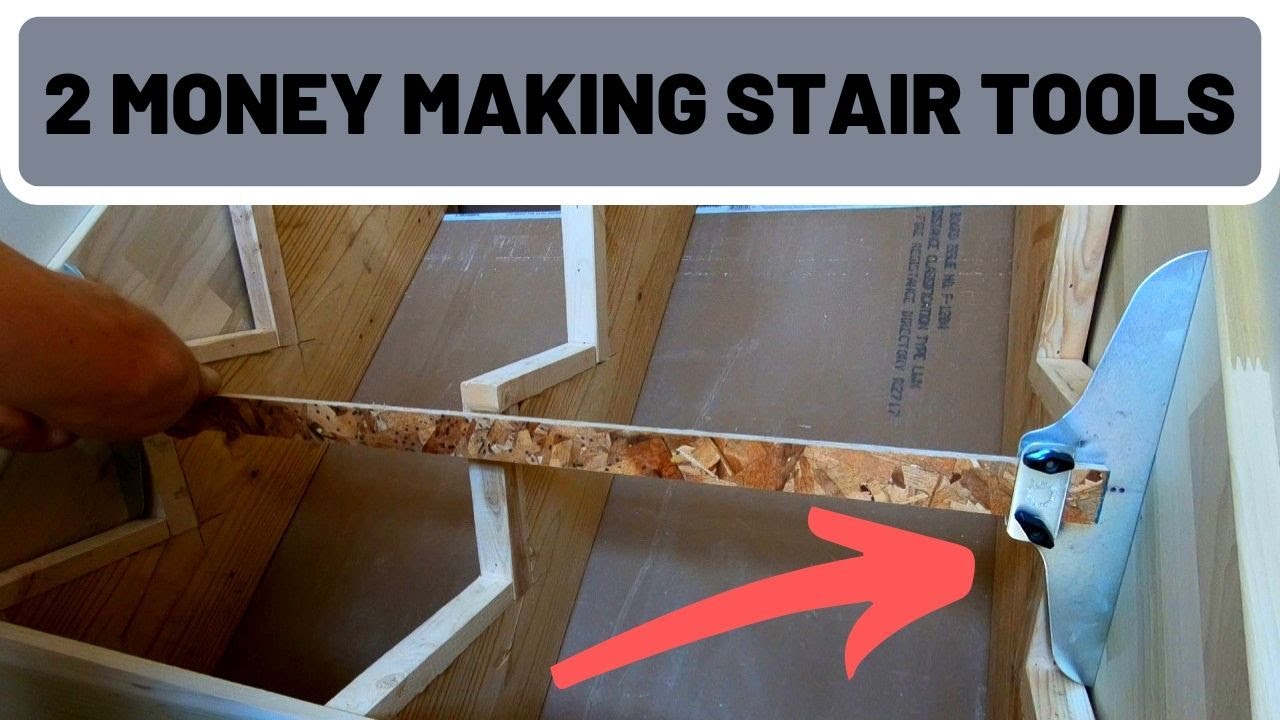
Once you understand how stairs are put together, you can now understand and use some specialized calculators.
Taking measurements of existing stairs
The way I measured my current stairs was to calculate the total run and total rise. I couldn't really measure the rise/run individually very well due to carpet covering the treads. However, all I really needed to plan new stairs was how much total rise/run I had to work with – if I could match the existing totals, I could build a stairs with the same overall dimensions but make it closer to code.
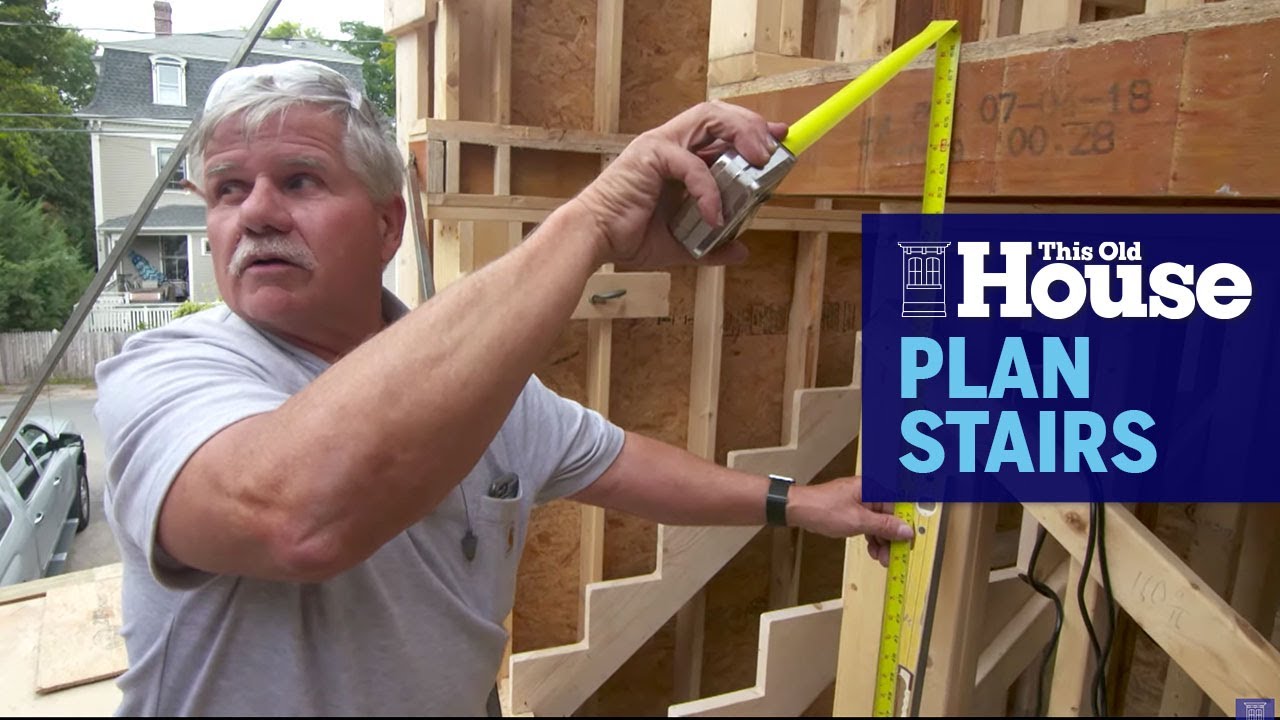
I basically used my tape measure and laser level. The laser level could be kept at the bottom of the stairs and it would project upwards to the ceiling/wall, letting me use my tape measure to get a very close approximation of the totals I needed.
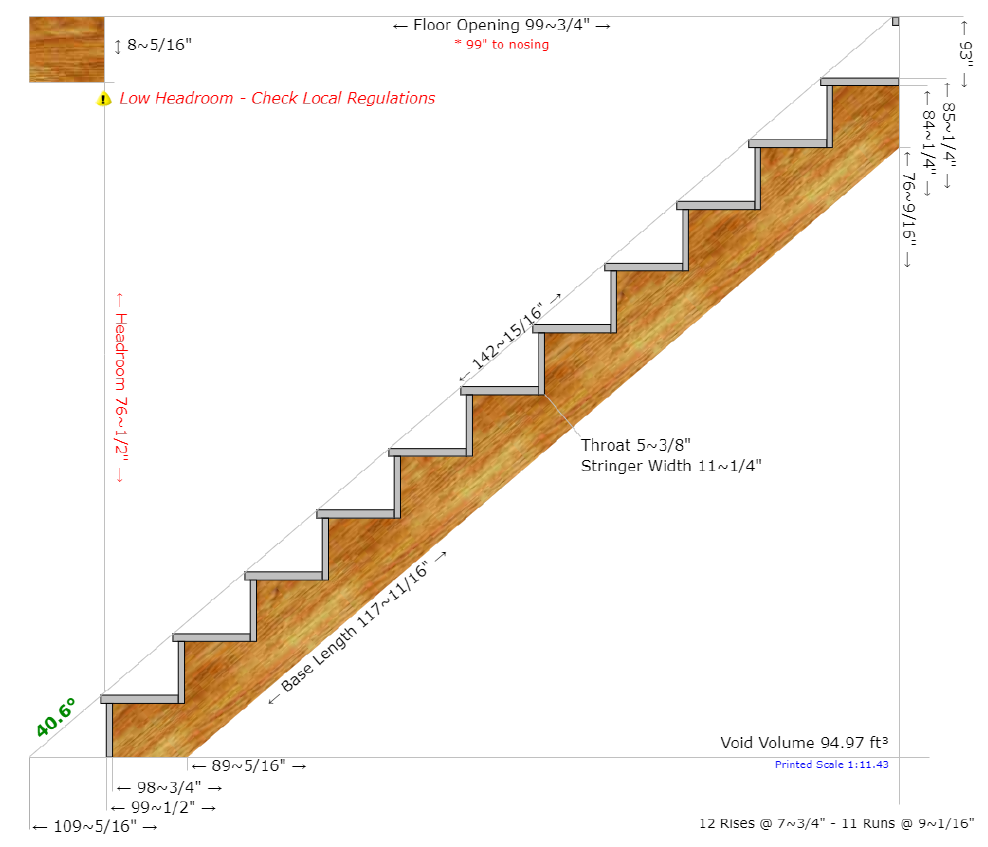
I used Blocklayer's stair calculator which is one of the more advanced (and detailed) ones I found:
I really liked this because you could export the plans to PDF and it had all the detailed measurements. It also handled headroom calculations so I could really hone in on exactly what rise/run would work for my current headroom requirements.
This is what my plan (would have) looked like!
If I were to proceed with a rebuild, I probably wouldn't tackle this by myself.
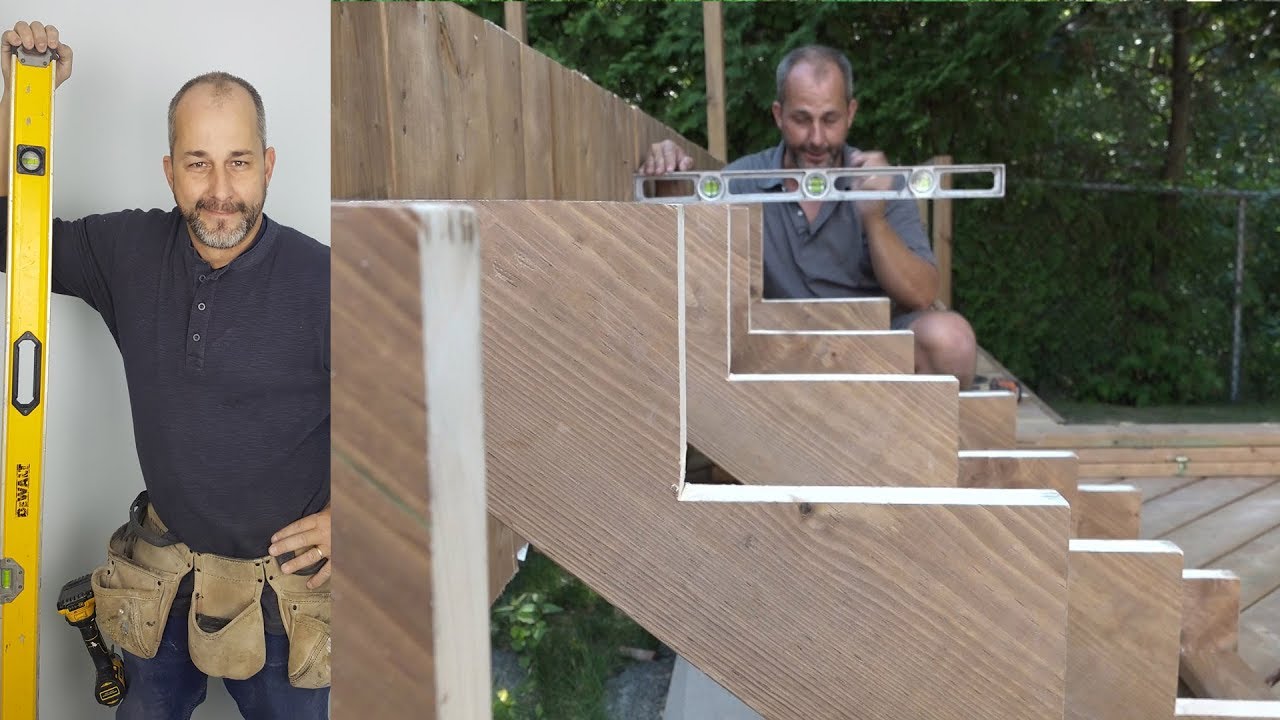
Videos on building stairs
Once you have a plan, you'd actually need to go ahead and build them (or order them, or pay someone to build them). I reviewed these videos for some ideas and techniques but obviously since I haven't actually done it, I can't really share what works and what doesn't!

Up next: "unfinishing" the space for framing
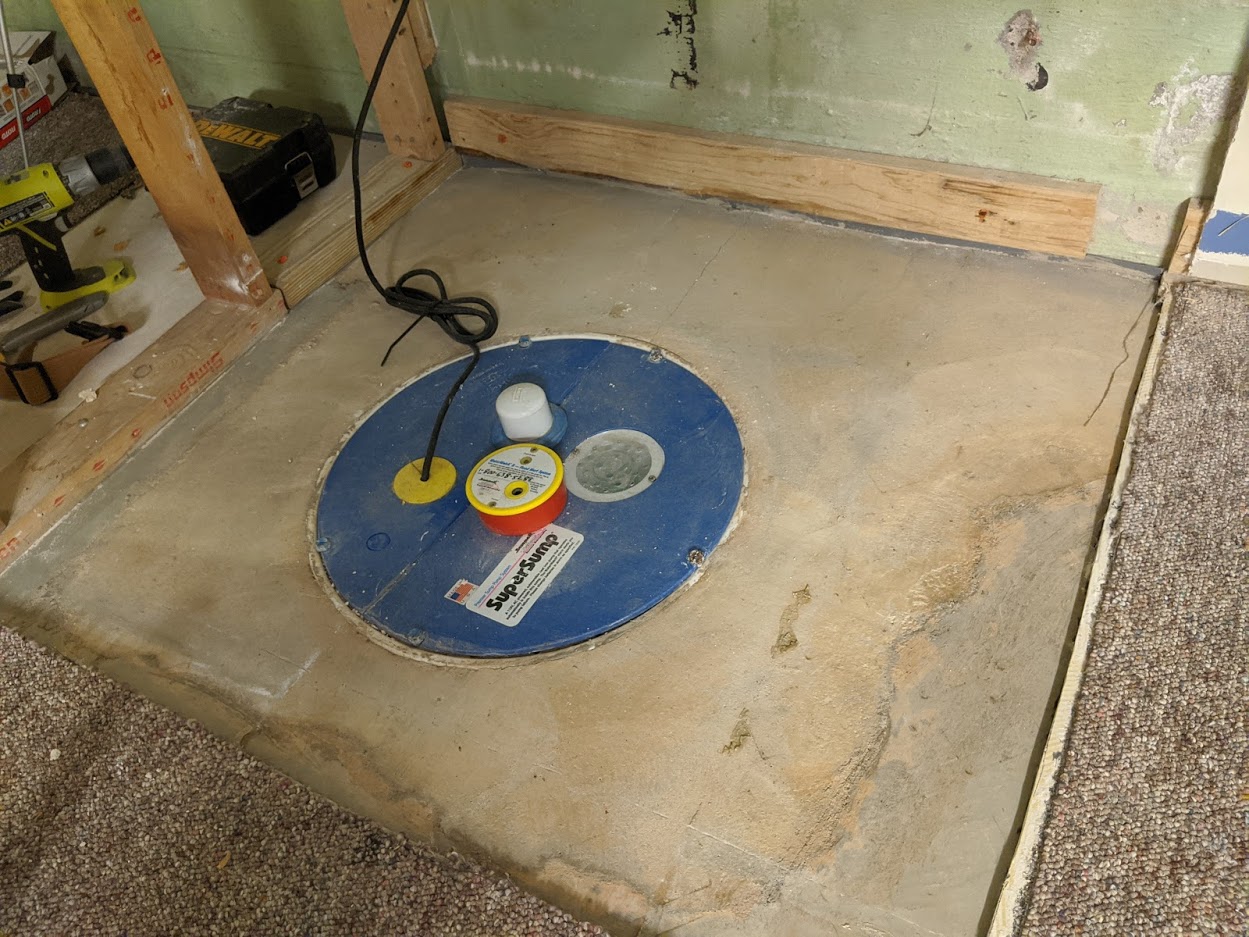
Now that I've answered the question about the stairs this next week has been planning the frame around the closet. It was time to cut back all the existing finishes including the subfloor, beam framing, and ceiling!
Kamran