Disclosure: Some links on this page below are affiliate links, meaning, at no additional cost to you, we will earn a commission if you click through and purchase. Read our disclosure for more info.
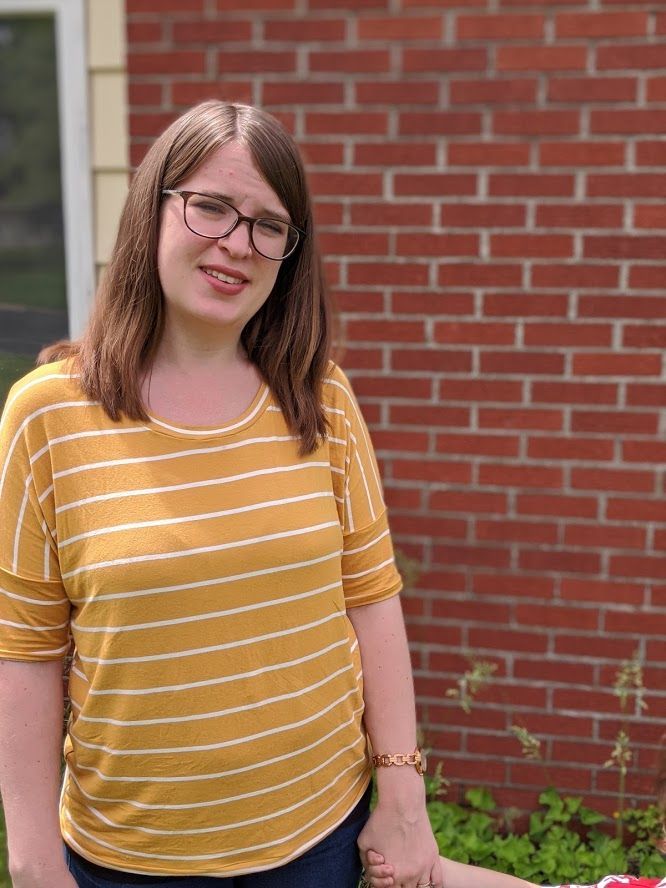
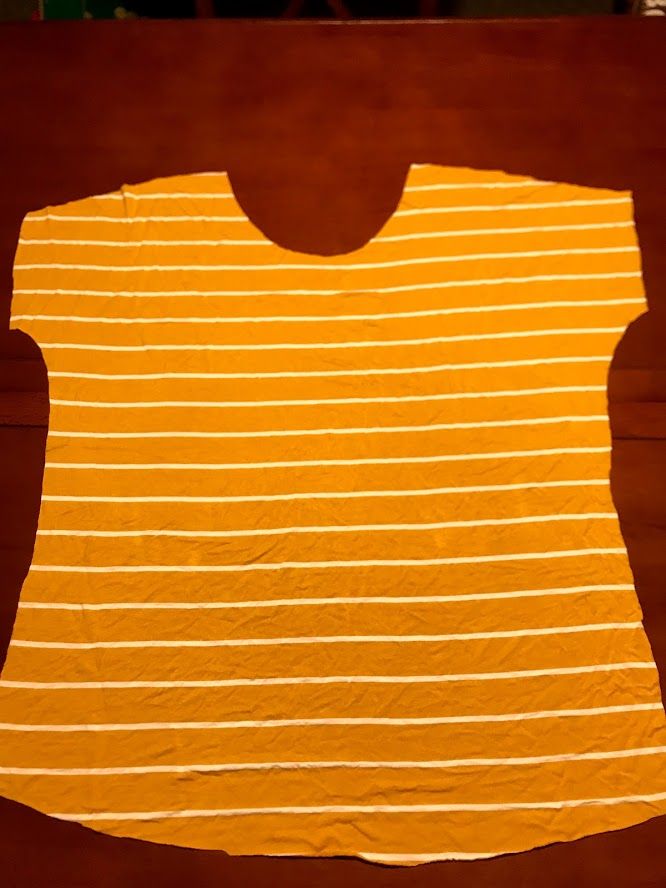
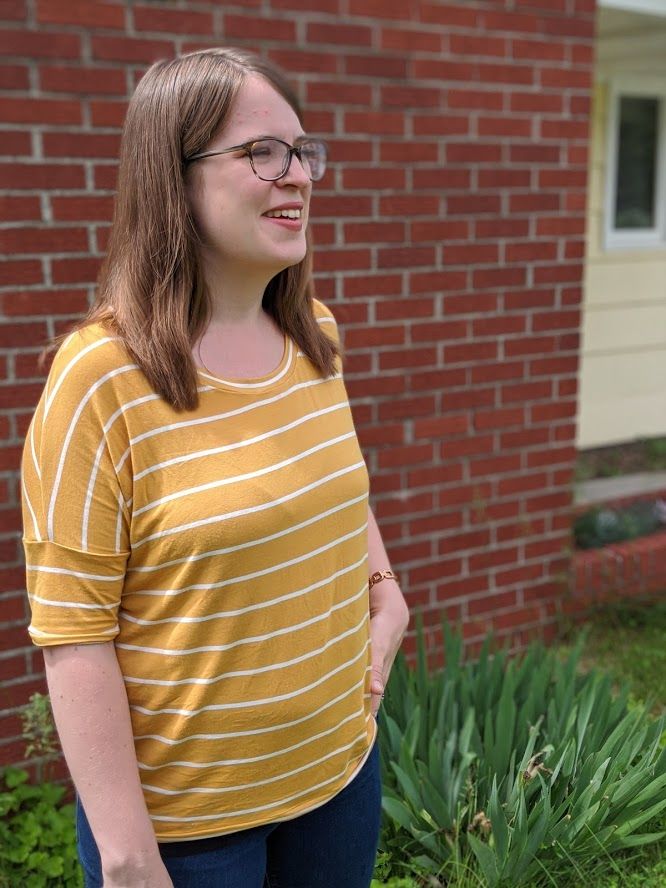
I've had this project in mind for a long time, because I've had these two tops from DownEast Basics for a couple of years now and I love them! I like that they are more drape-y and can be worn easily with jeans or leggings. They are casual enough to wear on weekends but nice enough to wear to work. That's pretty much my qualification for any item of clothing that I will wear constantly. I like to be comfortable. My only concern is that at some point, these shirts will wear out and need to be thrown out. So I wanted to create a pattern so that once I have to get rid of these shirts, I can just create my own in perpetuity. This pattern will be for a medium-sized shirt.
If you're looking for fabric for this shirt, this is what I'd recommend:

Download the Pattern
The pattern is free to download, you just have to enter your email to subscribe and access the download page:
👉 Download Free Printable PDF of Dolman Sleeve Top Sewing Pattern
You can unsubscribe at any point but we hope you stay for more patterns! Visit this page to view all the patterns I've published so far:
 Cassie 15 Jul 2020 • 7 min read
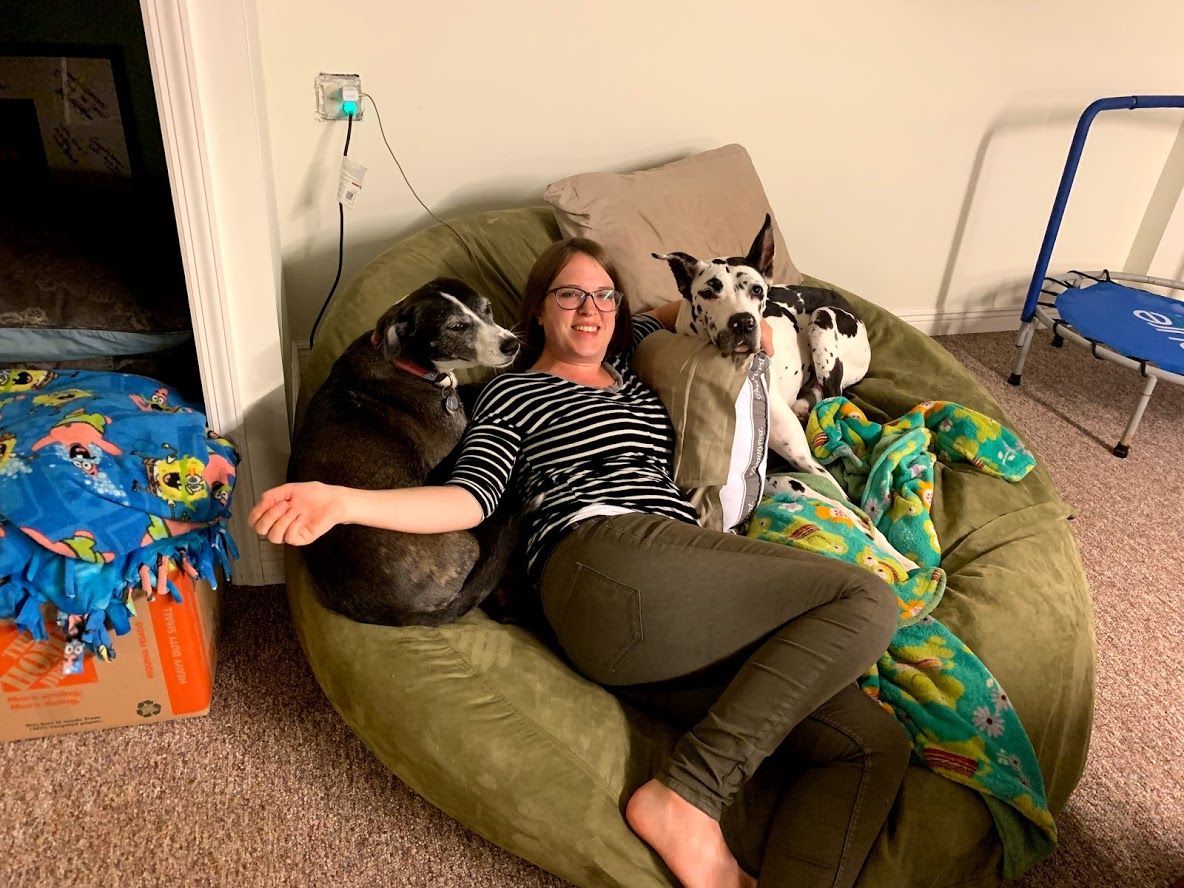
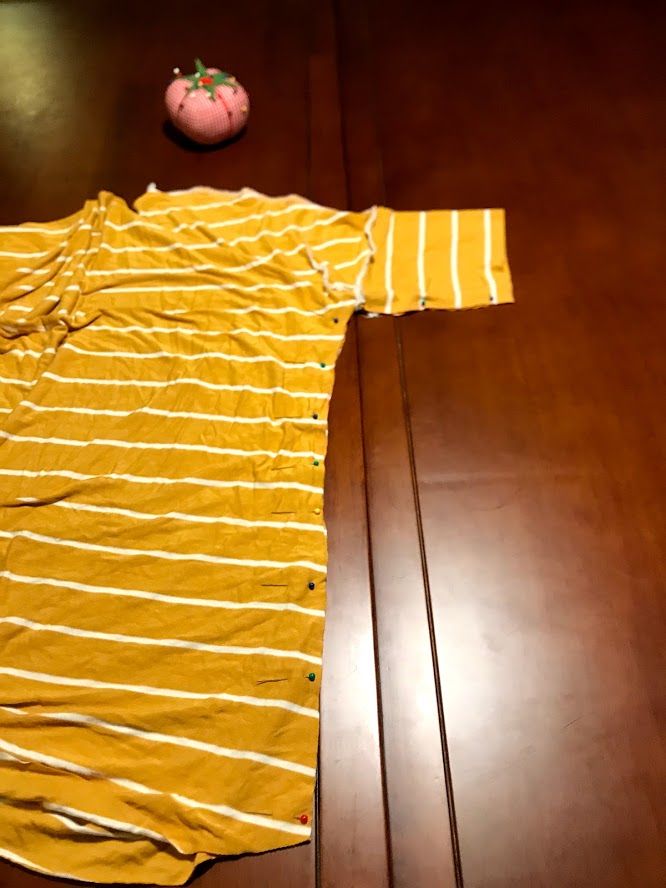
I started out by tracing the front and back of the pattern, as well as cutting out the pieces. It's a pretty straightforward pattern, and the sleeves are really interesting - they are just two long strips, wrapped around (see photo above with the dogs).
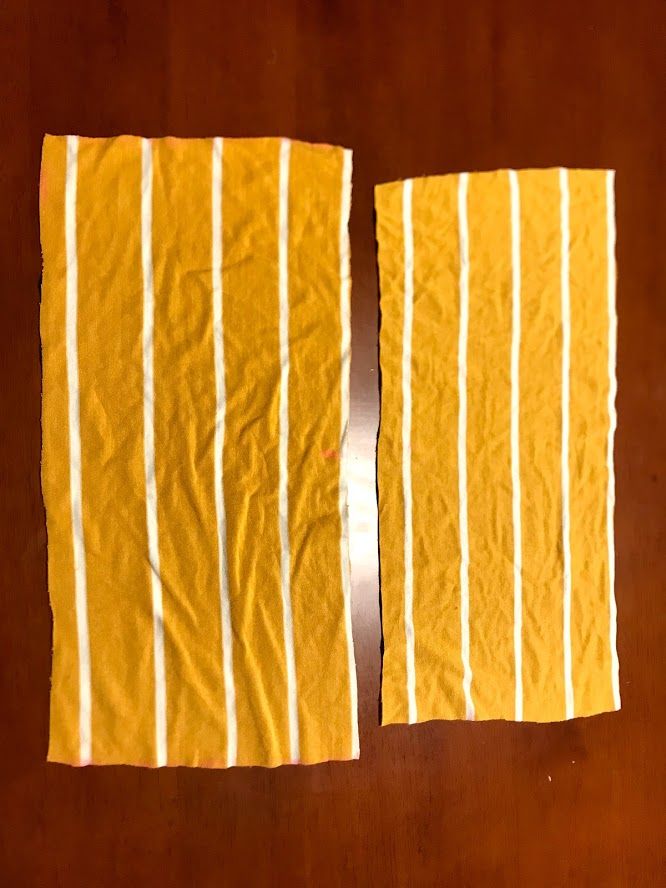
Somehow my two strips ended up being slightly different sizes, so I had to trim the left-most one to fit the other. You may notice that my cut pieces are also shorter than the actual sleeves of the original shirts. The original shirts are 3/4 sleeves; I have included a pattern for the 3/4 sleeve shirt as well as a cut line for a half sleeve. A neckline piece is also needed; I used It's Always Autumn's wonderful article about t-shirt necklines to measure and cut out the neckline piece. I believe it was 4 x 18 inches. Please note that my pattern includes a 0.5 inch seam.
 Cassie Looks Good to Us
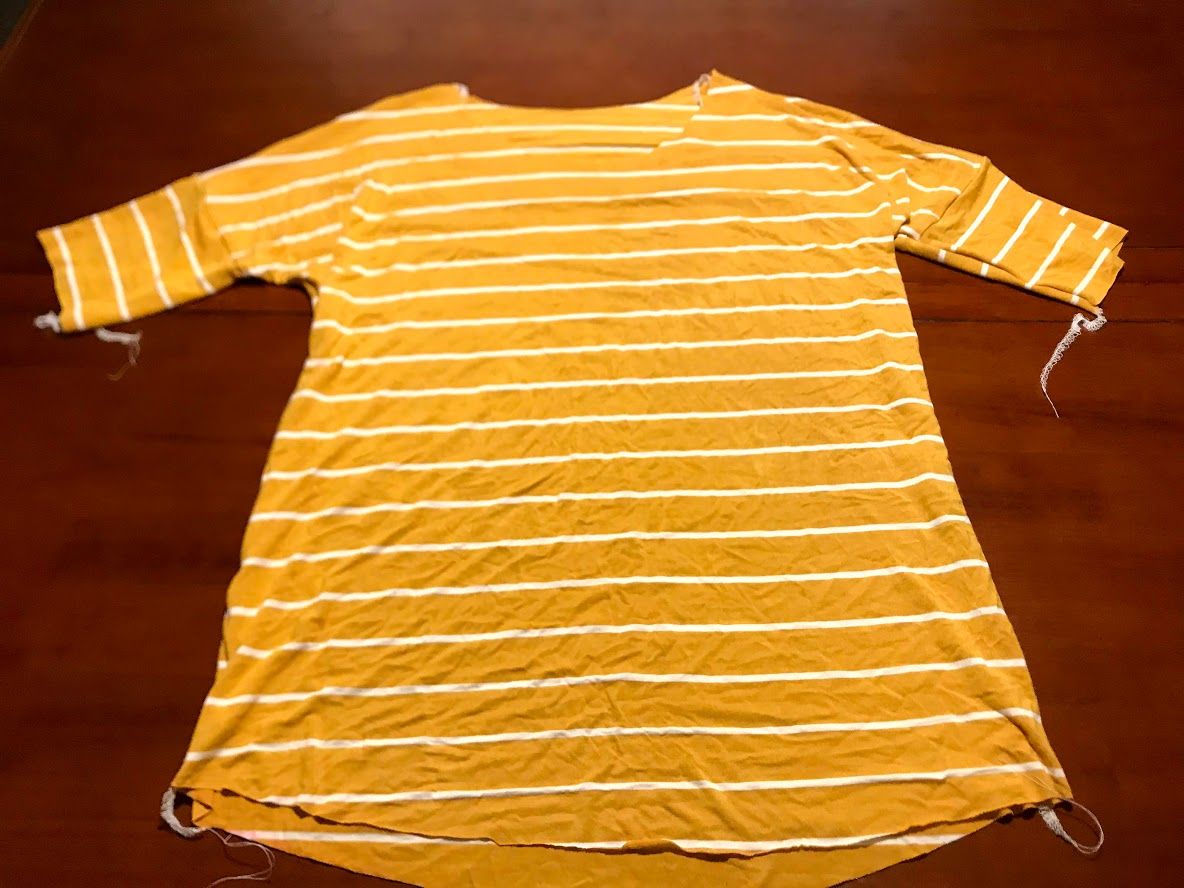
I started by sewing the two bodice-pieces together by the shoulders, right sides facing together, with my serger. I love my serger so much. It is truly my best purchase I've made toward my sewing hobby, and maybe toward any of my hobbies. It makes all my sewing work so much easier and it looks so much prettier when completed.
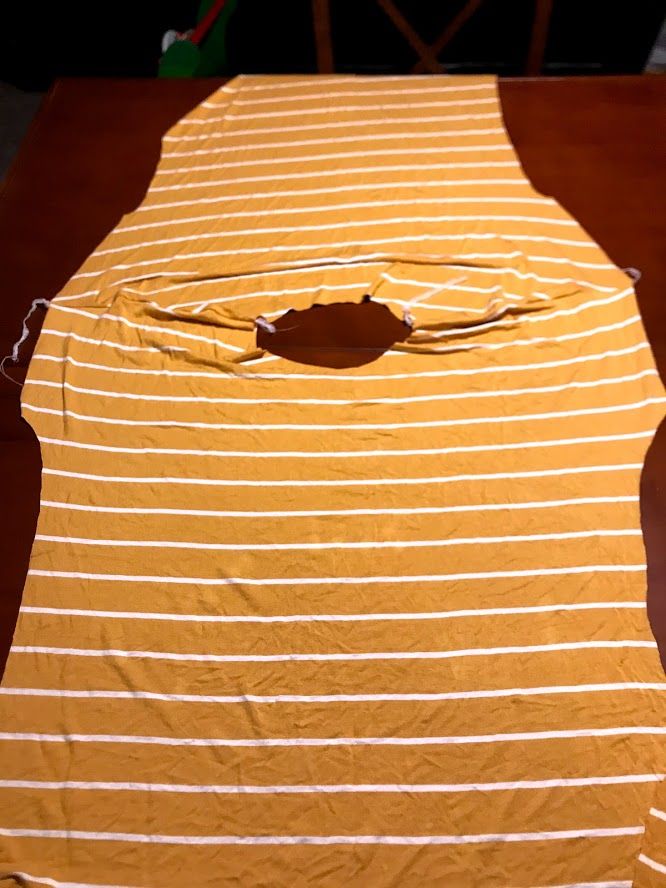
Next, I sewed the sides together up to where the sleeves would be attached. This is all pretty simple if you've made any sort of t-shirt or blouse before.
After the bodice piece was sewed together, I pinned and sewed on the sleeves. For this, I folded them so the short edges were together, then serged the raw edges together with the right sides facing each other. I then pinned the sleeves on to the bodice piece. I usually put the inner seam on the bottom of the sleeve so it's less obvious.
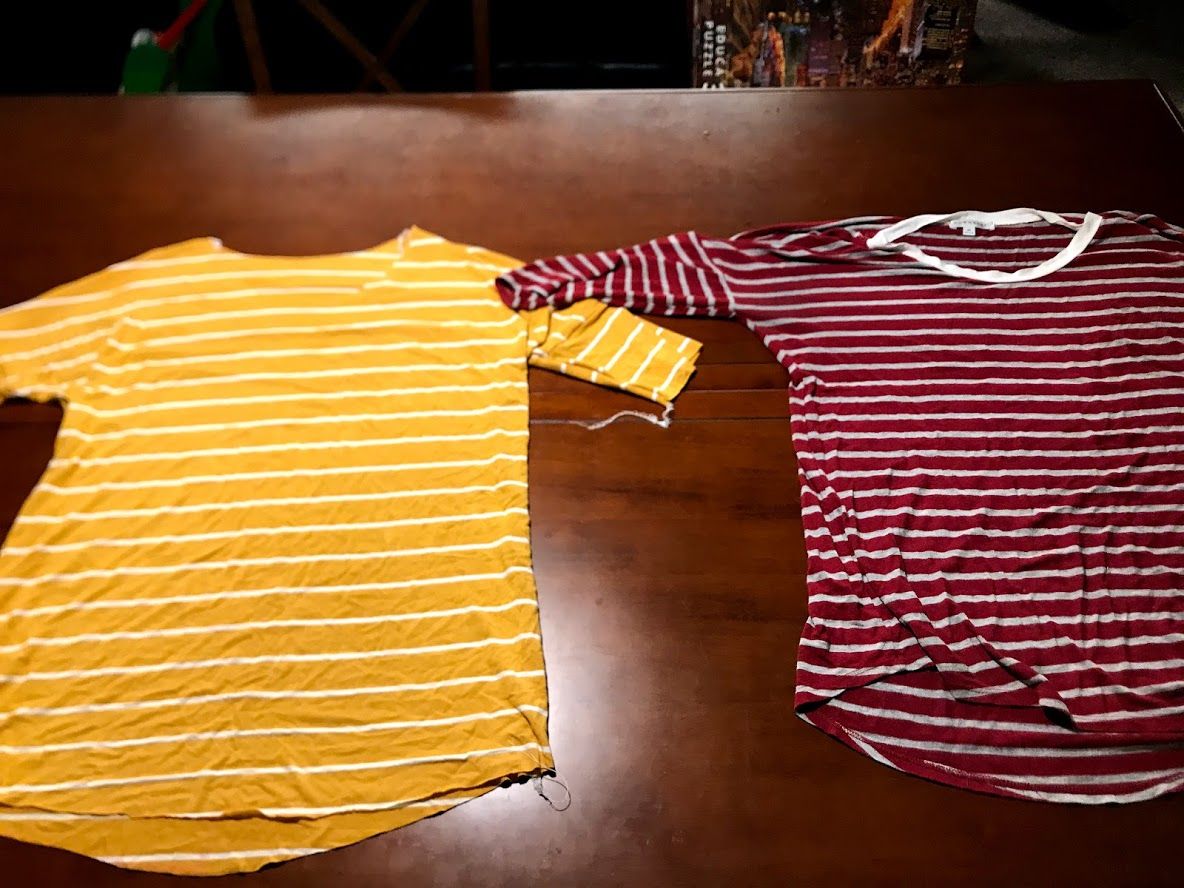
I was pretty excited about the almost-finished product, so I had to compare it to the original and try it on!

Lastly, I used It's Always Autumn's t-shirt neckline tutorial again, which has helped me with previous projects, and cut out a rectangle of fabric that was 4 by 18 inches. Then I pinned the neckline to the shirt, stretched it as I sewed, and it was attached! It really is so much easier than I ever imagined it would be.
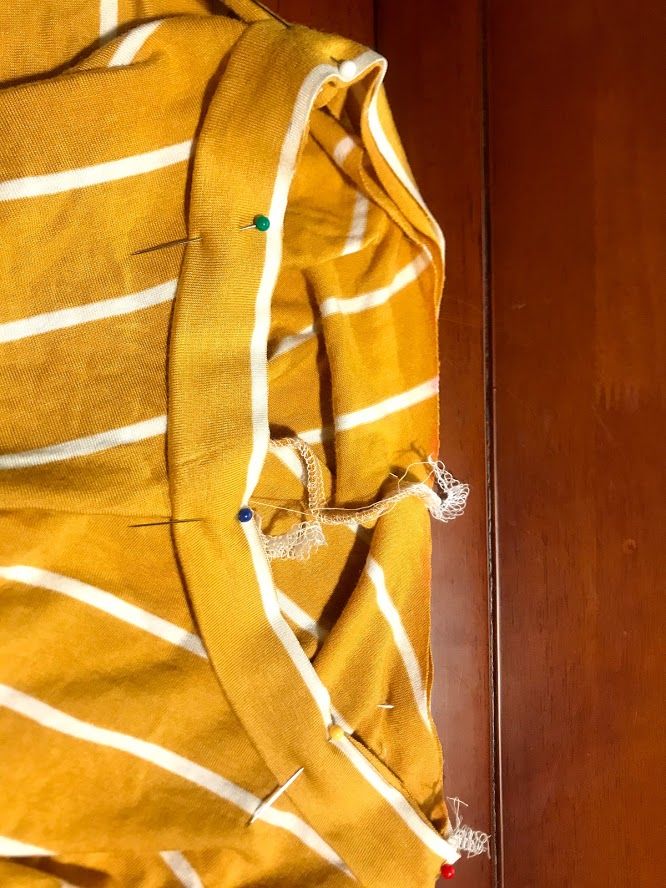
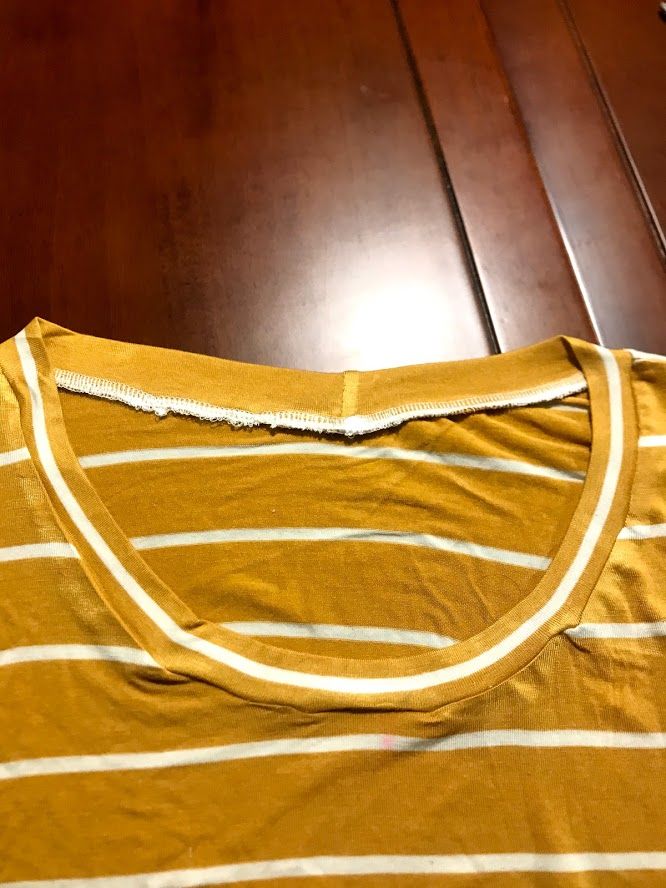
Don't forget to iron your neckline after attaching it! I find that this shrinks it a bit to fit better, and also makes a nice fold line for the top edge of the t-shirt.
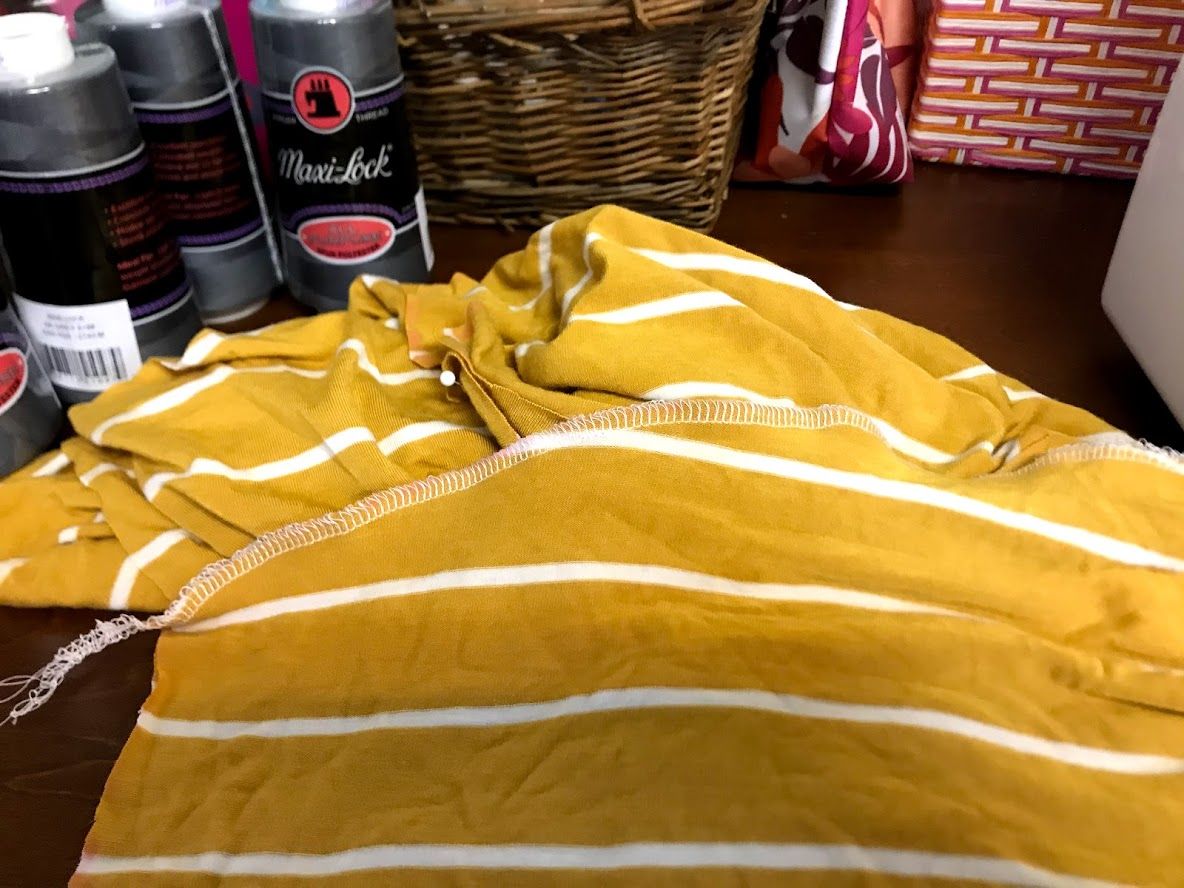
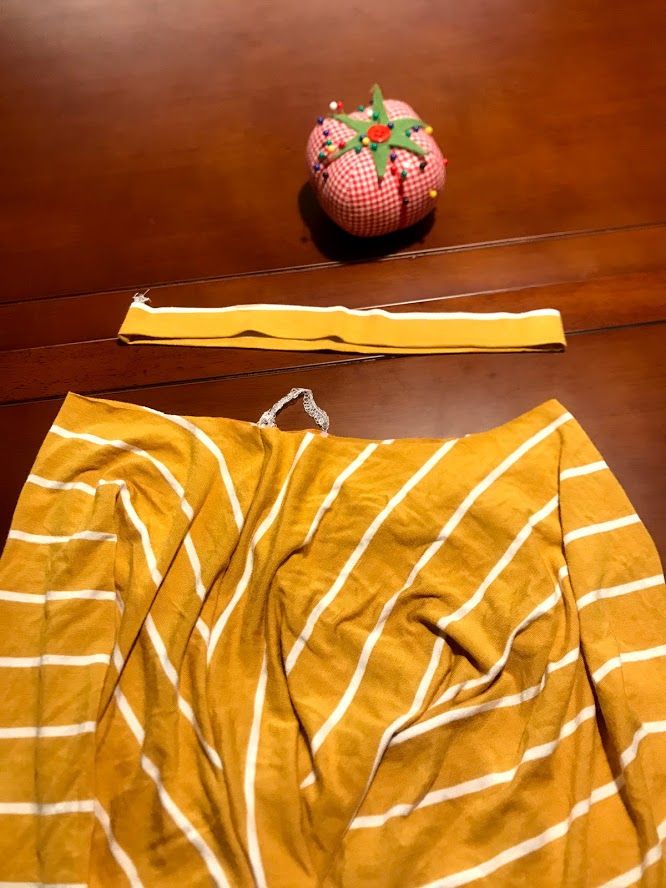
So, the last thing I had to do was just hem the bottom edge of the shirt. I hadn't ever done a blind hem on a serger, so I watched two or three videos and read several tutorials.
It seemed easy enough, though I was still pretty nervous. I tend to get nervous when trying new things on my machines, especially when the project so far had been pretty successful. Apparently this time I was right to be nervous! After I pinned the hem and flipped it the way I thought it was supposed to be, I easily sewed it under with my serger and thought it was a pretty great hem! Until I realized...I had hemmed it backwards, and the hem was facing outward! I was so mad I had to take a break from sewing for that afternoon. I had just totally destroyed all my hard work! It was incredibly frustrating.
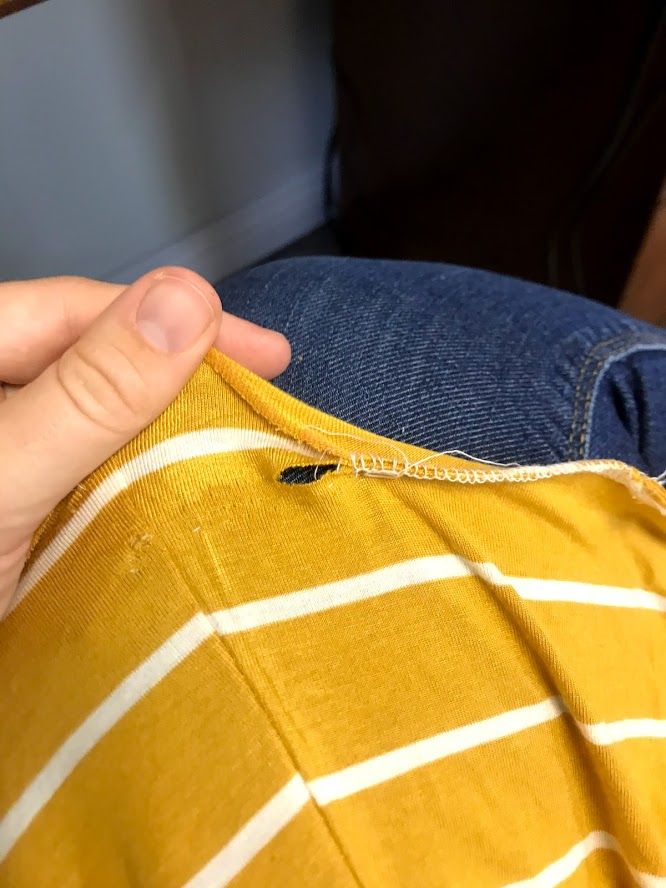
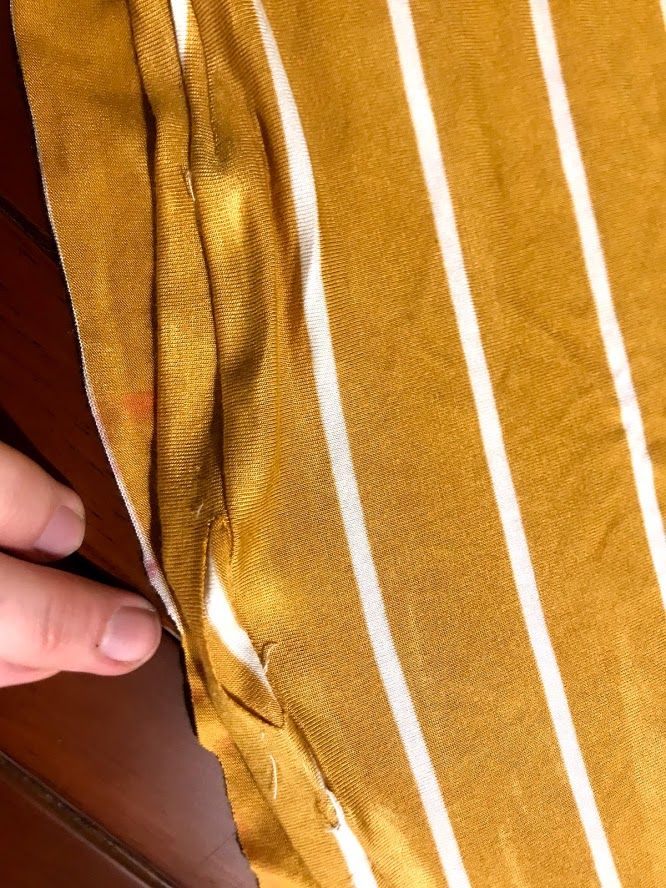
And of course, when I used my seem-ripper, I saw that there were now several big holes in the bottom of the shirt where I had tried to add the hem. Well, this sucks. Now I had to decide whether to trash the whole thing, or just make a shorter shirt, by about 3 inches. I decided I would try to make a shorter shirt, and at the very least, perhaps it would be a good gift for my preteen niece.
I tried again with the blind hem, and this time I checked, rechecked, and triple-checked that I attached everything correctly. I said a little prayer and sewed it together. It worked this time! I had a nice hem, and although the shirt was shorter than my original shirts, it was definitely still wearable and so comfortable!

I've actually worn this shirt now probably a dozen times since I made it in May. It's kind of a go-to summer shirt now, which was surprising to me because the other two shirts are so long and with long sleeves, they are much more suitable to fall and winter weather. I'm glad to have a version of this shirt that I can wear in the summer.
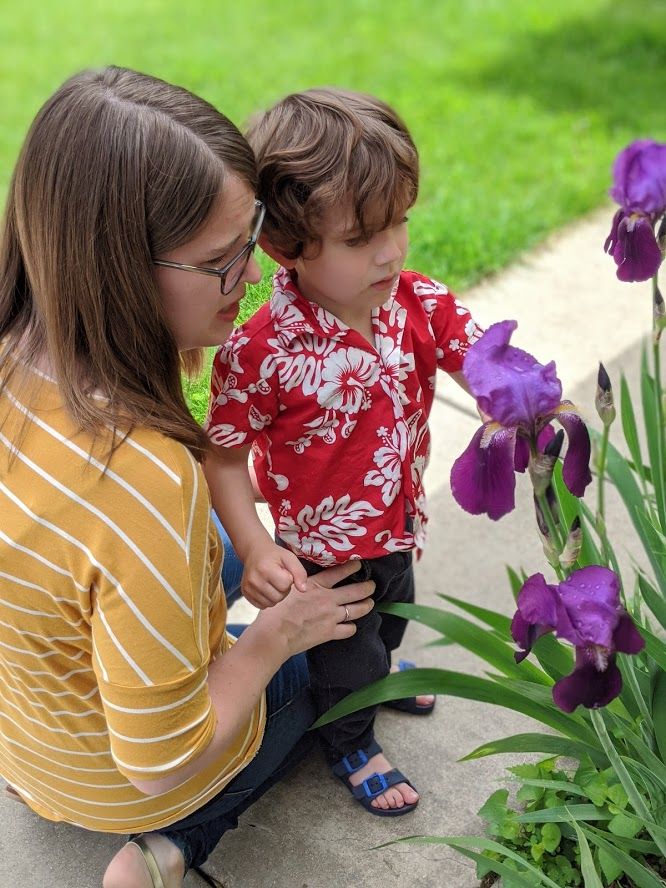

I already envision myself making many more of these shirts, both for myself and friends of mine. I'm excited to be able to make them with flowered fabrics, other geometric shapes, or just my usual stripes!