Disclosure: Some links on this page below are affiliate links, meaning, at no additional cost to you, we will earn a commission if you click through and purchase. Read our disclosure for more info.
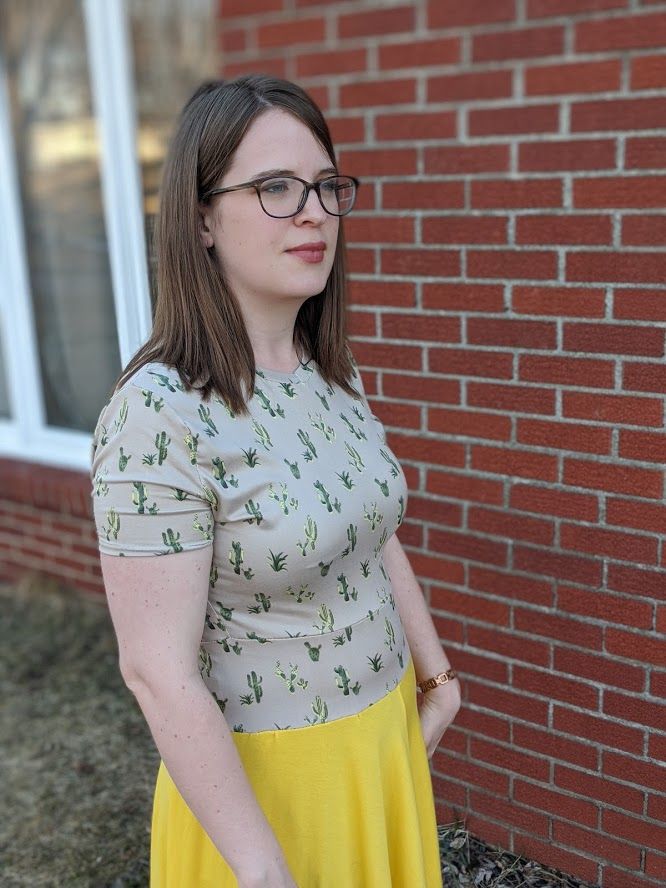
I'm all about recycling and reusing things. I love using old t-shirts and other clothing that I would otherwise get rid of to make something new, whether it's a romper made from my old t-shirt, or just using old shirts as practice. I recently realized that I have a ton of skirts that I really just don't wear anymore, but they aren't skirts that I'm necessarily ready to part with. One such skirt is my Snow White skirt from Halloween 2017.

The skirt is cute and fits nicely, but I really just don't like wearing skirts anymore. I'm also not really into wearing a bright yellow skirt outside of Halloween. So, what to do?
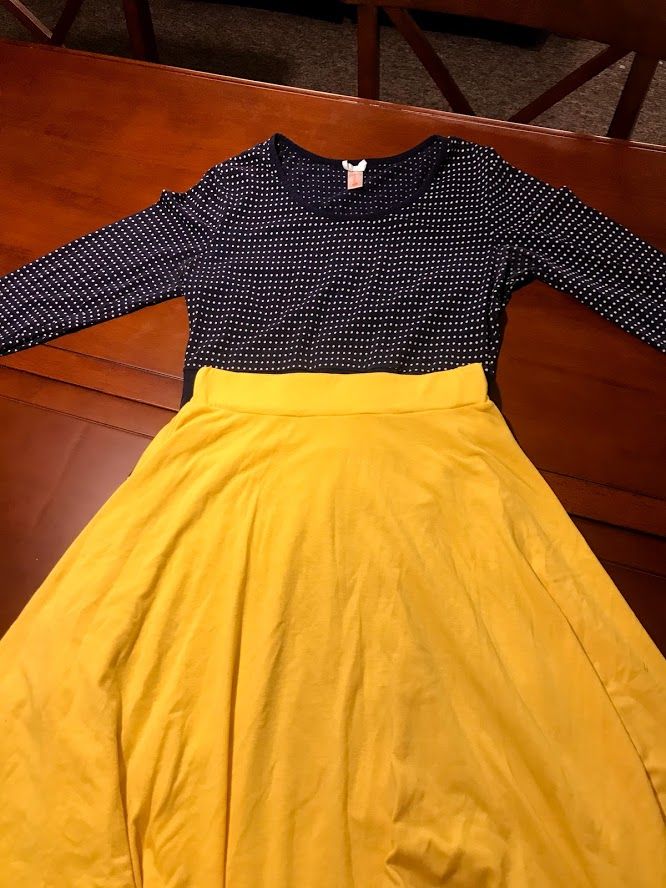
I decided to repurpose the skirt as a dress, because I wear a lot of dresses and my goal of learning to sew has always been to make my own dresses. What better time to dive right in and make a dress than right now as spring approaches?
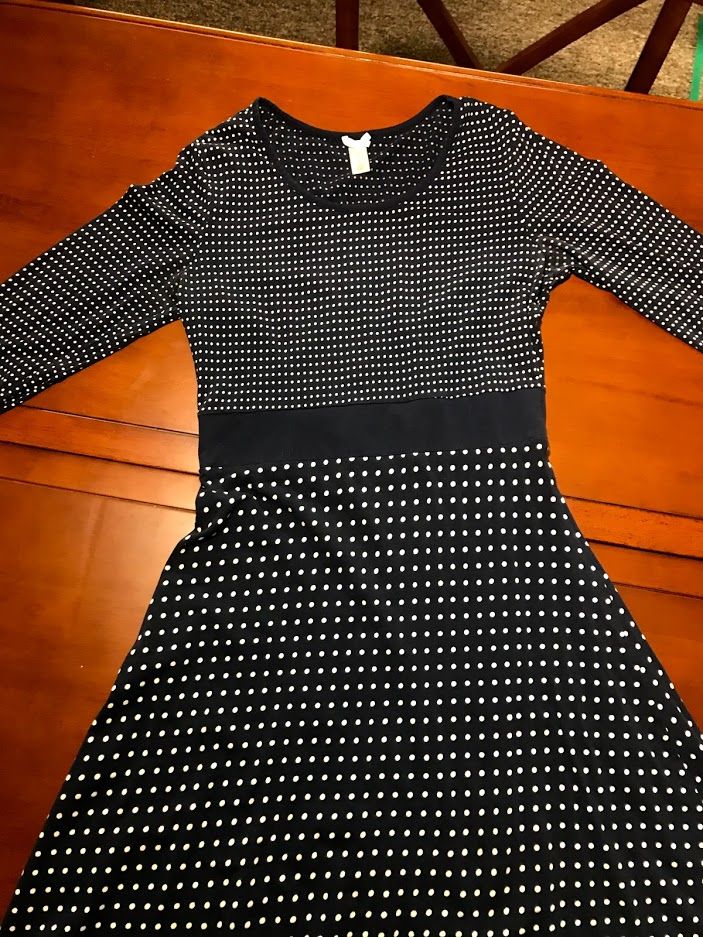
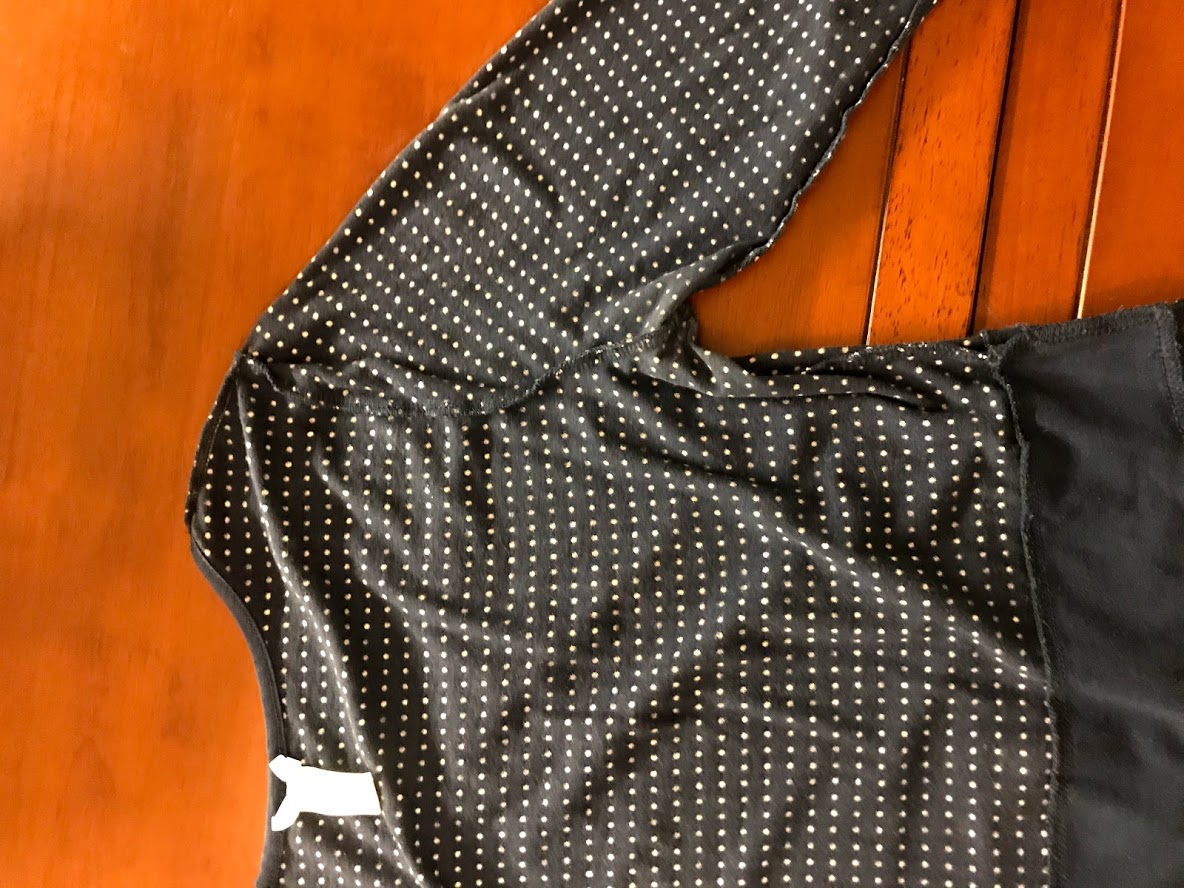
I started with a dress I've had for about 8 years (wow), that I've always really loved and I think looks really nice on me. I've worn it casually at work and I've dressed it up with accessories for more formal occasions. I originally got it from DownEast Basics, which is where I buy all my dresses (please give me free dresses, DownEast). The dress has a nice band, about 3 inches wide at the waist, that I think gives me a nice silhouette.
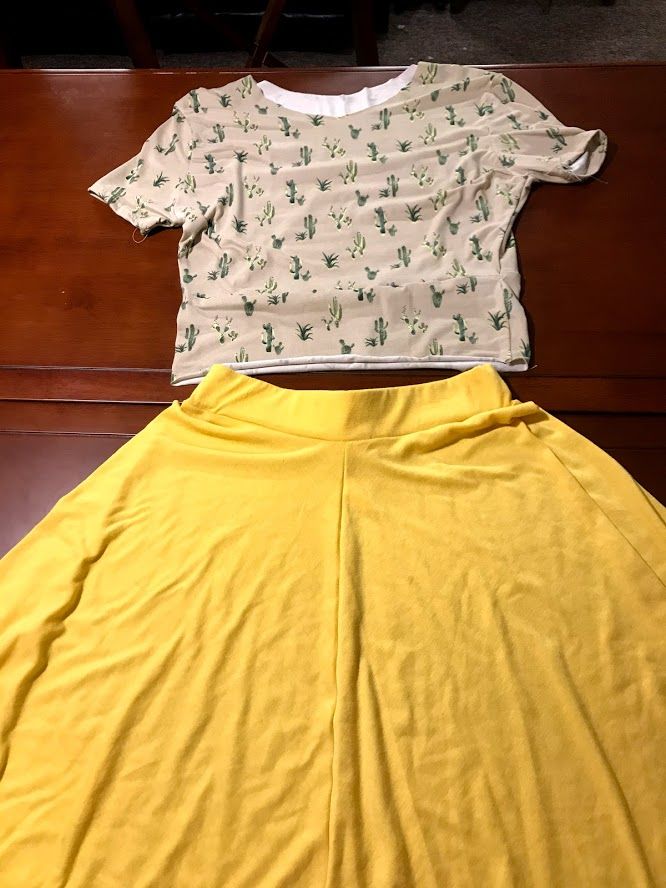
I then compared the skirt to the skirt on the dress, and they seemed to match well enough. The skirt has a band around the center similar to the dress, but it has a rather large piece of elastic in that band, so I have to decide how I want to handle that. The other concern I have with the skirt is that it is somewhat see-through when worn due to the yellow color. This is usually not a problem for me, because I mostly only wear my dresses with leggings at work because I have some tattoos on my legs. But I would like to have a dress I can wear in the summer, so I'm a bit disappointed about having to wear leggings. I guess we'll see how it turns out!
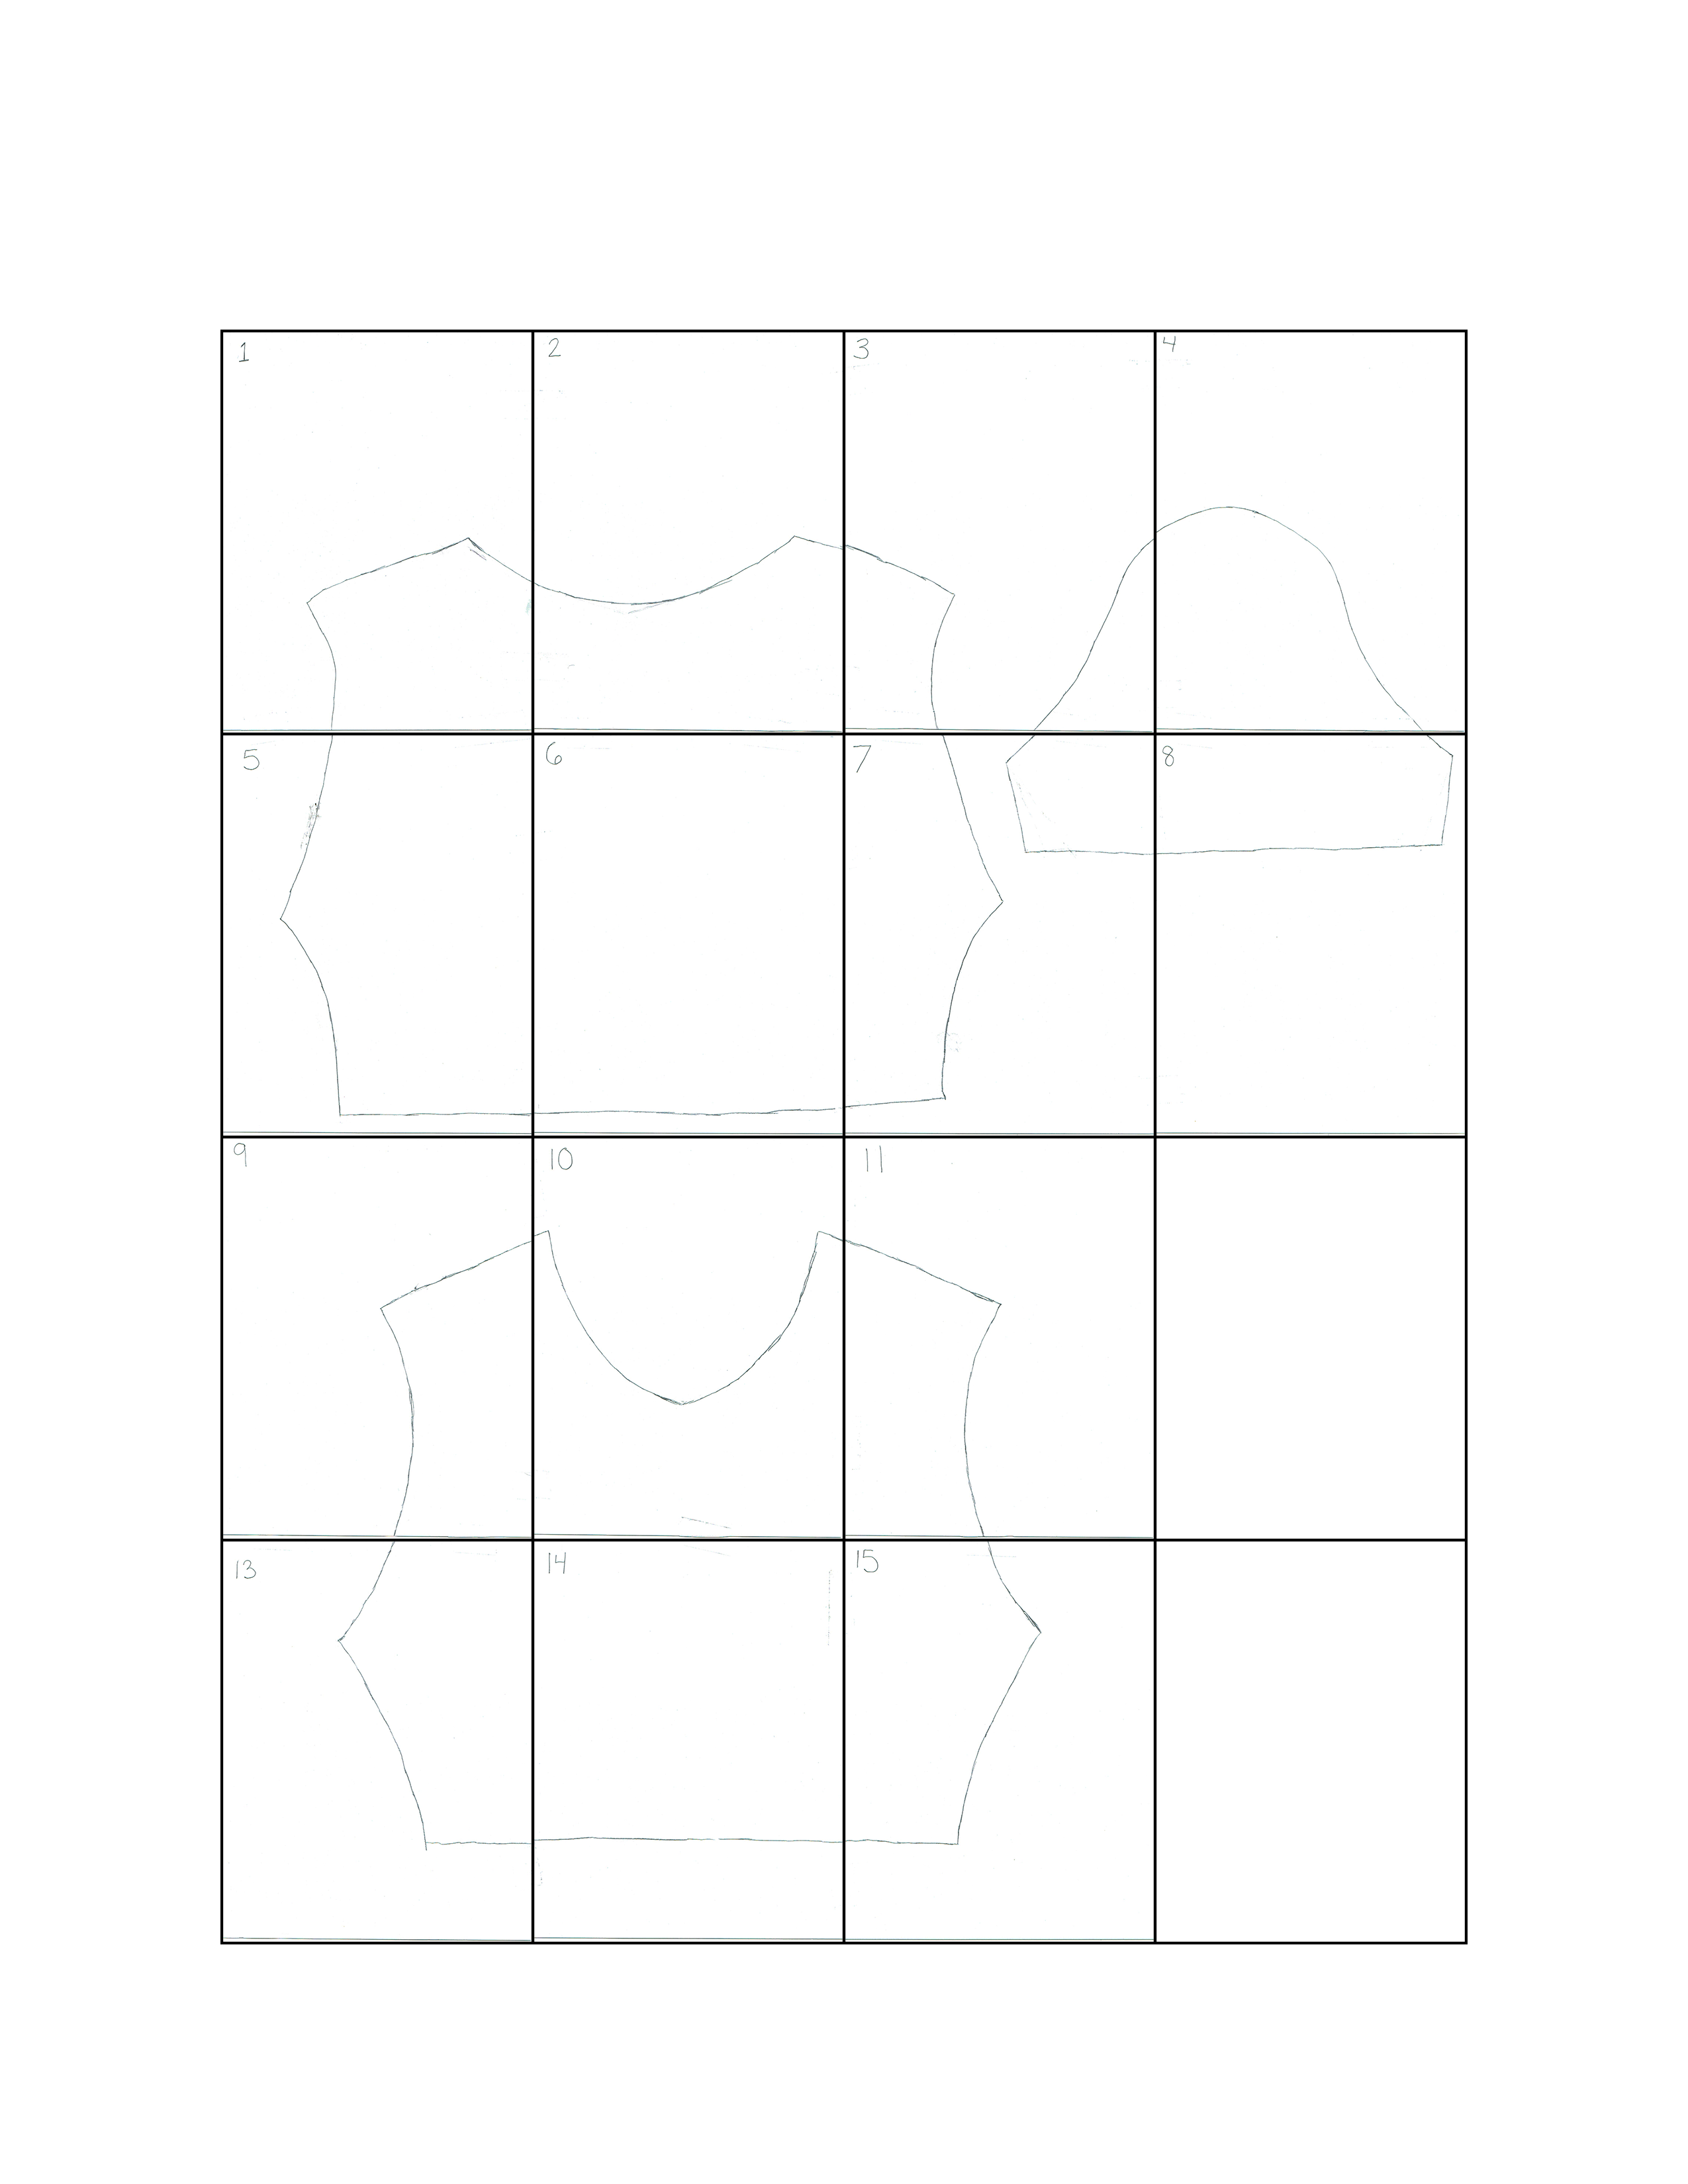
I started by tracing the bodice of the dress, with the sleeves tucked in. Keep in mind that my sizing is a medium, with about 3/8 seam allowance on all side. I first turned the dress inside out so I could see where the seams were. I traced onto butcher paper, and got a nice bodice design, which I mirrored so that both sides were the same.
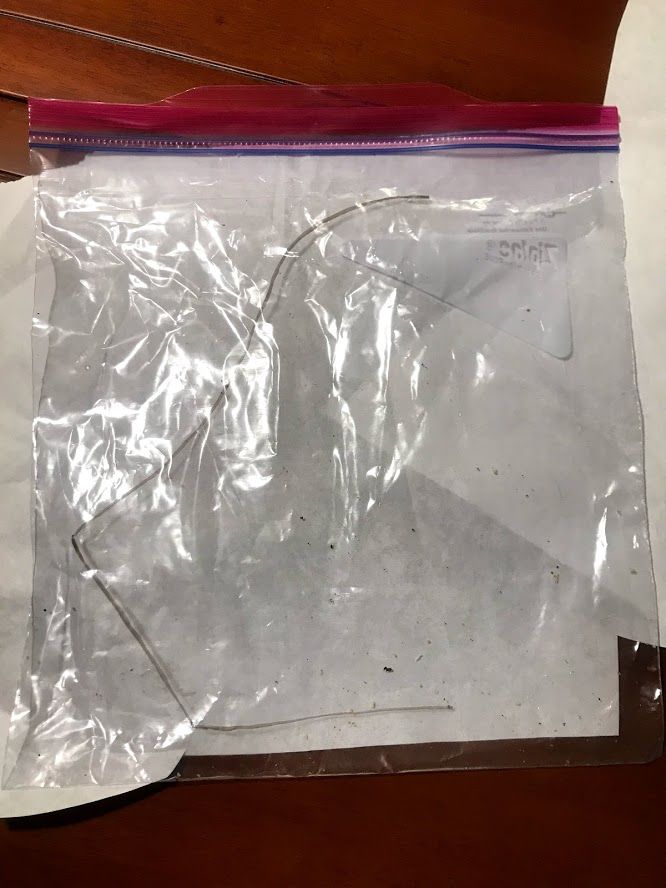
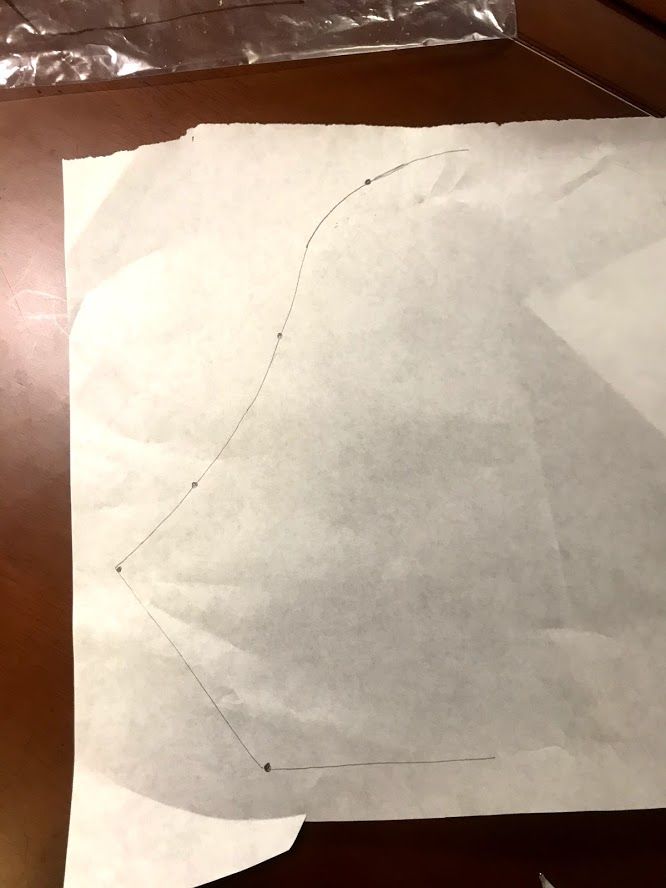
The hardest part was the sleeves. I wasn't really sure how to draw them out, because I can't, you know, see through the fabric where the shoulder is to draw it on the paper. So, I had a genius idea! I put a plastic baggie over the shoulder and traced onto it with a dry erase marker! I then made dots on my paper where they were on the plastic bag, and connected them. I love thinking of cheap solutions to little problems.

Throughout my pattern-making, I used the excellent dress-making tutorial from It's Always Autumn to make my pattern pieces. The titular Autumn is helpful and I like her writing style. I never feel like I'm stupid for not knowing how to do something. Check her out!
 Lisa B
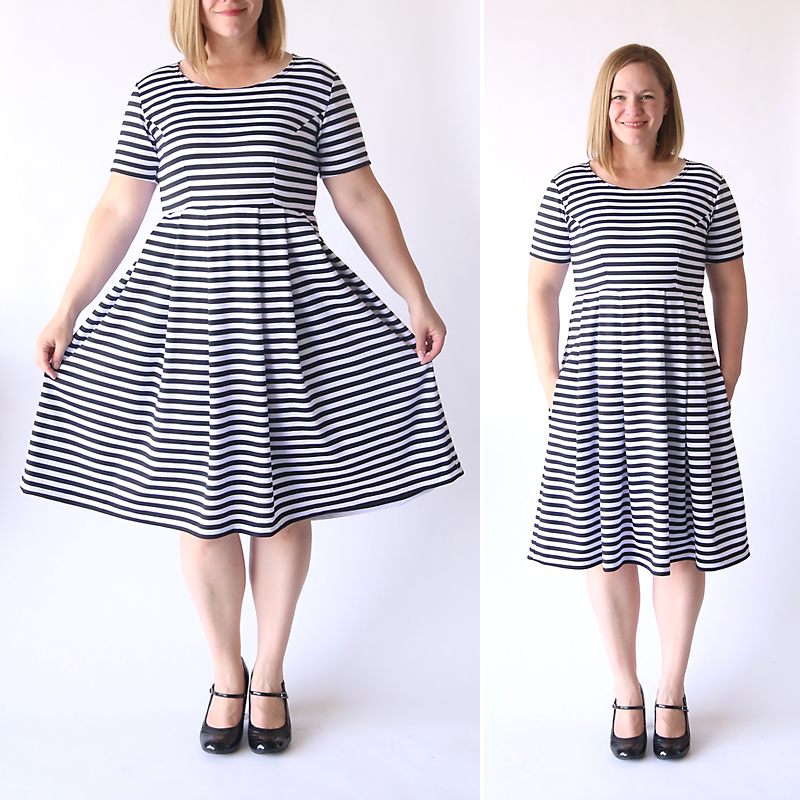
How to Download the Pattern
To download the pattern, just click the link below, enter your email and follow the link in the email! It's free and you can unsubscribe anytime:
👉 Download Free Printable PDF of Bodice Sewing Pattern
Bodice Tutorial
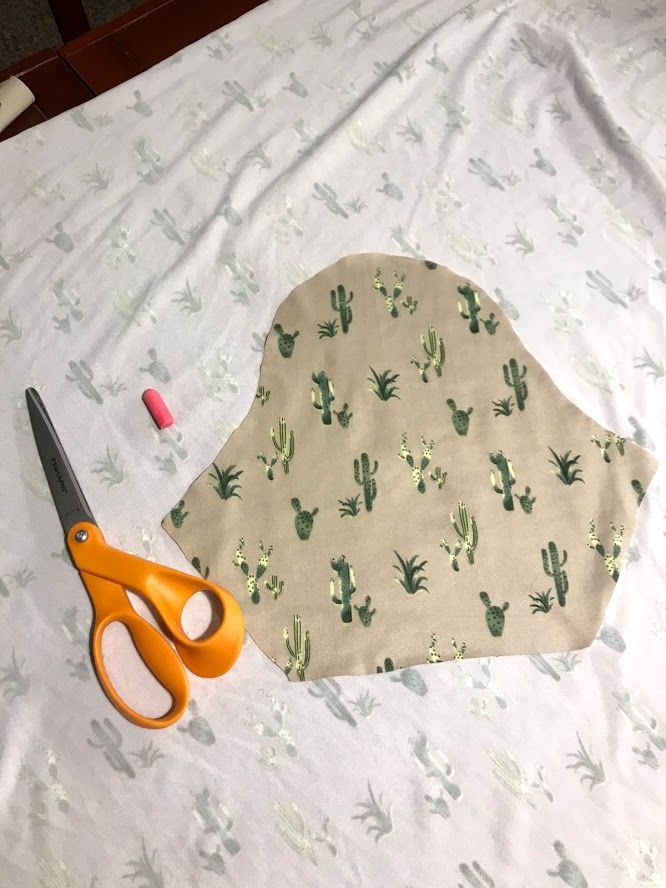
Once I had my pattern pieces, I got to work quickly cutting them out.
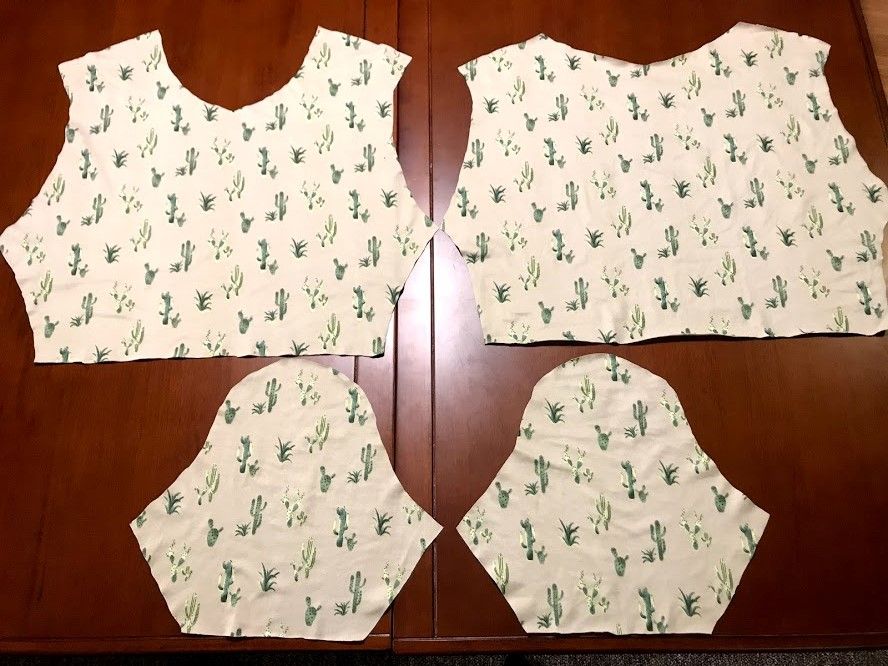
You should now have a front bodice piece, back bodice piece, and two sleeves. Again, since I'm using a skirt I already owned for the dress's skirt, I did not cut out fabric for the skirt. However, you could use the It's Always Autumn tutorial if you have fabric for the skirt.
I ended up sewing all the pieces together rather quickly, and unfortunately I did not take a picture of each step. I know I've been doing this long enough now that I don't really have an excuse, but it's hard to remember every single time! Forgive me!
Here's a drawing of how I assembled the pieces:
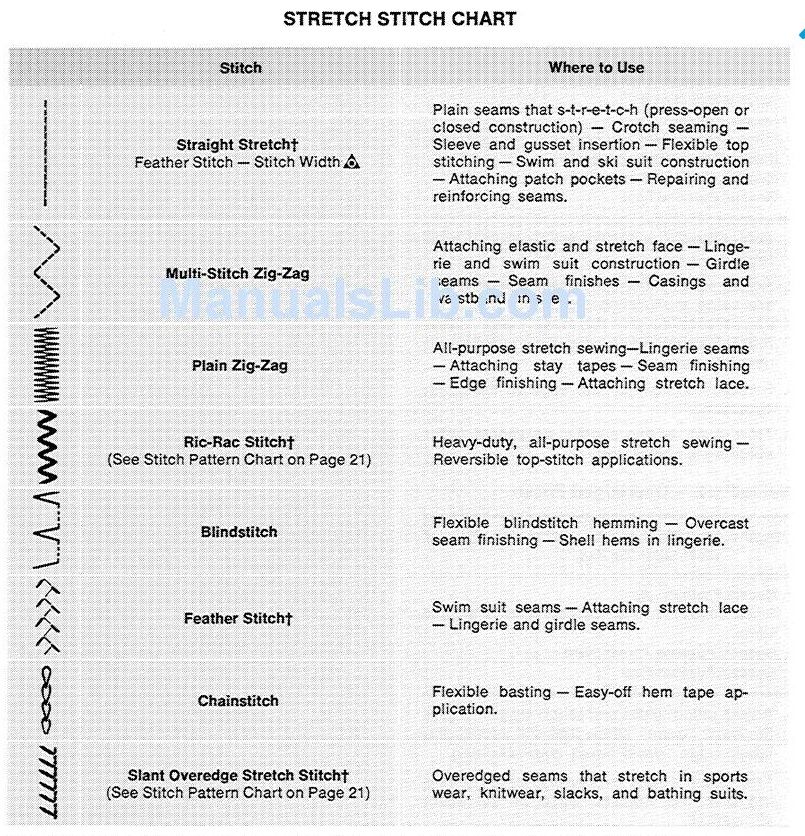
Remember that all pieces are sewn together with the right sides facing each other. I used a feather stitch, which was included on my sewing machine. It said that the feather stitch would provide more "give" and stretch to the fabric, which is ideal for knit fabrics. I'm learning a lot over here! Here's the stitch chart from my cool 1970s sewing machine manual.
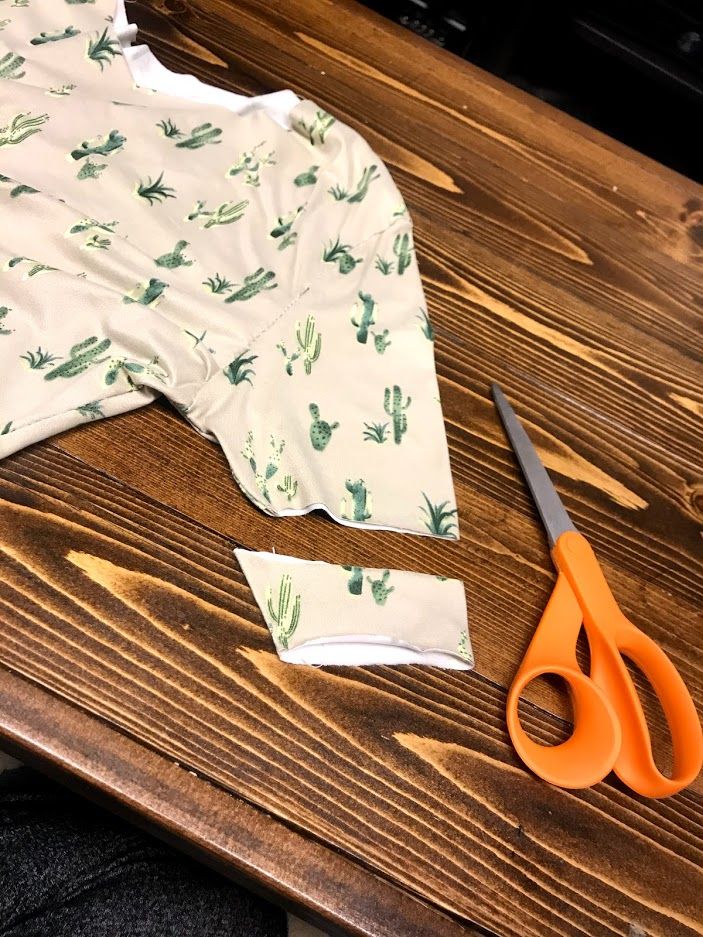
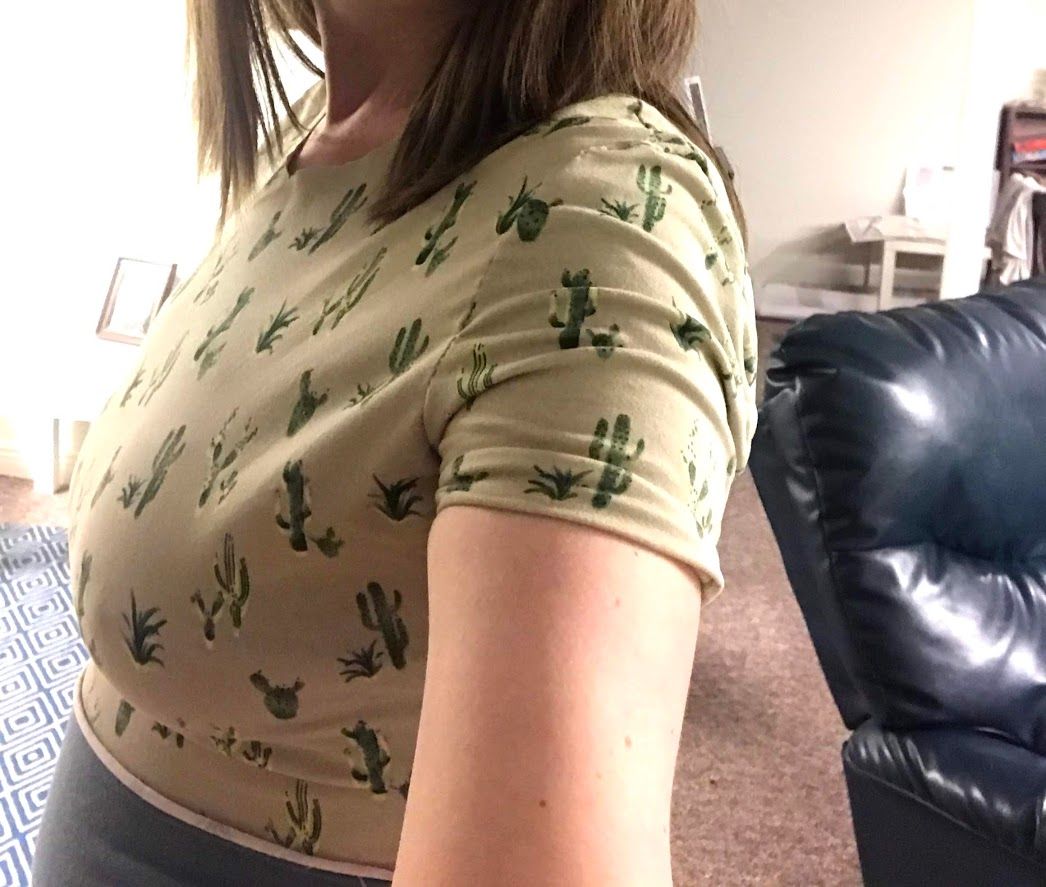
Unfortunately, my sleeves ended up being too tight (I fixed that for the pattern printout!) I can see in my previous photos where I made mistakes in measuring. So, I ended up cutting the sleeves shorter, and they fit fine!

My next step was to add the band in the middle, just like my blue polka dot dress. I ended up not measuring the blue dress, and just made a 5-inch band. I would recommend a slightly smaller band, actually, maybe about 4 inches. It works fine for my purposes though!
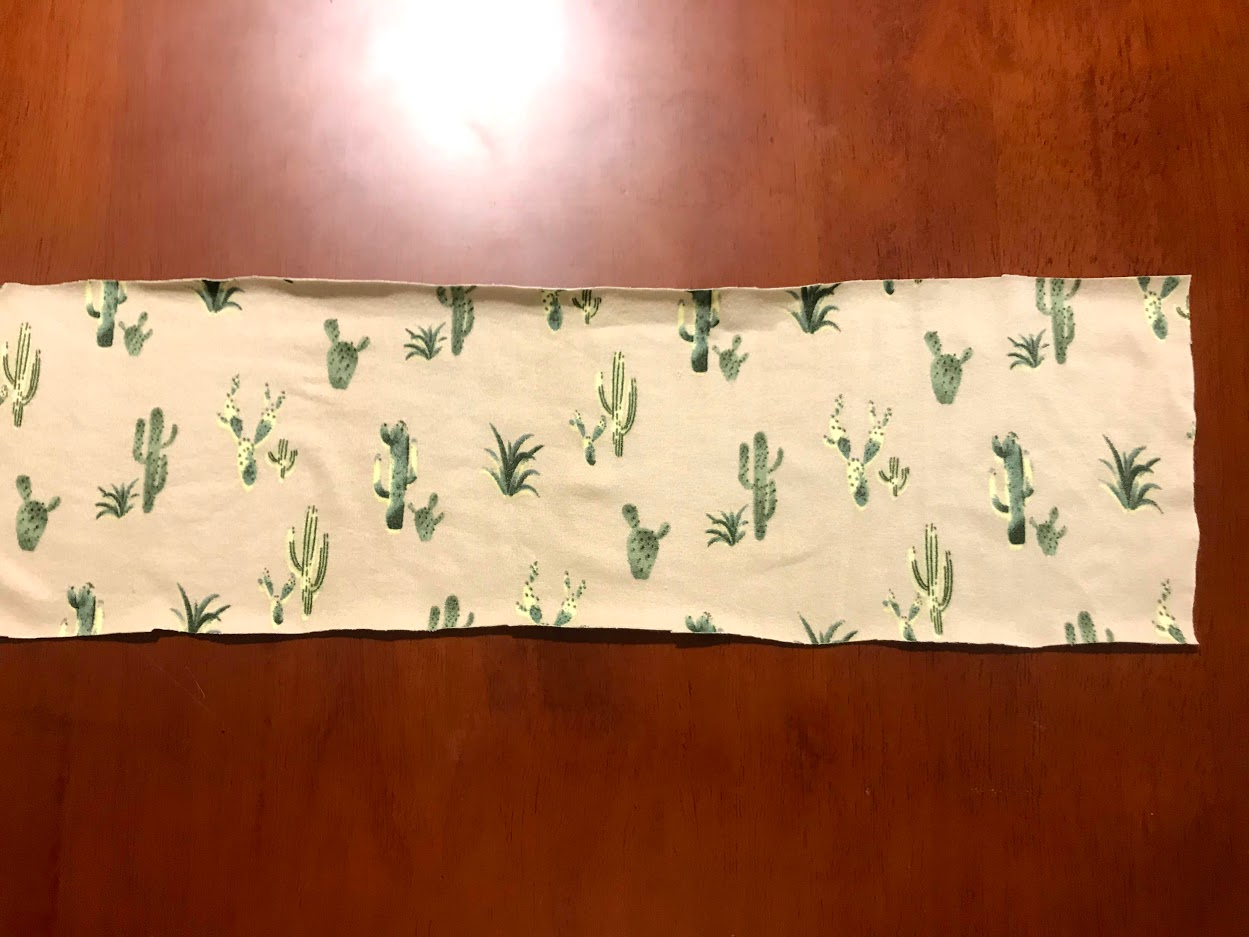
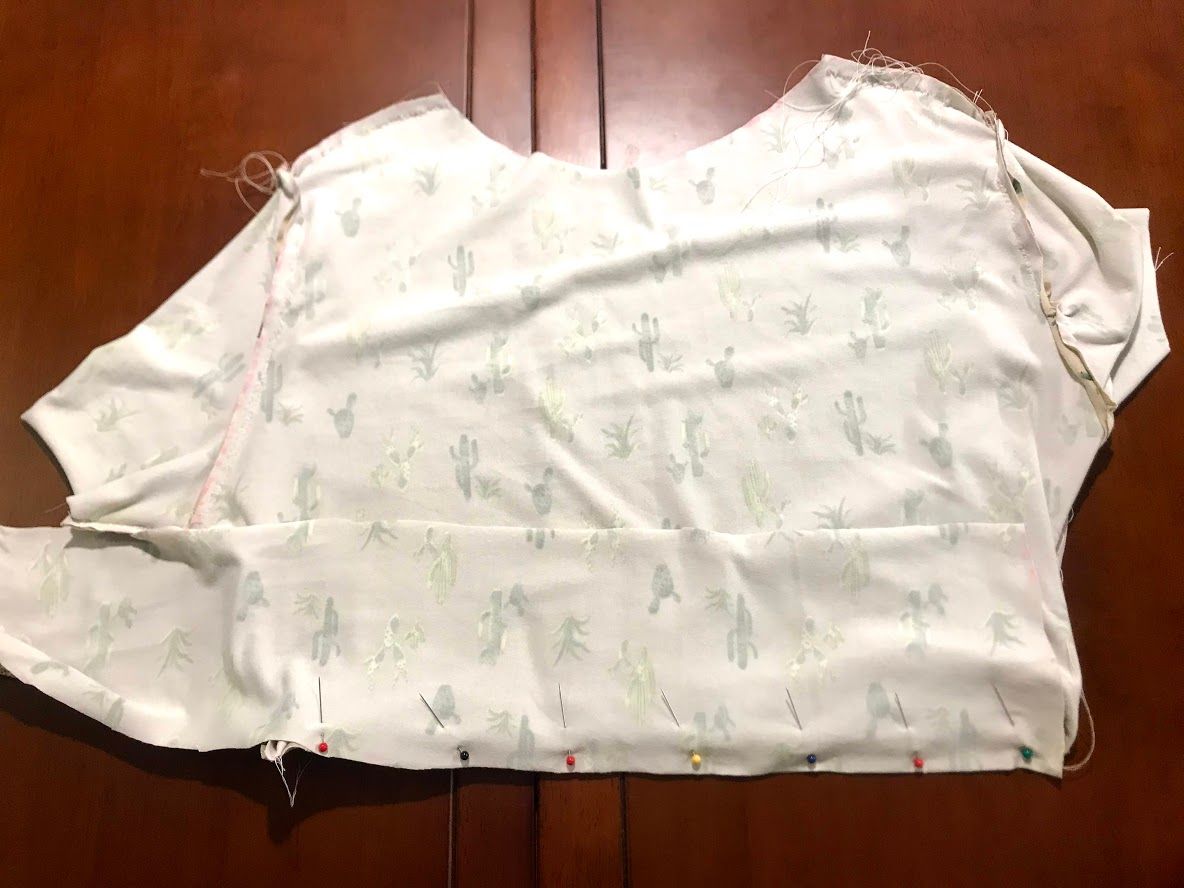
I sewed the band onto the bodice, right sides facing each other. It was pretty easy to do! I pinned the band on one side, then sewed it on.
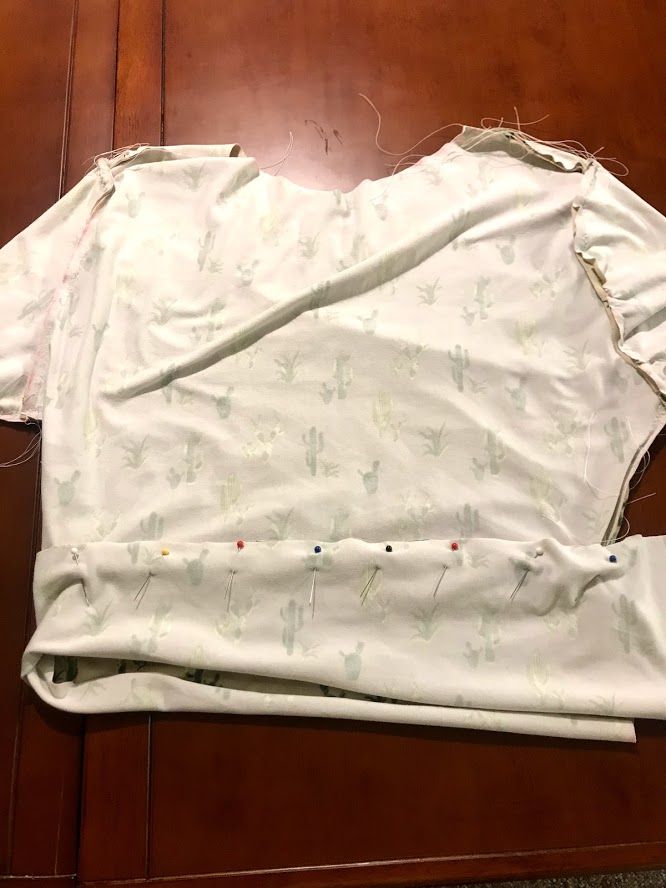
I then pinned the band onto the other side and sewed that as well, then sewed the two short edges together. I also hemmed the sleeves. Kind of snuck that in there.
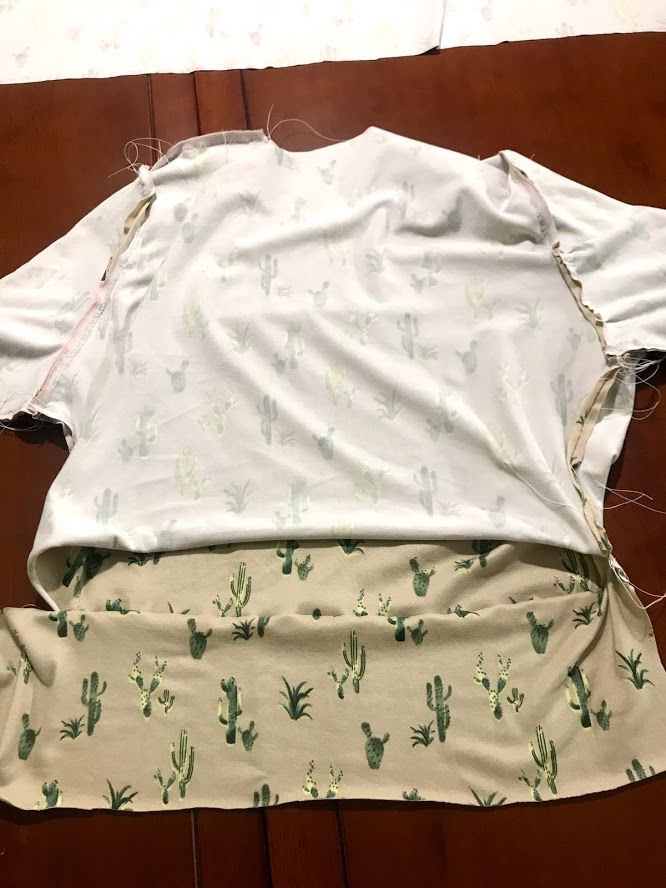
I was now ready to add my skirt! Now was my big moment: I had to decide whether I wanted to cut the band off!

Snip!
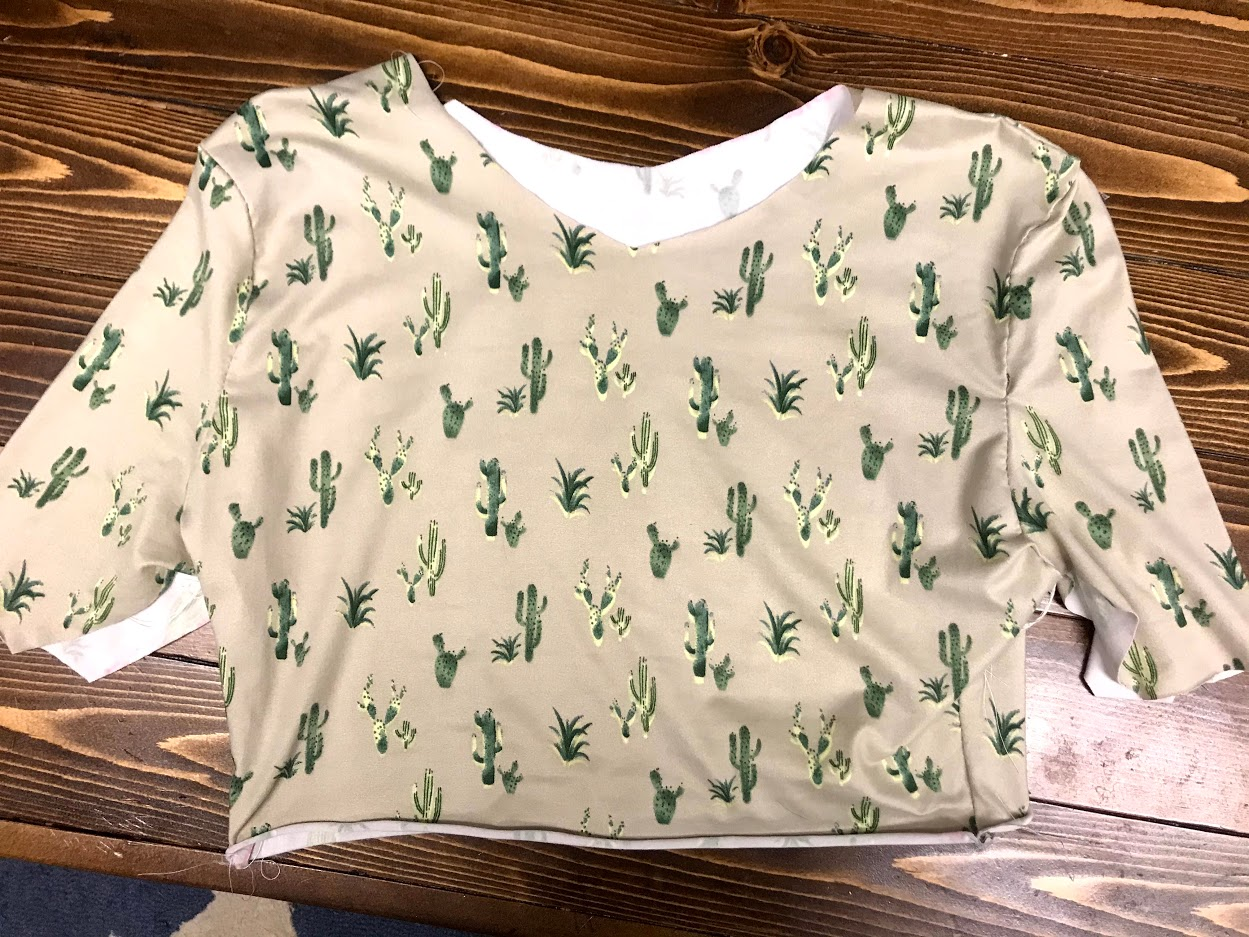
I decided the elastic was too thick for my machine, and I really have no idea how I would have made it work. It was really for the best! I sewed the skirt on, one side at a time. It really went by quickly, and I felt like I had pretty good control over the machine and the stitches. I ended up with a pretty nice little dress!

My last task was the neckline piece. I've never done my own neckline before, so I was a little nervous about it. I read two posts to get ready for my neckline: one from Melly Sews and one from It's Always Autumn. These two blogs are truly my go-tos when I'm learning new techniques and attempting to figure out patterns.
 Melissa Mora
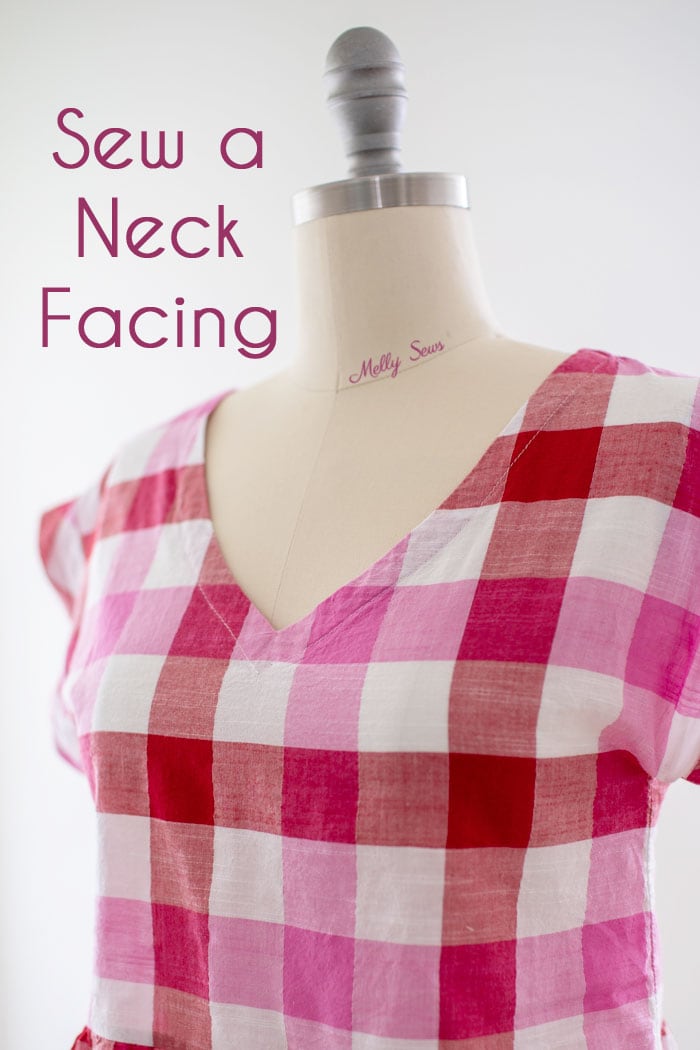 Mary says
In this case, I would say I used the It's Always Autumn post more closely to complete my neckline. Her two videos about how to cut out the neckline are very easy to understand and helped me get through the project with confidence.
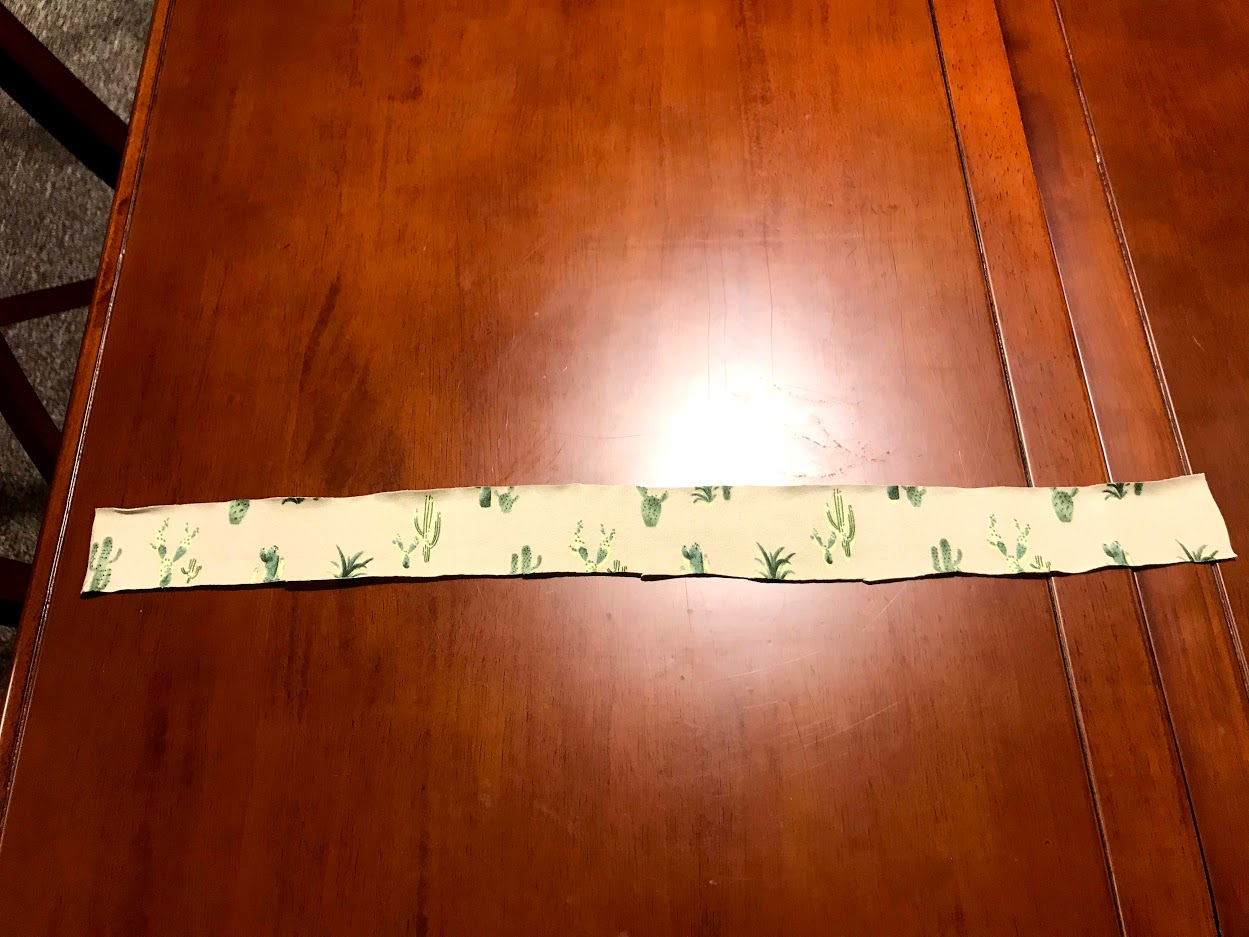
I started by measuring my neckline using the "best guess" method from It's Always Autumn. It was 23 1/4 inches long. I then multiplied 23.25 by 0.85, as per the video. 23.25 x 0.85 = 19.75. Easy! I cut a strip to match this size.
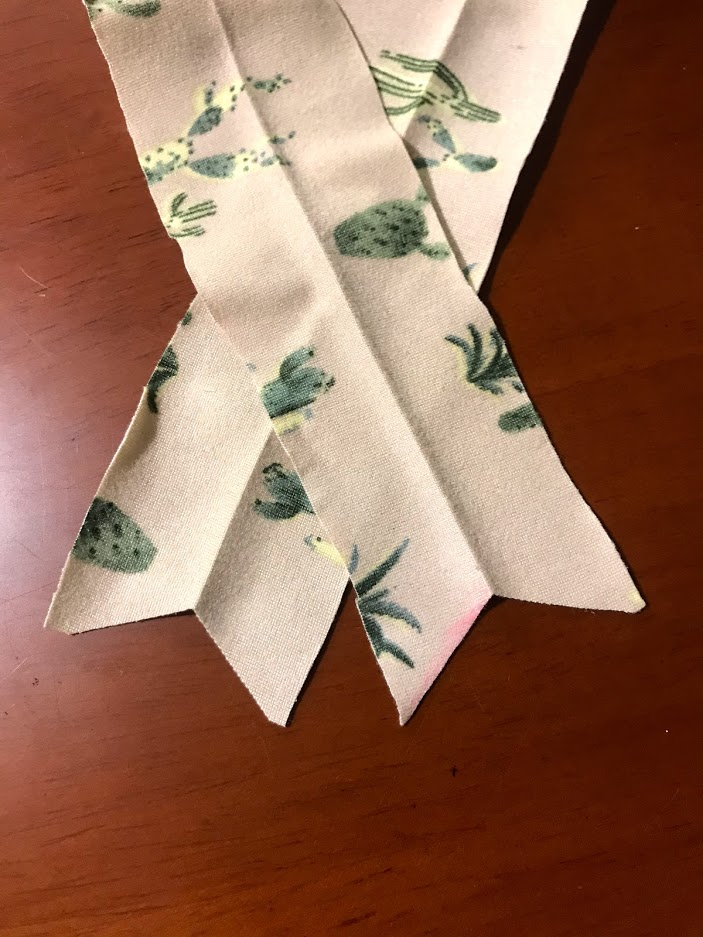
On each end, I cut a diagonal, because I wanted to make a v-neck for my bodice.
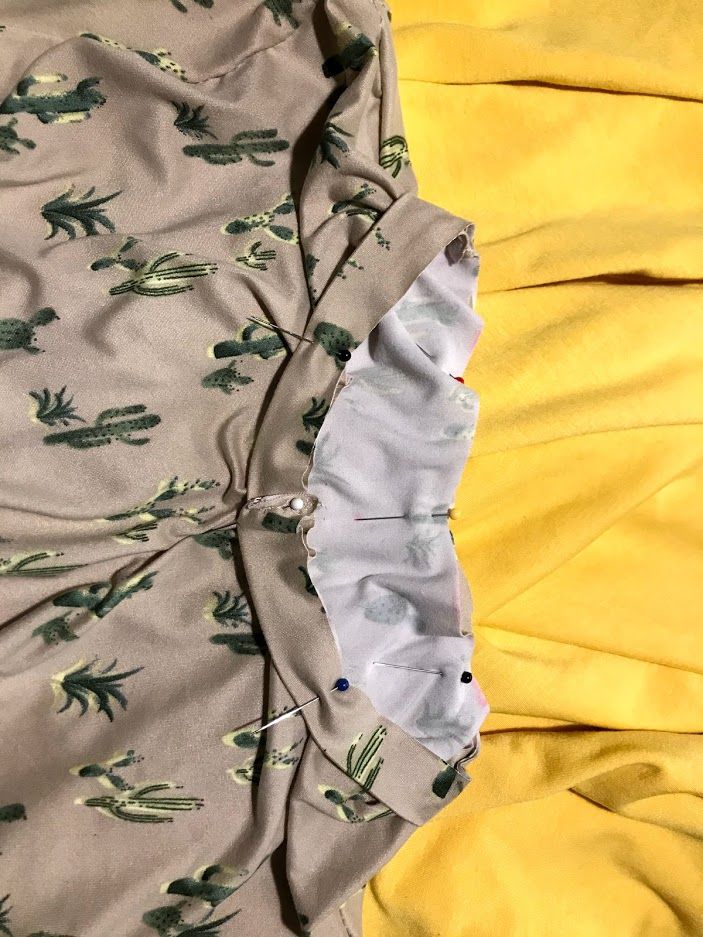
I then followed the instructions from Autumn's second video: I attached the raw edges of the neckline binding to the raw edge of the dress neckline with pins. I then sewed around it, stretching as I went to match the size of the smaller neckline piece to the larger dress neckline. This was actually a lot easier than I thought it would be. For this step, I switched my machine settings to use a small zigzag stitch, rather than the feather stitch I had been using. I wanted the neck to be somewhat tighter and not as stretchy as my other stitches, in hopes that it will hold its form.
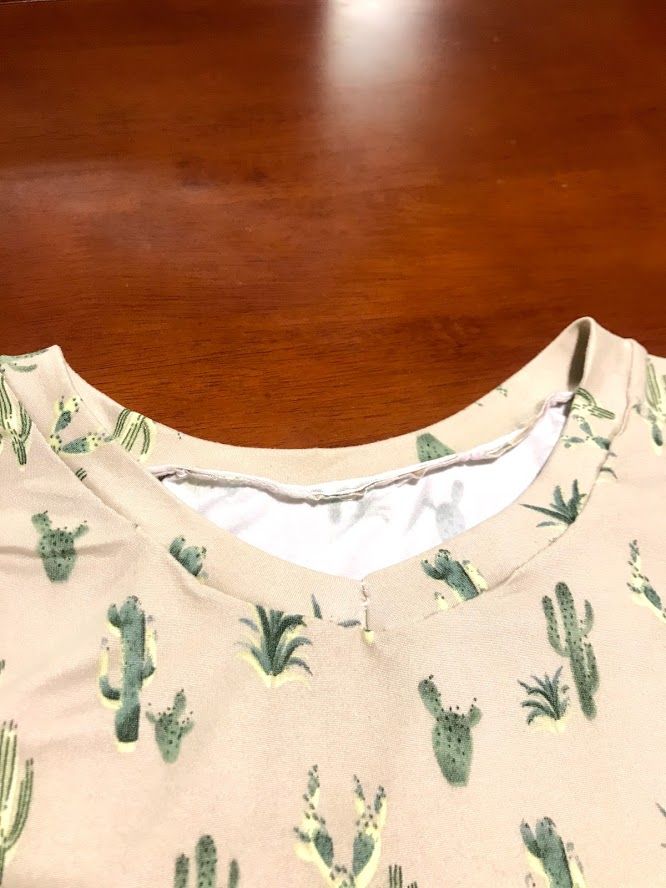
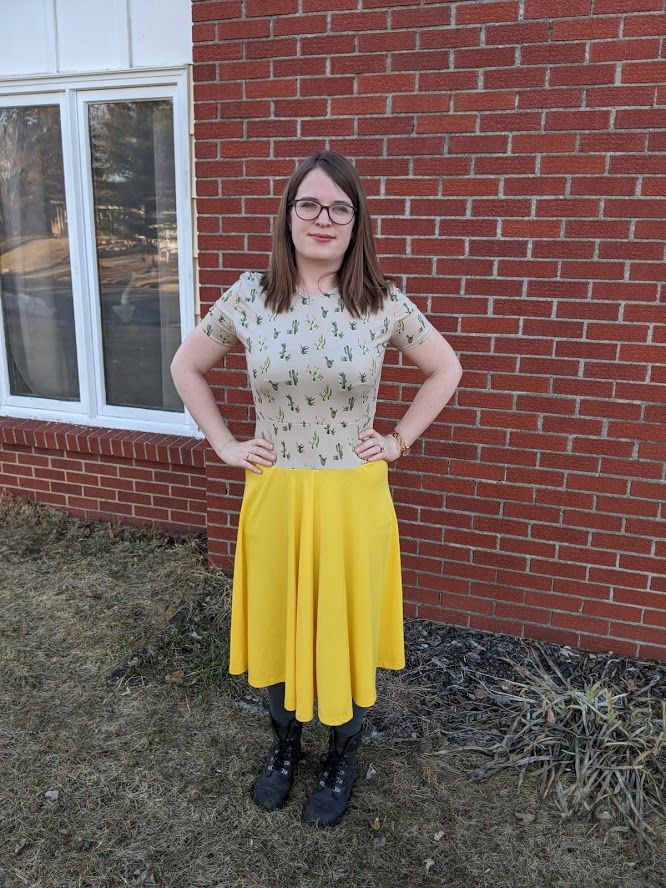
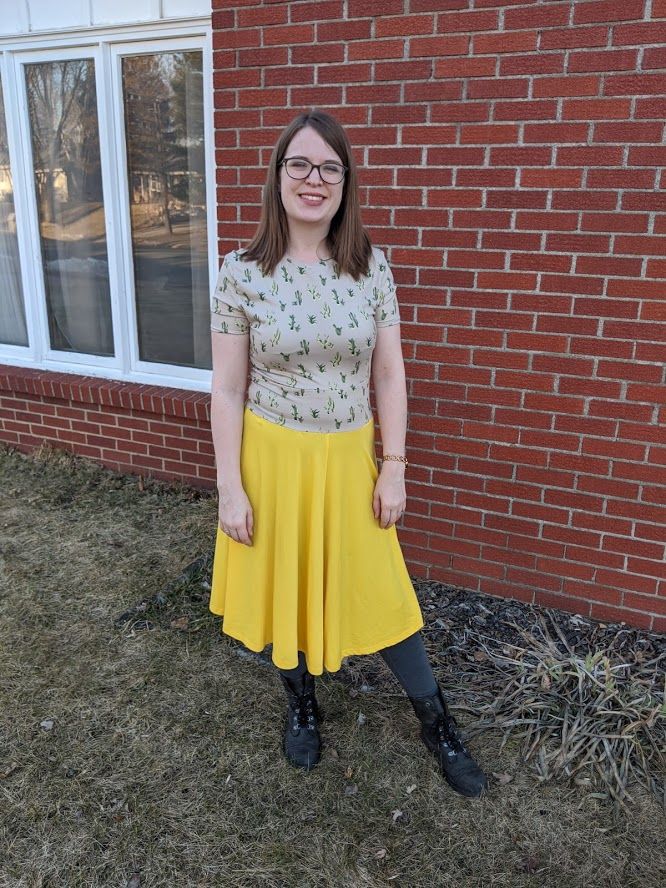
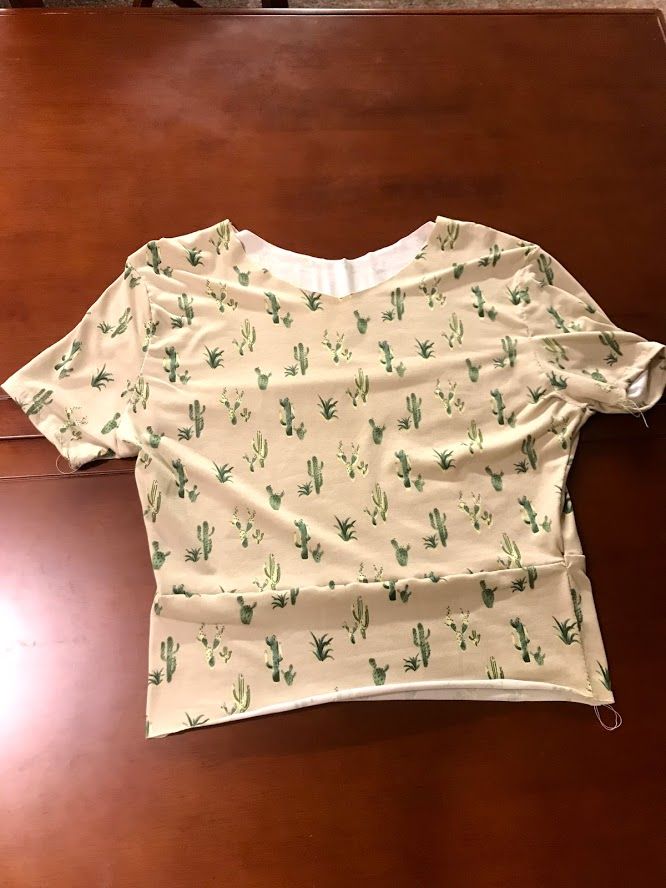
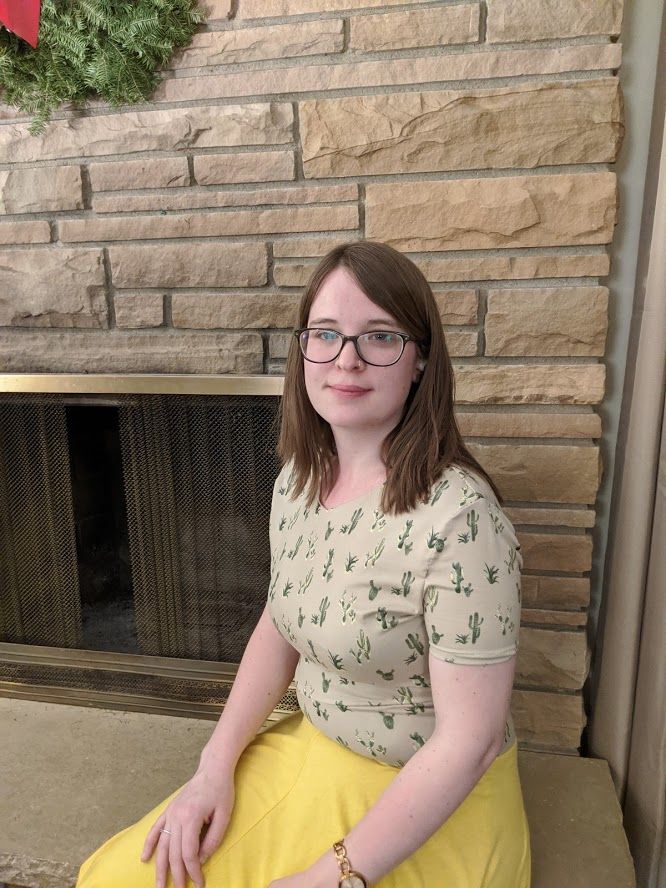
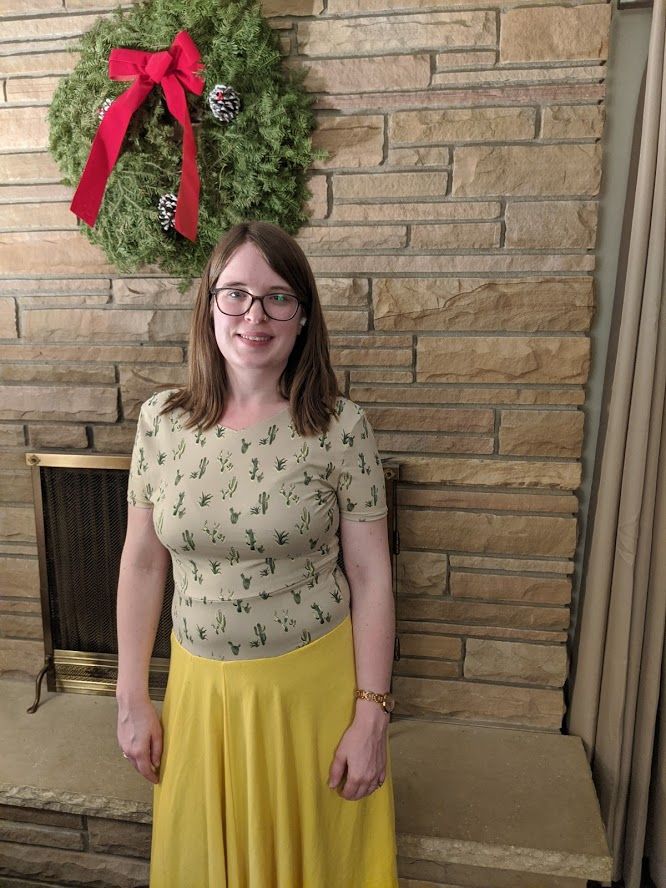
And that was it! I finished up by trimming any extra thread and ironing down the finished neckline. I was originally pretty nervous about this project, and was worried that I would have no idea what to do or how to do it. I had had this in mind for a long time, and just didn't know how to get started. Once I set my mind to finishing it, however, I got going and got it done! I'm thankful for all the fantastic resources online, to get a beginning like me started on something fun like this! I'm feeling really good about recycling old clothes into something new, and can't wait to find some other old pieces in my closet to get started on! I hope you can use this pattern to refresh your wardrobe as well!