Disclosure: Some links on this page below are affiliate links, meaning, at no additional cost to you, we will earn a commission if you click through and purchase. Read our disclosure for more info.
Recently, a neighbor of ours passed away, and the family had a big estate sale to clear out her house. She happened to have a sewing hobby, so I was able to pick up a ton of thread, elastic, and some sewing patterns that I thought might be interesting to try out. I've actually never used a purchased pattern from a sewing company, I've only use purchased-and-printed patterns at home. I was excited to get going on it.
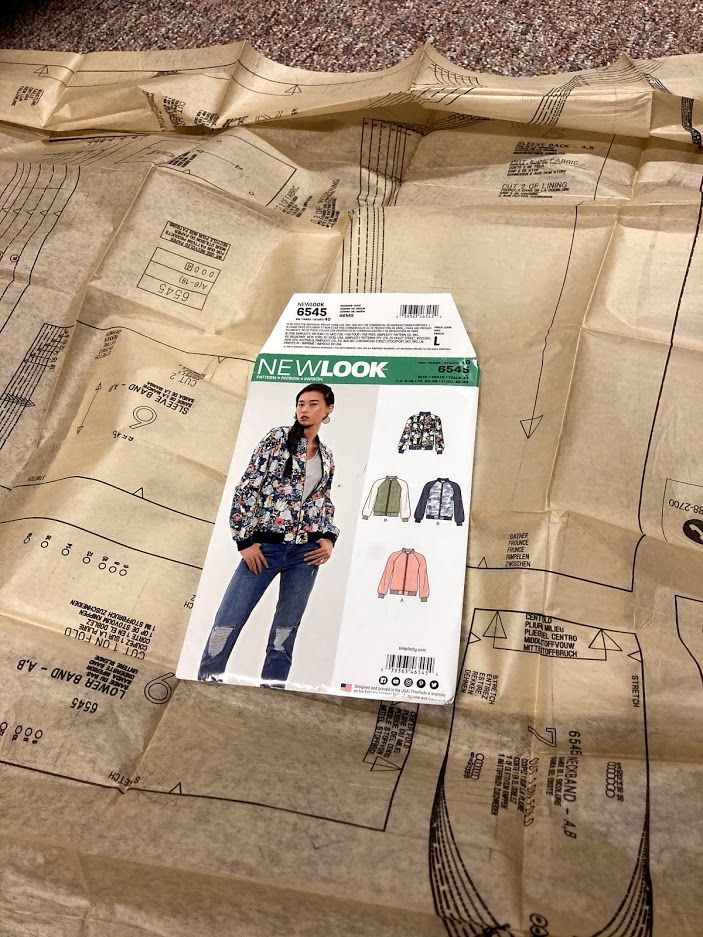
The pattern is for a cute jacket, and isn't necessarily meant for sherpa fabric, but I figured I could try it out with sherpa and see if it works. I bought 4 yards of sherpa fabric at Joann Fabrics for a great price, after my sister expressed some interest in the red and black buffalo check pattern.


I cut out the jacket pattern for a size 10, because I figured that a slightly large jacket would be nice for winter, to wear over a sweater or other winter clothes. Cutting the pattern out was relatively easy, and the tissue paper was easy to maneuver, though I was worried I would rip it. I was actually able to pin the tissue paper to the fabric and cut it out easily from there. Usually I use chalk to trace my pattern on to the fabric, but I knew that wouldn't work on sherpa fabric, and I figured since I was using the thin tissue paper, I might as well cut it out directly. The cutting went well, though I think at times, I may have cut too wide for the actual pattern.
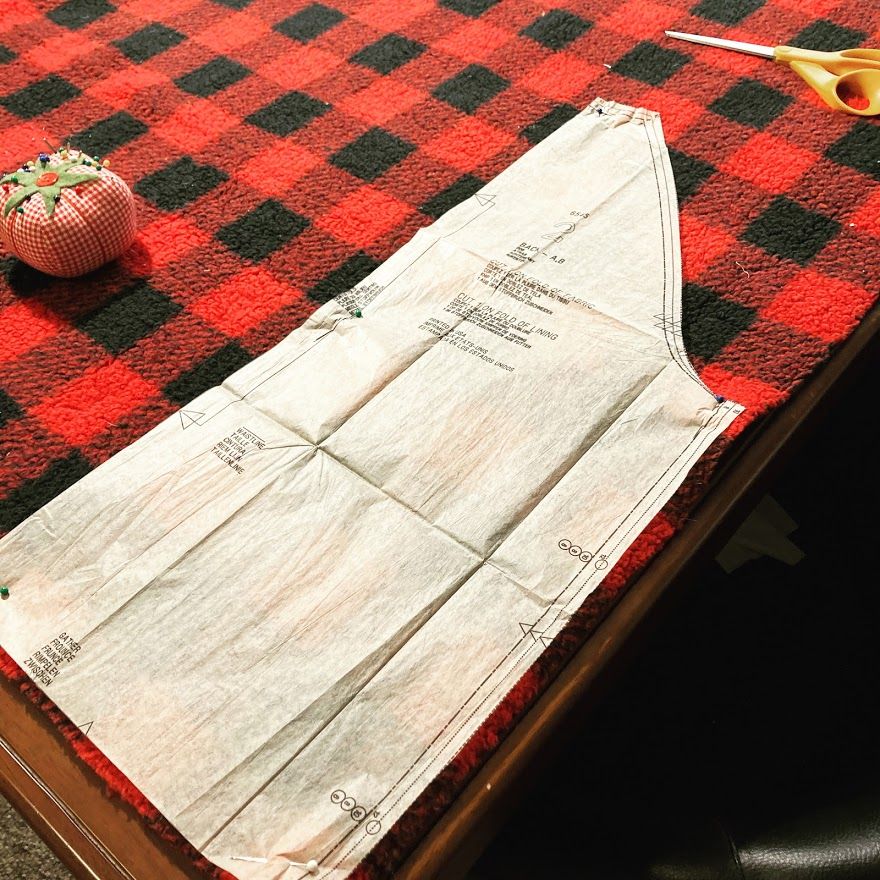
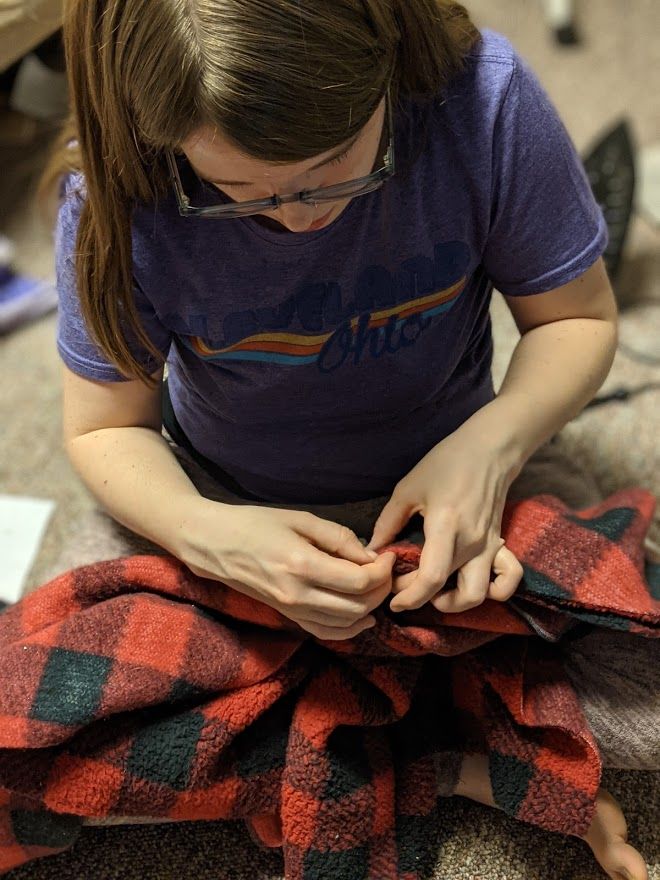
I pinned together the front pieces and pockets, then sewed them all together with the back of the jacket. I then pinned on and sewed in the sleeves.

All in all, the sherpa really sews together nicely. I used my serger and had to change the dials around a bit so that the sherpa didn't get scrunched up or have too-tight stitching. While sewing with this fabric, it was such a nice, heavy, and warm fabric that it warmed up my lap as I held it! It was a cozy feeling to sew.
As I sewed, I thought the jacket was definitely going to be too big. The design of the pockets made everything look larger, as they sort of accordioned out into a bigger waistline. Once they were sewed together, though, they were the correct size and no longer seemed too big.
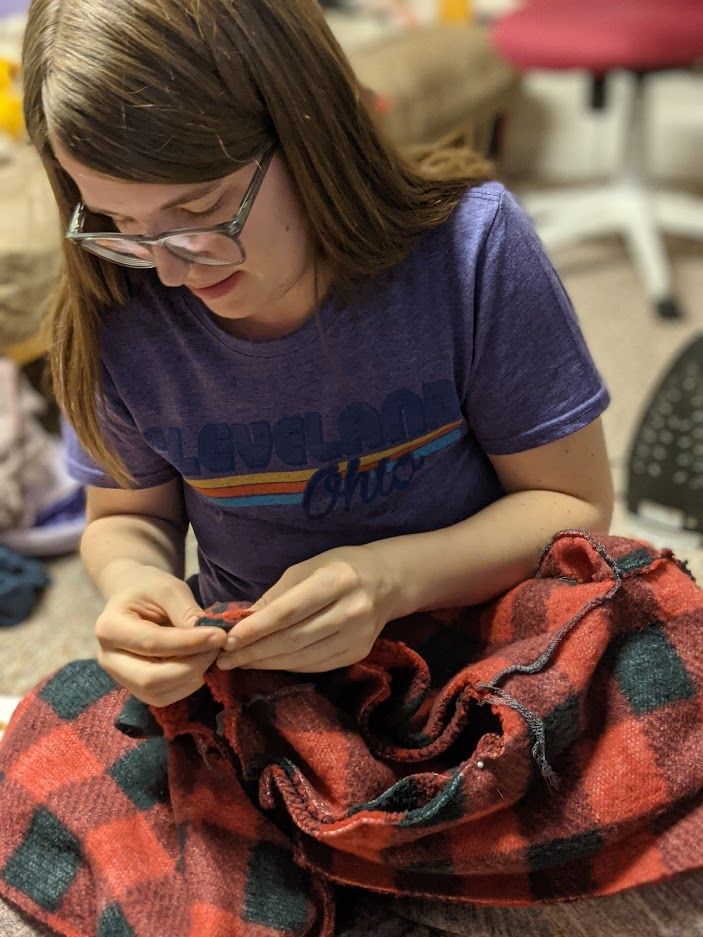
After all the main pieces - the sleeves, the front and back, and the neckline - came together, only the bottom hem was left. There was a long strip to sew on, so in all there were three layers of sherpa fabric to sew together. I had already done this on the sleeves, and that wasn't too difficult, so I wasn't fully prepared for how maddening it would be to try to sew all these thick pieces together. This was by far the hardest part of the entire jacket, to the point where I am fairly certain I will have to figure out another way to do the hem for any other jackets I make. The fabric even managed to break one of the needles on my serger. I've had needles break on my machine a lot, and it's no big deal. But I've NEVER had a serger needle break on me! Maybe this isn't that big of a deal for most who sew, but I was kind of shocked that it actually broke. I had to go out and buy new needles, because I realized I didn't even have any back-up needles!
I must have toiled away on this hemline for two days of sewing. I'm sure it ended up just being a few hours total, but it felt like I was Sisyphus pushing the rock up the hill. I would finish passing the entire thing under the serger only to discover that huge sections of the jacket just did not connect. The edges of the sherpa did not want to be sewn together, and the fuzzy parts just kept falling apart and not attaching.
Eventually I was able to finish the hem, using both the serger and the sewing machine. I'm hoping that it's mostly not noticeable that it was not exactly up to the pattern, since sherpa is so fluffy and tends to hide most mistakes.
In all, I love the product but I'm hesitant to sew with sherpa again if it needs to be layered. With one or two layers together, it didn't seem too bad. And if I serged the edge first to flatten it down, that definitely helped. But a large sherpa-based clothing project with multiple layers? Not worth it.