Disclosure: Some links on this page below are affiliate links, meaning, at no additional cost to you, we will earn a commission if you click through and purchase. Read our disclosure for more info.
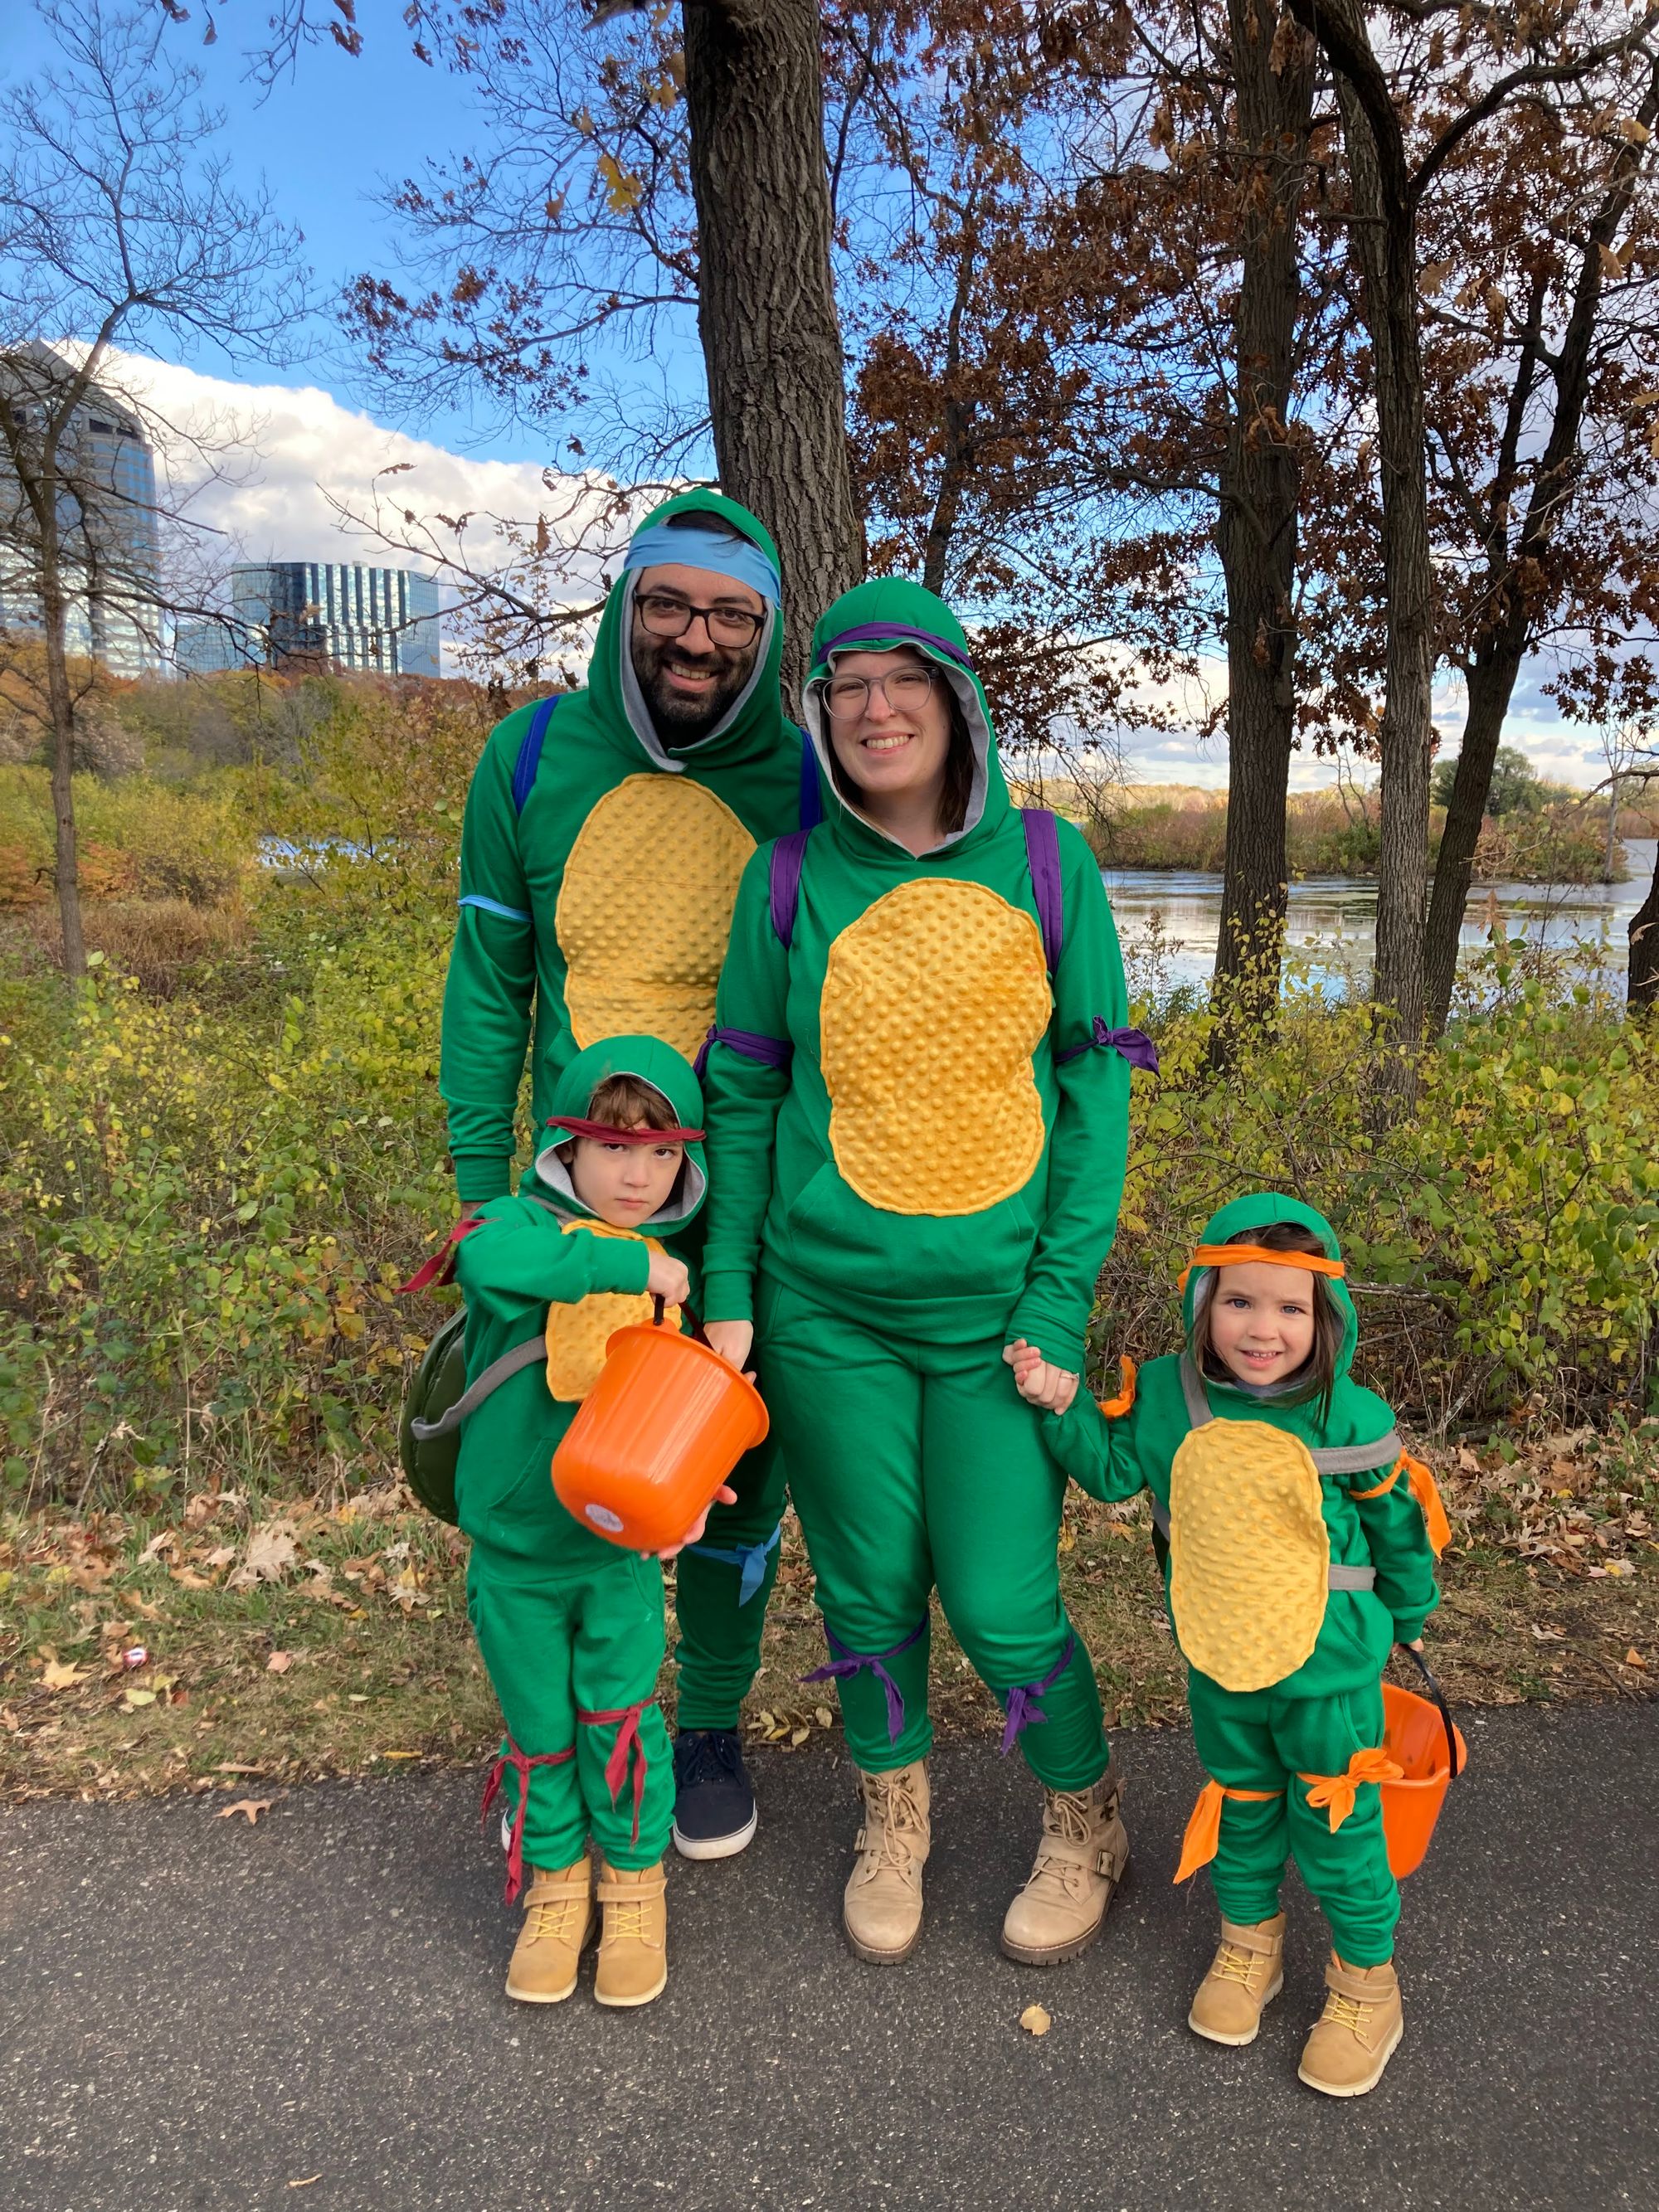
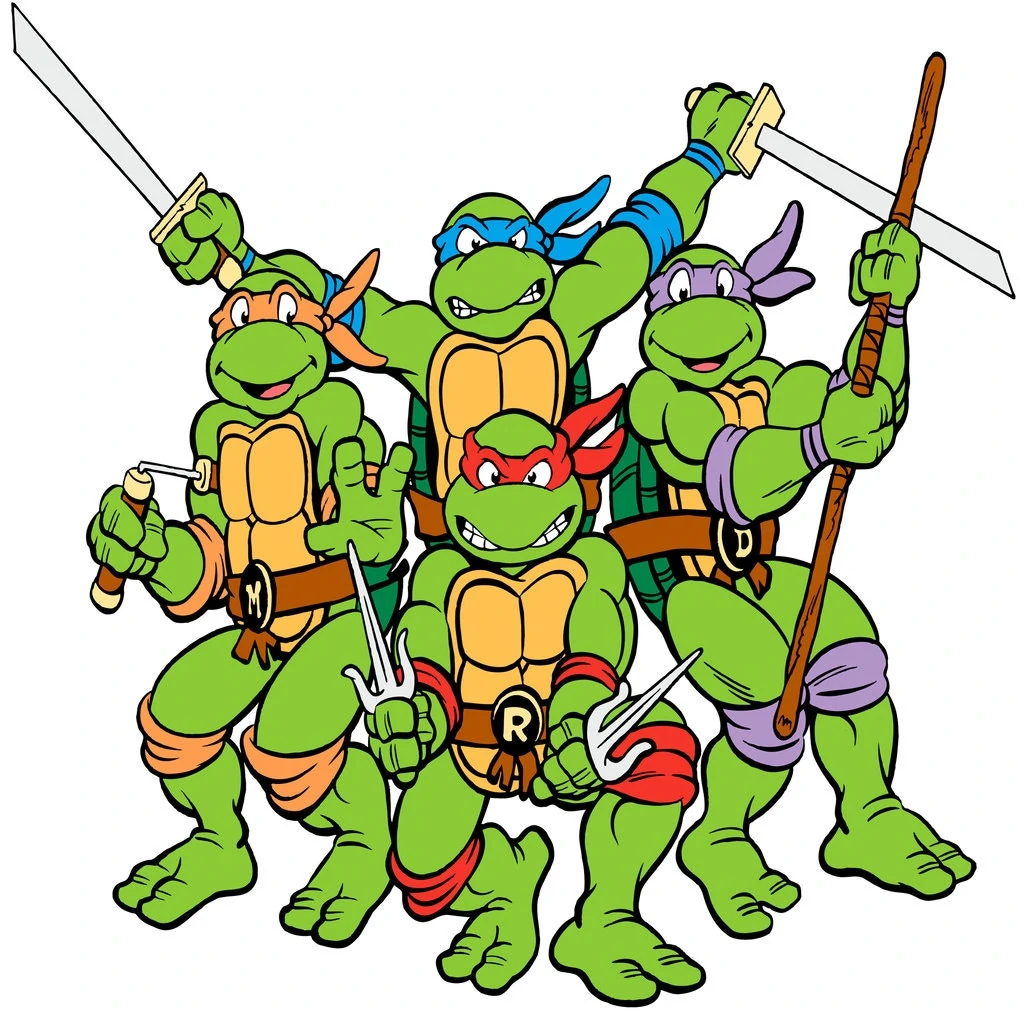
Heroes in a half-shell! Turtle power!
Kamran and I talked a lot with the kids this year about what we wanted to be for Halloween. Halloween has always been really important to us, and since the kids were born, we have done themed costumes with them. Our costumes have been:
- Snow White and two dwarves (this was before Saira was born!)
- Little Red Riding Hood (I was very pregnant with Saira!), the Big Bad Wolf (Rami), and the Woodsman (Kamran)
- Dorothy, The Tin Man, The Scarecrow, and the Wicked Witch
- Batman, Robin, Bat Girl, and Poison Ivy
The kids are still young enough that they want to dress in themed costumes, so I'm going to continue making them! I know a day will come when they are no longer interested and want their own costume ideas. I also know that the day will come when they no longer want home-sewn costumes, and I'll have to purchase them. So I want to enjoy this time while it lasts!
We talked all summer about what we wanted to be: The Ghostbusters, various superheroes, no one could agree. Until we thought of the Ninja Turtles. Bear in mind that neither of my kids has ever seen Teenage Mutant Ninja Turtles, and they have absolutely no cultural concept of who they are or what they are about, except from my poor descriptions. I also showed them some pictures from Google Images. They loved the idea! So I set out to create the perfect Ninja Turtle costumes for Halloween. I divided the costumes into 5 parts:
1. The body
2. The shell
3. The tummy
4. The fabric strips on the arms, legs, and over the eyes
5. Weapons
The Body
I started with the body, which would need to be purely green. I went to Girl Charlee and found my favorite sweatshirt fabric in Kelly Green:

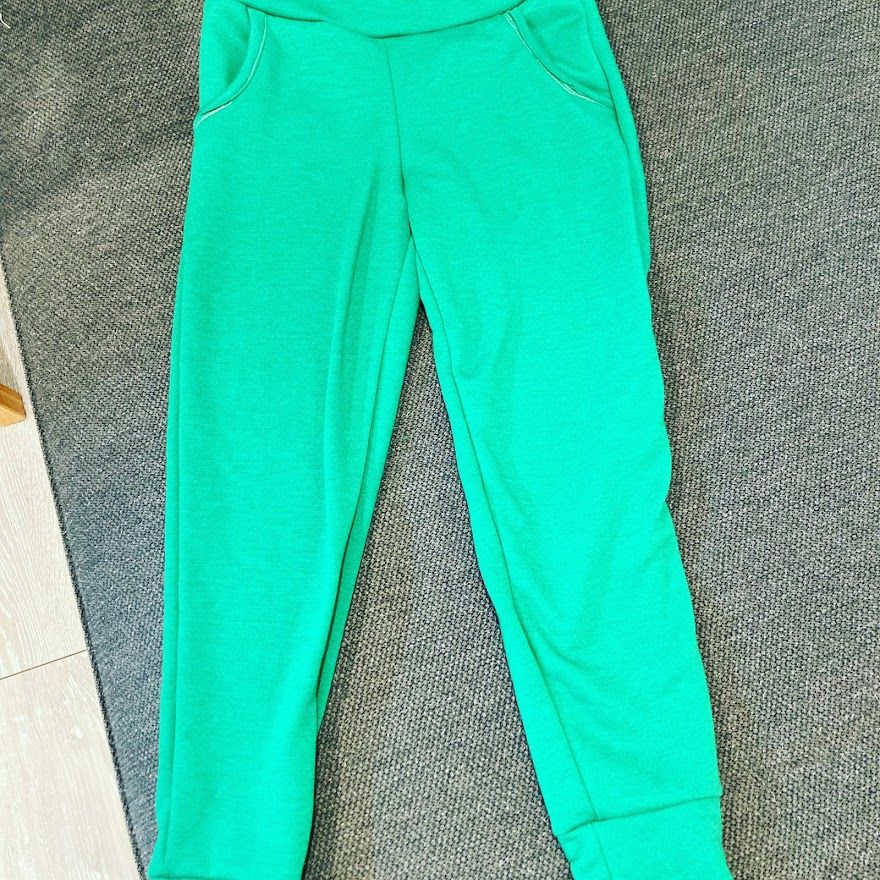
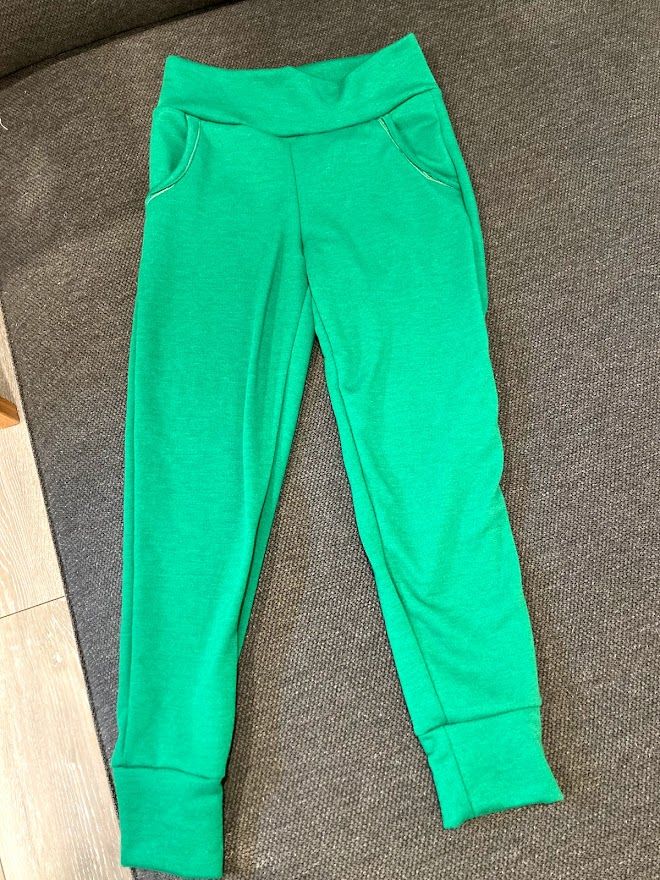
I decided to use the Java Joggers, Jackson Joggers, and Jordan Joggers patterns from Peekaboo Patterns to create the pants. I wanted to make pieces that we could wear on a daily basis, rather than just create these items as a costume and then just have them around for no reason. That's one problem I sometimes have with creating things like Halloween costumes; they have so few uses. At least, as an adult I'm not dressing up like a witch or a vampire every day. I know I can always use a nice new pair of joggers though!
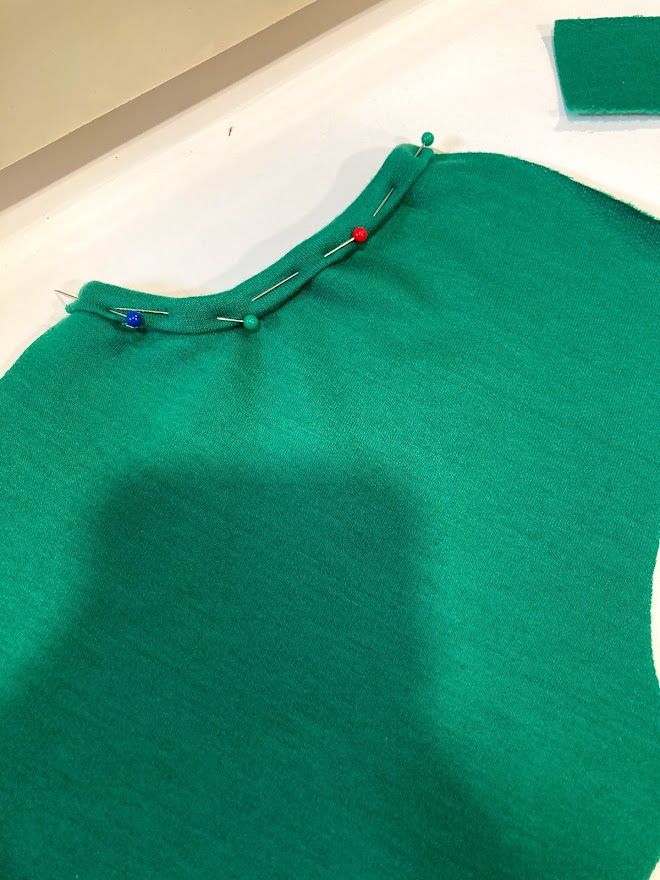
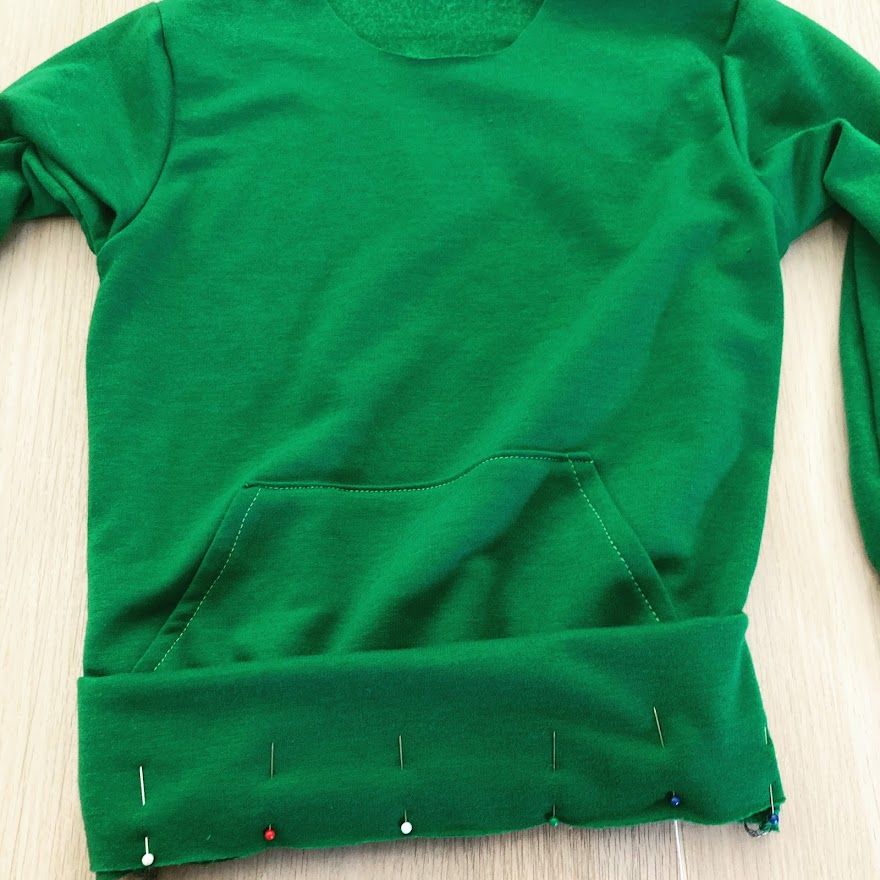
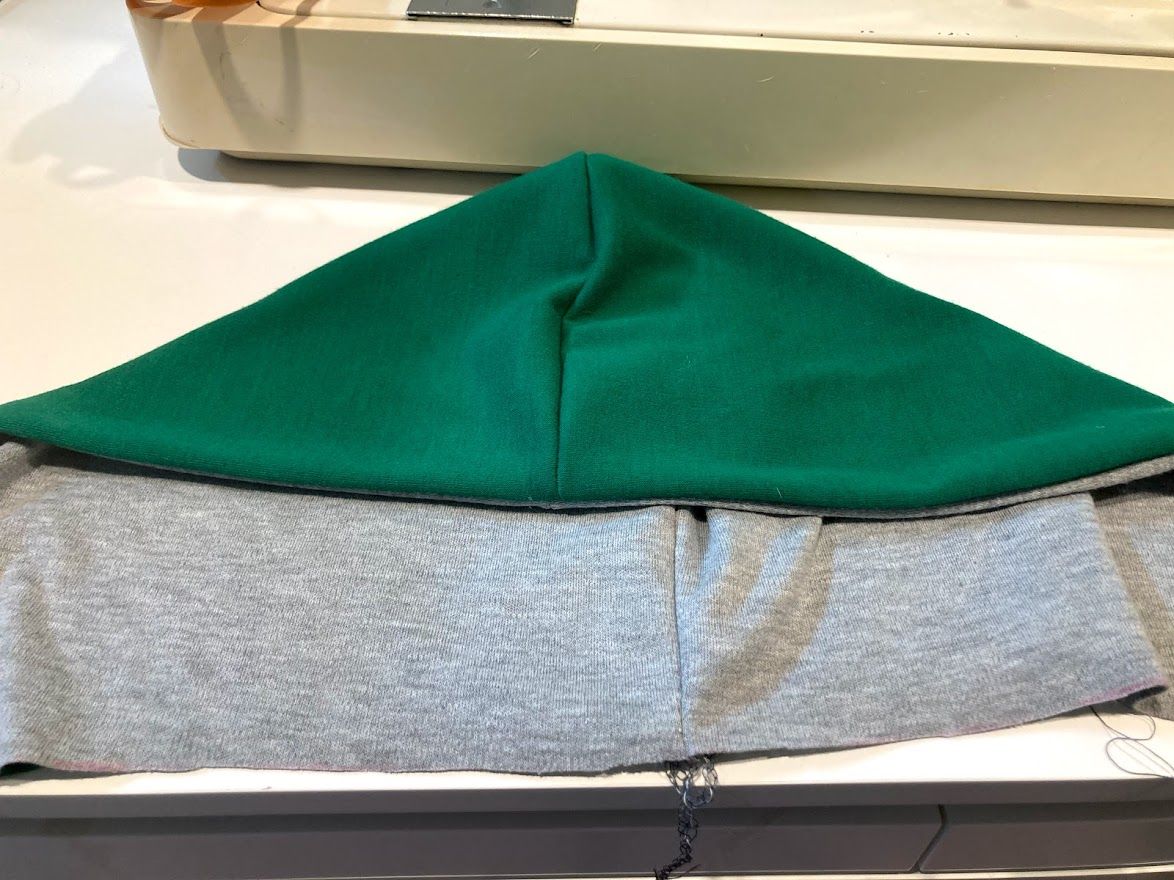
Next, I had to decide on sweatshirt patterns. I wanted something with a hood to pull up and make it look like we are ninja turtles. I also wanted a pocket and something that didn't take up an unbelievable amount of fabric. I found the following:
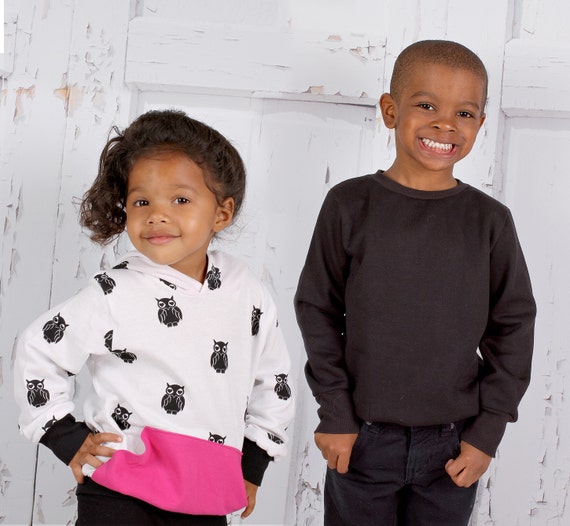
The classic sweatshirt for the kids, from Peekaboo Patterns.
The free women's hoodie pattern from Life Sew Savory, for me.
 Carmi M Mares says
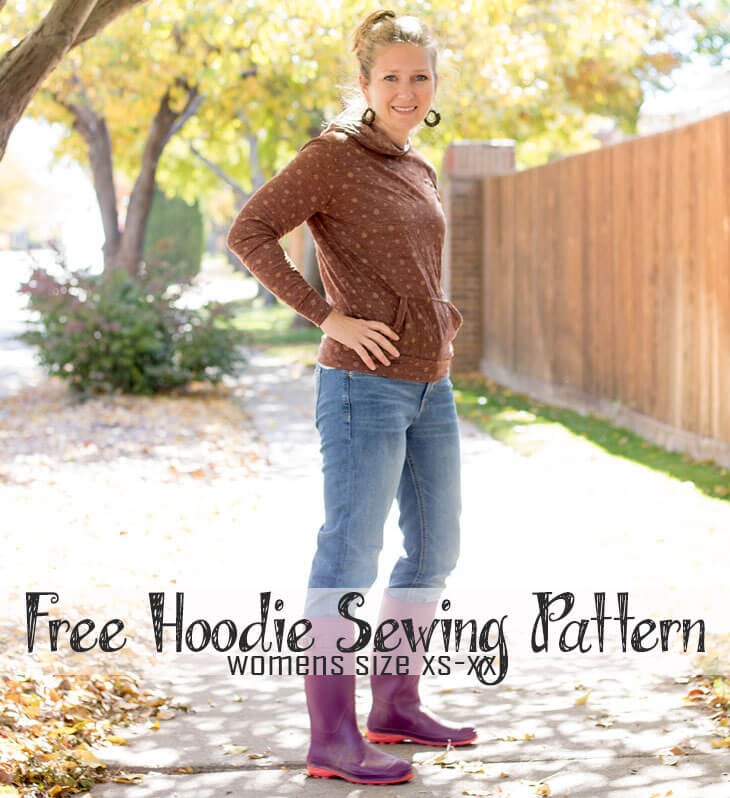
And the free hoodie pattern from Melly Sews, for Kamran.
 Melissa Mora
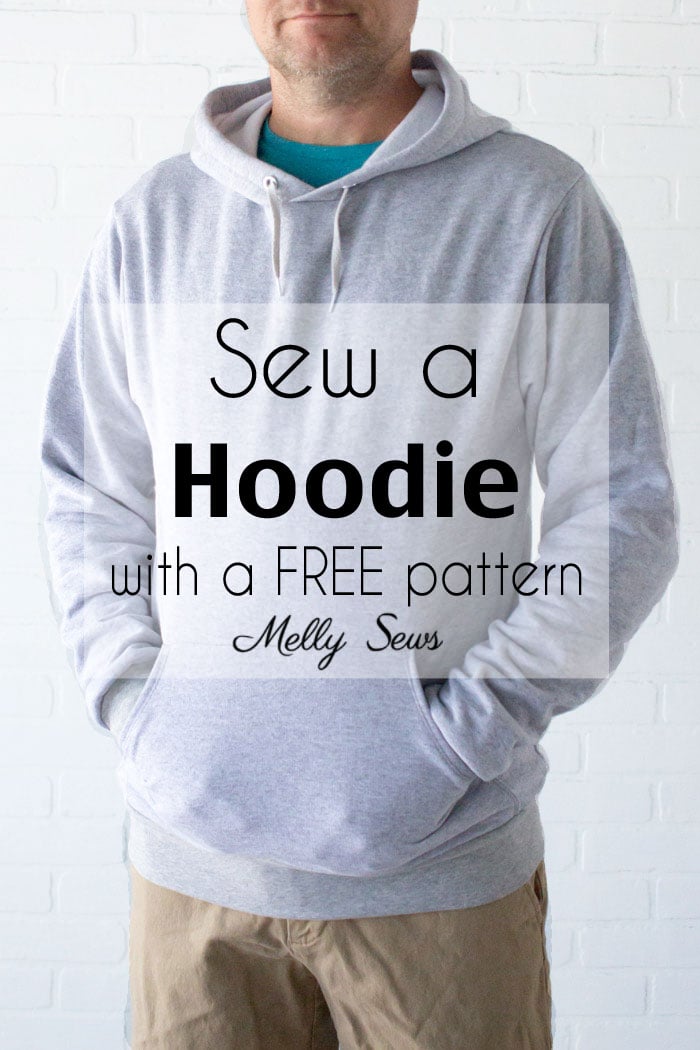
I had my patterns and did a little calculation, thinking I would need about 13 yards of fabric (I ended up having about 2 yards extra, so I am excited to be able to make larger sizes for the kids when they need them!)
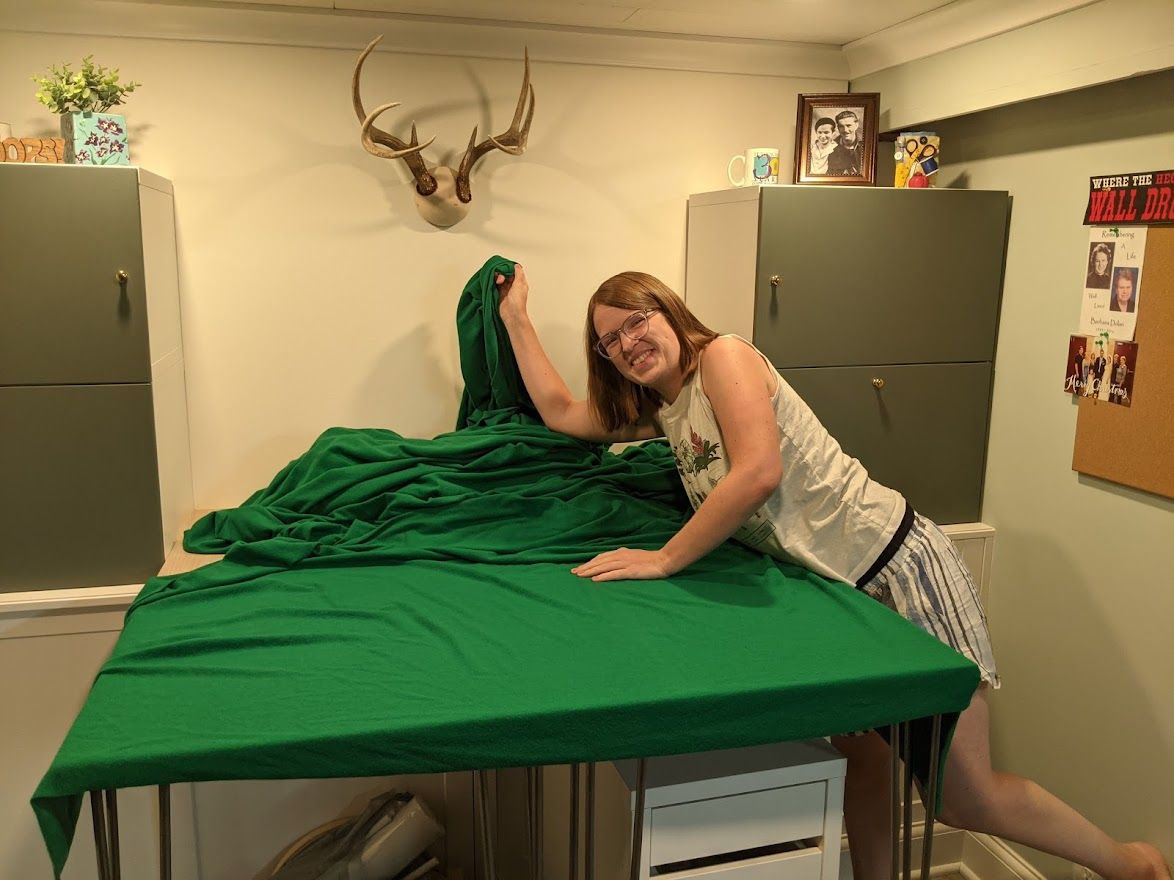
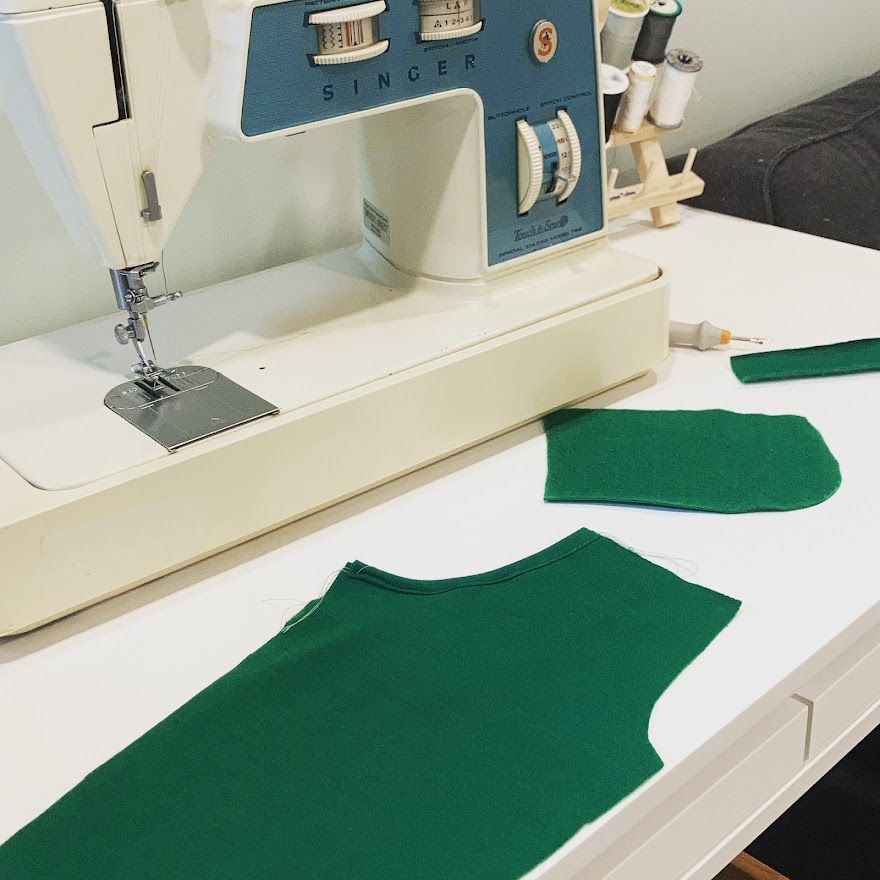
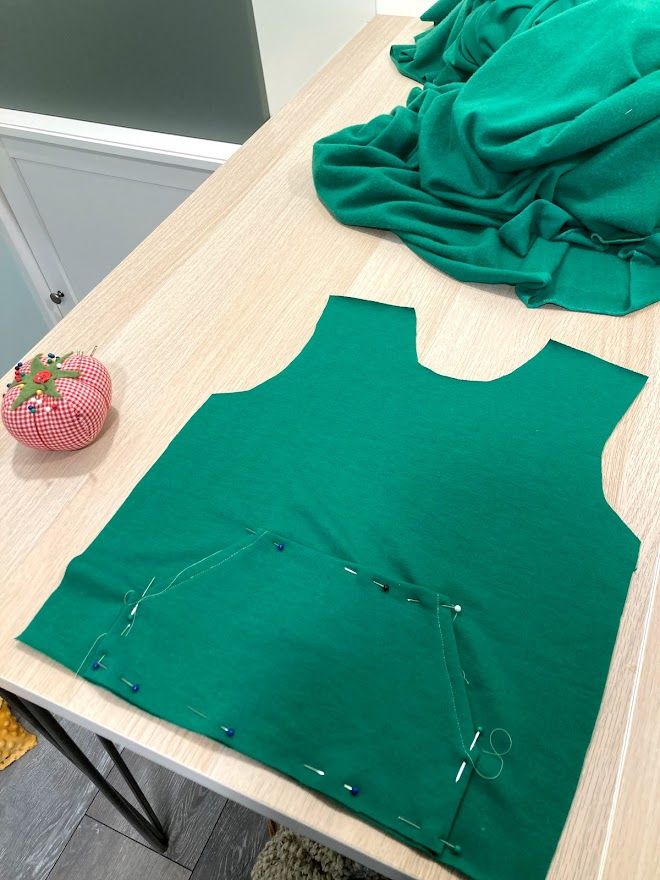
I started cutting for the joggers, then worked through the hoodies.
I've chronicled my jogger creation in other posts, which you can check out here, here, and here.
 Cassie
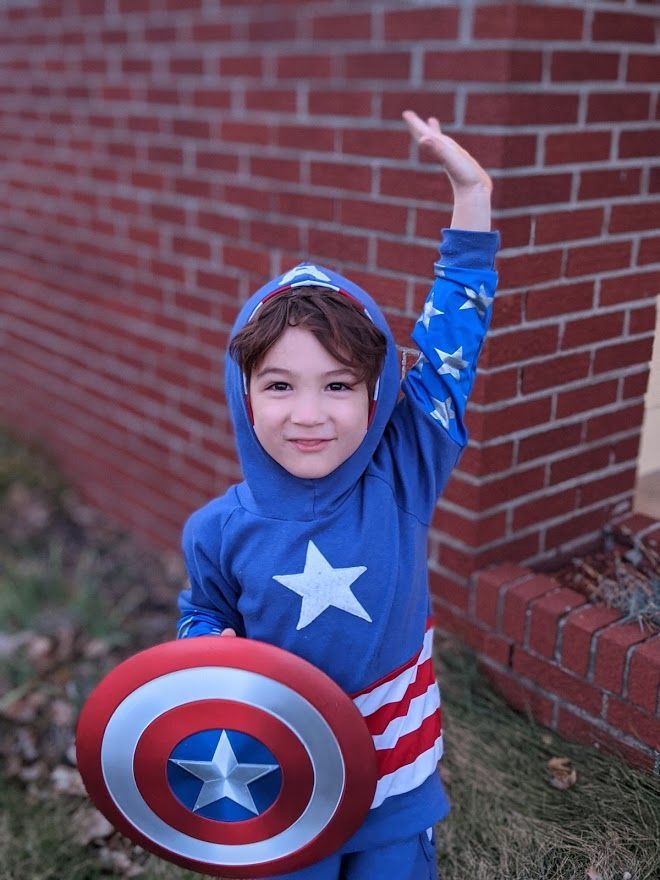 Cassie
 Cassie
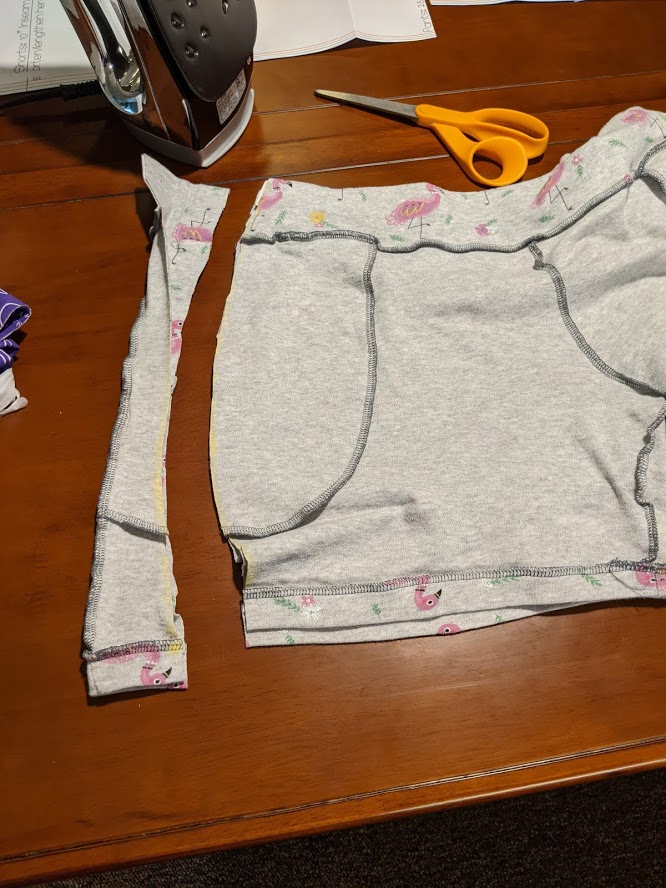
The only thing I really want to add this time was that I went all out to try to figure out the elastic waistband. For some reason, my waistbands always turn out really flat and don't have that nice lovely folding that happens when you know what you're doing! I watched some tutorials, and while I still didn't perfect the technique, I've taken some steps in the right direction.

The sweatshirt patterns were all very similar, and I had no qualms with the writing or layout of any of them. The only pattern that did not turn out exactly to my liking was the Melly Sews hood. I did not follow it exactly as I should have, and the hood is just slightly wonky. I think I just didn't pay attention to how I was laying the fabric when I placed the top stitch? I think it is still workable, and I suppose I could easily redo it!
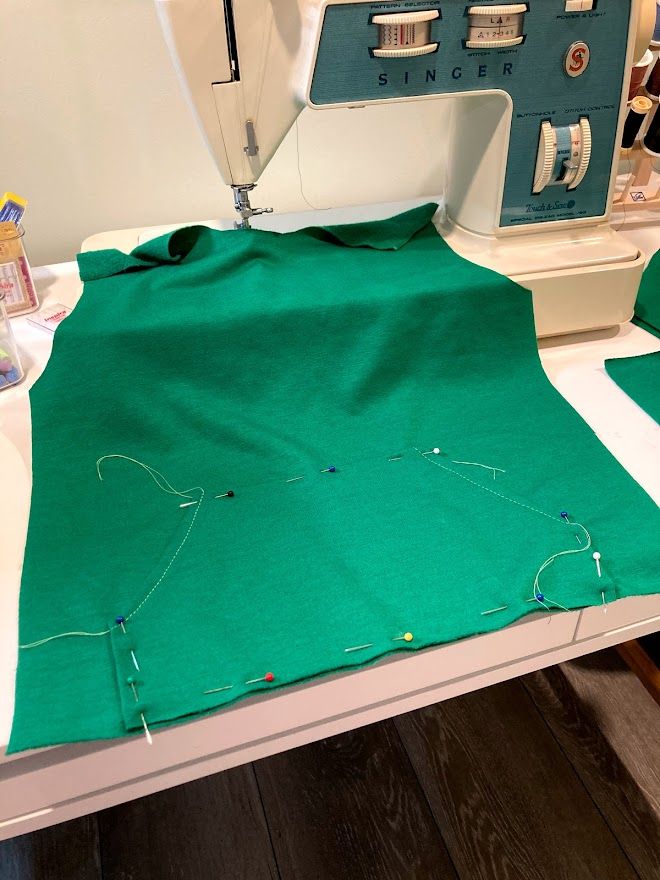
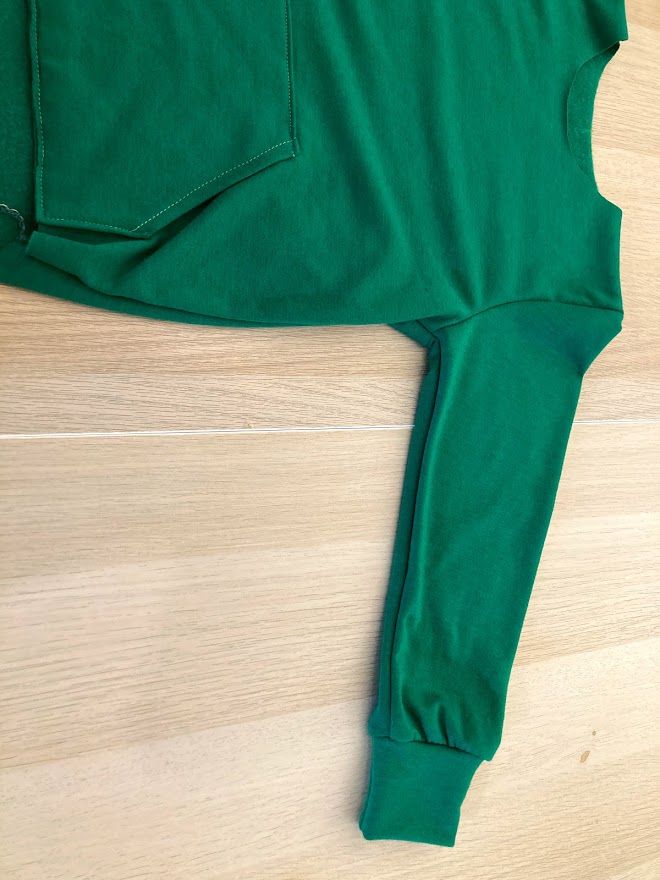
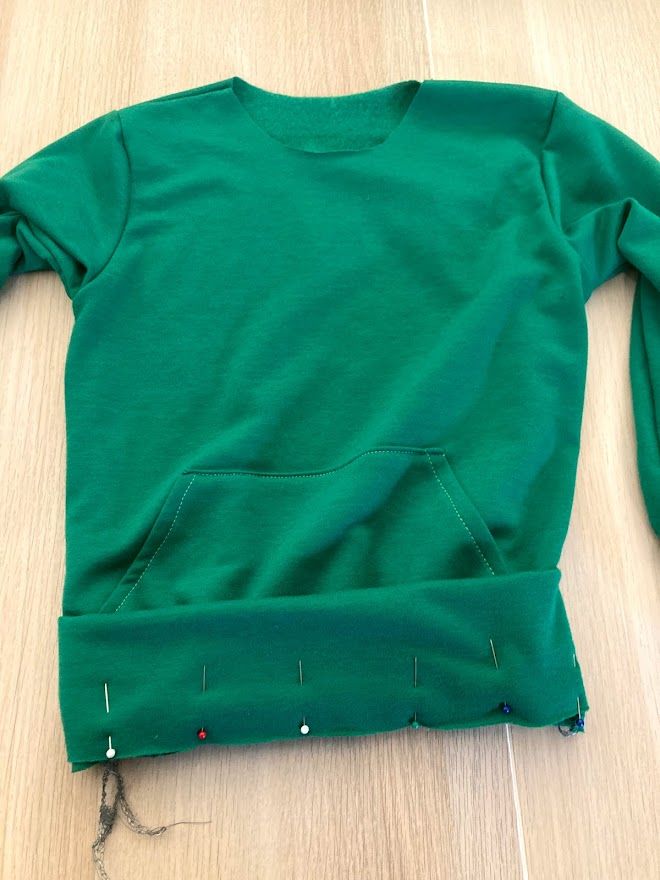
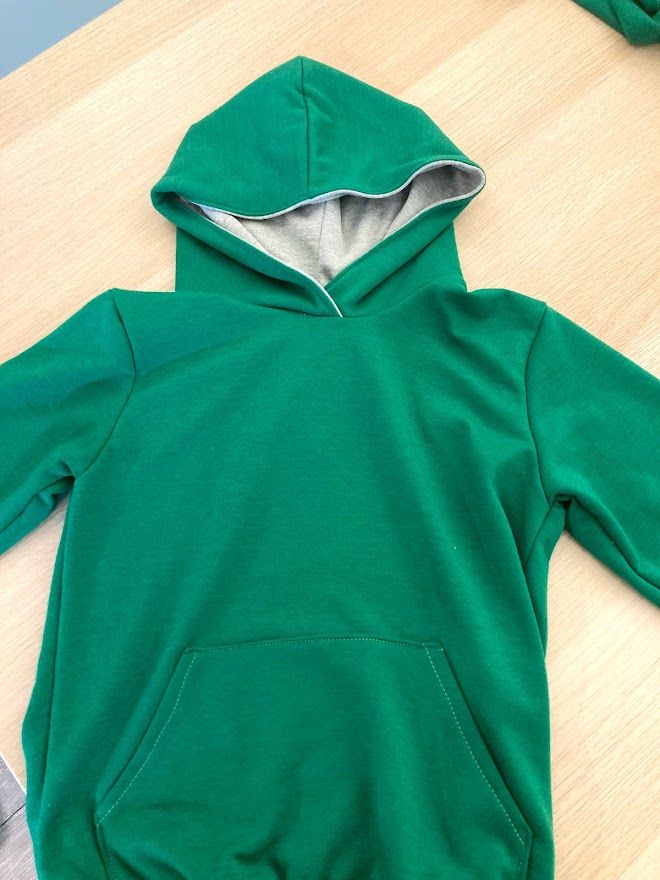
The fabric sews up nicely, and it's easy to use on both the sewing machine and the serger. My lines have gotten better as I've practiced on my sewing machine, and I actually feel really competent, having created these sweatshirts! The second they were done, my kids wanted to wear them. I had to hide the entire costumes, because I knew if they wore them, they would get them dirty or ruin them in some way! I will 100% be using the Classic Hoodie pattern from Peekaboo Pattern Shop again. I have been so impressed with their patterns, both the cut of the patterns and in how the instructions are written. They are an all around powerhouse for any beginner like me. I really feel like I have a little staples closet of patterns for myself and my kids, just from Peekaboo Pattern Shop.
I think I will be using the Life Sew Savory pattern again, but I will probably make a medium instead of a large. I'm now 5 months pregnant, so I wanted to be sure to accommodate a larger size in my Halloween costume! I was glad to have the ability to make a larger size. I really love the hood on this pattern!
I think I would also use the Melly Sews pattern again, but I would more closely read the hood instructions or modify as needed. Everything else about the pattern went smoothly, but my own human error got in the way of producing a perfect piece!
At the end of my jogger and sweatshirt spree, I was tired but excited. I knew I was ready to move on to the next part of the costume. But I was so nervous that I would fail!
The Shell
The Shell was really the hardest part of the costume. I feel like I put them off for a long time, thinking they would just be so difficult and I wouldn't know how to handle them. I did some searching and really found nothing of interest to help me create the shells, then kind of gave up, thinking I would have to do the whole thing from scratch and just hope for the best. Then about a month later, I searched again and found a shell pattern from a Bowser costume!
 Dr. Redhair
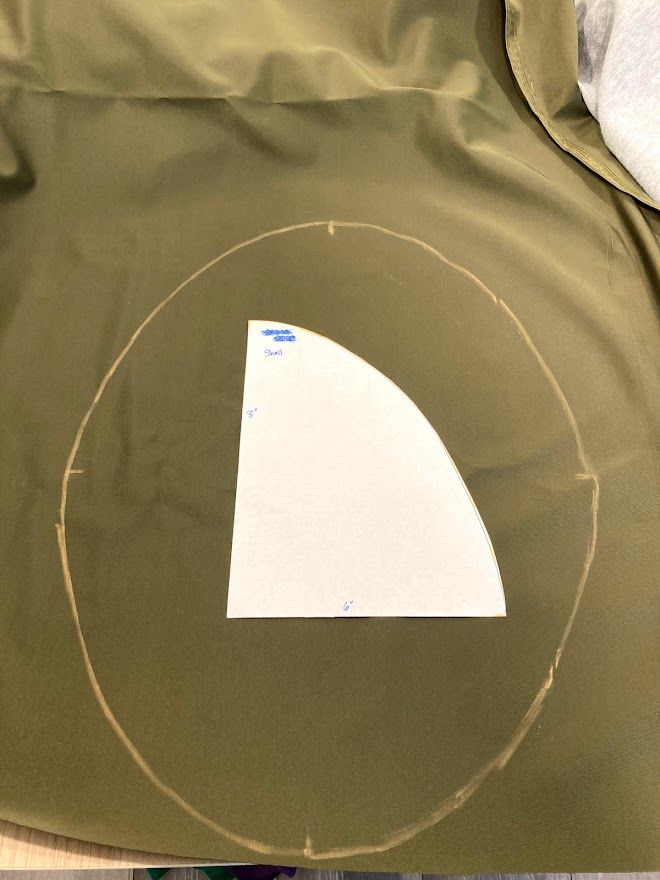
I read through the tutorial, and found it really helpful for designing and creating my own shells. I had purchased EVA foam dowels and a foam backing from Michael's, and knew with the ideas from the Learn With Emily Bowser Shell, I would be able to use these. I had originally thought I would have to cut out individual hexagons to create a shell pattern, but Emily's idea of sewing darts in the side of the turtle shell was so genius. It saved me so much time and energy, and made the project much less dreaded in my mind!
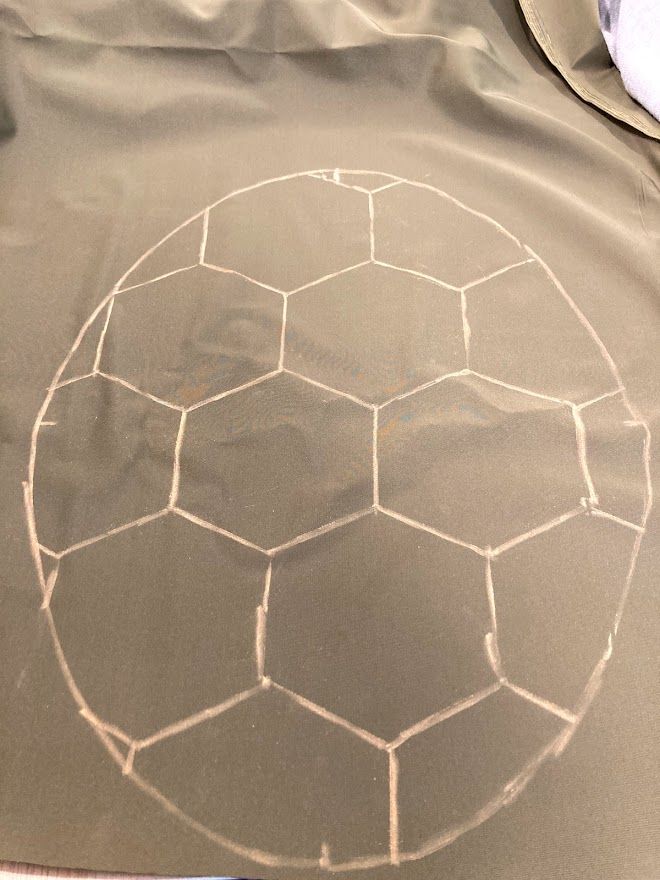
I started by cutting out my shell pieces, then sewing hexagon patterns into them. I added my darts to give the shells their shape.
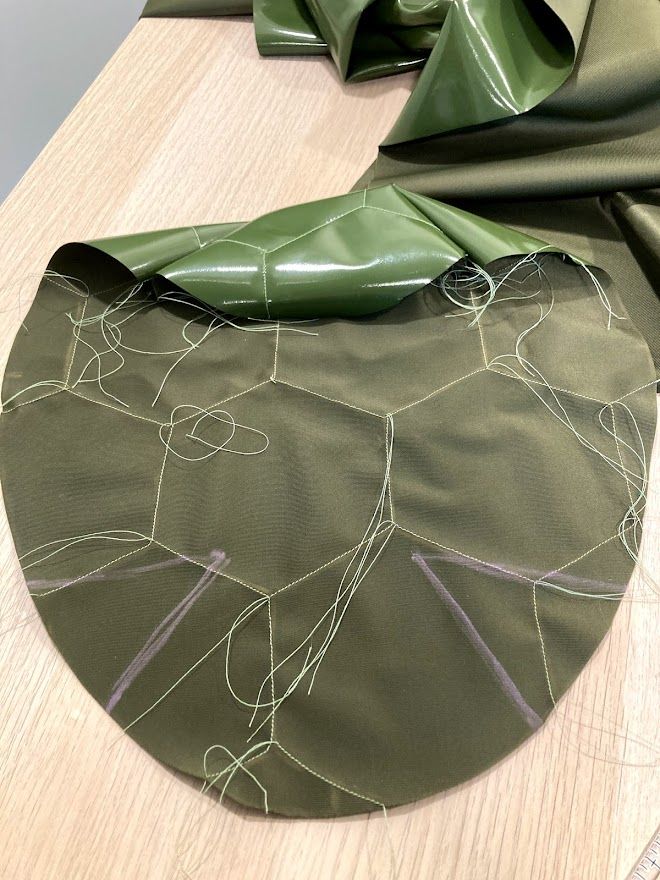
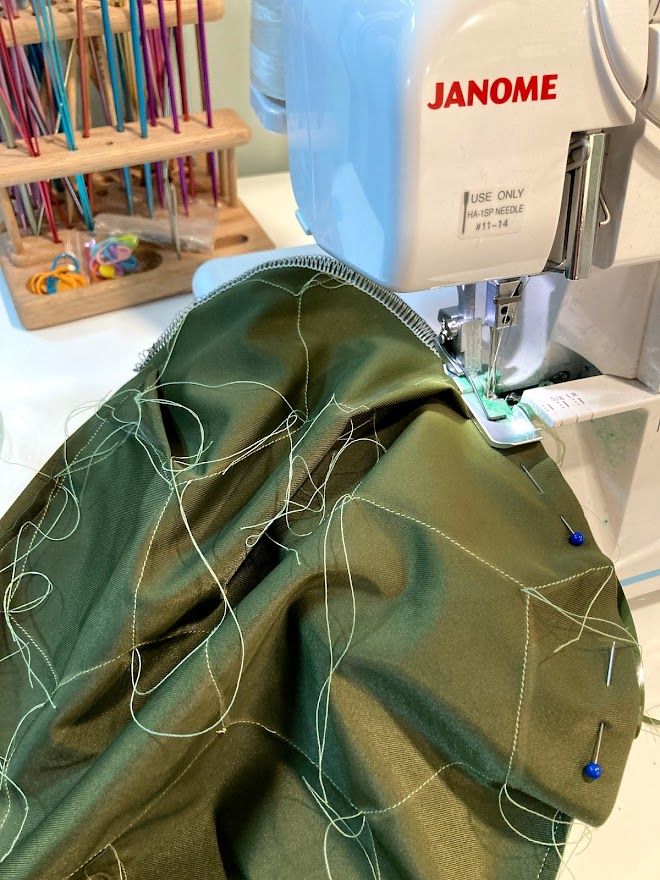
Next, I measured the circumference of the newly-shaped shell, and cut out a piece of the same fabric that was 3" by about 36" (this changed with the size of the shell, imperfections, etc. Some real DIY innovation here). I then used my serger to attach the 3"x36" fabric piece to the edges of the turtle shell, to form a sleeve which would then hold the foam dowel. I pushed in the dowel and hand-sewed the sleeve closed. I then measured the inside of the shell so I could cut out the foam backing.
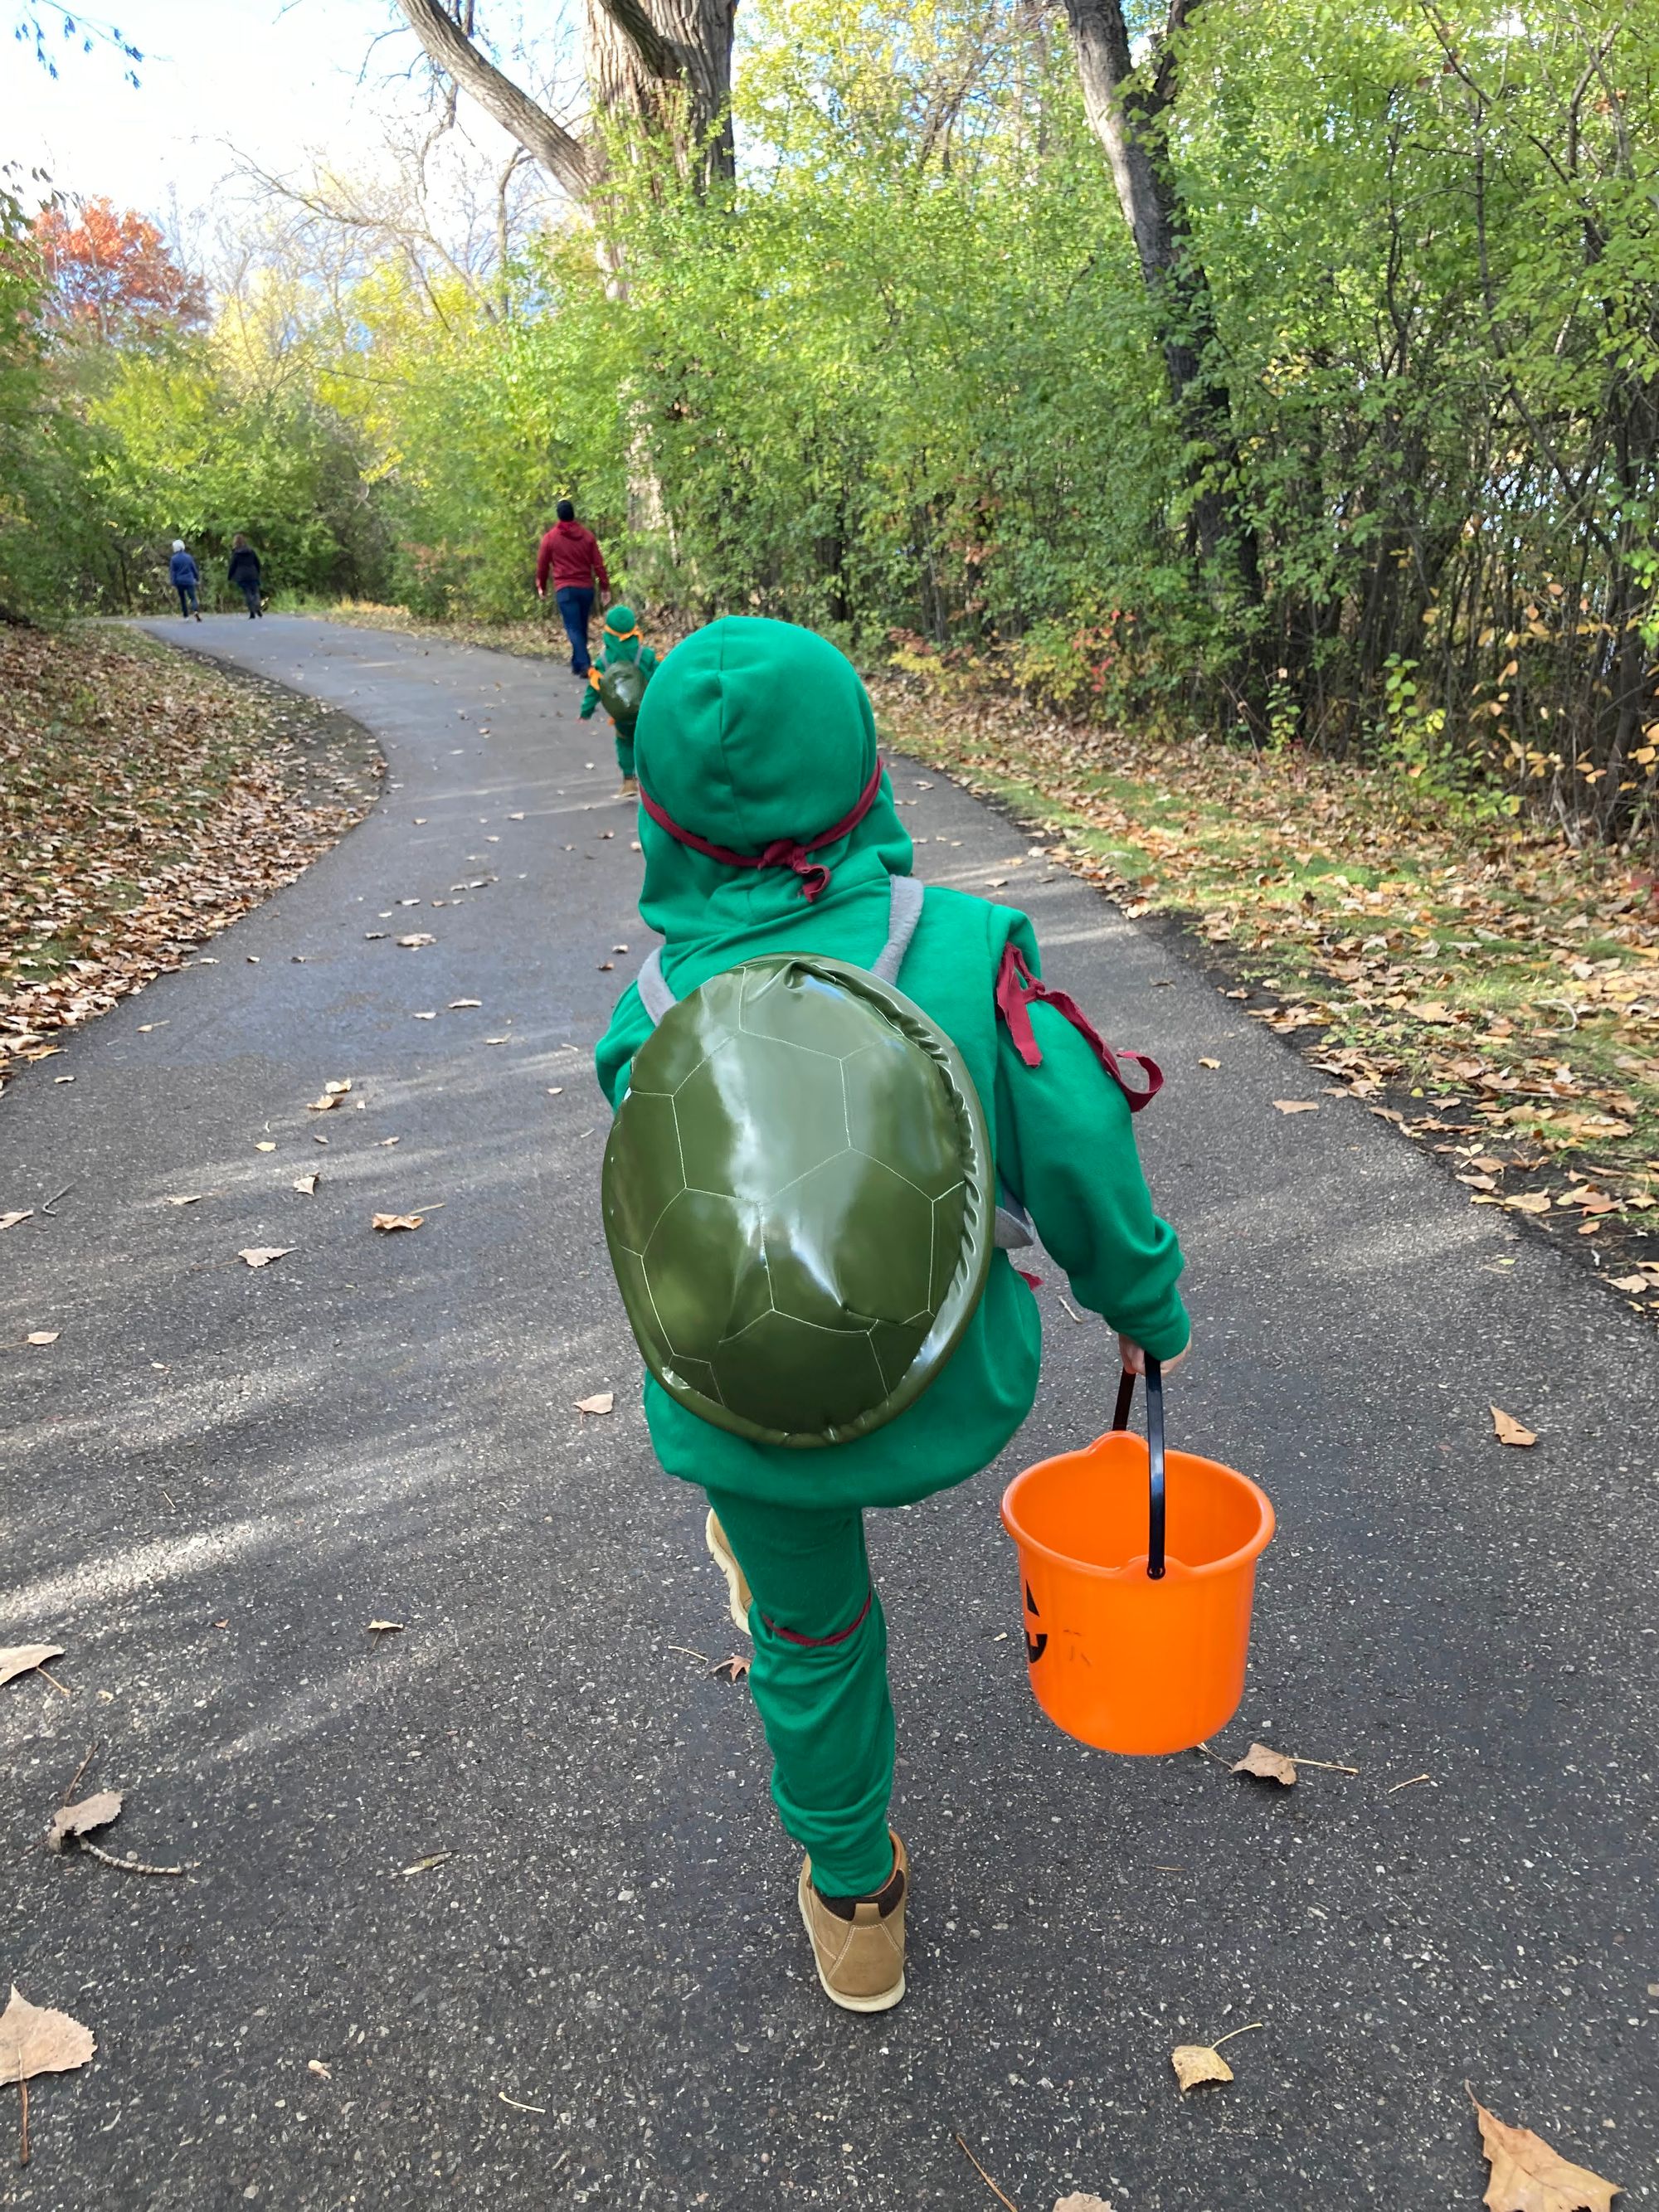
I then cut out a larger piece of the same fabric and sewed it over the outside of this backing. I hand-sewed the backing into the turtle-shell, and stuffed it with batting to give it a full shell look. Lastly, I sewed on piece of fabric as a sort of backpack. For the kids shells, I put the shell tummy on the front of the backpack. For the adults, I attached the tummy to the sweatshirt with velcro (I want to be able to reuse the sweatshirts for everyday wear rather than just make them into one-use Halloween costumes!)
The shells ended up being really fun to do, and all the hand-sewing allowed me to do a lot of the work while watching TV or talking to Kamran. A real win-win situation.
The Tummy
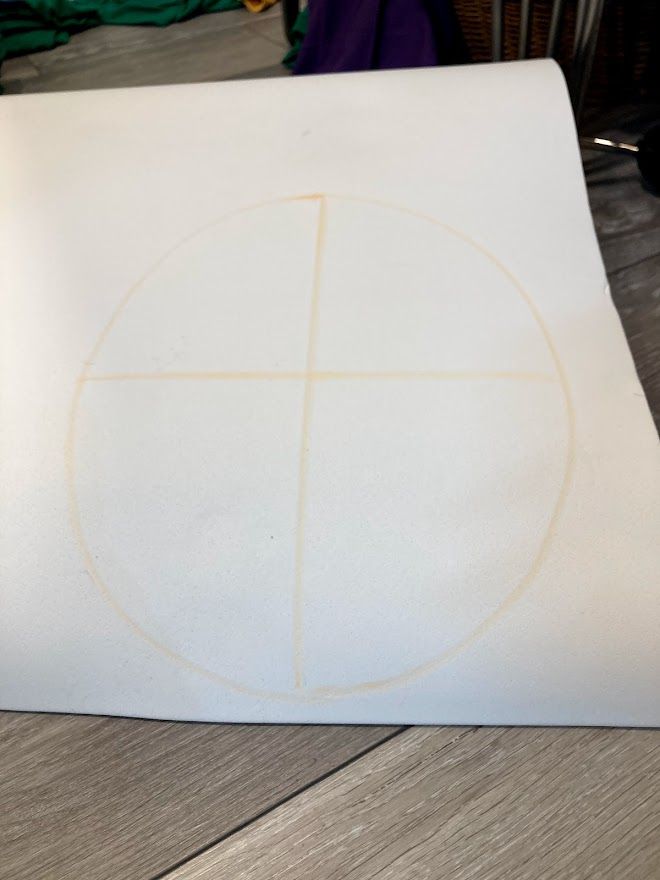
The tummy pieces were easy. On the adult costumes, I just cut out circles, folded over the edges, then made lines across at 1/3 and 2/3 of the length of the piece. Then, I used stick-on velcro pieces to attach them to the sweatshirts. Like I said, I want to be able to reuse these sweatshirts for daily use rather than just for Halloween, so I didn't want to fully attach the tummy pieces.
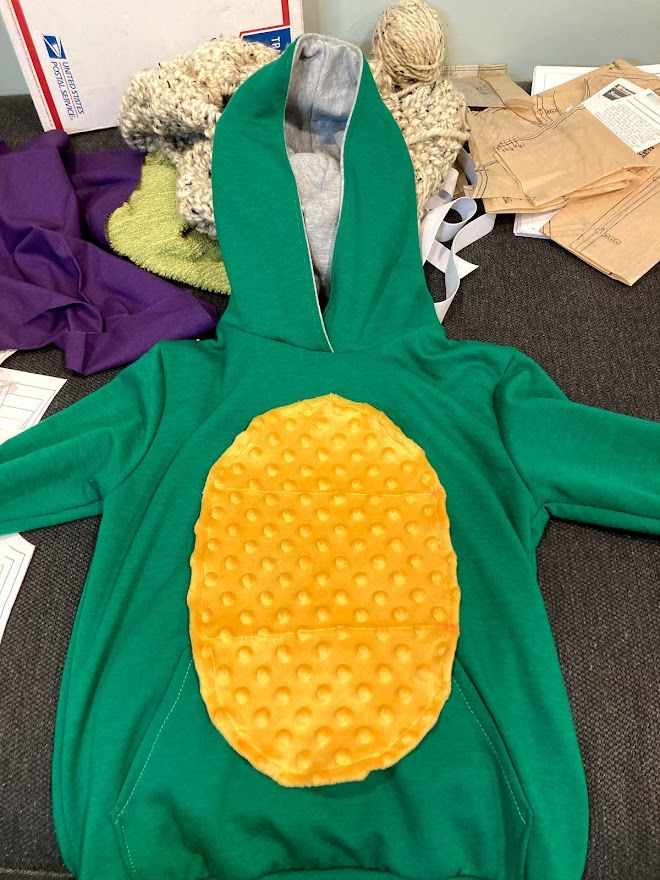
For the kids, I actually attached the tummies on to the backpack set-up, with four strips of fabric attaching the tummy to the backpack, like so:
Both ways worked fine, I just knew I wouldn't want to wear a big cumbersome piece on myself. It's a lot easier for the kids to have everything connected, so they don't have to worry about things falling off or bothering them. I was a little nervous at first that the weight of the backpack would cause the tummy piece to ride up to the neck and bother the kids, especially Rami. He seems to have some sensory sensitivies (I do too), so that would definitely bother him. Luckily, that wasn't the case! I don't know if it's because the fabrics seem to hold each other in place, or because the backpack just isn't as heavy as I thought it would be. But I'm glad it works!
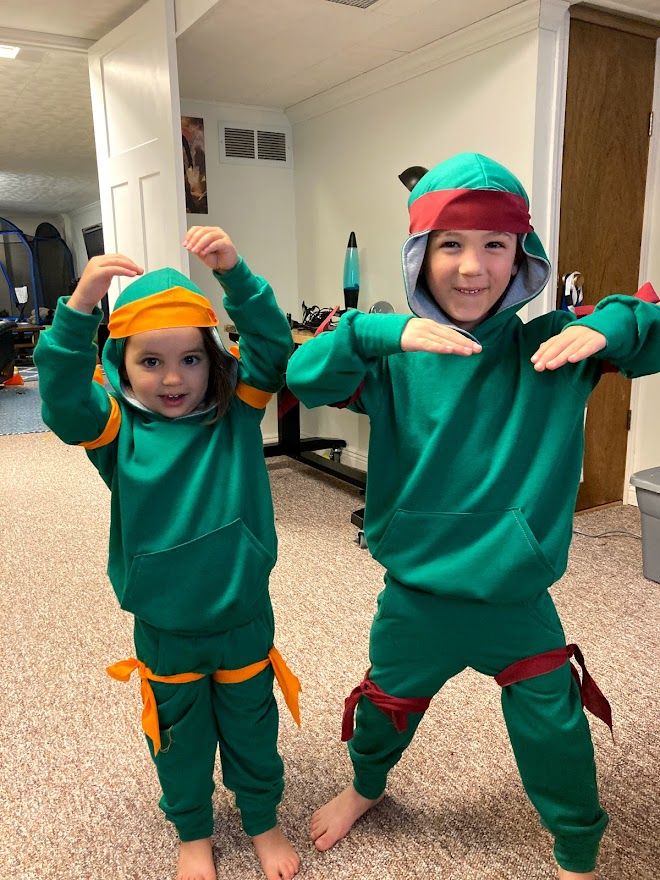
The Fabric Strips
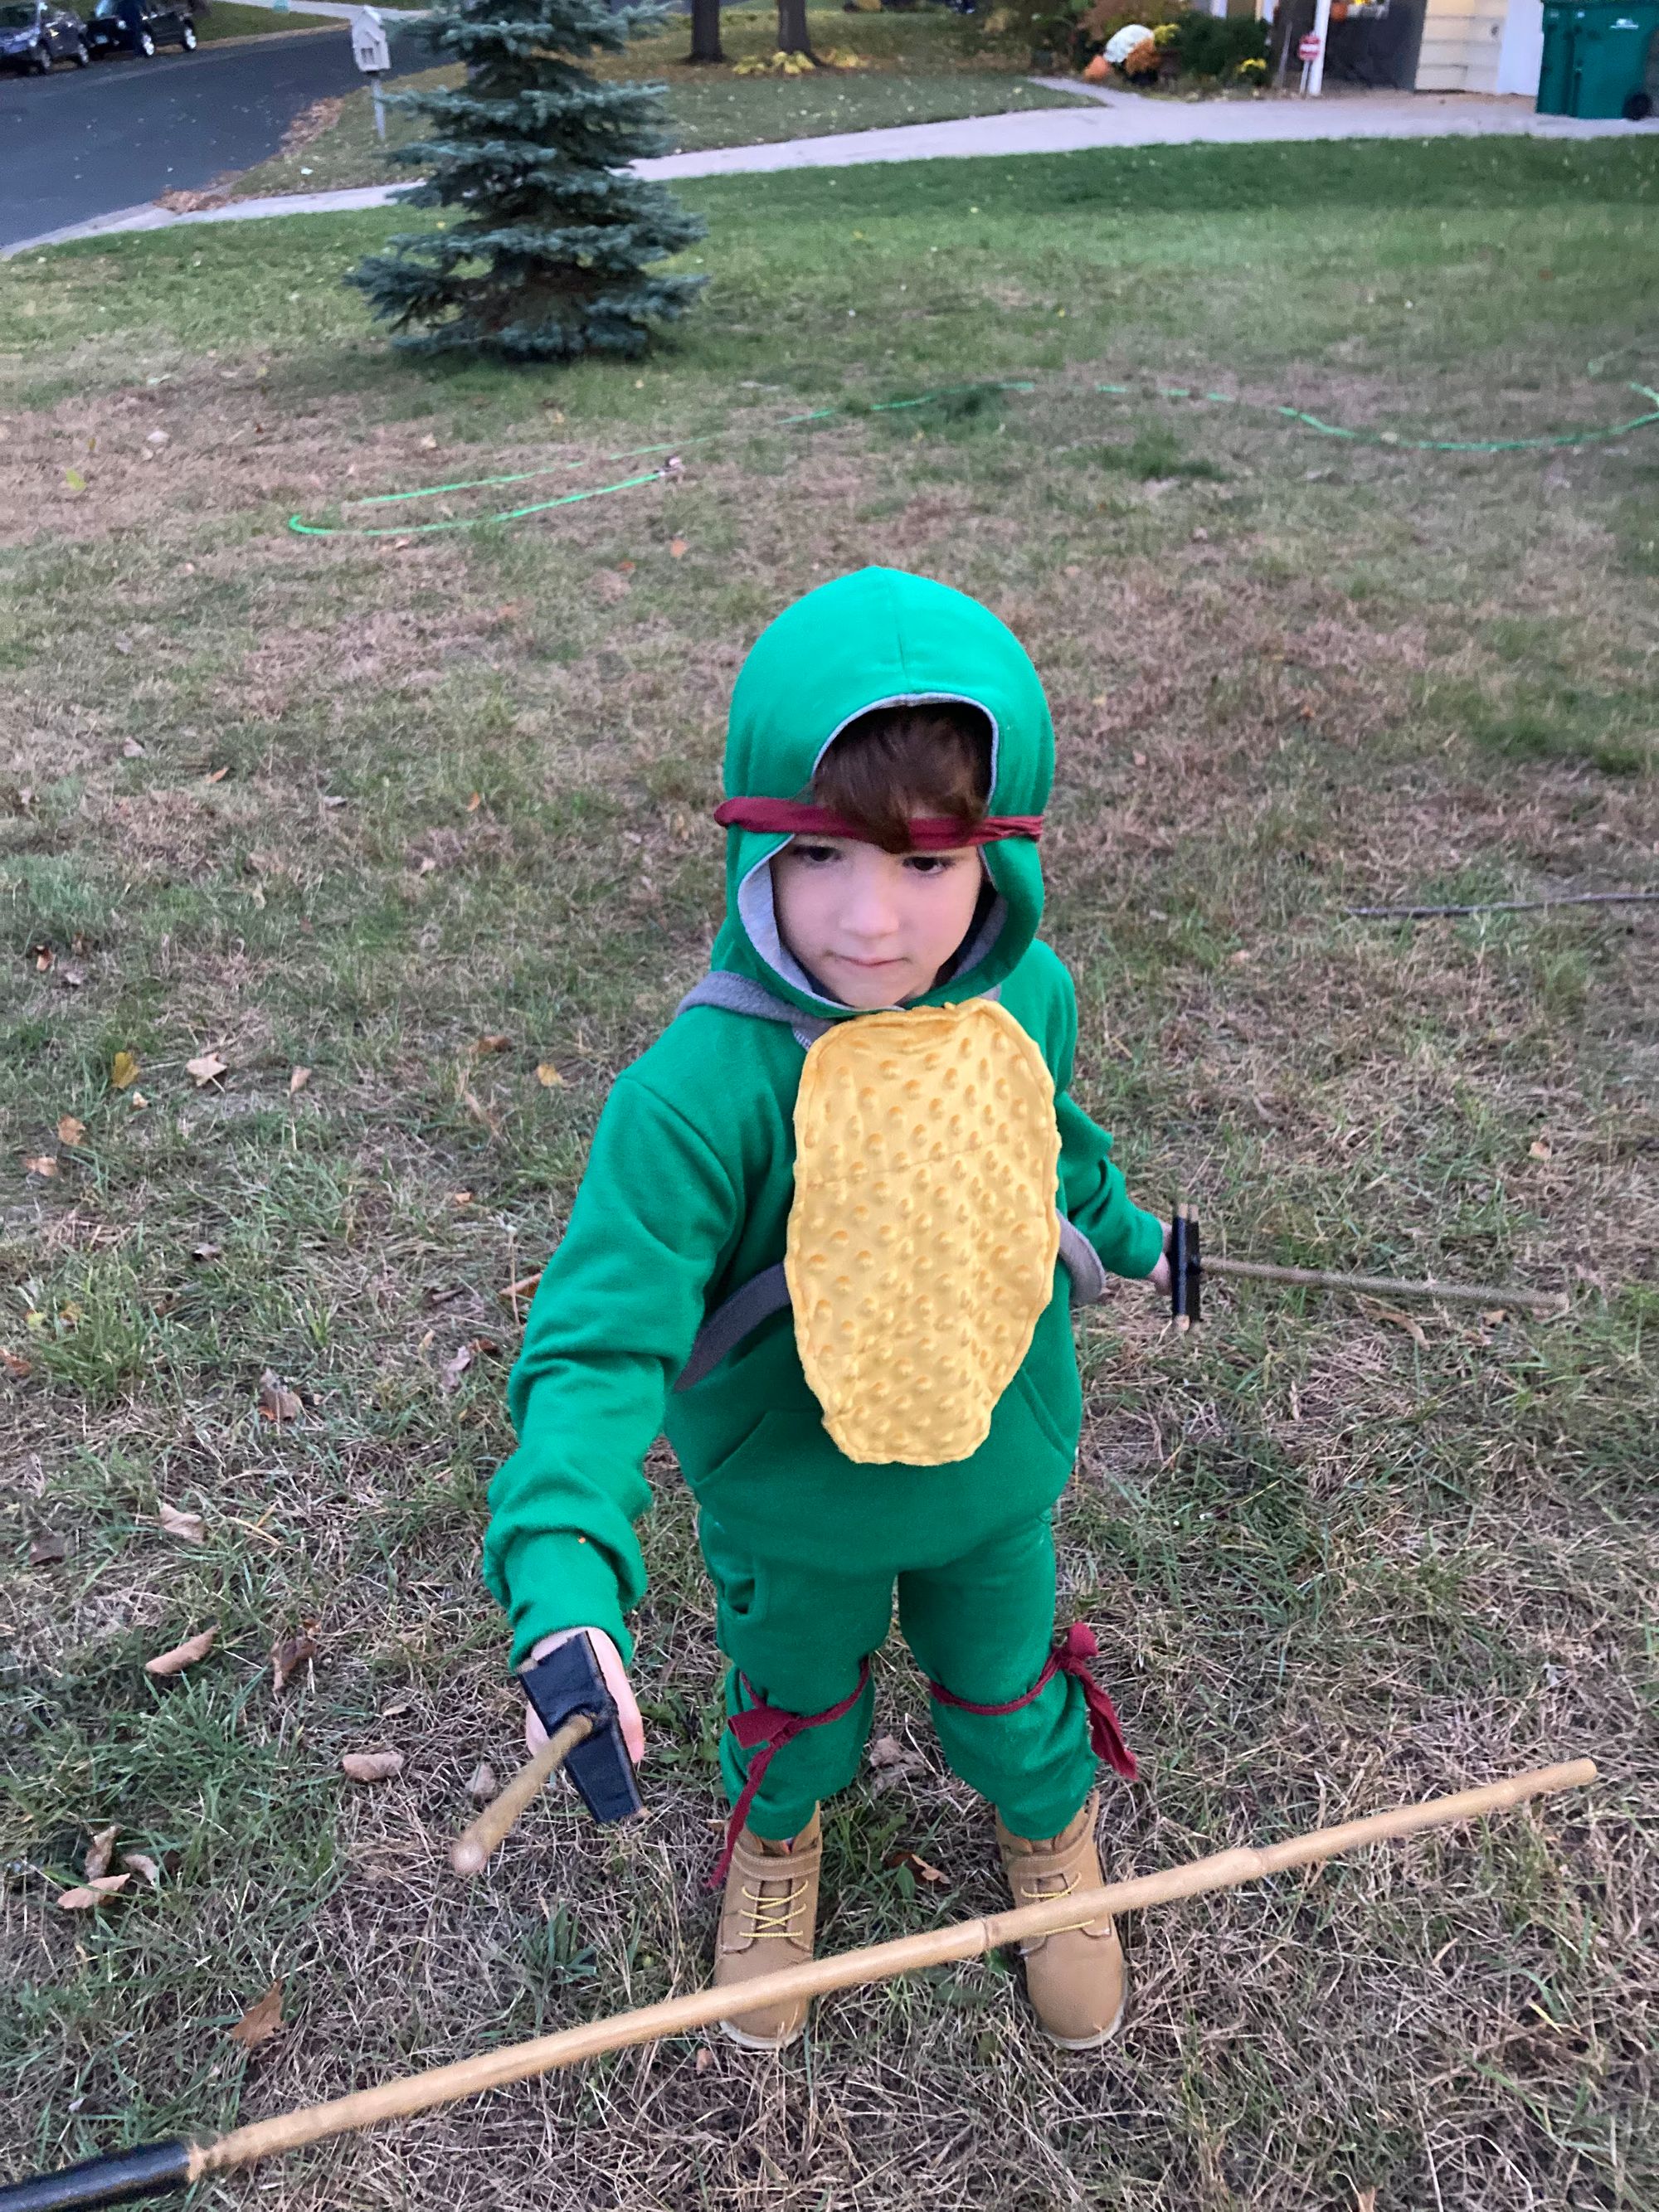
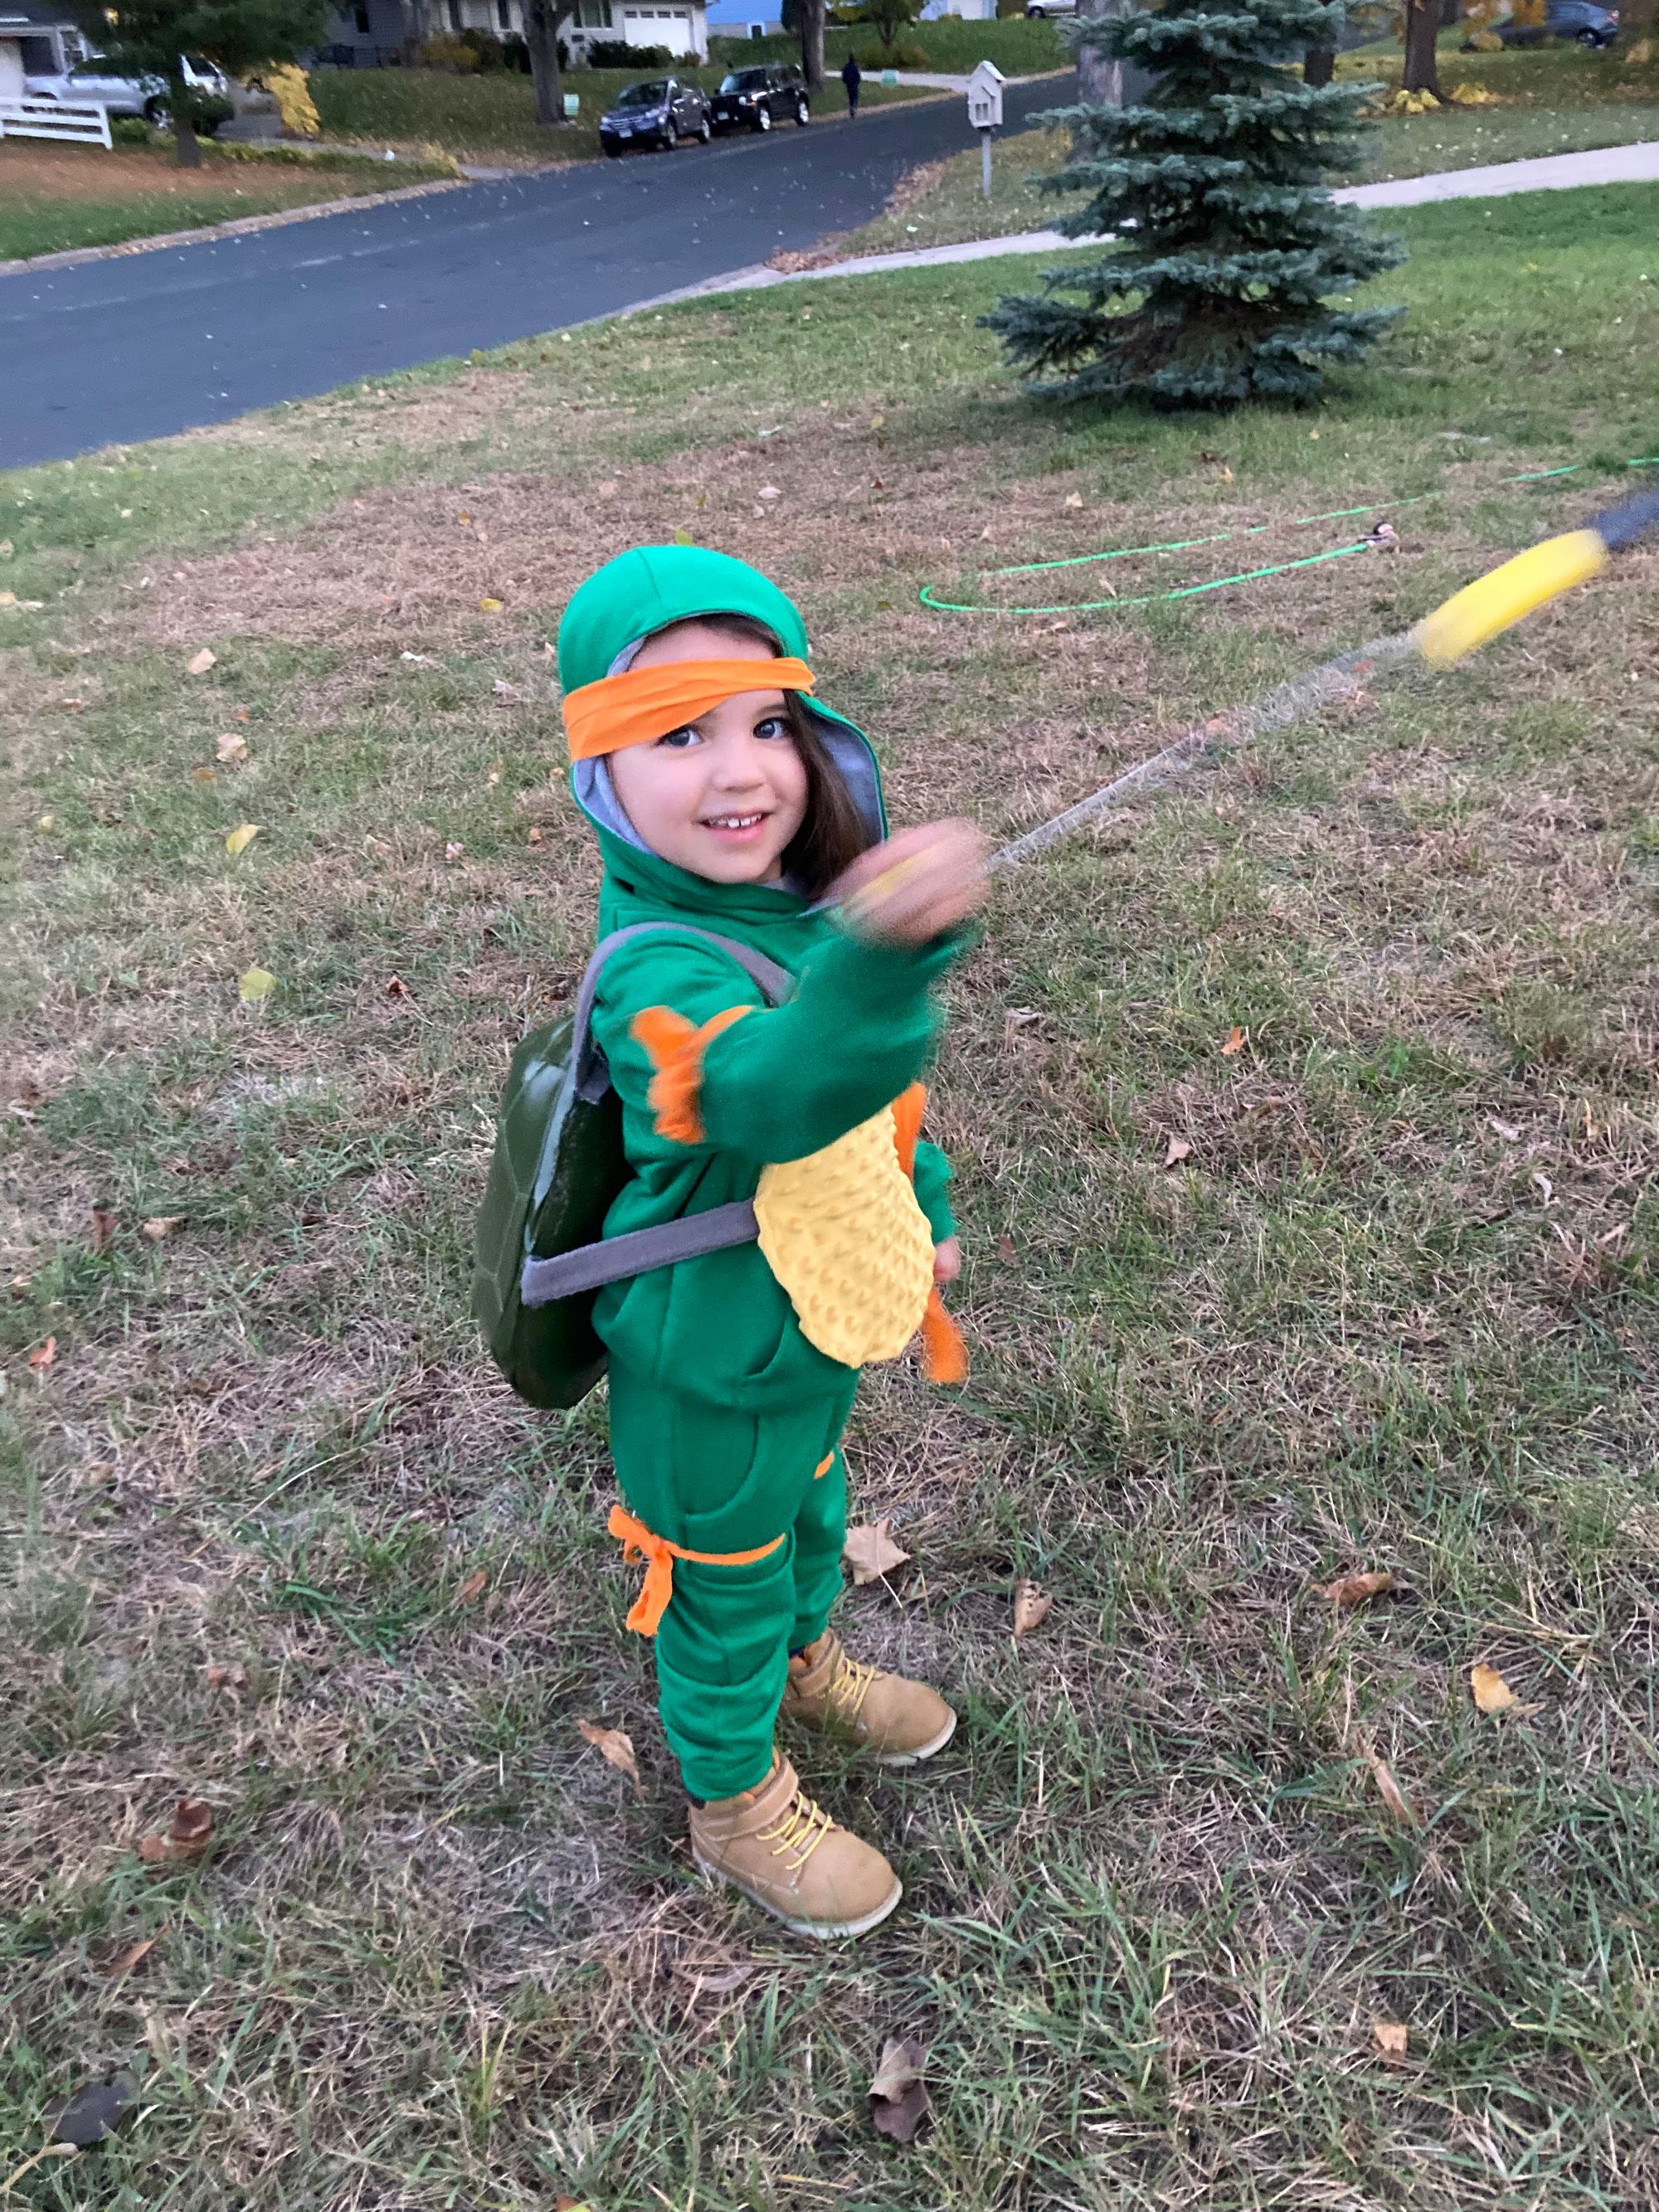
Easy, not much to say. I bought fat quarters of red, orange, blue, and purple at Joann's, then cut them diagonally to make strips of cloth for the headbands, armbands, and legbands. I'm sure purists and pedants will correct me on not having the headband pieces go over our eyes, but there is no way I or my children would wear a strip of fabric over our eyes all night. It's going to get dark at like 6:30, and I'm not doing that to myself. The headband is more versatile, and the Ninja Turtles aren't real.
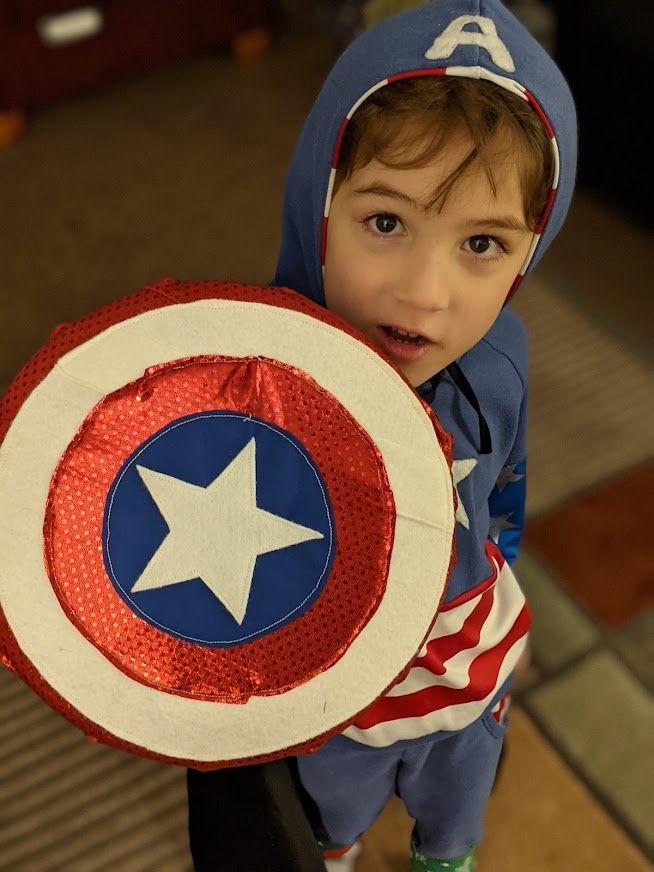
The Weapons
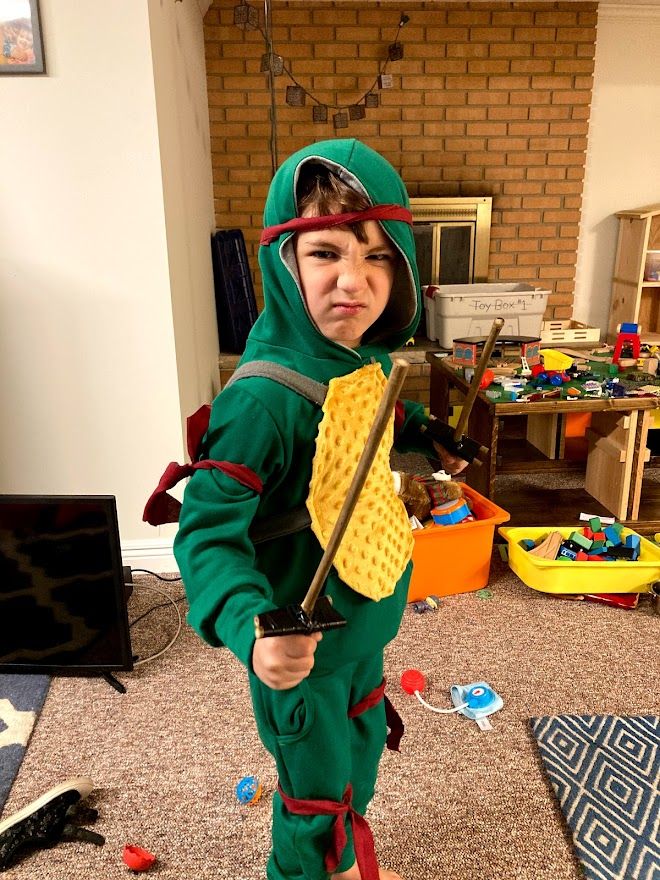
For the weapons, I knew each turtle had a special, specific weapon. I really wanted to go homemade on these, because I know giving a 4 year old boy anything even remotely sharp or that could possibly hurt someone, would be a bad idea. I commissioned the weapons from Kamran, and told him he could use some old bamboo sticks I had in the garage, which I use for holding up plants when gardening.
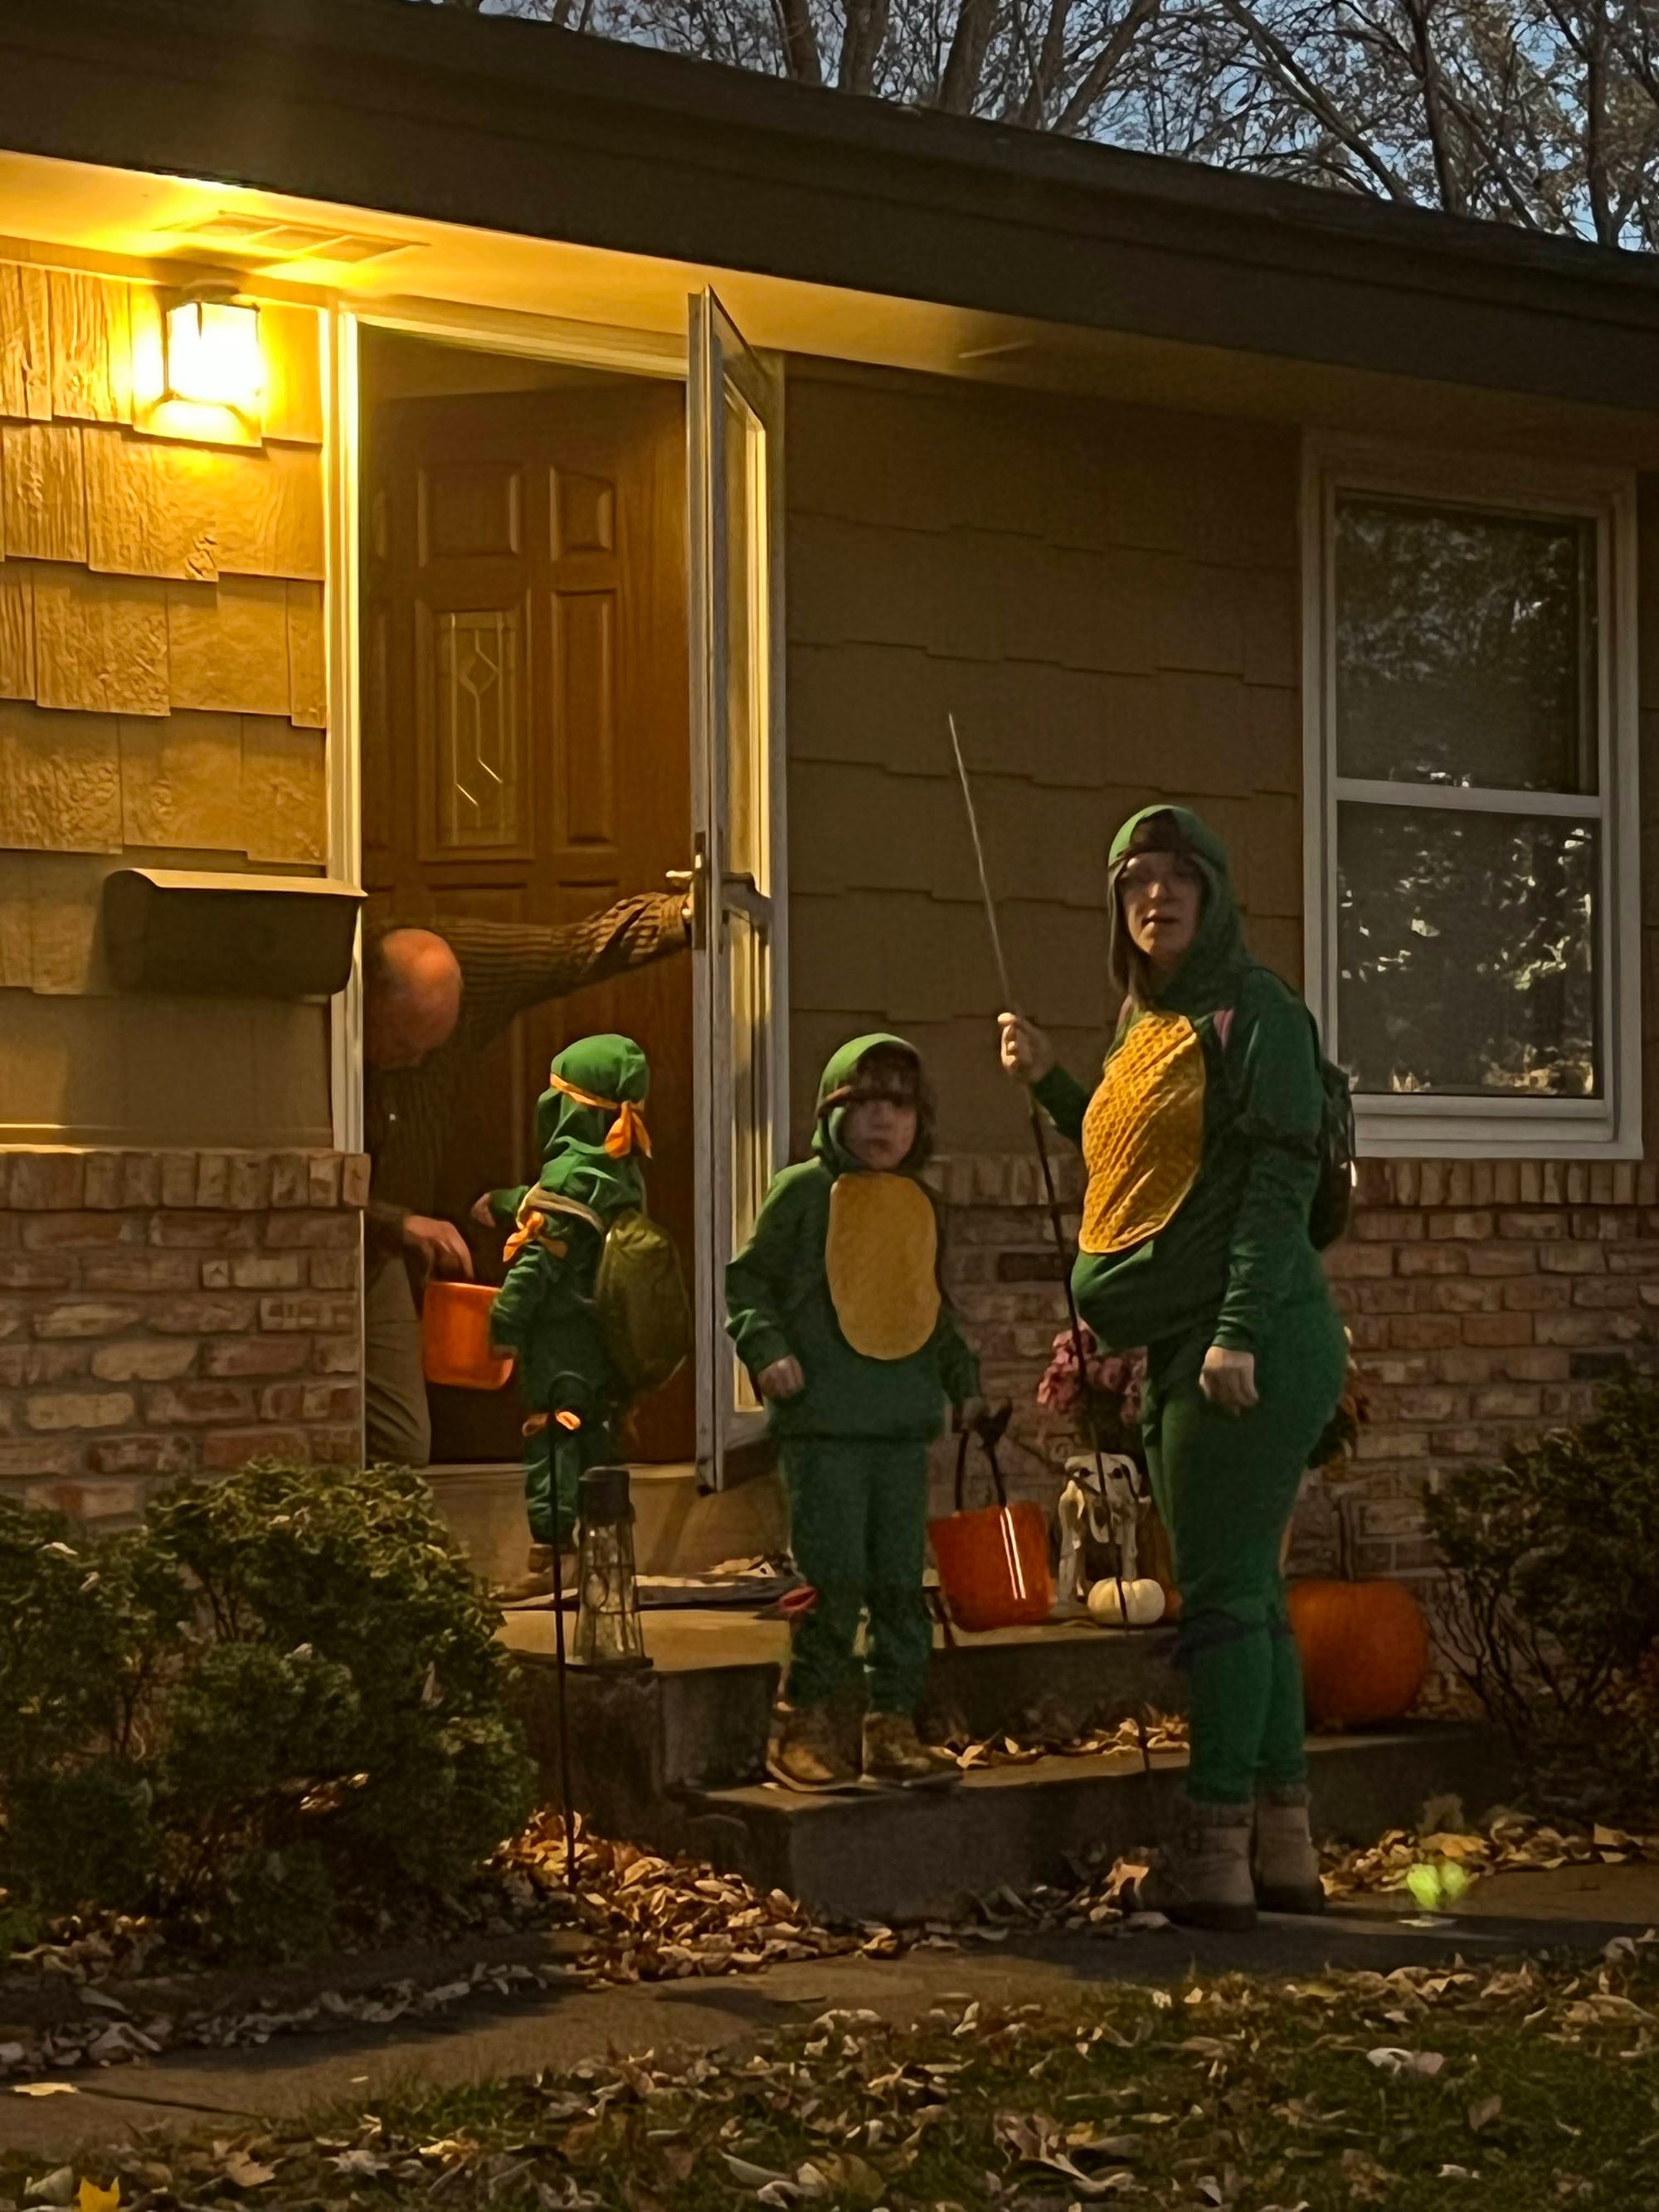
As you can see in the photo, Raphael has two daggers, Leonardo has a bow staff, Donatello has two katanas, and Michelangelo has nunchuks. The bamboo sticks ended up working great, with some electrical tape to hold the pieces together and add a little flair. The nunchuks were a little more difficult. Kamran had originally used twine as the connector, but found that it didn't quite work. Replacing it with plastic necklace string worked better!
Halloween Night