Disclosure: Some links on this page below are affiliate links, meaning, at no additional cost to you, we will earn a commission if you click through and purchase. Read our disclosure for more info.
I thought I would go over some previous ideas for Halloween costumes, as a loose guide for how to do family costumes! In 2017, our son Rami was 8 months old and our daughter Saira wasn't even in the works yet. I knew we wanted to have some cute Halloween costumes, and I thought fairy tales would be a good place to start. We decided on a Snow White theme because for some reason, the song "Heigh Ho" was very calming to Rami and was sometimes the only thing that would get him to sleep at night (oh those newborn days...)

See below for the knitting pattern to make a beard attached to a hat for a Dwarf.
Designing the Snow White Costume
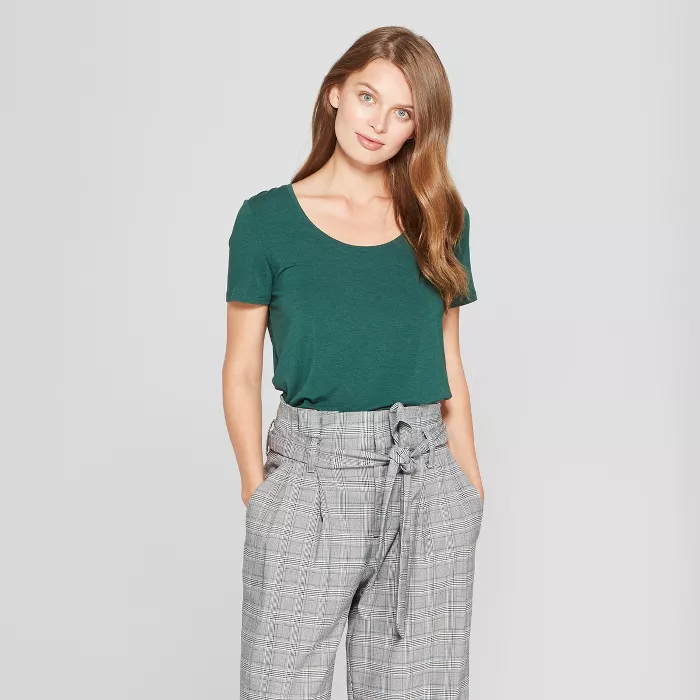
I started with my own costume, because I like to shop for myself, and I was super excited. First, I had a blue t-shirt from Target that worked as the shirt, similar to this one.
Then, I bought a white polo shirt and a yellow skirt from Amazon.

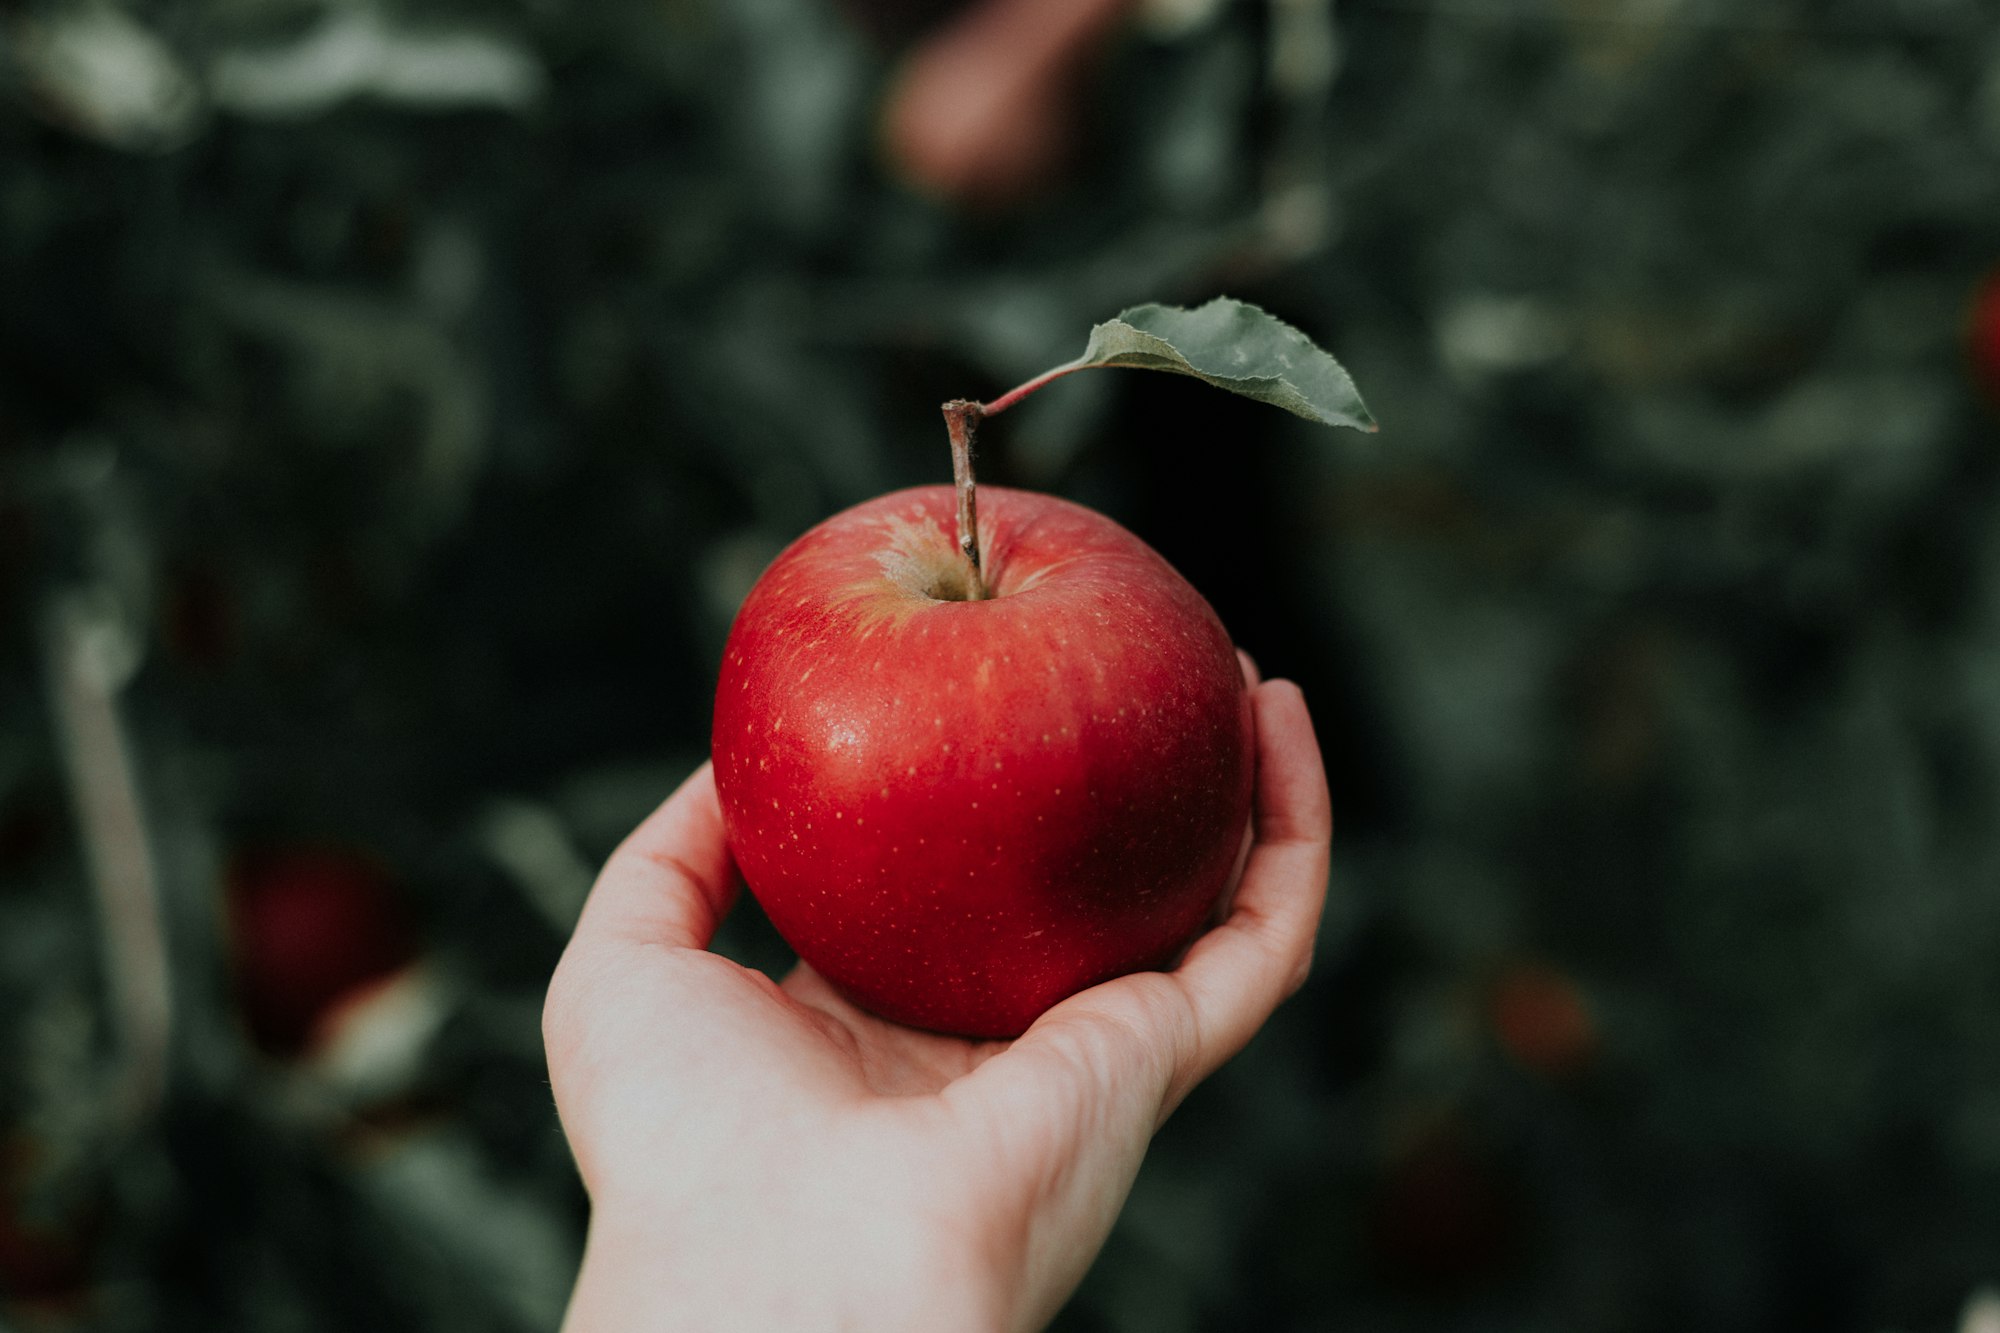
The only other thing I needed was a poison apple and a red headband.
The apple was very easy, and I used a pattern by Linda Dawkins, published in Natural Suburbia. I found the pattern on Ravelry, quickly knit it up and filled it with stuffing. I then made a three-stitch chain so that I could wear the apple on my wrist and not have to carry it around.

Then, I made a red headband from the Bow Head Bow Headband by Lauren Riker, on Ravelry. Very easy to knit up, and looks so cute! I've actually worn it since I made it, just with other outfits.

And there it is, an easy and cheap Snow White costume!

Designing the Dwarf Costume
My next step was the dwarf costumes for my husband and son. I tried searching around on Ravelry for beard patterns, but didn't see anything that seemed to fit my purpose. I saw some patterns for Viking-type beards, and mustache/beard combos, but I didn't see anything that would work for my dwarves.

I wanted a beard that would attach onto a hat with buttons; that way, the boys could wear their hats in the winter without the beards. I love projects that have multiple uses, so that appealed to me. It's such a drag to spend the time crafting something to only use for one Halloween party.
Making the Hat
I used stocking cap patterns for the base hat; any hat pattern will do. I sewed buttons onto the inner sides, so that the beards could be fastened on. You can see the button on Rami's right ear below.

Knitting Pattern for Making the Beards
To make the beard, I cast on 30 stitches for Kamran and 22 for Rami. I knit with size 8 straight needles and used Bernat Pipsqueaks yarn in white.

I knit as follows, for Rami's beard:
Cast 22 stitches on to straight needles. This pattern is done in garter stitch.
Knit 2 rows.
K2tog, knit 18, ssk. (20 stitches).
Knit 3 rows.
K2tog, knit 16, ssk. (18 stitches).
Knit 3 rows.
K2tog, knit 14, ssk. (16 stitches).
Knit 3 rows.
Not sure what SSK or K2tog mean? See Knitting Basics at the Spruce Crafts.
Continue this pattern until you have 4 stitches left on your needle. Bind off.
Voila! Do the same with the 30 stitch beard for an adult man, or really you can use whatever number of stitches you want. I attached buttons to the two ends of the beards, and now they button on to the stocking caps.
Looking forward to next year
I really enjoyed making these Halloween costumes. I'm very much the type of person who likes to use patterns to make my projects, so making up my own pattern was challenging in a good way. I definitely have a sense of pride in making my own things, which is what has inspired me to take up sewing.
I'm pretty committed to making my own Halloween costumes every year at this point, so I'm sure I'll have posts in the future about next year's costumes.
Check out what we did for 2019!


