Disclosure: Some links on this page below are affiliate links, meaning, at no additional cost to you, we will earn a commission if you click through and purchase. Read our disclosure for more info.
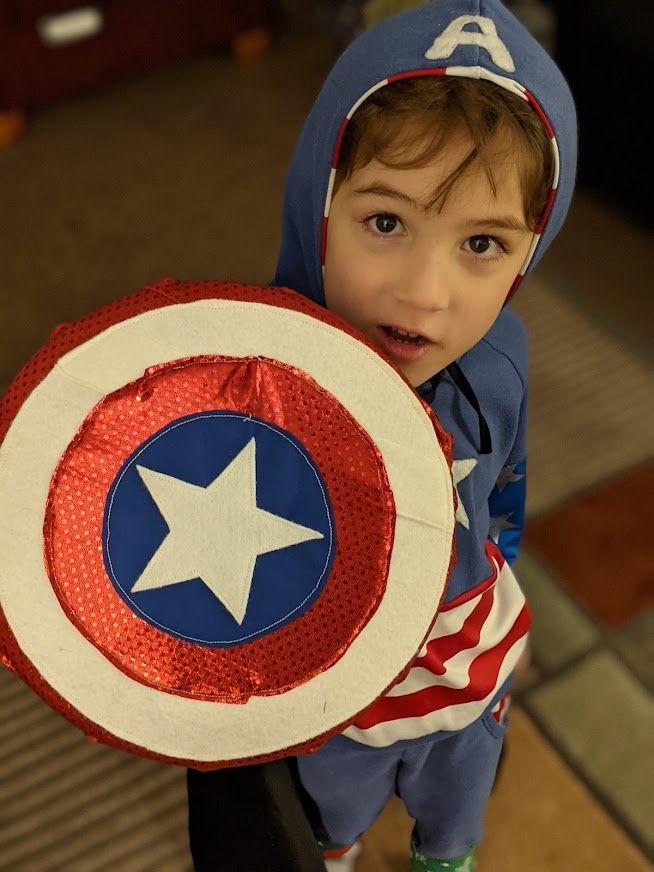
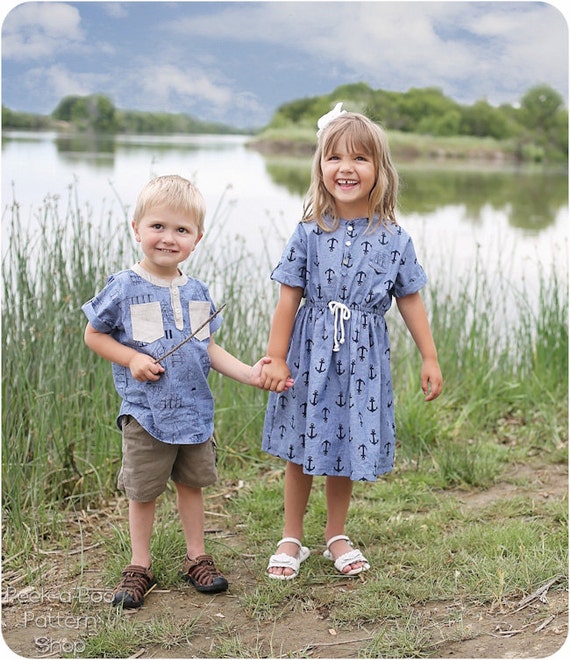
You may remember my previous Retro Cape Cod shirt for Rami:
 Cassie
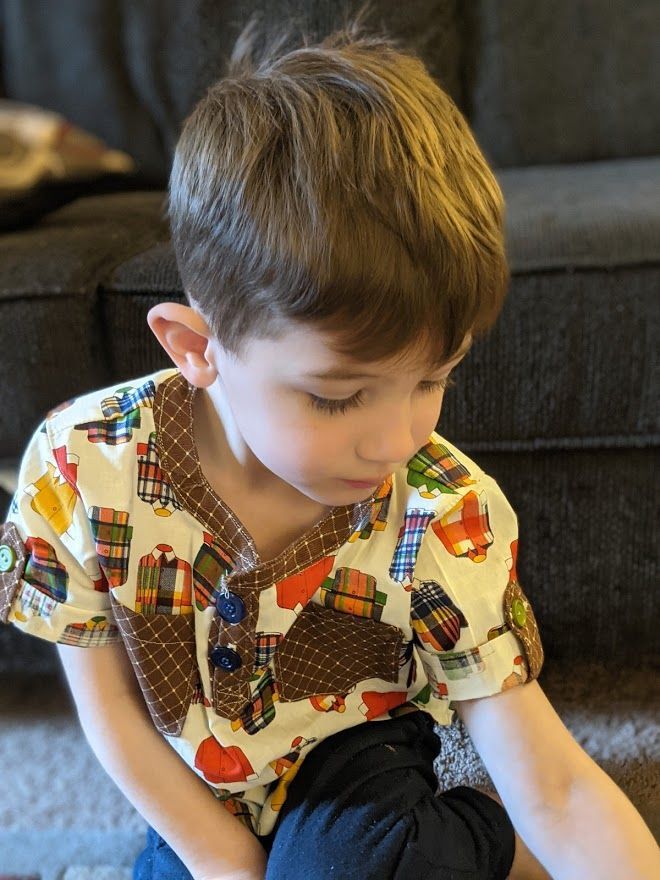
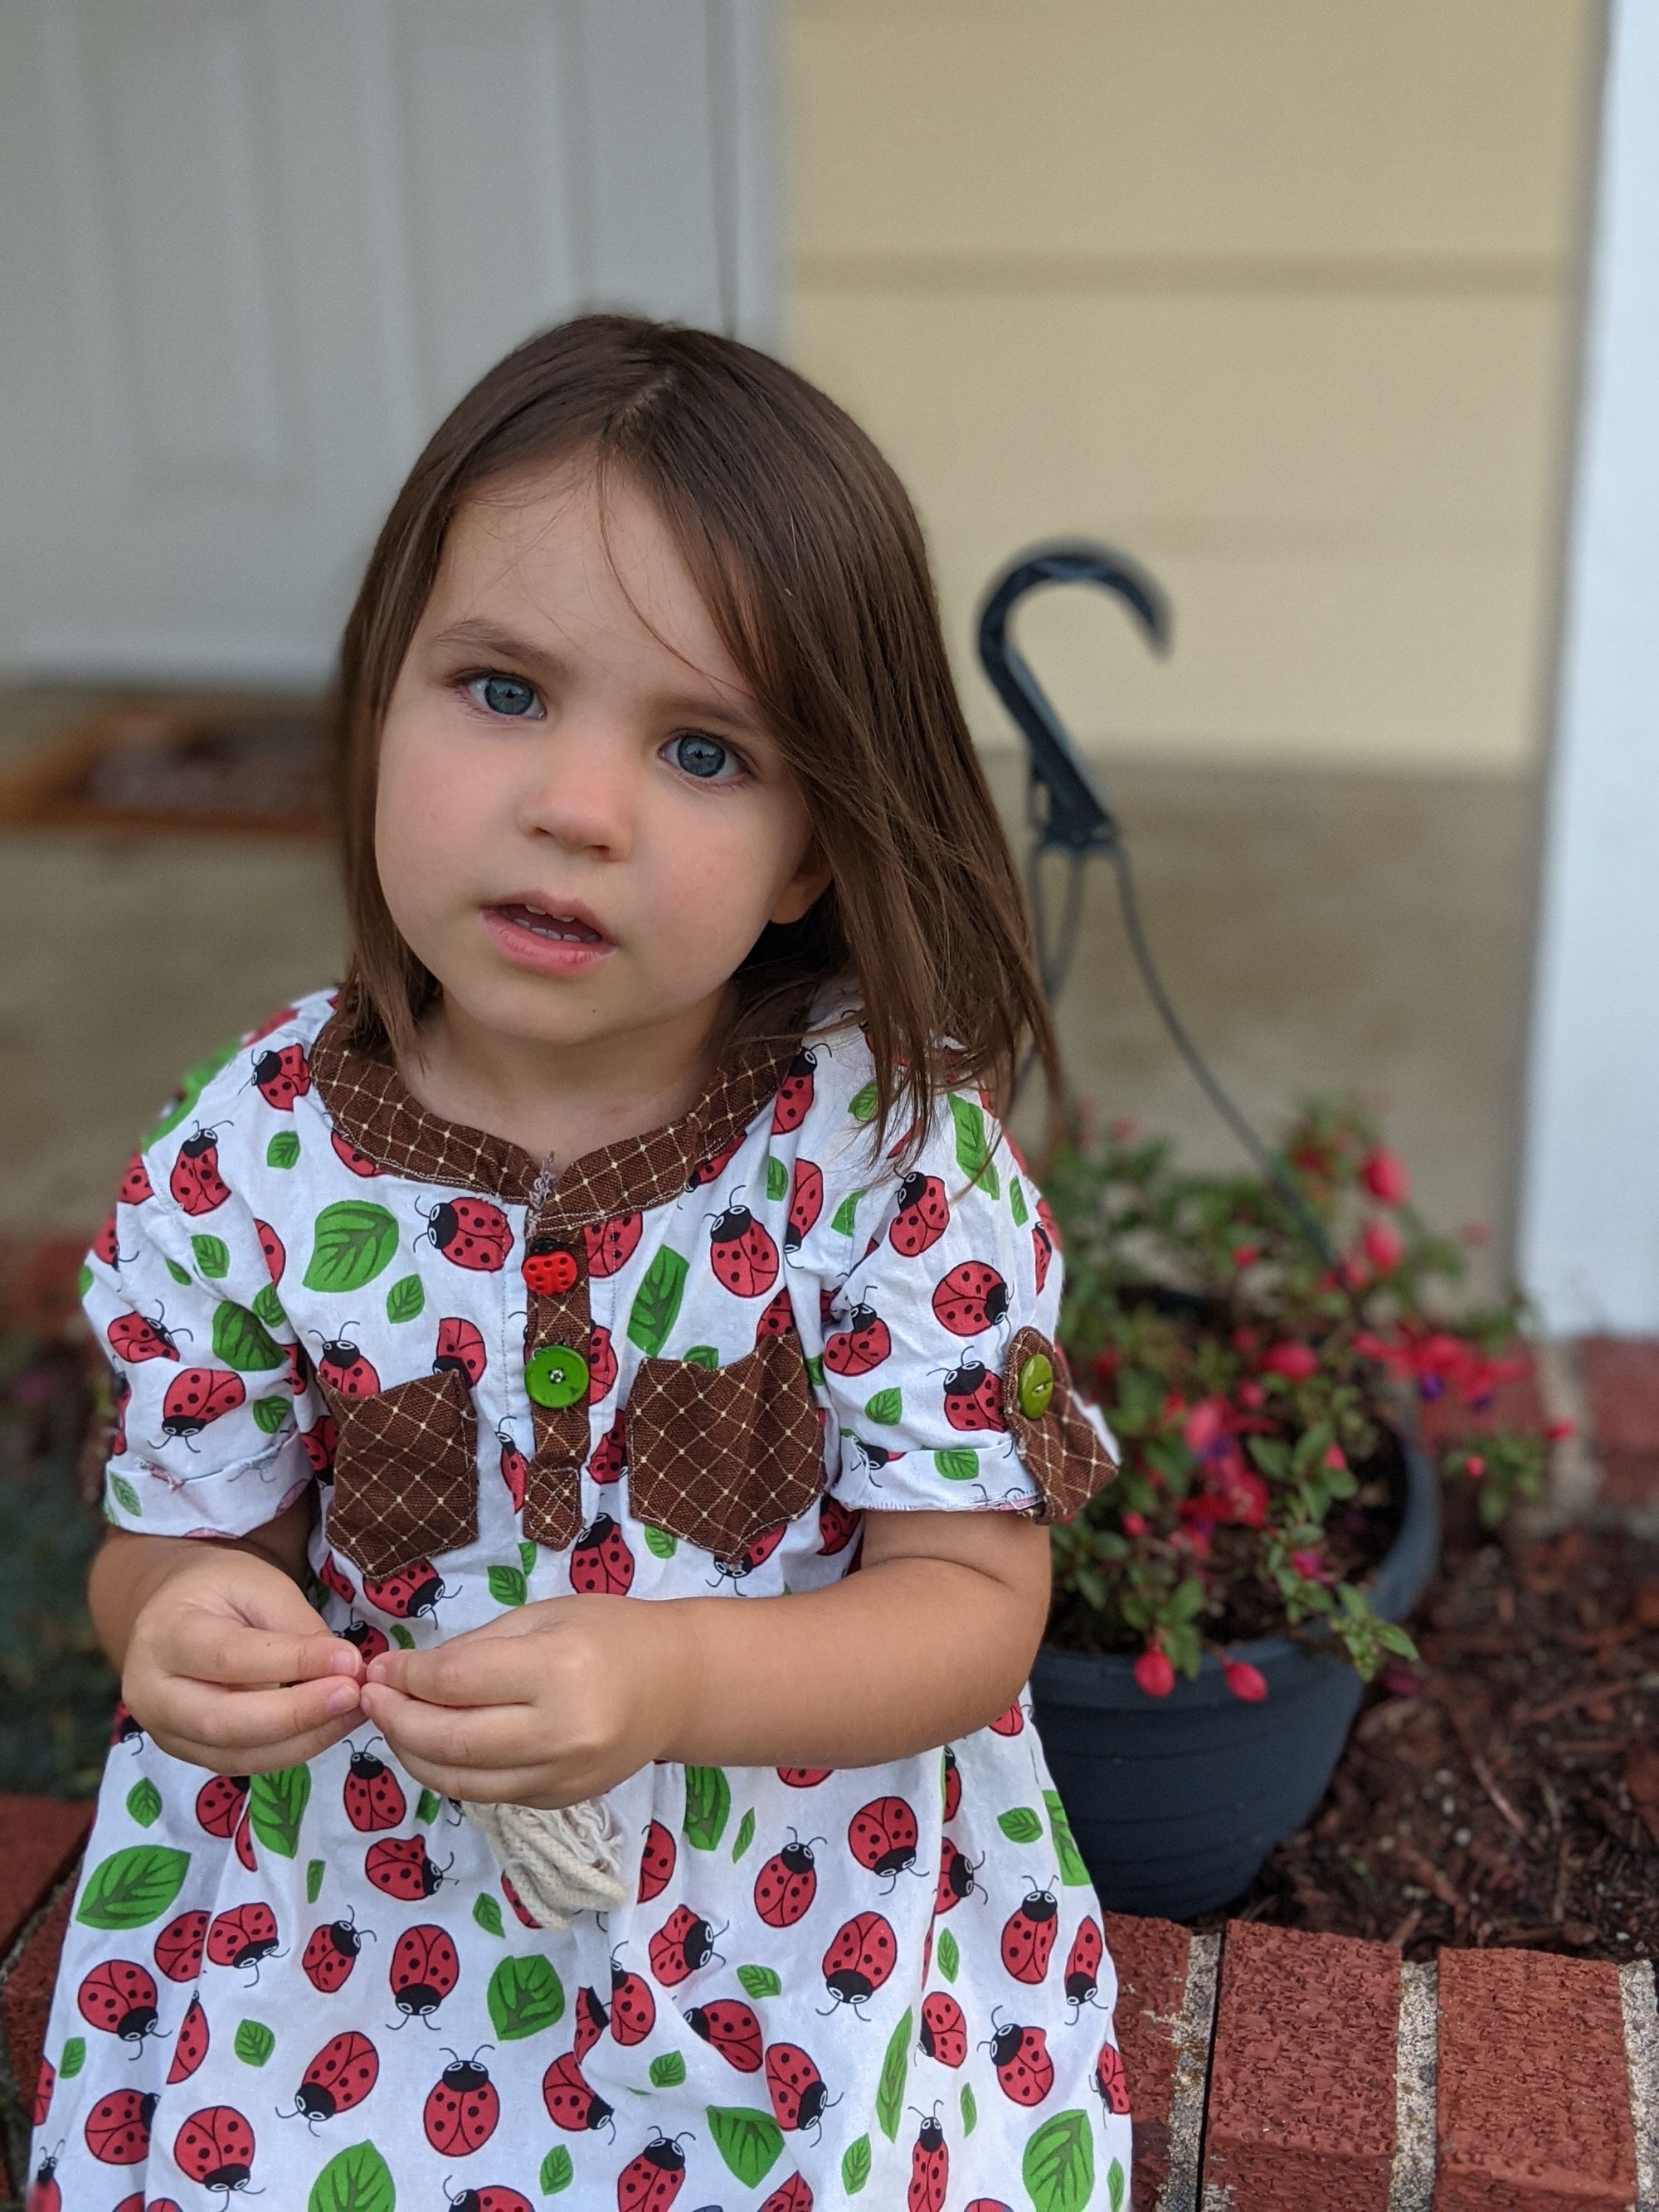
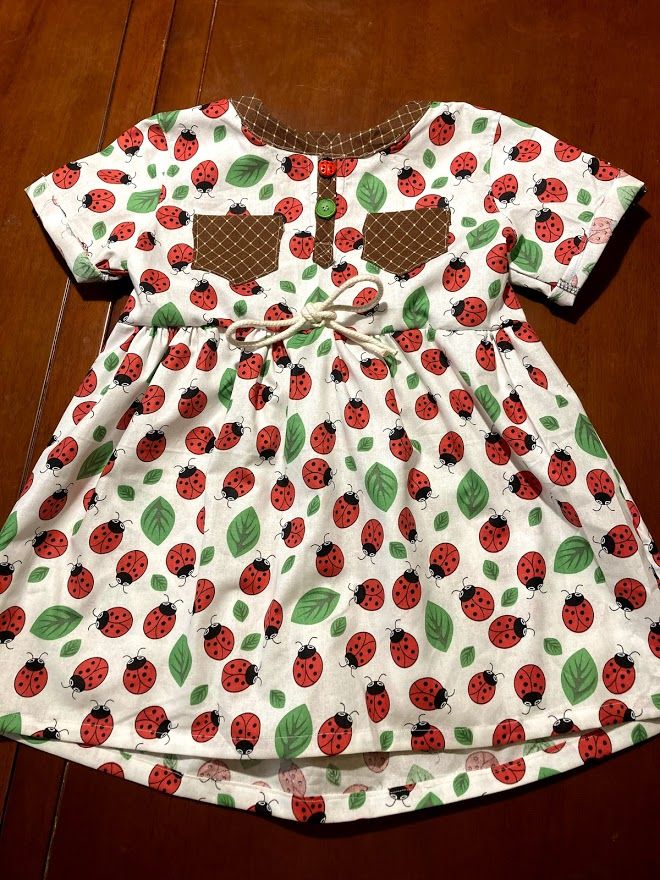
Now I'm back to the same pattern for a ladybug dress for Saira!

She picked out her own ladybug fabric from Joann Fabrics, and I used the same brown fabric with white dots for the accents that I did for Rami's shirt shirt.
 Susan
Susan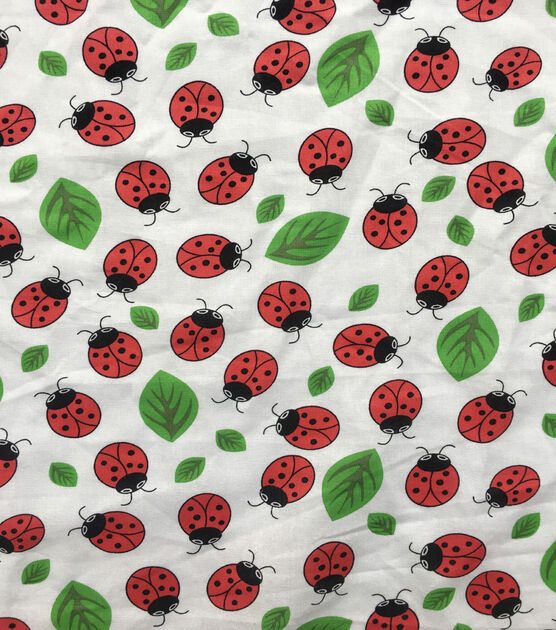
I sized down to 3t, because Saira is only 2 and a half. So, I had to cut out and construct the pattern again. I have actually kind of been getting away with just making them both 5t items, because I know she will grow in to hers, and he can always wear things I make for her until she gets big enough. Not the case with a dress though.
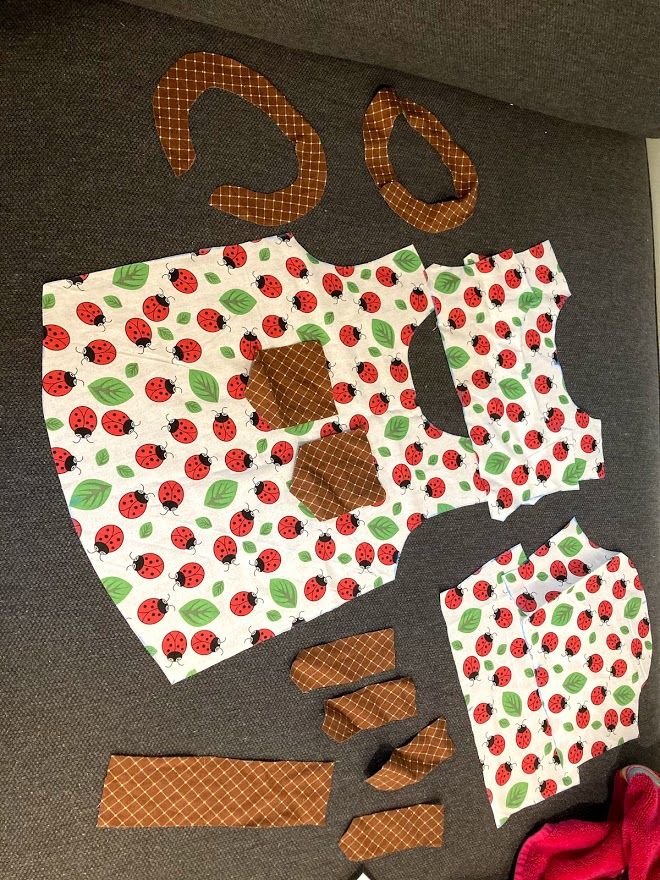
After I cut out all my pieces, the basic construction was mostly the same. You'll notice in the picture I accidentally cut out the pieces meant for the shirt rather than the shorter dress pieces. This was an easy fix, and made me remember to take off my headphones while more carefully reading the directions!
I made sure to take a picture of the construction of the neckline step this time, because I have confused myself about this multiple times and have ended up ripping it out several times. So here, for my own benefit as well as yours, is how the neckline should be initially attached:
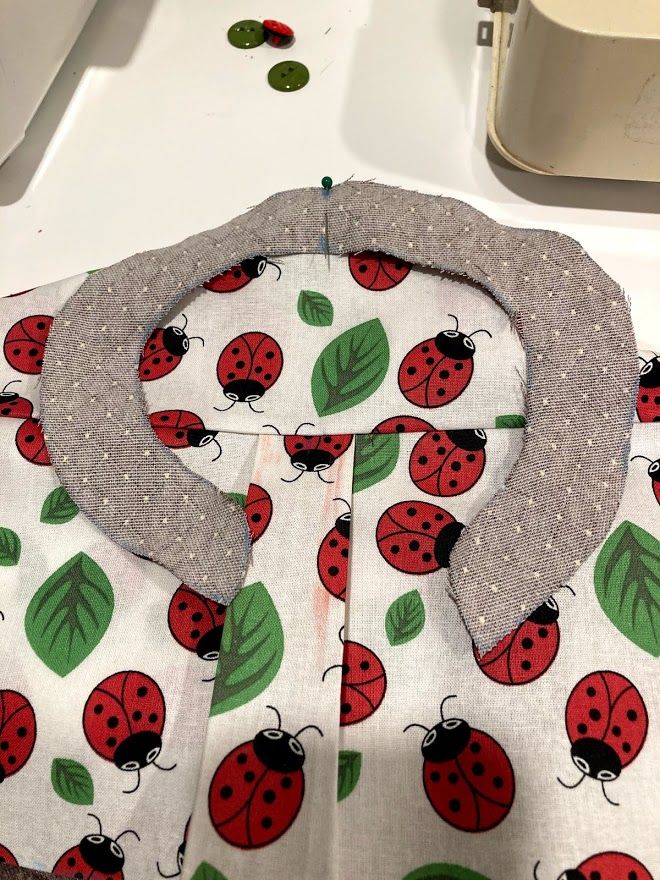
It always throws me off because it sort of looks backwards to me. From here, attach all the same side together (right sides together, naturally), and sew it on. When you attach the second neckline piece, it will make much more sense.
Everything else sewed up nicely, including the skirt itself. I don't have any photos of the rest of the construction because my phone ran out of space for photos, and I had to have Kamran take care of it. I guess I could have stopped my project to wait to take photos, but that's just not how it works with two young kids. You get your personal time or your work time done when they're sleeping, or not at all!
The only "complaint" I have about the dress version of this pattern (and it's really not a complaint, just more something I would have done differently) is that the cording attached to the front is only decorative, rather than functional. I guess I could have taken the time to figure out how to make it functional, but again, I'm going to time not necessarily quality. Also, I knew at some point one of the kids would pull the cord out and I would have to repair it, so on second thought, maybe it's better as a purely decorative thing!
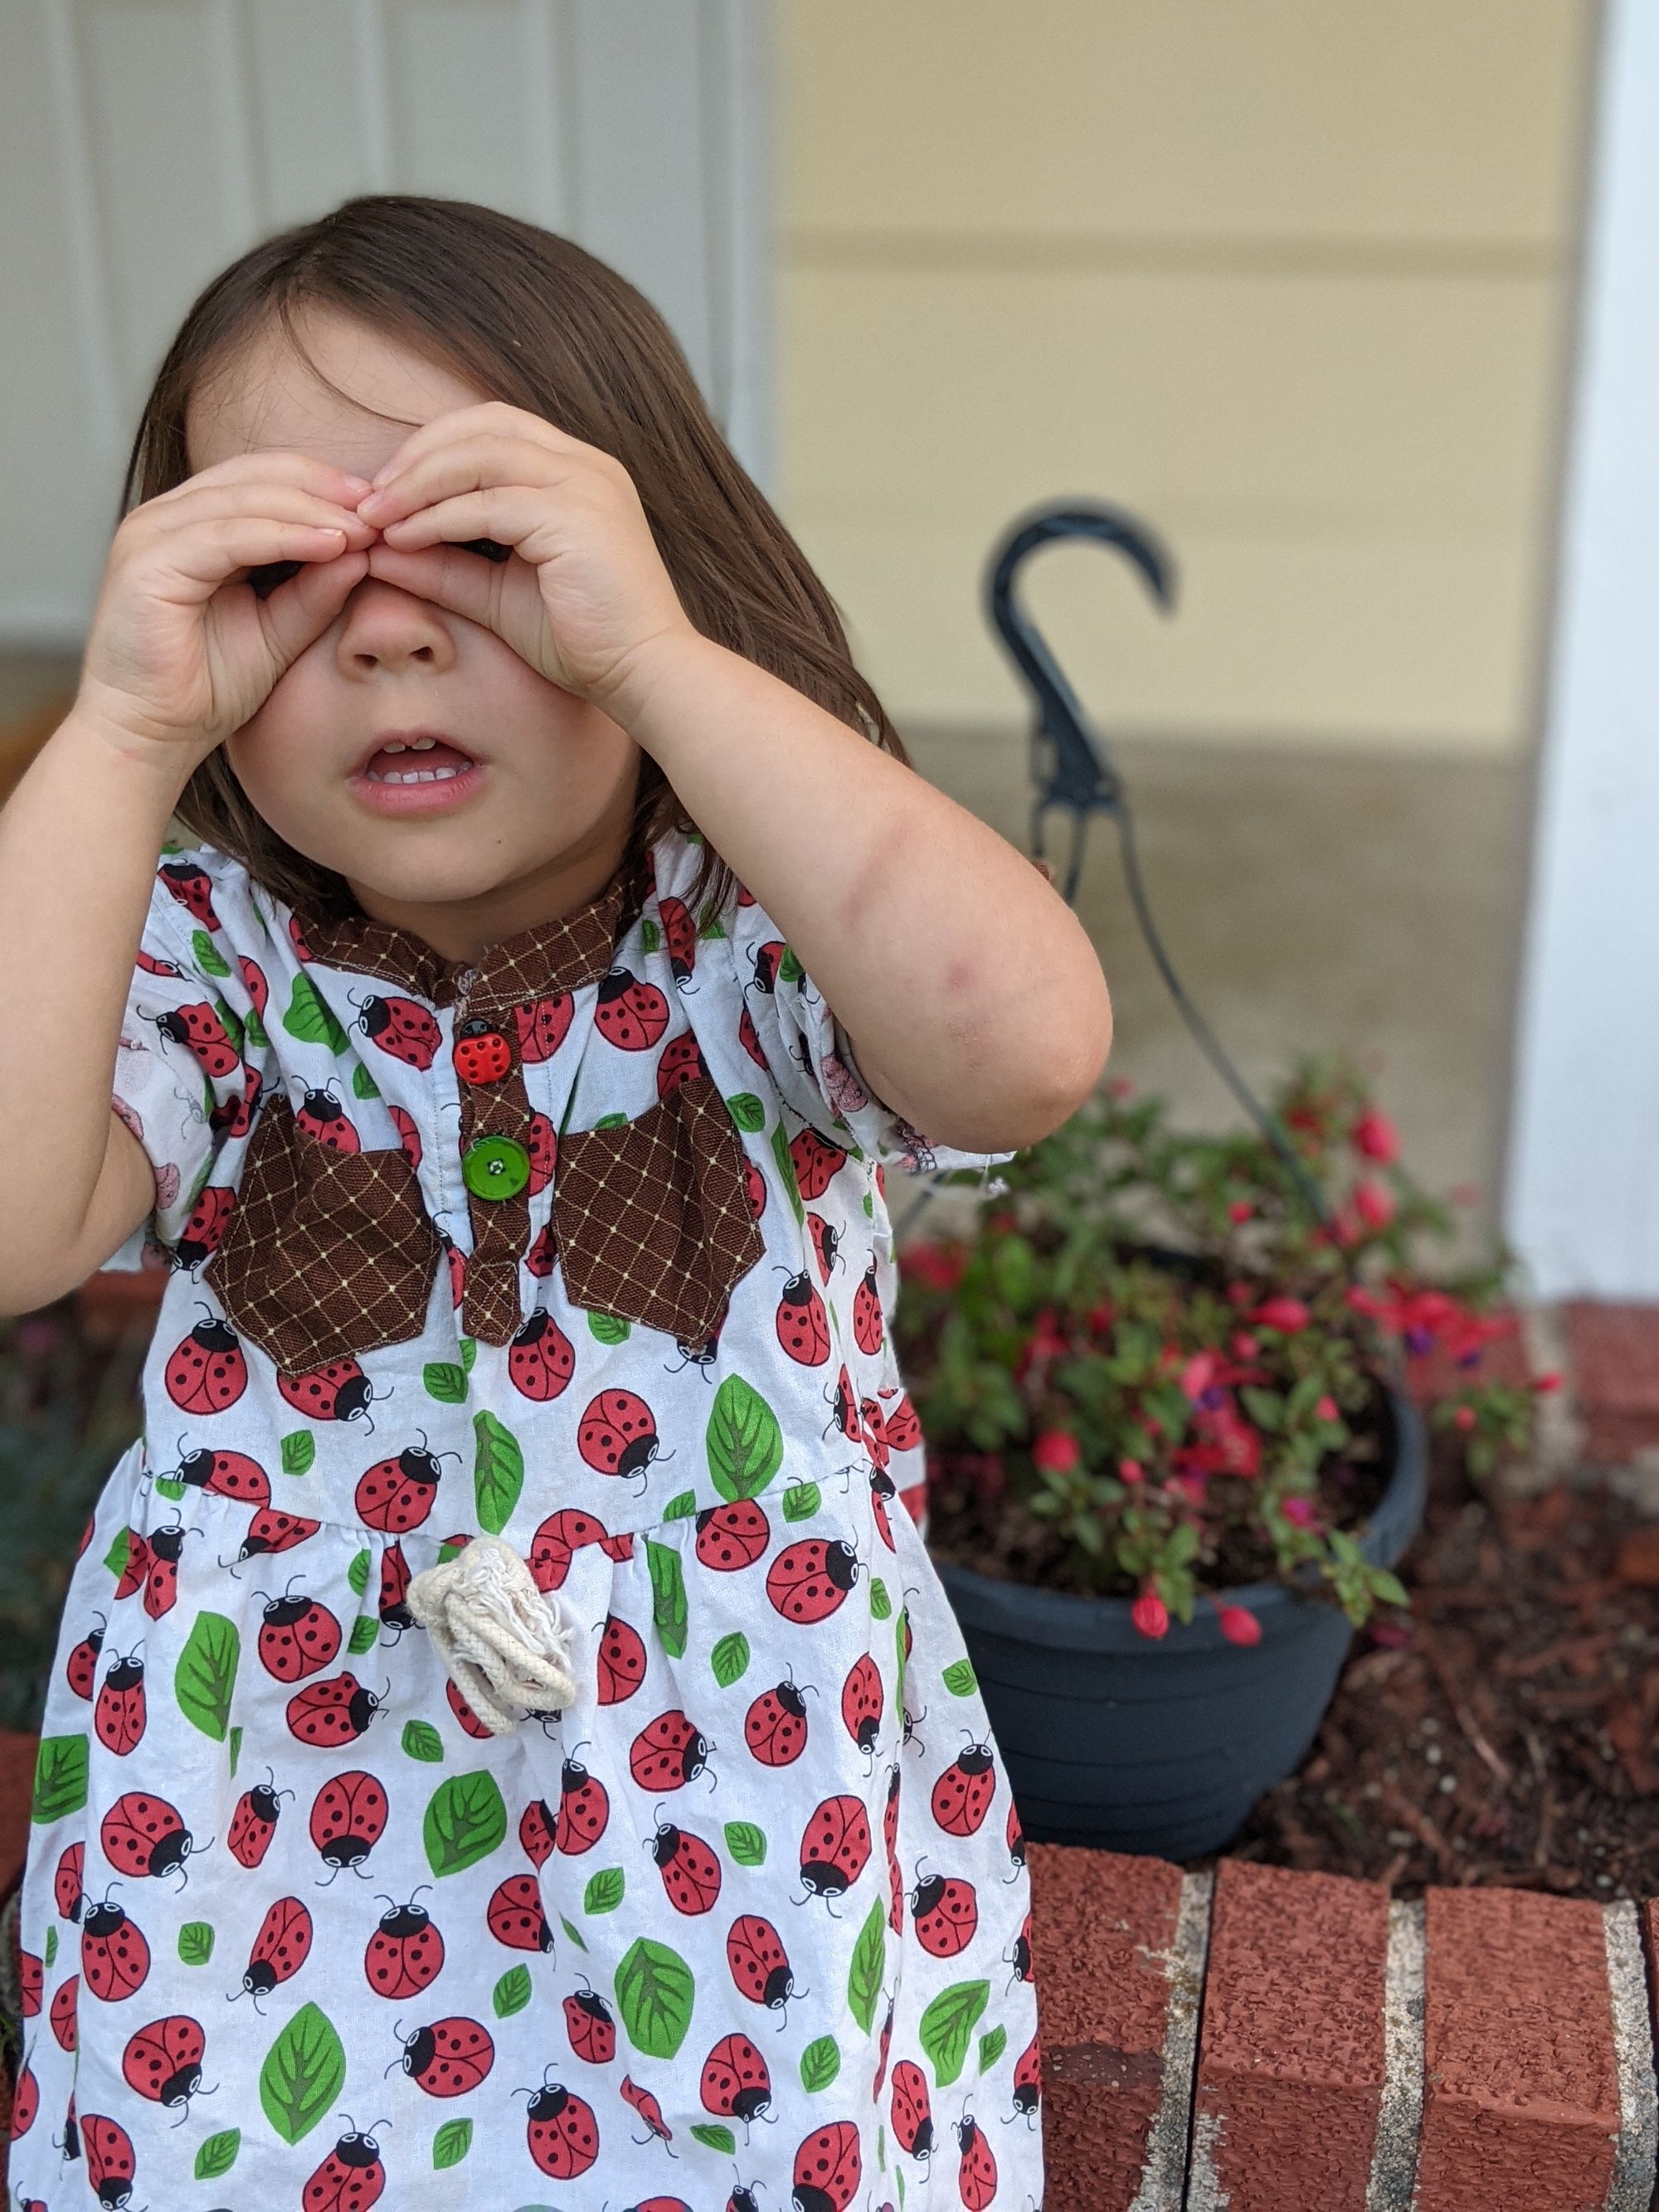
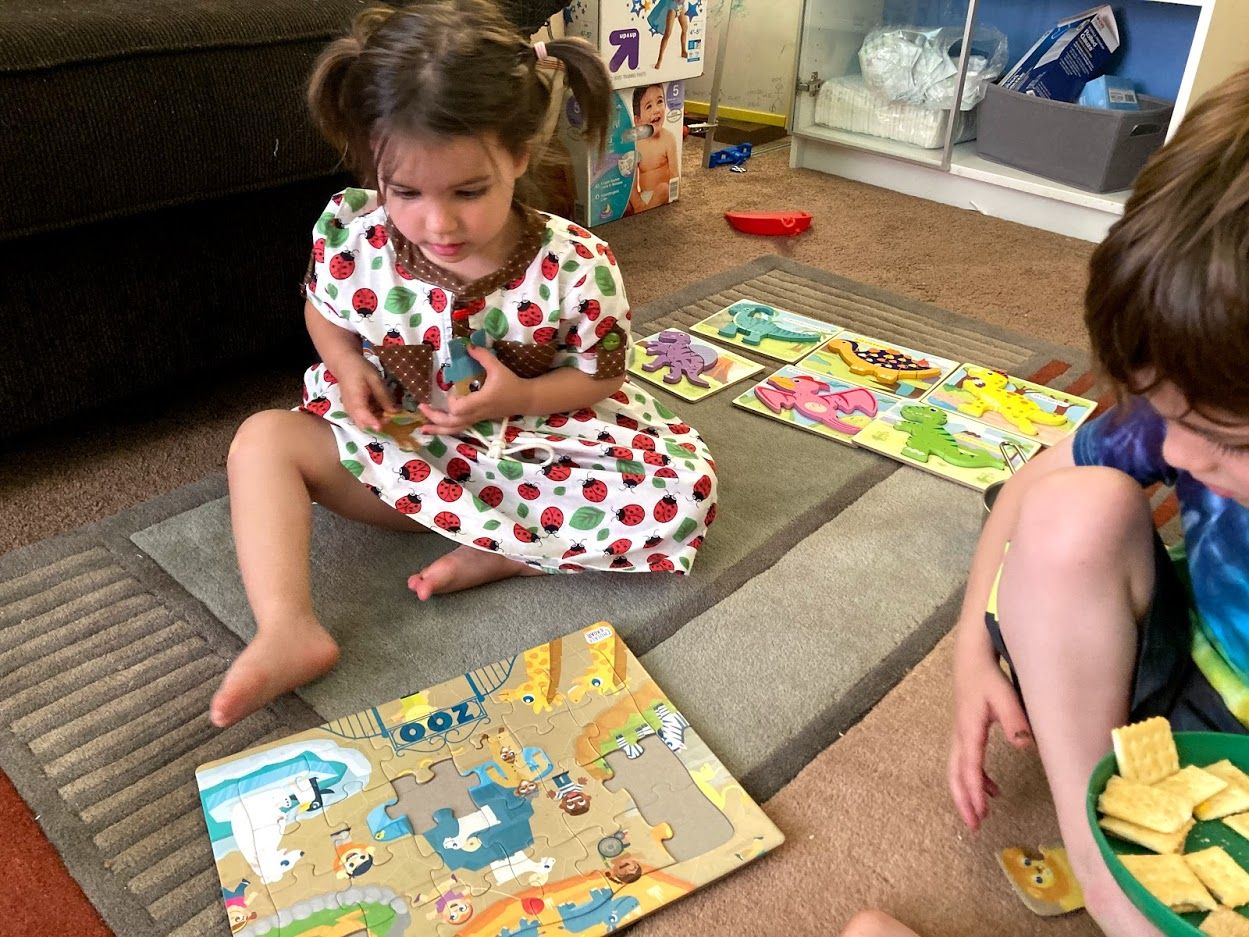
When I gave the dress to Sai the next morning, she was so excited she was momentarily speechless! When I helped her put the dress on, she said, "I'm a princess!" I don't know what more could be said, that's exactly what you want to hear as a seamstress and as a mom!

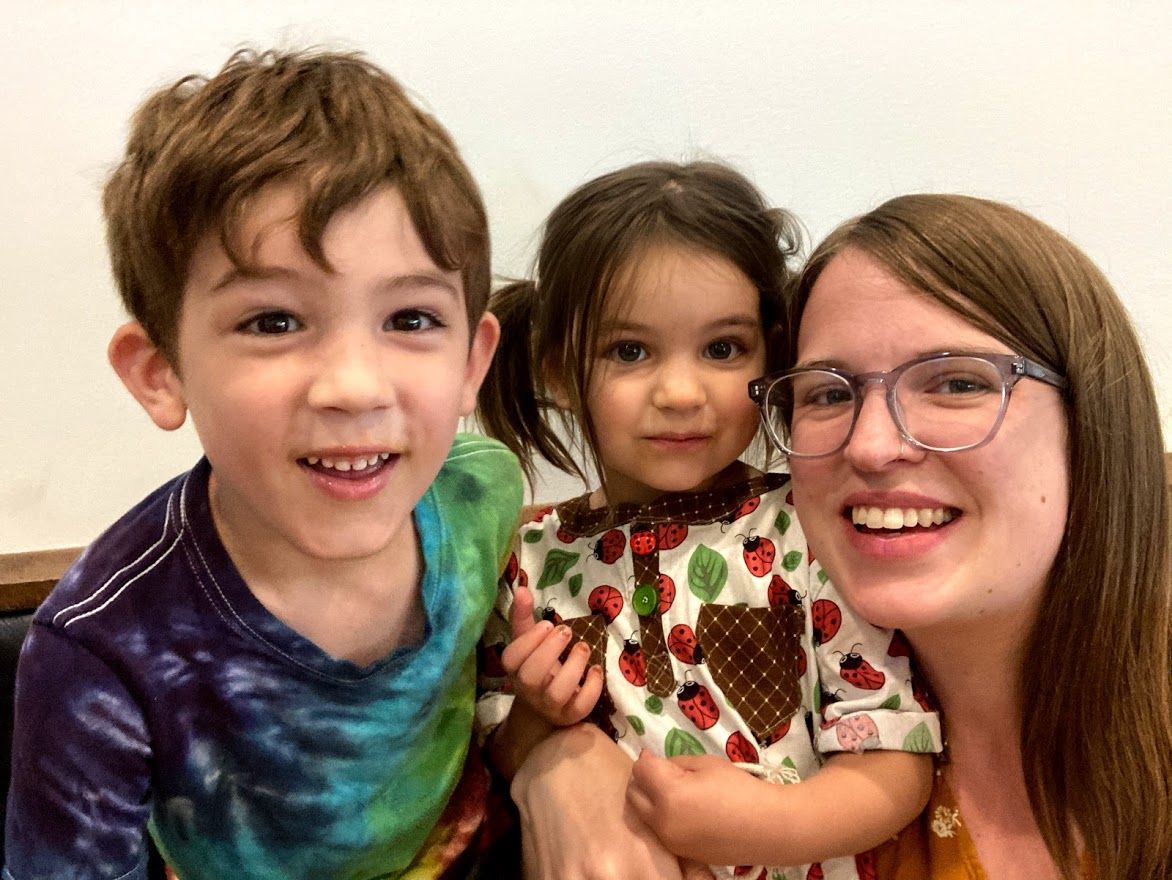
We went out for lunch later, and she wore her ladybug dress to the restaurant. The waitress commented on how cute it was multiple times! Saira, in her shy and adorable way, looked proud of herself for being a big girl in such a beautiful princess dress.