Disclosure: Some links on this page below are affiliate links, meaning, at no additional cost to you, we will earn a commission if you click through and purchase. Read our disclosure for more info.
So, we're stuck at home. It's been pretty uneventful but never boring. Kamran and I both do a great job keeping busy with personal interests and hobbies, so this has really just been a time to take advantage of no more commute, no worrying about getting things ready for the next day, and no waking up early to get the kids to daycare.
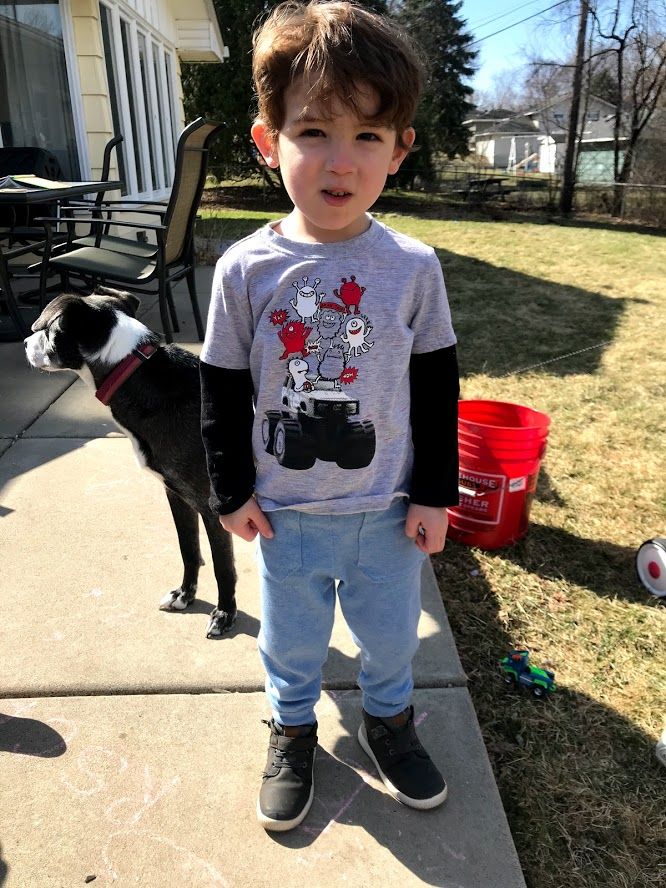
One disadvantage has been that I can't get supplies for my hobbies. So, I'm making it work with what I have. And what I have is a ton of old shirts that Kamran didn't want anymore! I had an idea to make a pair of joggers for Rami, because he needs more pants and really just to challenge myself with a new project. I really like joggers, and after this project, I have a hankering for making some for myself. I will need more fabric than an old T-shirt though!
How to Get the Pattern
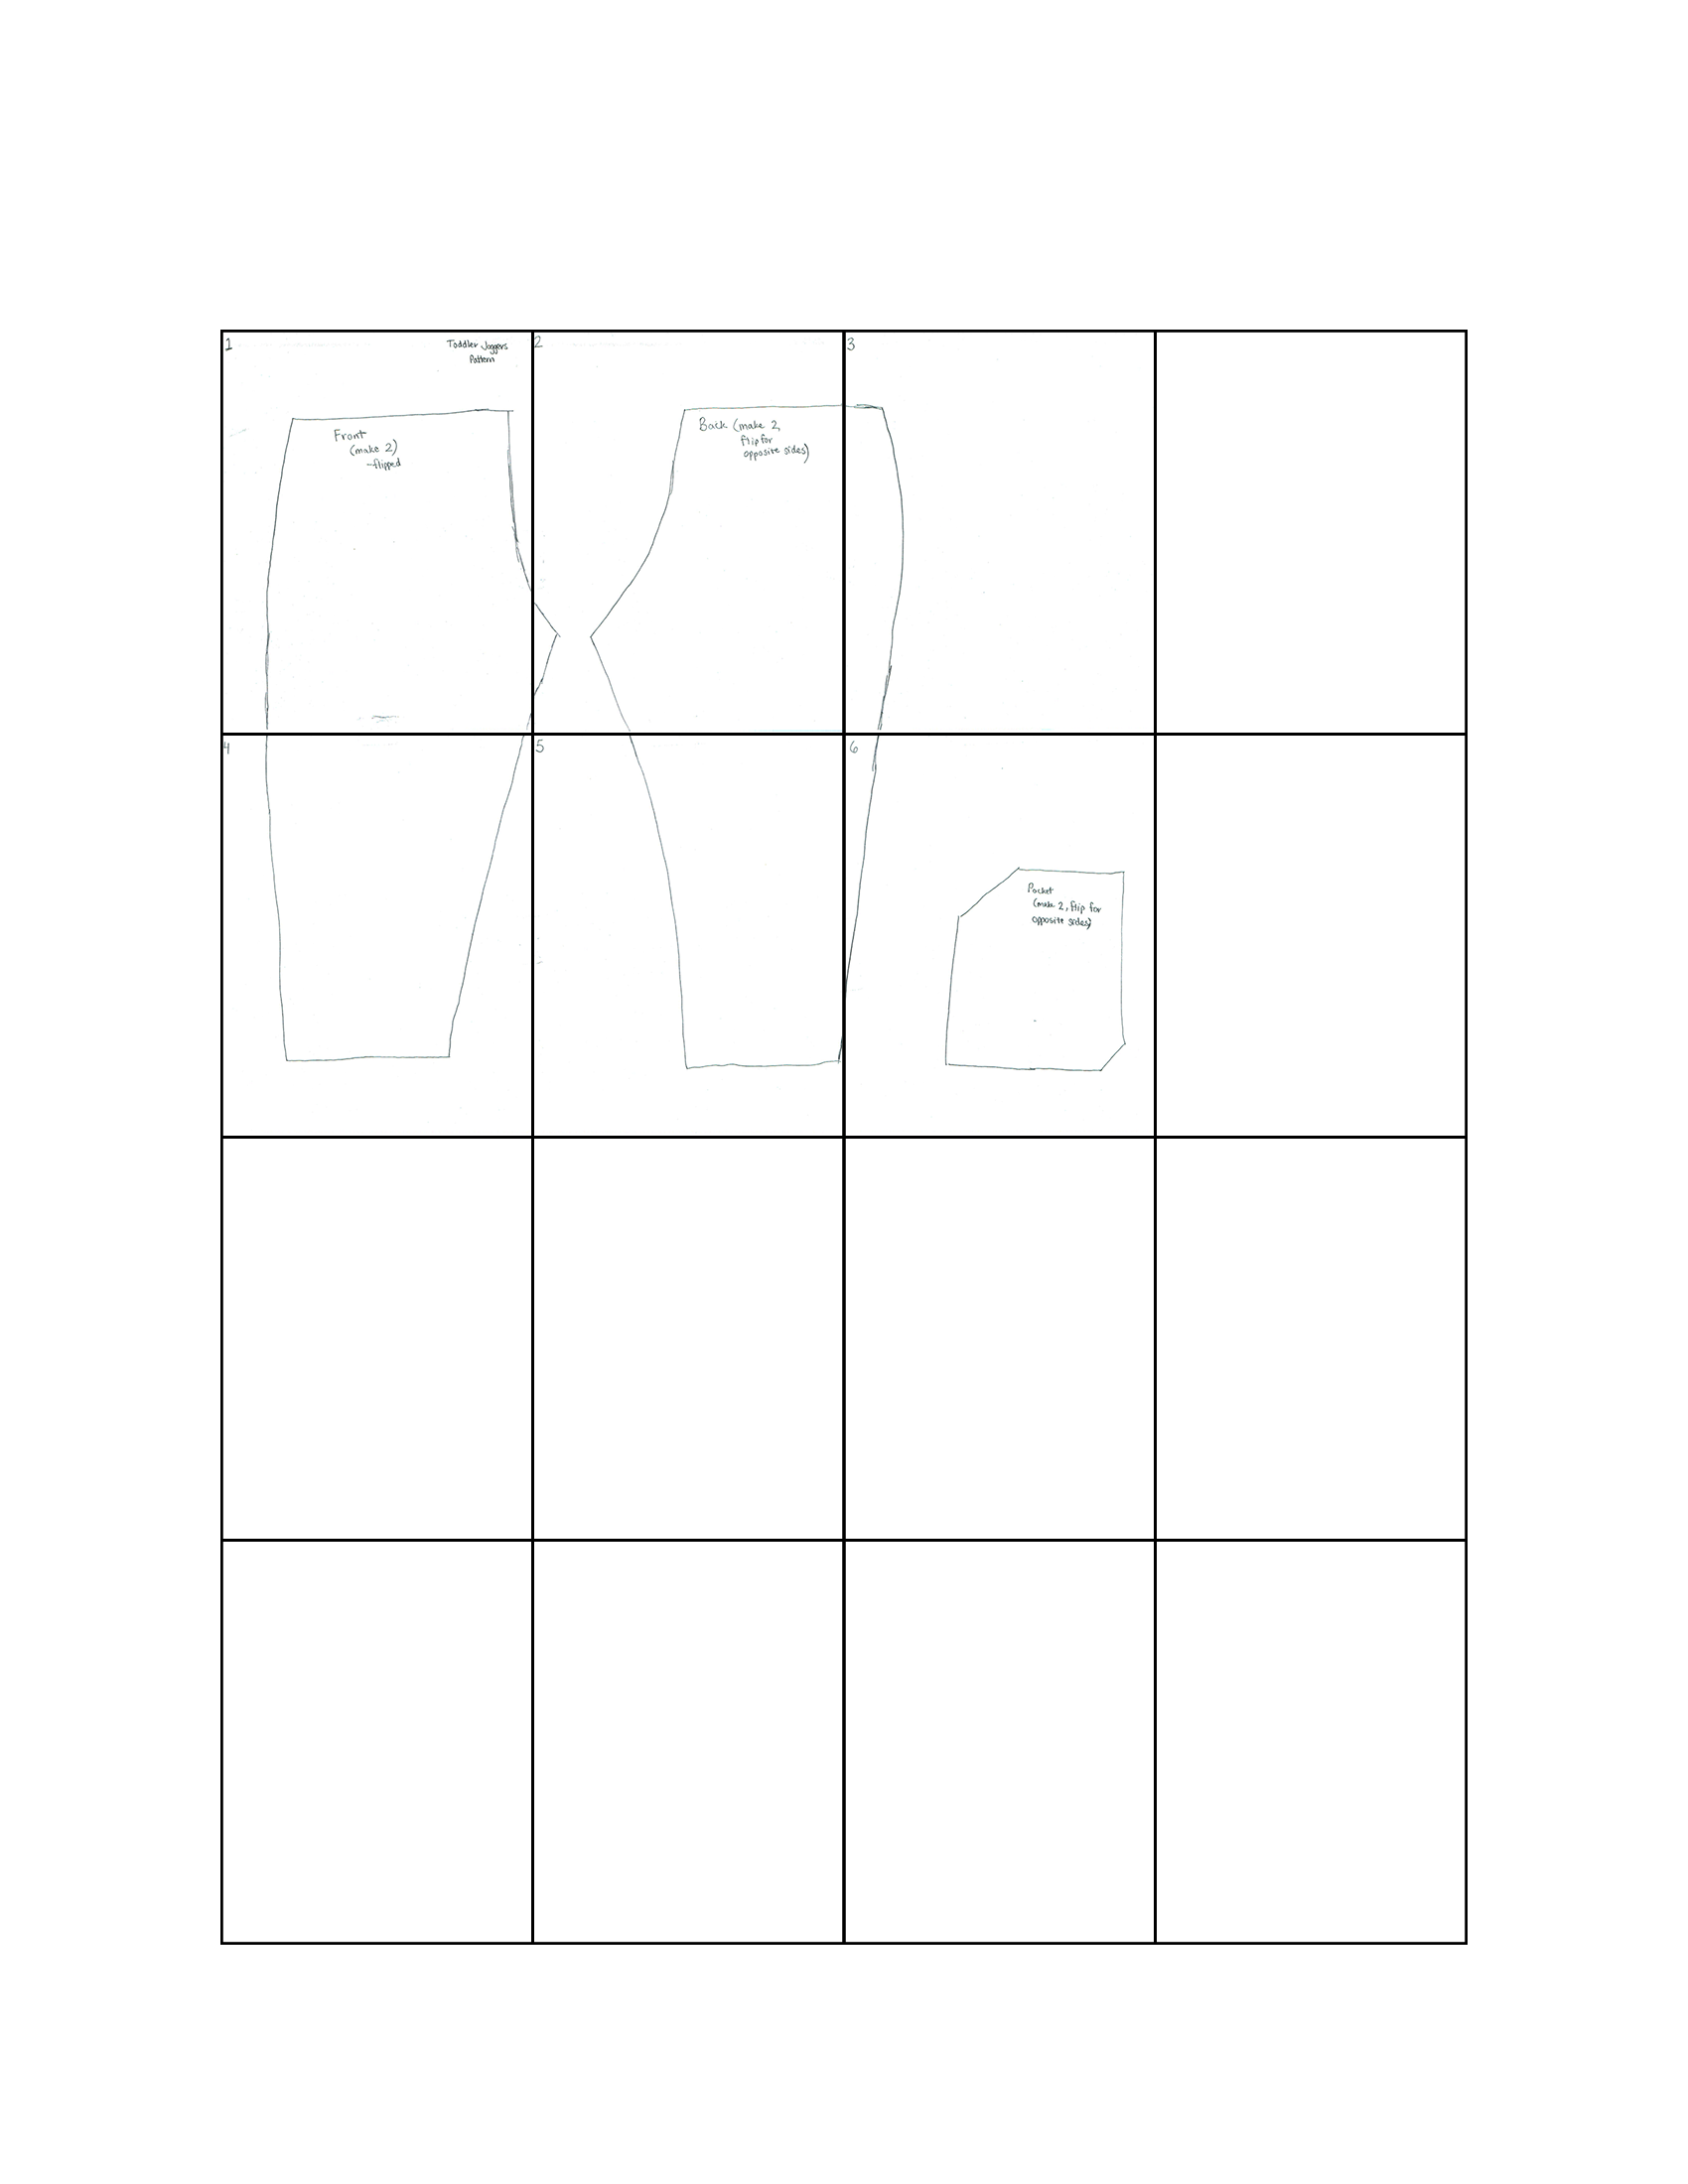
The pattern is FREE to download, you just have to enter an email to subscribe and access the download page:
👉 Download Free Printable PDF of Toddler Joggers 4T Sewing Pattern
 Cassie
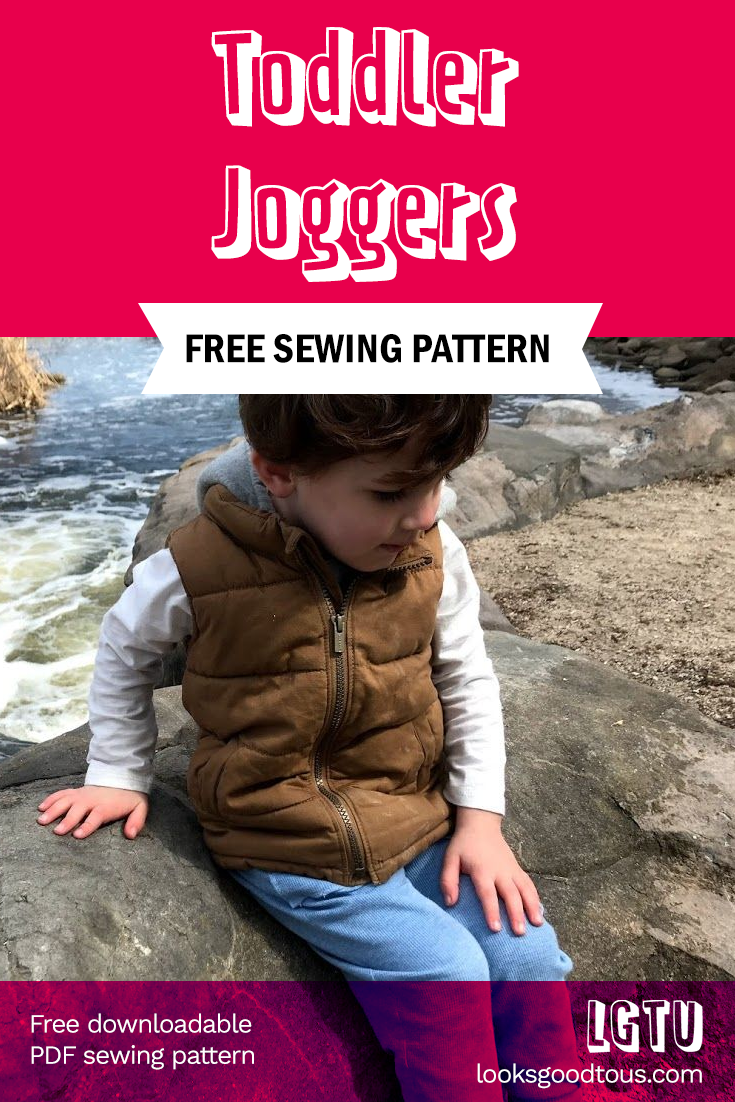
You can unsubscribe at any point but we hope you stay for more patterns!
Tutorial
To start out, I took a pair of existing joggers that Rami had, and traced them onto butcher paper. After tracing my last project, I felt like I had a better handle on doing this. I also felt like because I was tracing a 3T pair of pants, it was easier to work with. I traced the pants, added a half-inch seam, and made them larger so they would technically be 4T rather than 3T. They are big on my son, who is just newly 3, so I anticipate they will fit him for awhile.
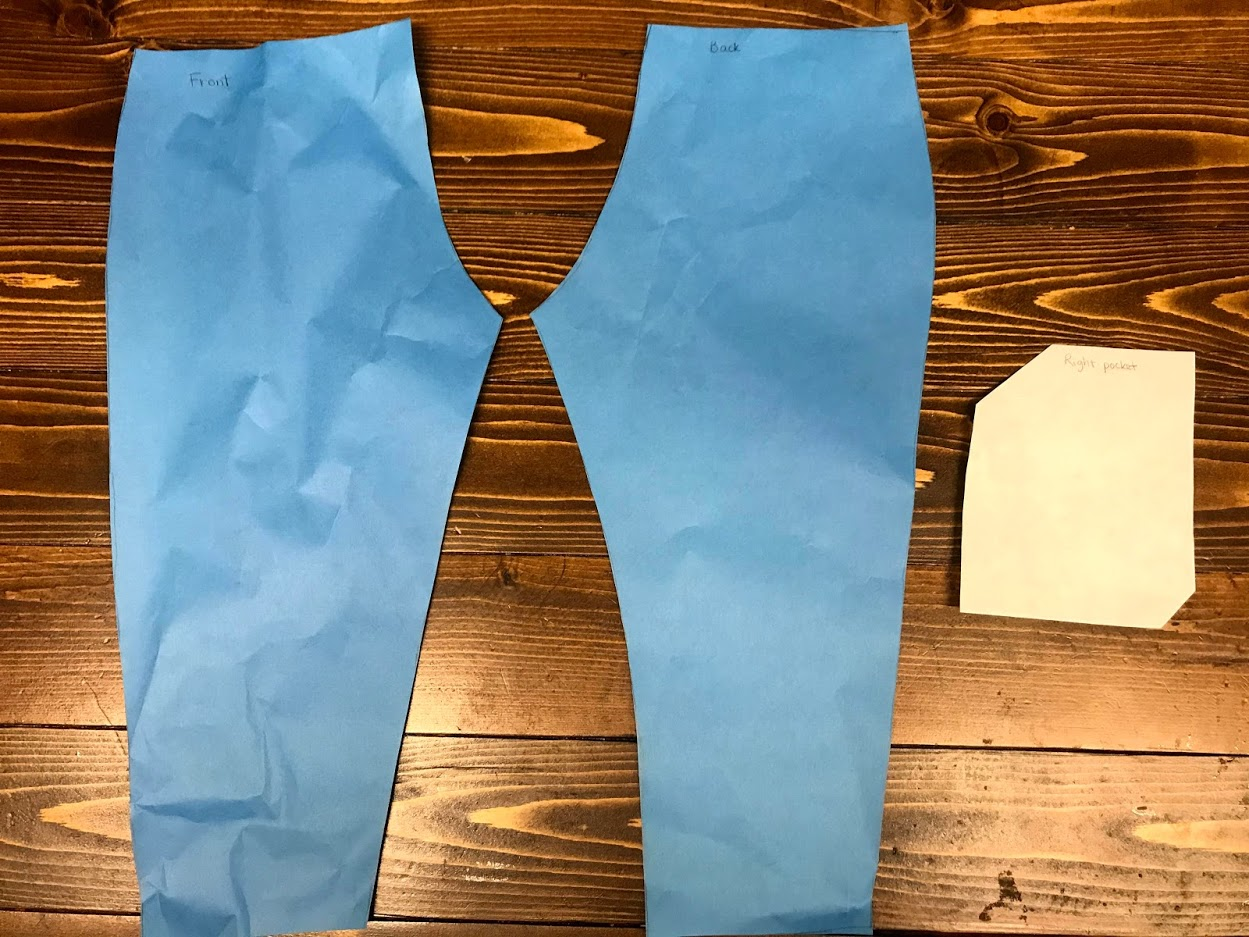
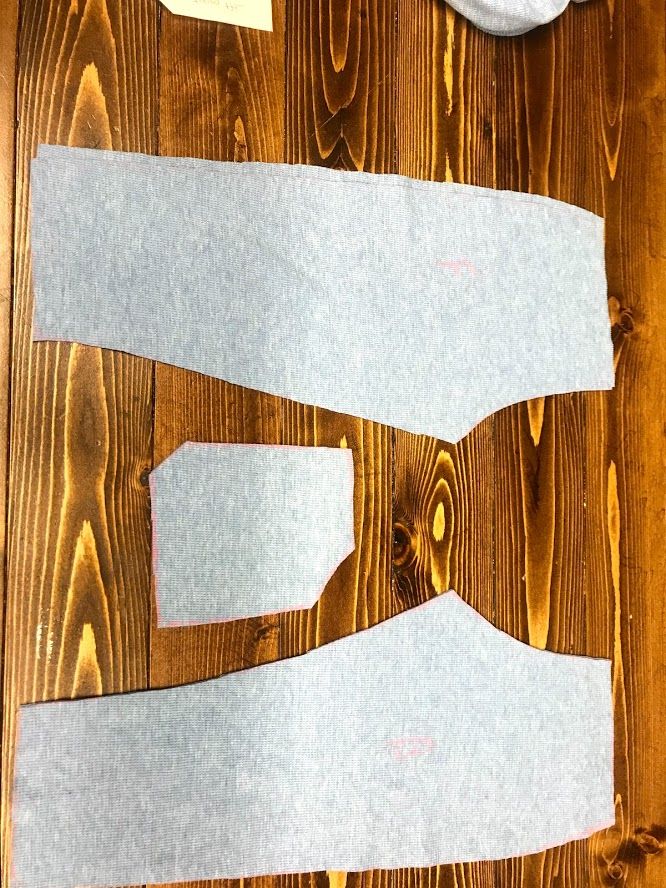
After tracing the pattern into a front-piece, back-piece, and pocket piece (in white), I had everything I needed so far. I knew I was going to use the sleeve ends for the ankles, and I wasn't sure quite yet how I would do the waistband. When cutting all three of these pieces, make sure to flip them so you make two pieces for each, in opposite directions.
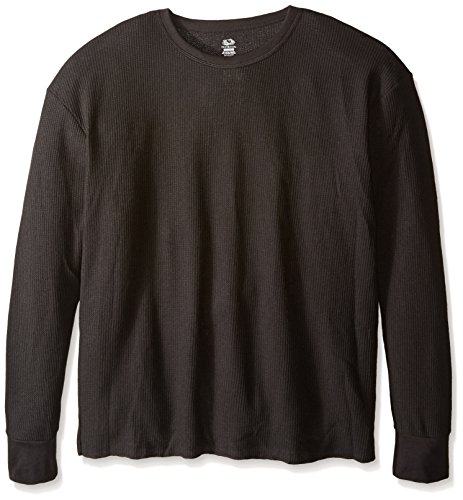
Next, I traced the pieces onto Kamran's old long-sleeved T-shirt. He happened to have a thermal, which worked really well, and I liked the feel of the fabric. I wasn't sure about the light blue color but figured I had to live with what I had.
Don't have an existing t-shirt to refashion? You can buy a new Men's thermal shirt for $10 or find some thermal fabric online!
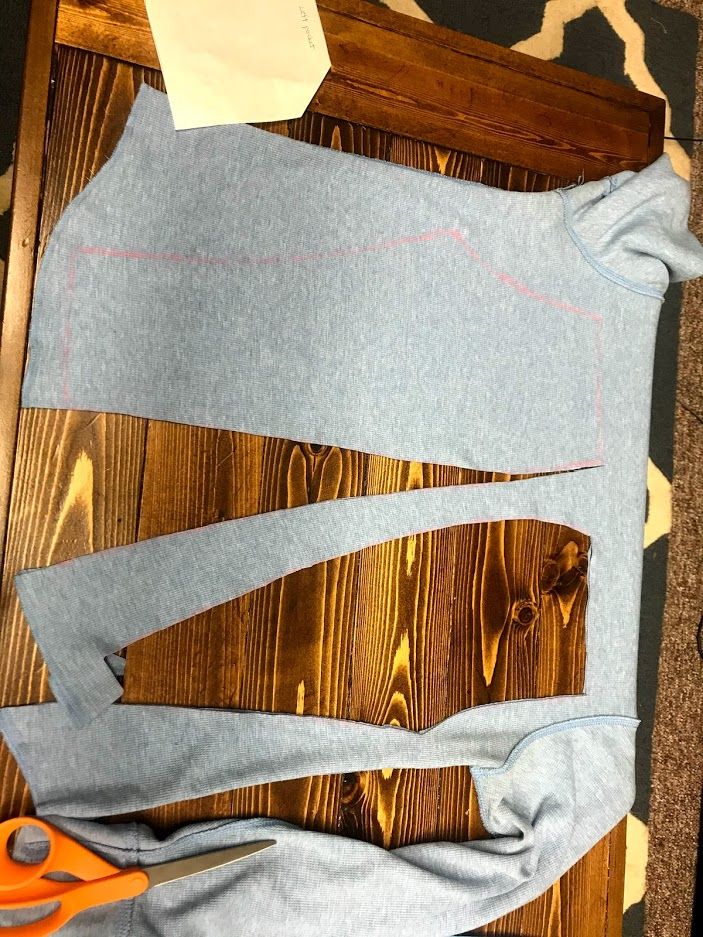
I ended up cutting the pieces from the front and back of the T-shirt. However, if I make another one (which I'm sure I will), I think I will just cut from the sleeves, so I don't have to sew the sleeve ends on as the ankles.
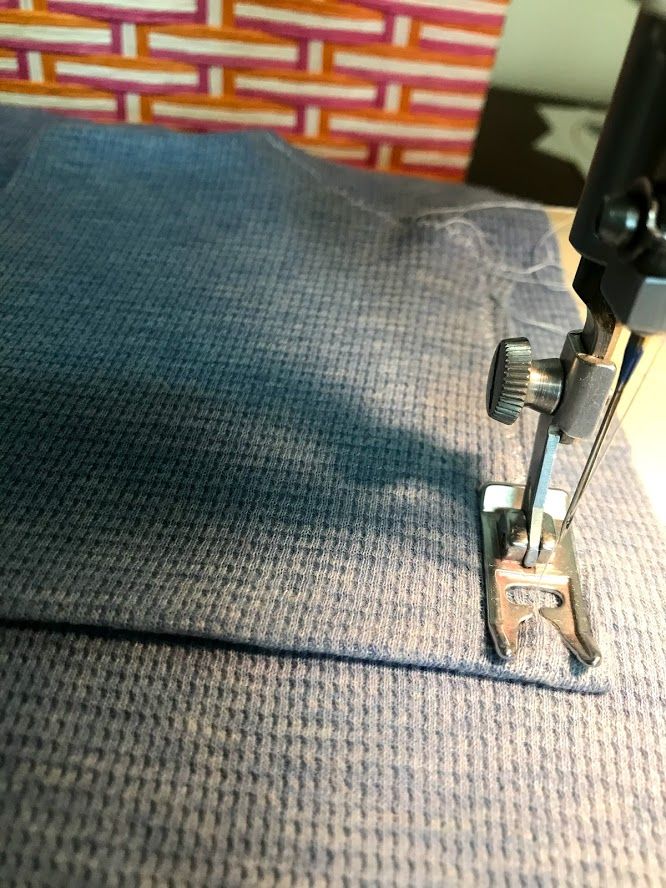
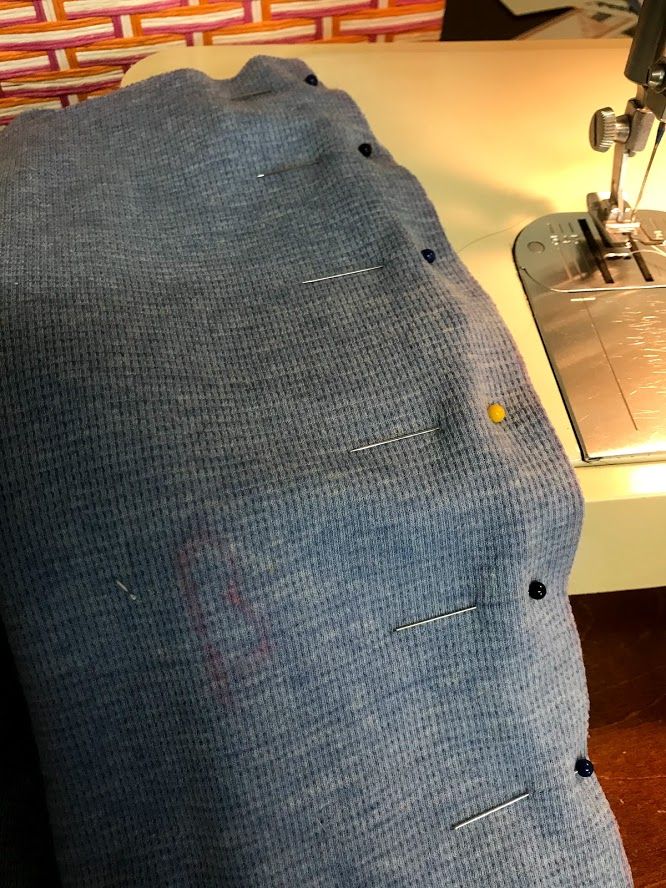
I had all my pieces, so I started by pinning on my pockets and sewing them on. I had some issues with thread tension, and was pretty frustrated. I really think the pockets were the hardest thing for me from this project. I had to pull out all these crazy loopy stitches and readjusted everything, and then the sewing went really well afterward!
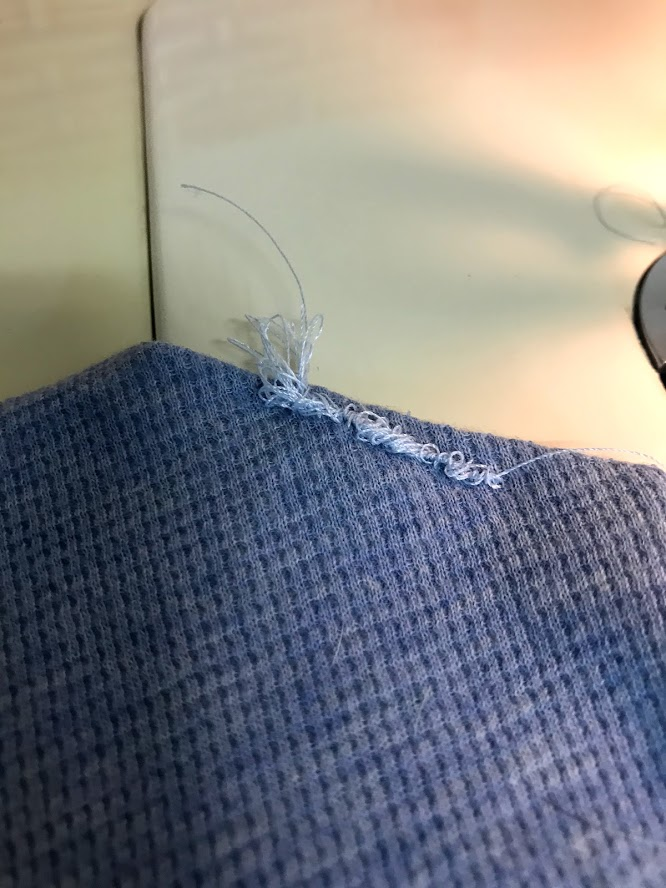
After resetting my dials, the sewing was really easy! I'm still working on my stitches looking presentable, which is tough for pockets like these where the stitches are not necessarily "hidden."
Update: After getting my serger, I made this pattern again with much better results!
Cassie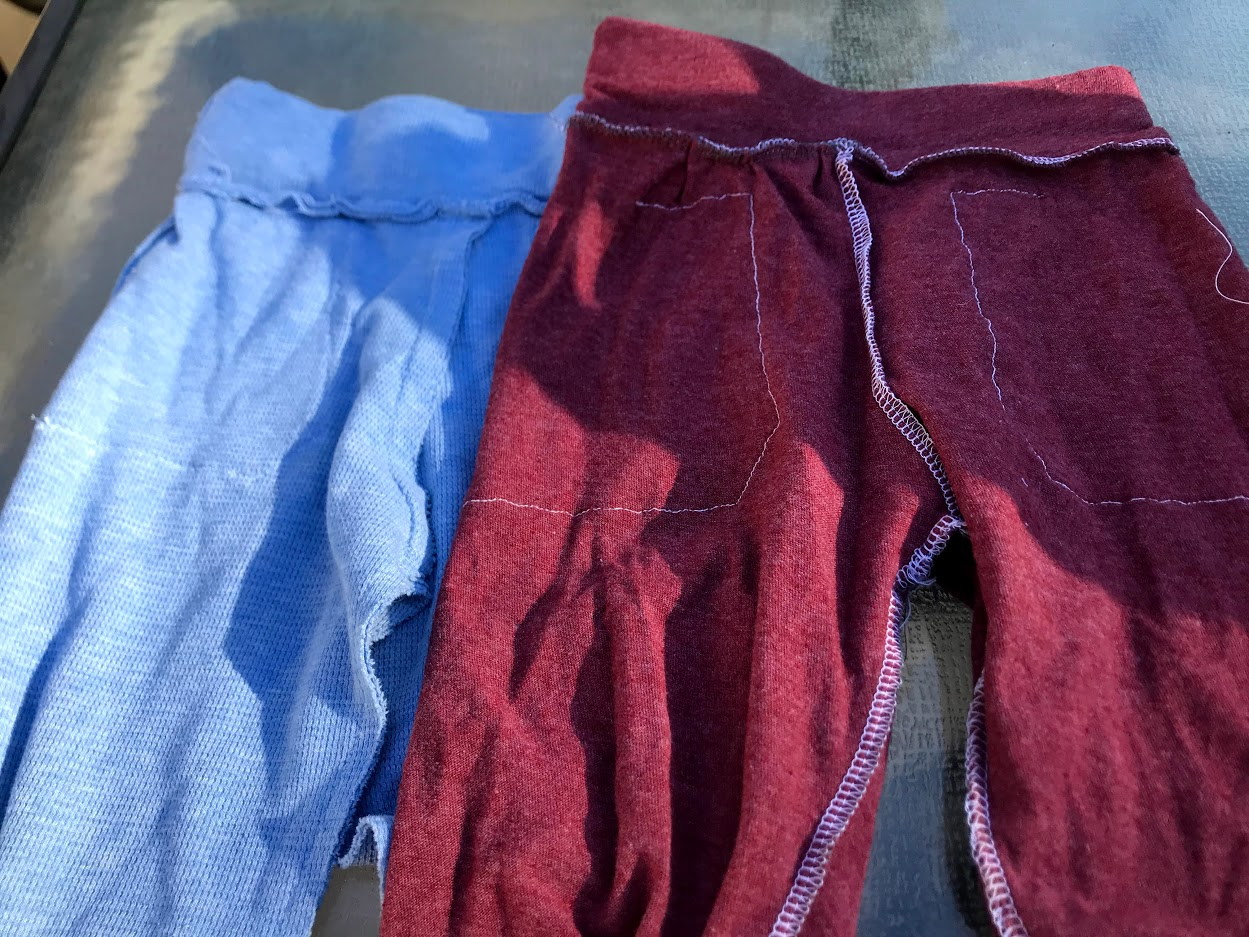
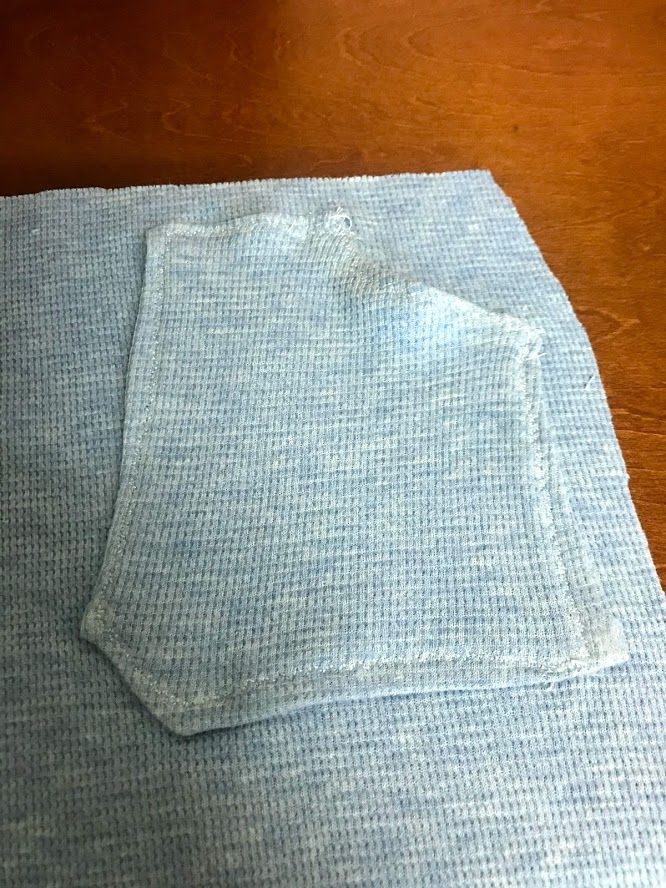
I then ironed over the pockets to sort of pull the fabric in tighter. As you can see in the picture on the right, the pocket "puckers" a bit. After ironing, it was totally fine!
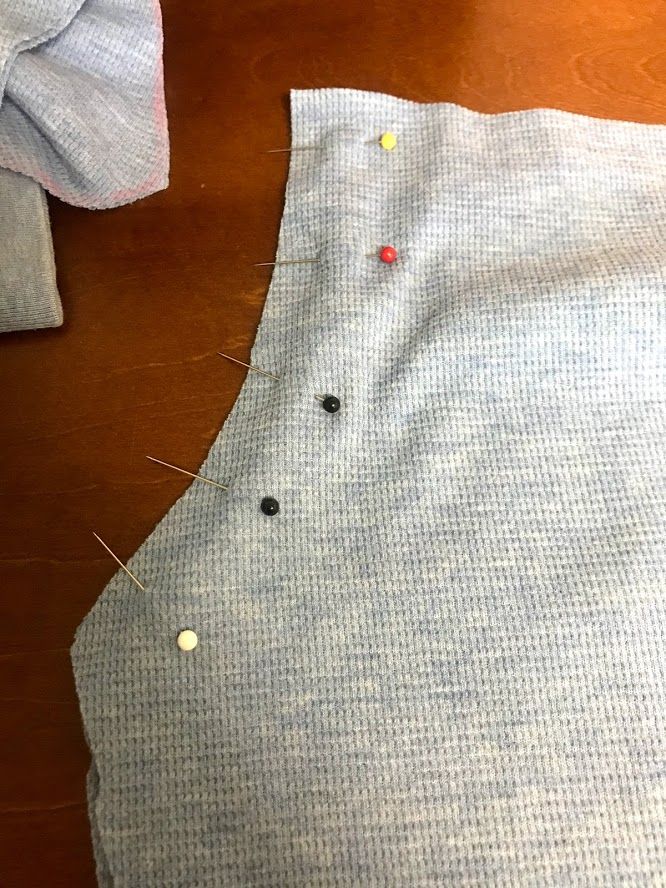
Next, I pinned the two front pieces together with right sides facing each other, and sewed them together. I did the same to the back pieces.
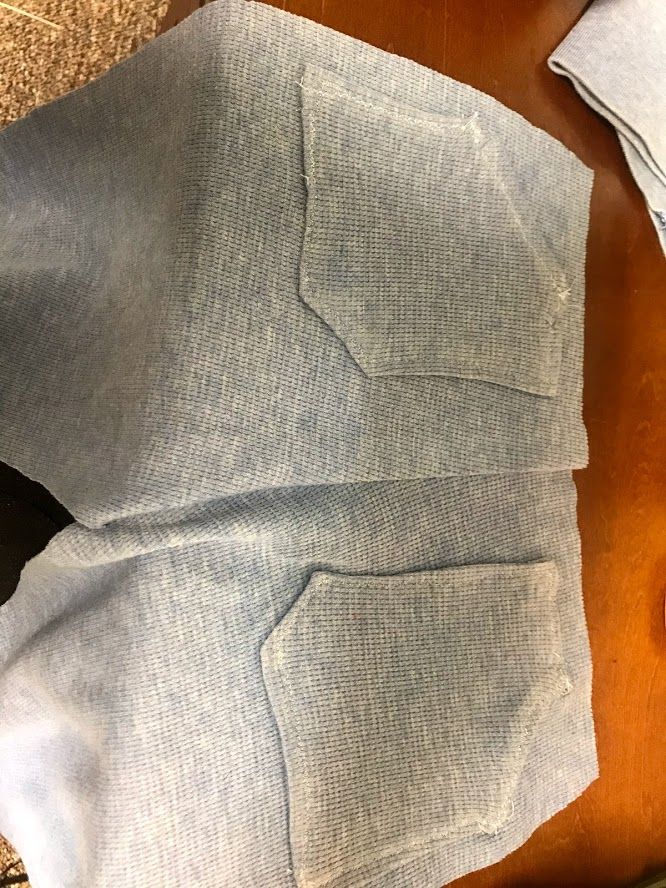
I then pinned and sewed the front and back pieces together (obviously with right sides facing each other!) Here is a comparison picture with the original joggers and the ones I'm making:
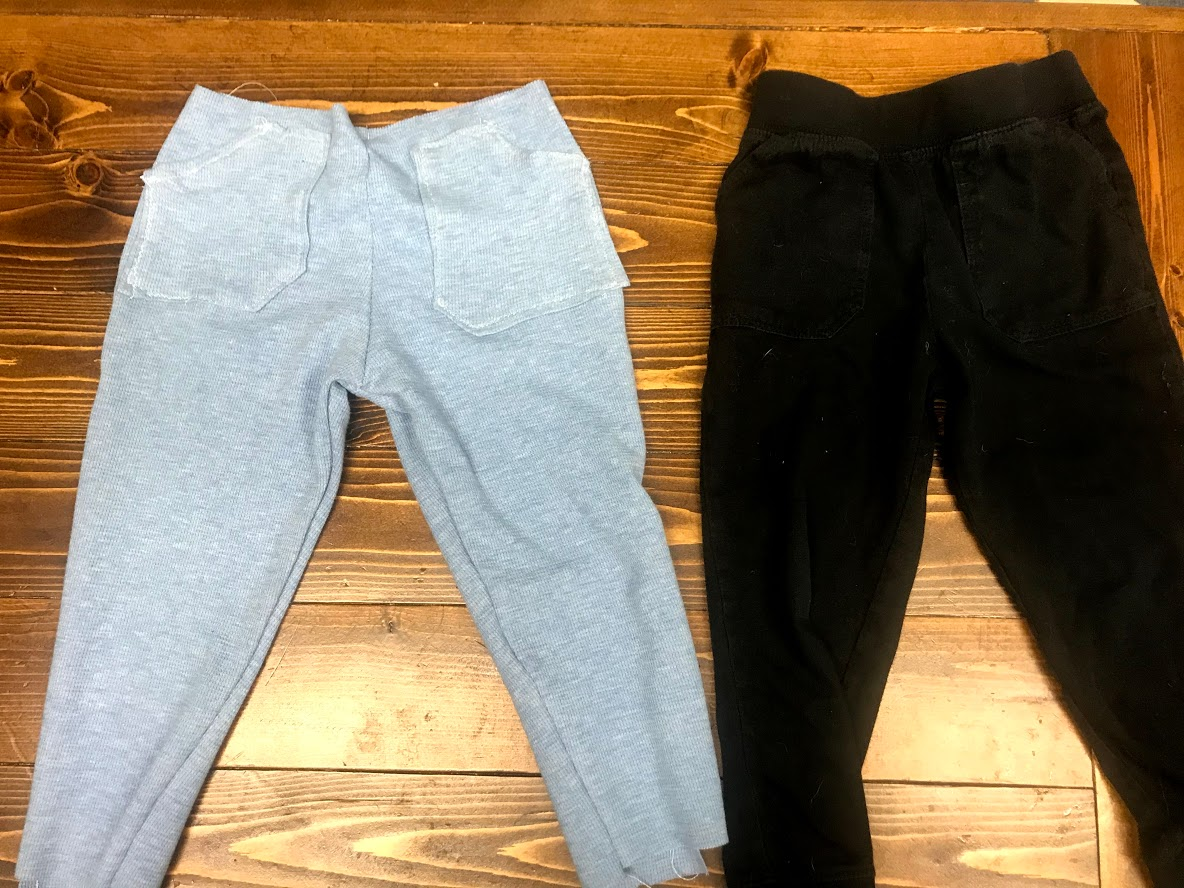
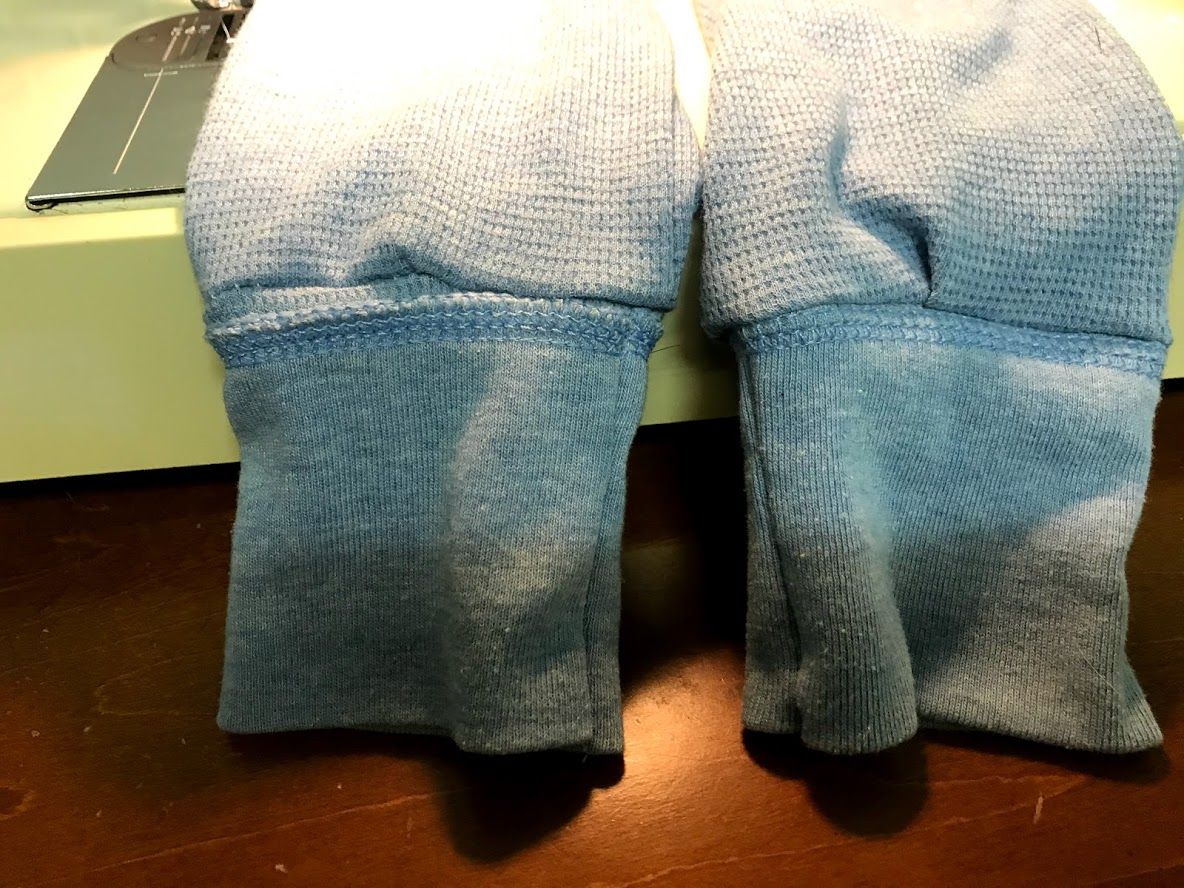
As you can see, mine are slightly larger. They are definitely longer as well, with the added waistband and ankles. For the ankles, I literally just cut off the ends of the sleeves, cut them to the same width as the ankles on the original pants (3 inches, with a quarter seam, so 3.25 inches total). I sewed the sleeve ends back together, then pinned them onto the pants (right sides facing each other) and sewed them on. One thing I'm glad I did, I left about a half an inch of fabric past where the actual sleeve seam was so that when I sewed it to the ends of the pants, that fabric would be the inside seam part. You can see the extra fabric in the first two pictures below. The third picture shows the sewn-on sleeve ends. They look pretty nifty, I think!
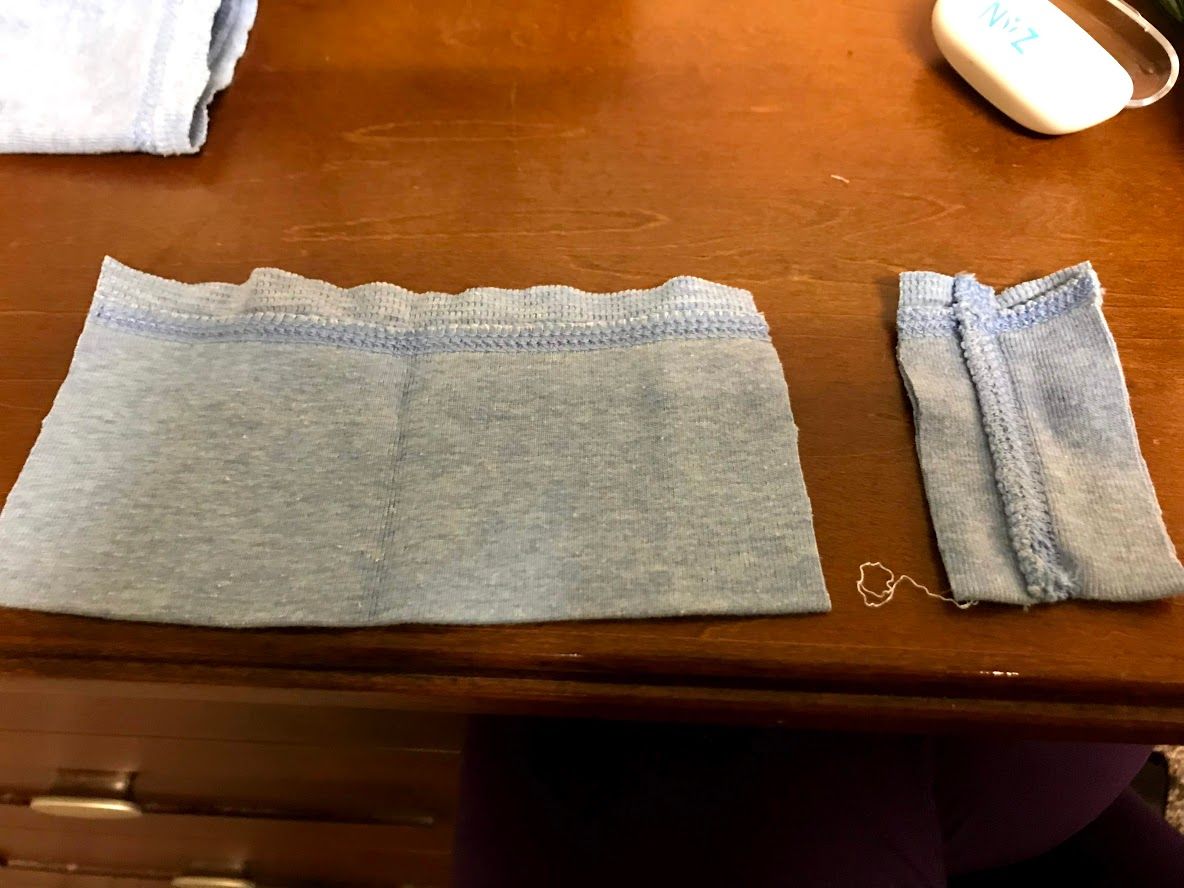
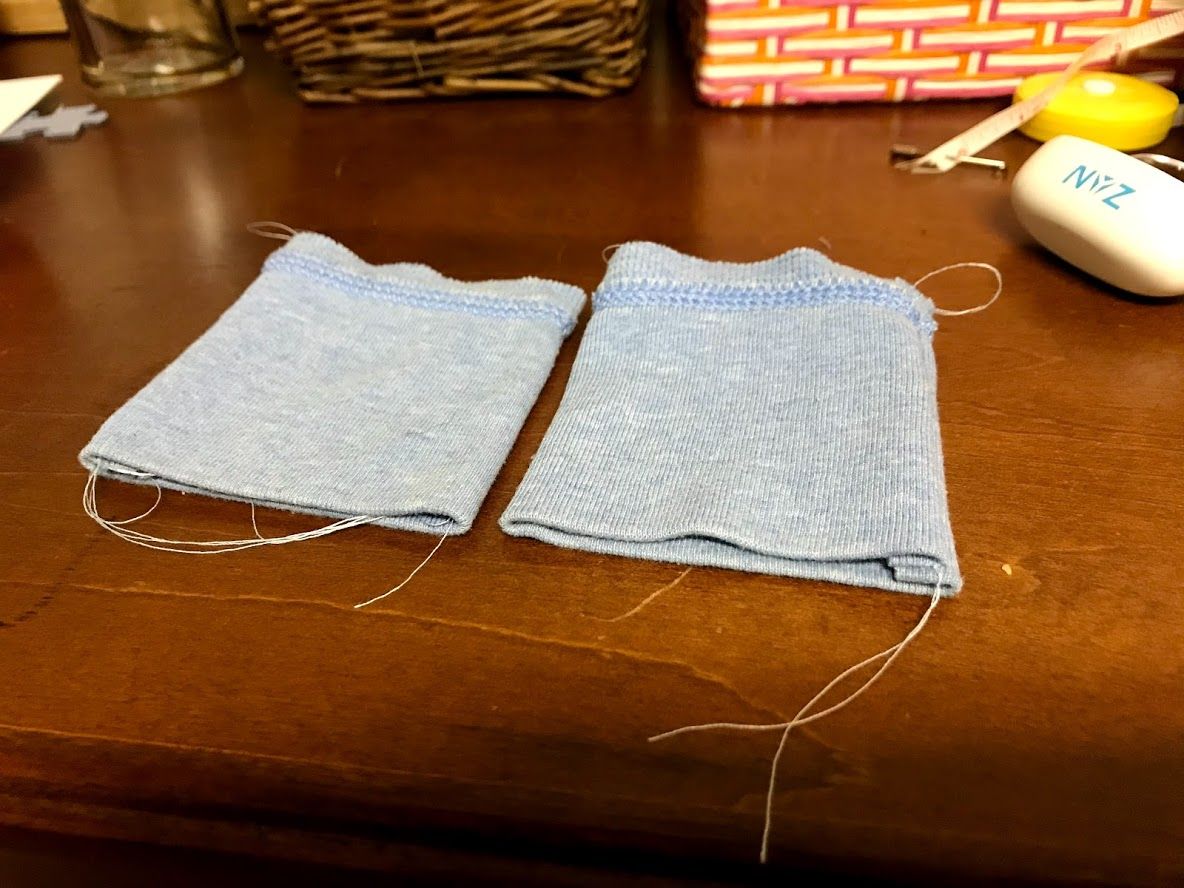
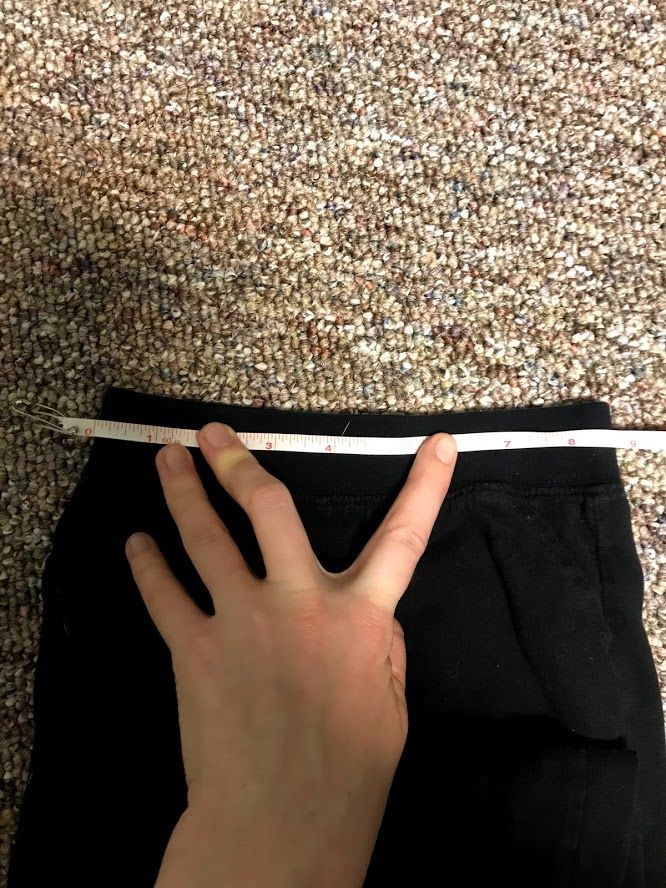
The last thing I had to do was the make the waistband. I thought about how I would do this, and realized I only really had the rest of the sleeve fabric left to pull from. So I cut two rectangles, 9.25 x 4.5. I measured the waist to get 9.25 per side. I decided I wanted the waistband to be about 2 inches, so folded over it would need to be 4 inches, plus 0.5 inch for seam. Dang that's a lot of math.
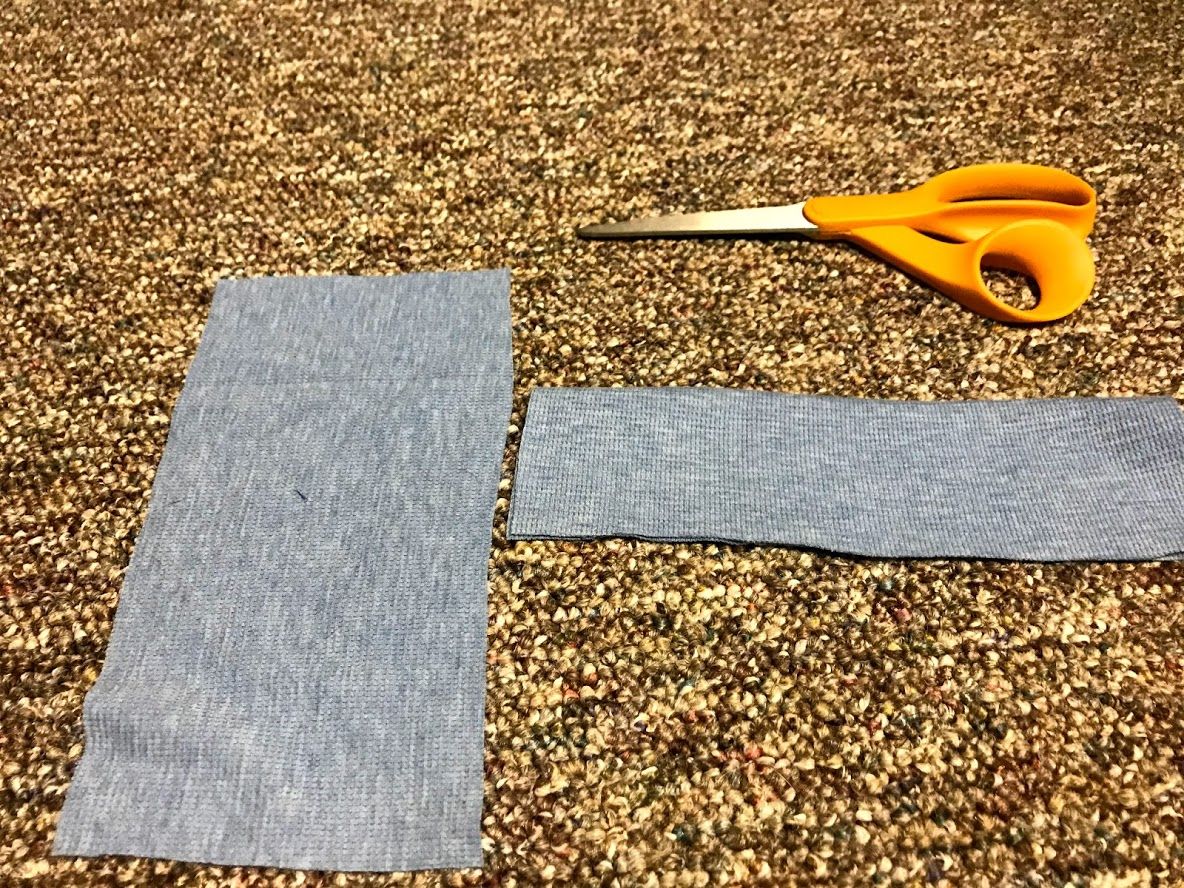
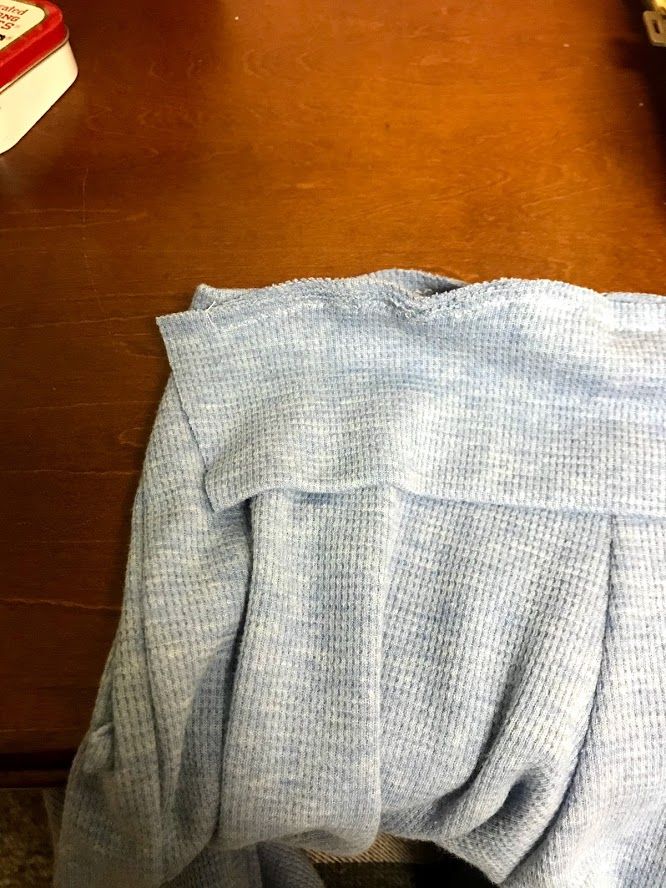
I folded the pieces in half and ironed them to get a nice crisp fold. I then sewed two of the short edges of each together, to make a long rectangle (18.5 x 4.5, is my math right?) I folded the piece, then pinned it right sides facing in, to the whole pant-piece. I sewed around it and there we go! The waistband was in place, waiting for some elastic. I luckily had a fat piece of elastic, an inch thick one I think. I wanted it to be really large for that sweatpants feel. I used a safety pin to string it through, then sewed the hole shut. Done!

All in all, I really did not think this was a difficult project. I think as long as you go in with a bit of a plan and a good set of measurements from your original piece, you can do this with most toddler- and baby-sized clothing. I also really feel like even if I had messed this up completely and had to toss it, it was just an old T-shirt that my husband was going to throw away anyway. I have about 5 more in my stash, so I could have just started all over again, and used these pieces for rags. I'm really enjoying learning from little projects like this, especially when there's low risk. But most gratifying of all was my son's reaction. He LOVED the pants. He asked me to make him more, and he ran up to his papa (that's what he calls Kamran) and said, "Papa, these pants are made from your shirt!!" I'm so excited to be able to make things for him, and for my daughter too! I'm also glad he likes homemade things now, because I'm sure that won't be the case when he's older!