Disclosure: Some links on this page below are affiliate links, meaning, at no additional cost to you, we will earn a commission if you click through and purchase. Read our disclosure for more info.
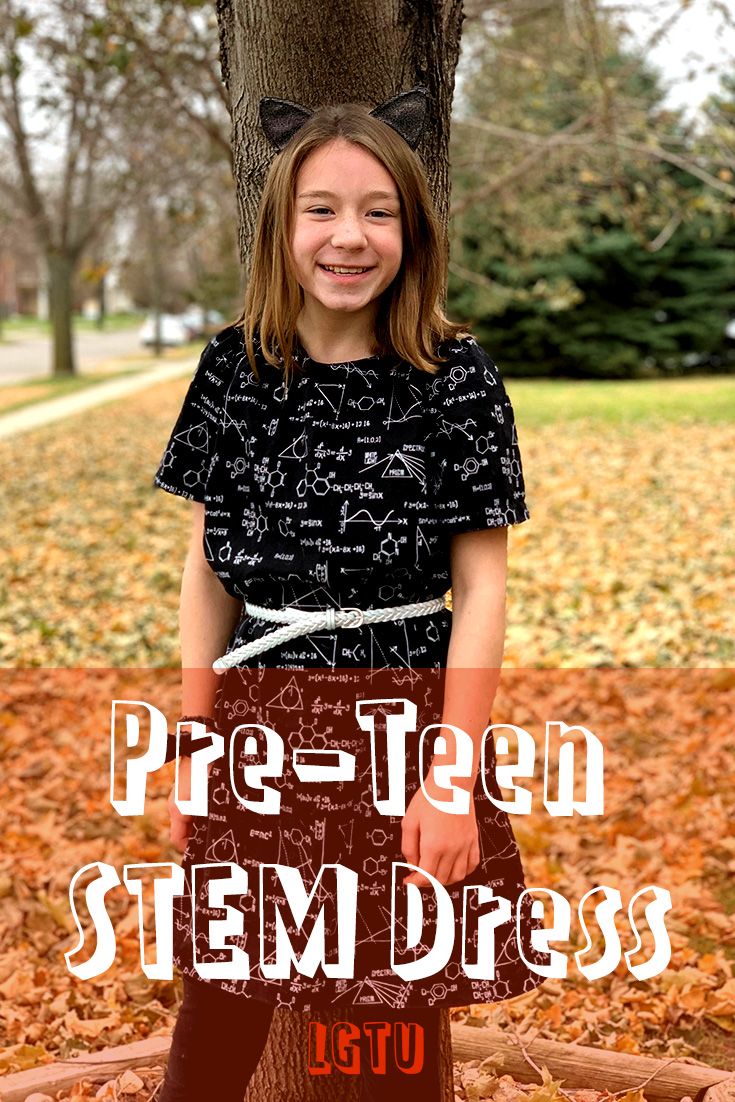
My niece Emma turned 11 this year, and I asked her if she wanted me to sew something for her. She said she would love a dress with pockets! I was happy to oblige.
Choosing the fabric and pattern
When my family came to town to visit, we all went to Digs in Minneapolis, which is a nice little fabric shop across the street from Victor's 1959 Cafe.
I let her look through all of the fabrics, and she chose a woven fabric with a science-fair theme. She is very into STEM, so this fit Emma perfectly.
The fabric was about $25 or so:
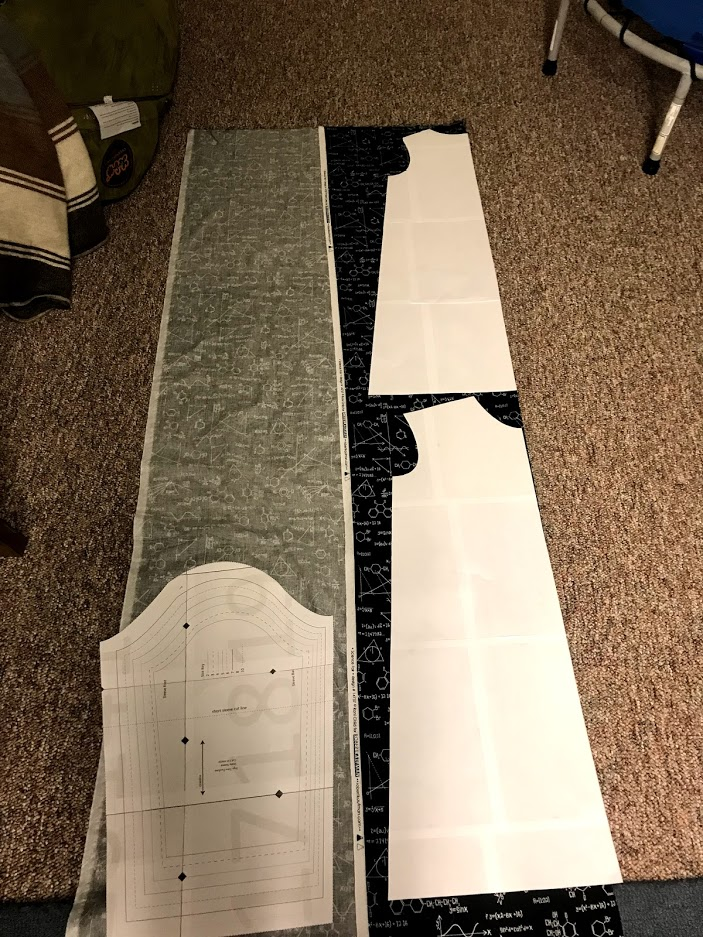
I found a pattern I liked by Life Sew Savory, called the School's Out dress. I proceeded to print and cut out the pattern, cut out the pieces, and started to sew.
 Rated 5 out of 5 Eileen Miller (verified owner) – May 22, 2019Thank you
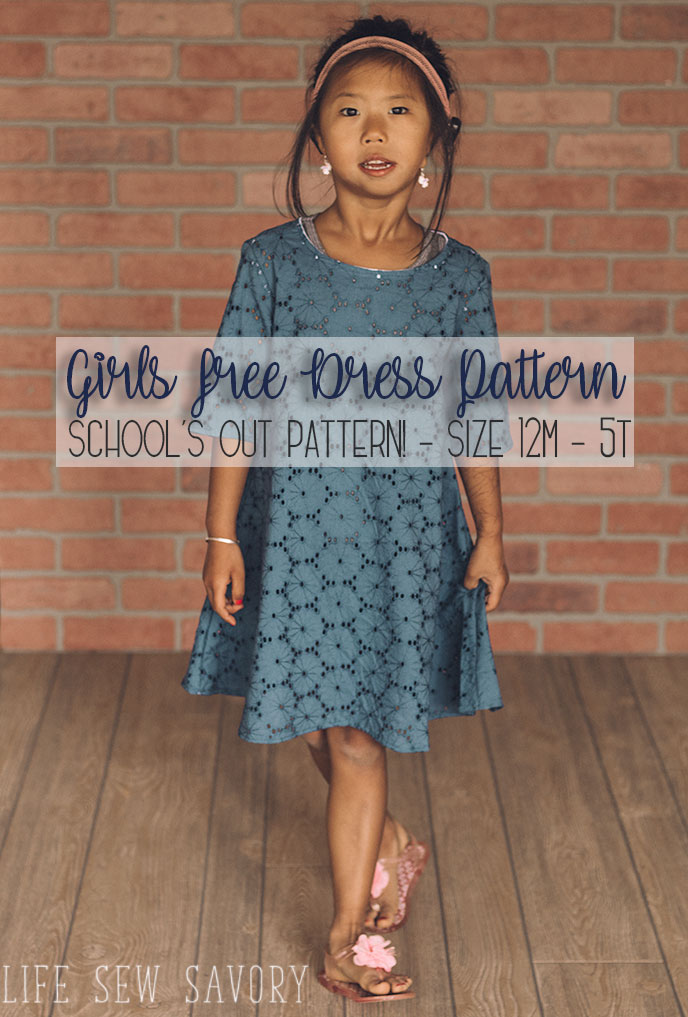
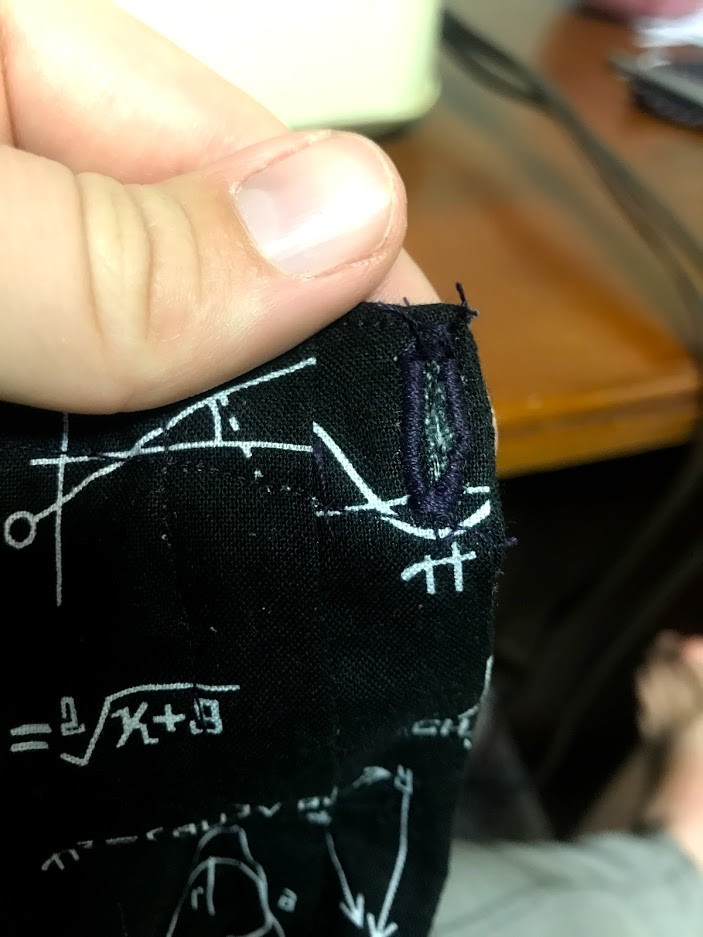
I also learned what a placket was!
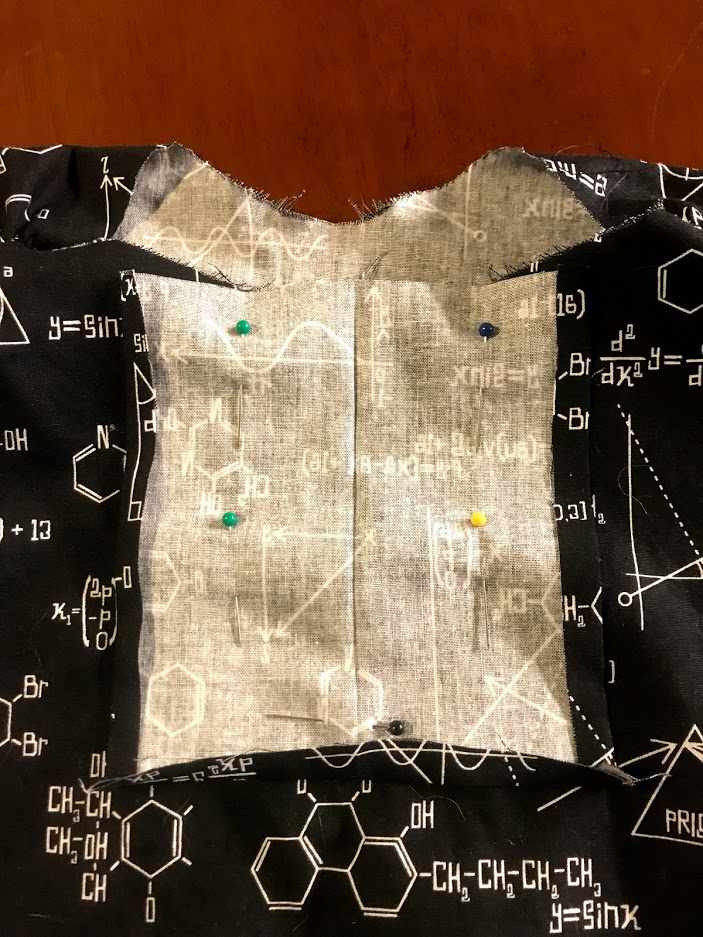
I started by sewing a 6x6 square in the middle of the back of the dress, which is where I wanted the buttons to be. I sewed down, around, and then back up, making a sort of rectangle on the middle of the dress. I then cut down through the rectangle, but staying inside the lines of the sewing. The rest of the instructions can be found on Life Sew Savory. She has an excellent video to explain the process of placket creation.
Buttons, oh my!
Now that I had my placket, I had to tackle something truly terrifying. Buttons and buttonholes. I was completely new to this process. I've made buttonholes in knitting before, and I've hand-sewn buttons onto things (badly). But I've never used different feet (foots?) on my sewing machines to makes buttonholes and place buttons. To be honest, I put this off for quite some time out of nervousness. I don't know why I am so hard on myself, but I have a hard time trying something new if I think I won't do well.
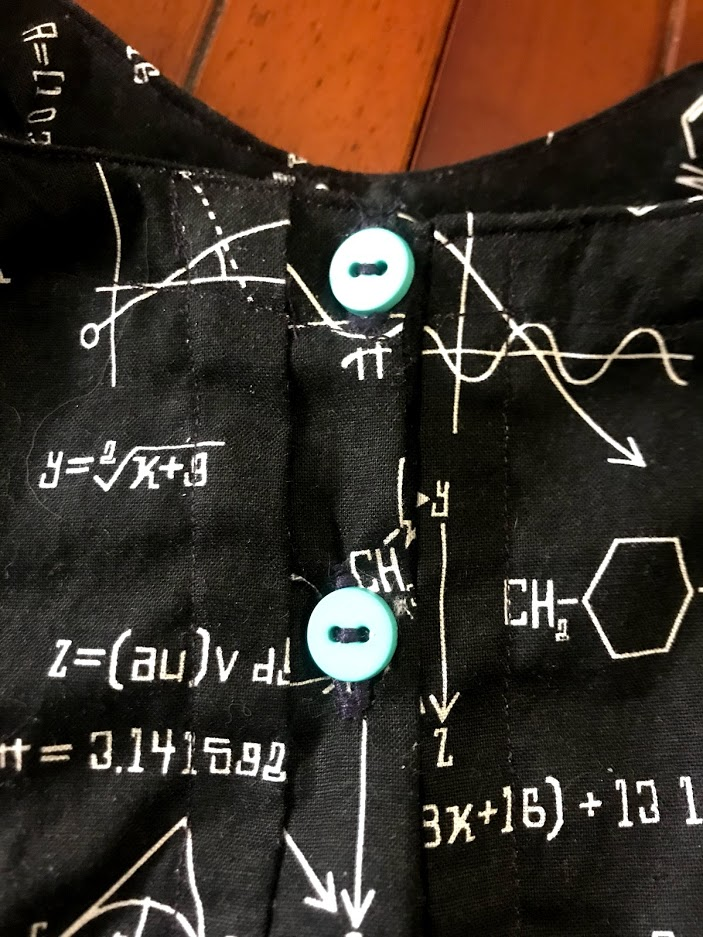
I looked back at my sewing machine instruction book for guidance on making a buttonhole and putting on buttons. I actually ended up finding feet for both of those purposes in a box of sewing notions that my aunt gave me, from my grandma's stash of stuff. I fitted them on my machine and got going.
I ended up making 6 or 7 buttonholes purely to practice, and I think I got the hang of it! I really like the process and it truly was not as difficult as I imagined it would be.
Finishing touches
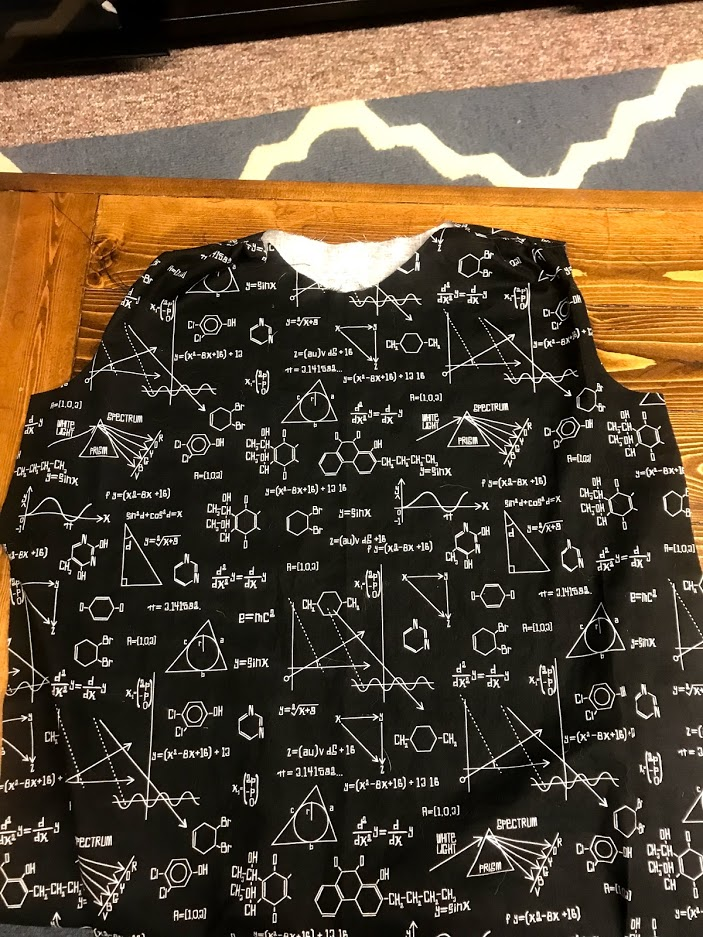
The rest of the dress was very easy; I sewed up the sides, added the sleeves, and hemmed everything together.
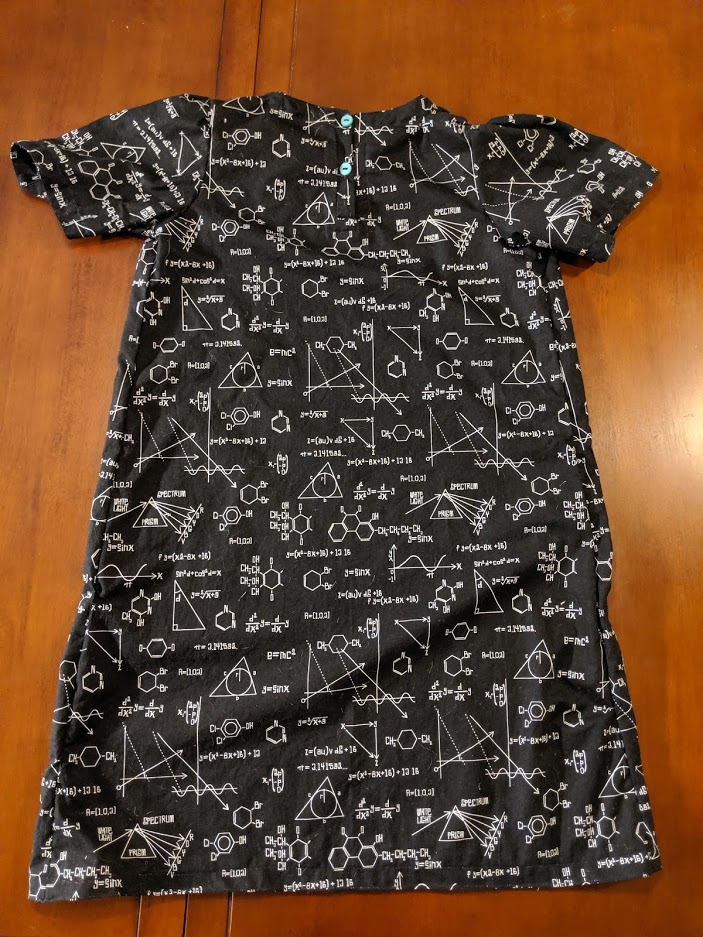
This project was really fun. I loved learning how to make a placket, and this was one of the first projects I made where I really felt like I had to use some skill. I'm excited to use my new button and placket skills to make something for myself. I know I'm building toward making myself a dress, and learning new skills like this makes me so excited for the possibilities.
And here's Emma in her dress! I think it turned out well. She said she would try to wear it to school with a belt, so I hope she gets some compliments.