Disclosure: Some links on this page below are affiliate links, meaning, at no additional cost to you, we will earn a commission if you click through and purchase. Read our disclosure for more info.
I mentioned in my previous post about learning DIY that one of the first projects I took on at the house was the new nursery for our daughter. Let's get into what I did, shall we?
 Kamran
Our house was built in the 60s so it has that older generic oak trim you find in the suburbs. I like oak (our floors are nice) but I do not like this style or color for the baseboard, it's dated and not in the good way. At least it isn't poop brown like my parents' was.
At first, I was pretty excited to learn how to put in new trim. I haven't done it yet and I could learn how to nail and miter. I have all the tools!
One of the first things I learned was the proper terminology: "trim" includes baseboard, crown molding, and casing around windows and doors. This is important when searching for what to buy.

Mathing it out
The second thing I learned was that trim was expensive. Depending on what you get, of course. The material costs are about the same between primed pine, poplar, and MDF. For example, I was looking at primed poplar baseboard which is a subtly-grained hardwood and it runs about $0.11 per inch at Home Depot. For the nursery I'd need about 518" of baseboard so that would run nearly $56 to fully trim out. That is not counting the window and door casing, an additional 977" worth. All told we're looking at a cost of $160 just for one room. MDF is the "cheapest" around $0.0984 per inch which is cheaper by about $18.

On its own, $160 is not too bad but this would need to scale across the whole upstairs so we are still looking at a material cost easily above $1000. That's still way less than the cost of hiring out the work at which I was quoted $10 per square foot, which would mean the nursery by itself would cost nearly $1200. That was immediately off the table!
Bringing down the price
I'm not a total stranger to getting deals. The first thing to know is that contractors get better pricing. So typically you can shave some off through special contractor discounts (I have connections). Next, don't buy from a home center. It's marked up a ton. Instead, go to a wholesaler.
There are local lumberyards in your area. One by me is Scherer Bros. You will have to call and talk to a sales associate so you'll need to know what you want. Typically you can get better prices and quality going through a lumberyard. I don't think Scherer Bros qualifies as a wholesaler but they do sell to homeowners so that's a nice perk.
Some online stores are even pretty good like Build Direct. For example, I'm seeing a deal right now to get the same MDF baseboard above for $0.036 per inch, nearly 1/3 the cost of Home Depot. But I'd have to buy in bulk and I'm not ready to commit to that quite yet.

Knowing all of that and even though I wanted to learn how to trim out a room properly, I still decided not to pursue buying new trim for this project and decided I'd try to paint it first and see if I like that. I told myself if I didn't like how it turned out, I'd put in the work to get new trim.
First, the end result!
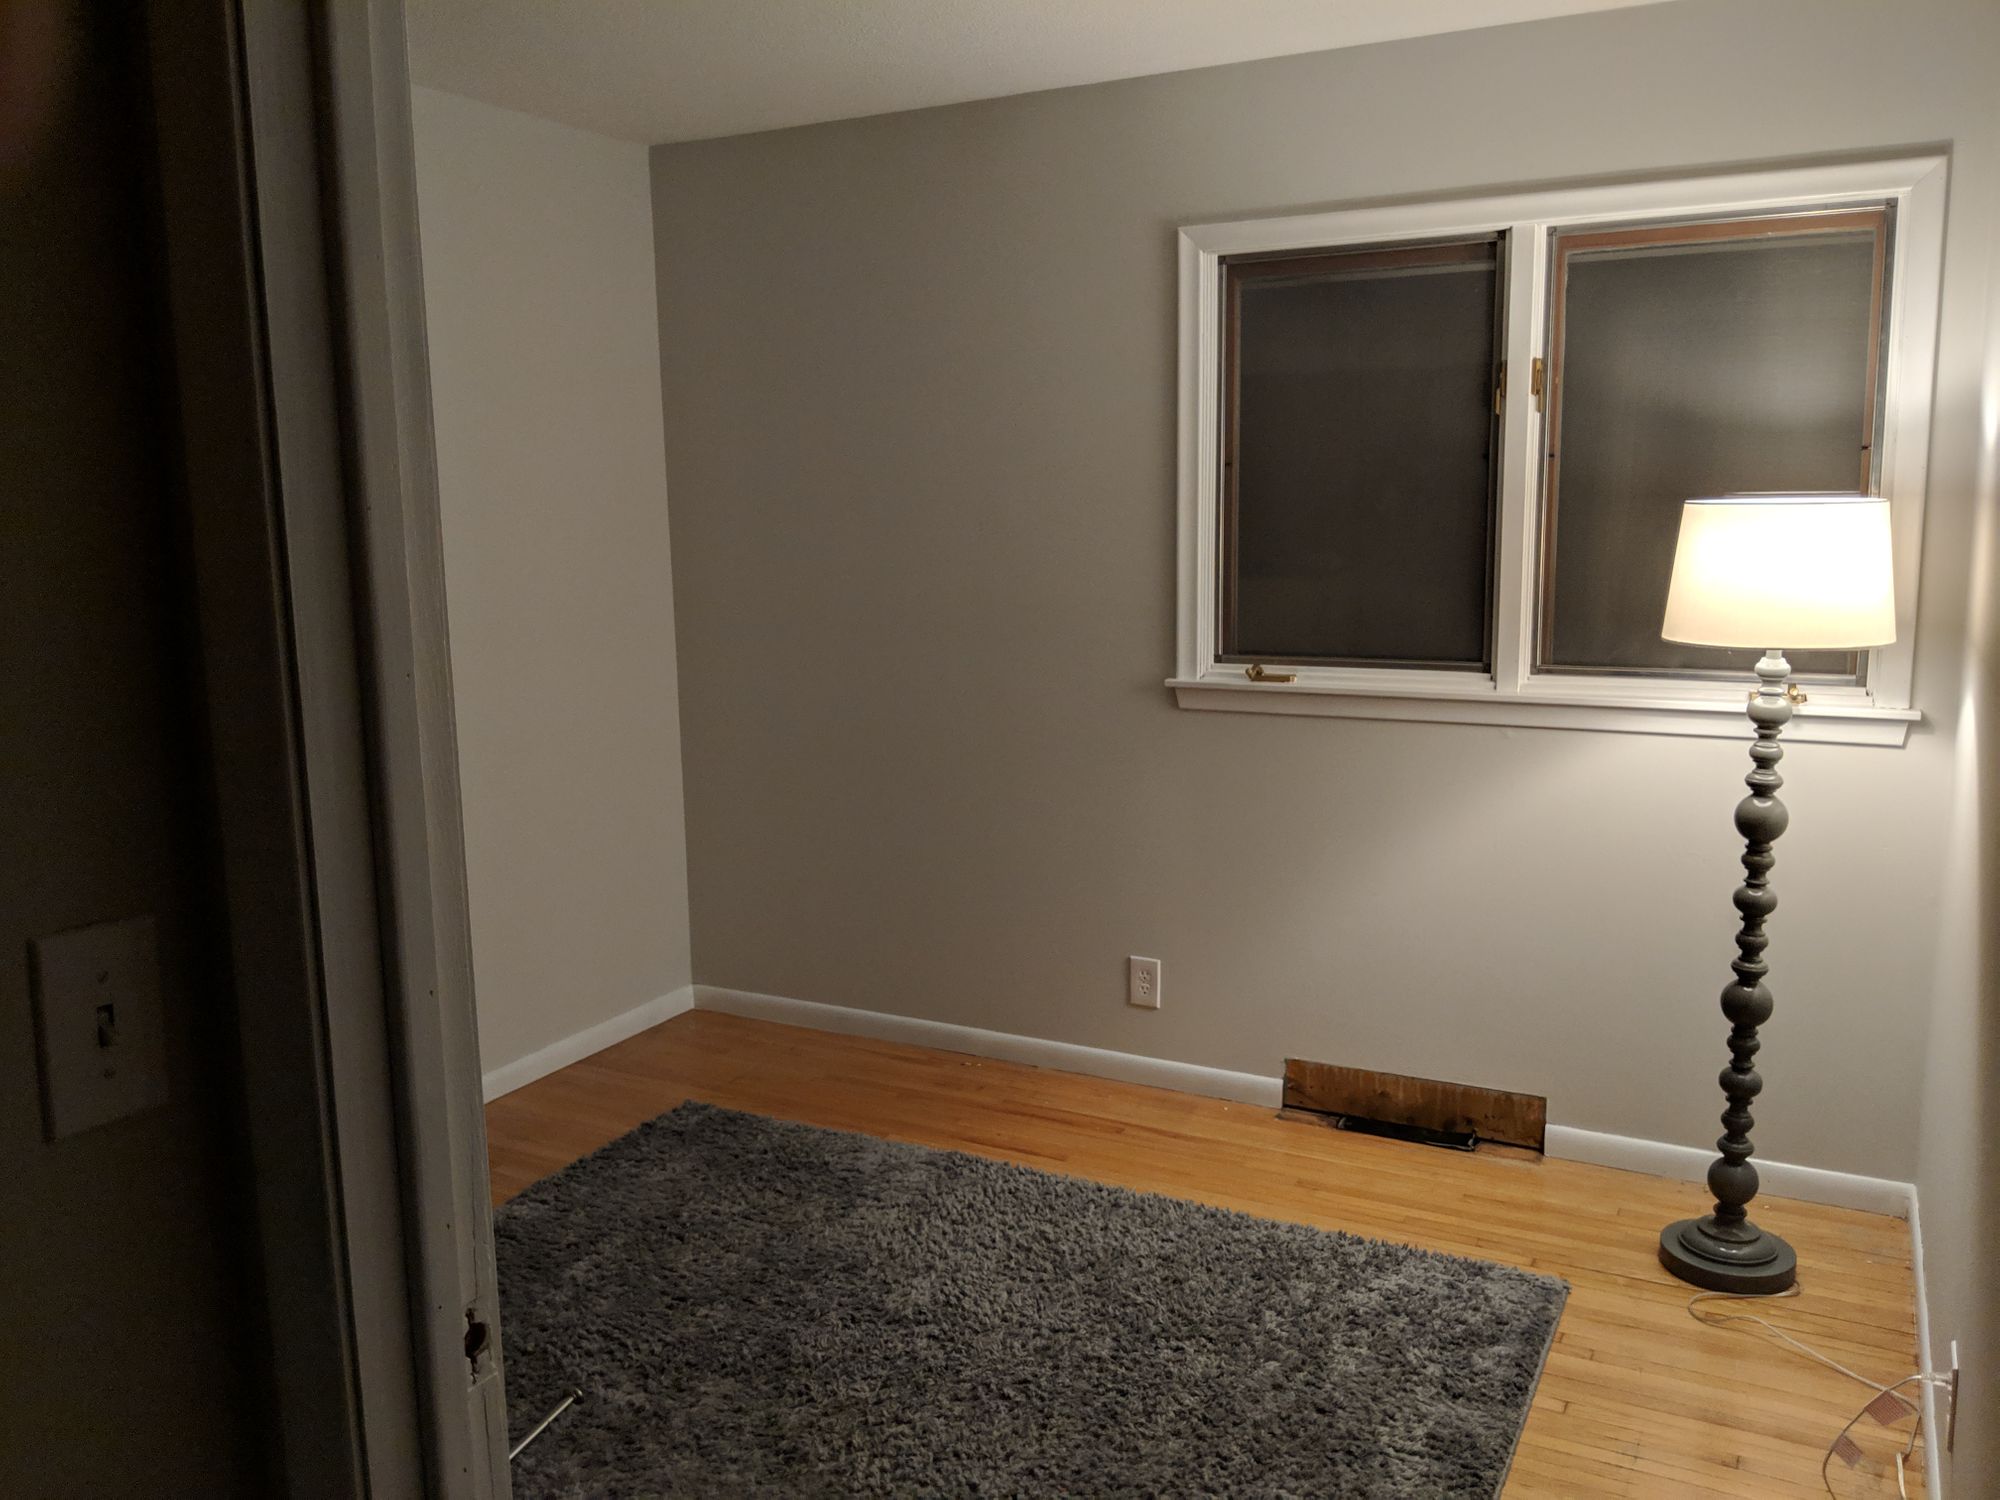
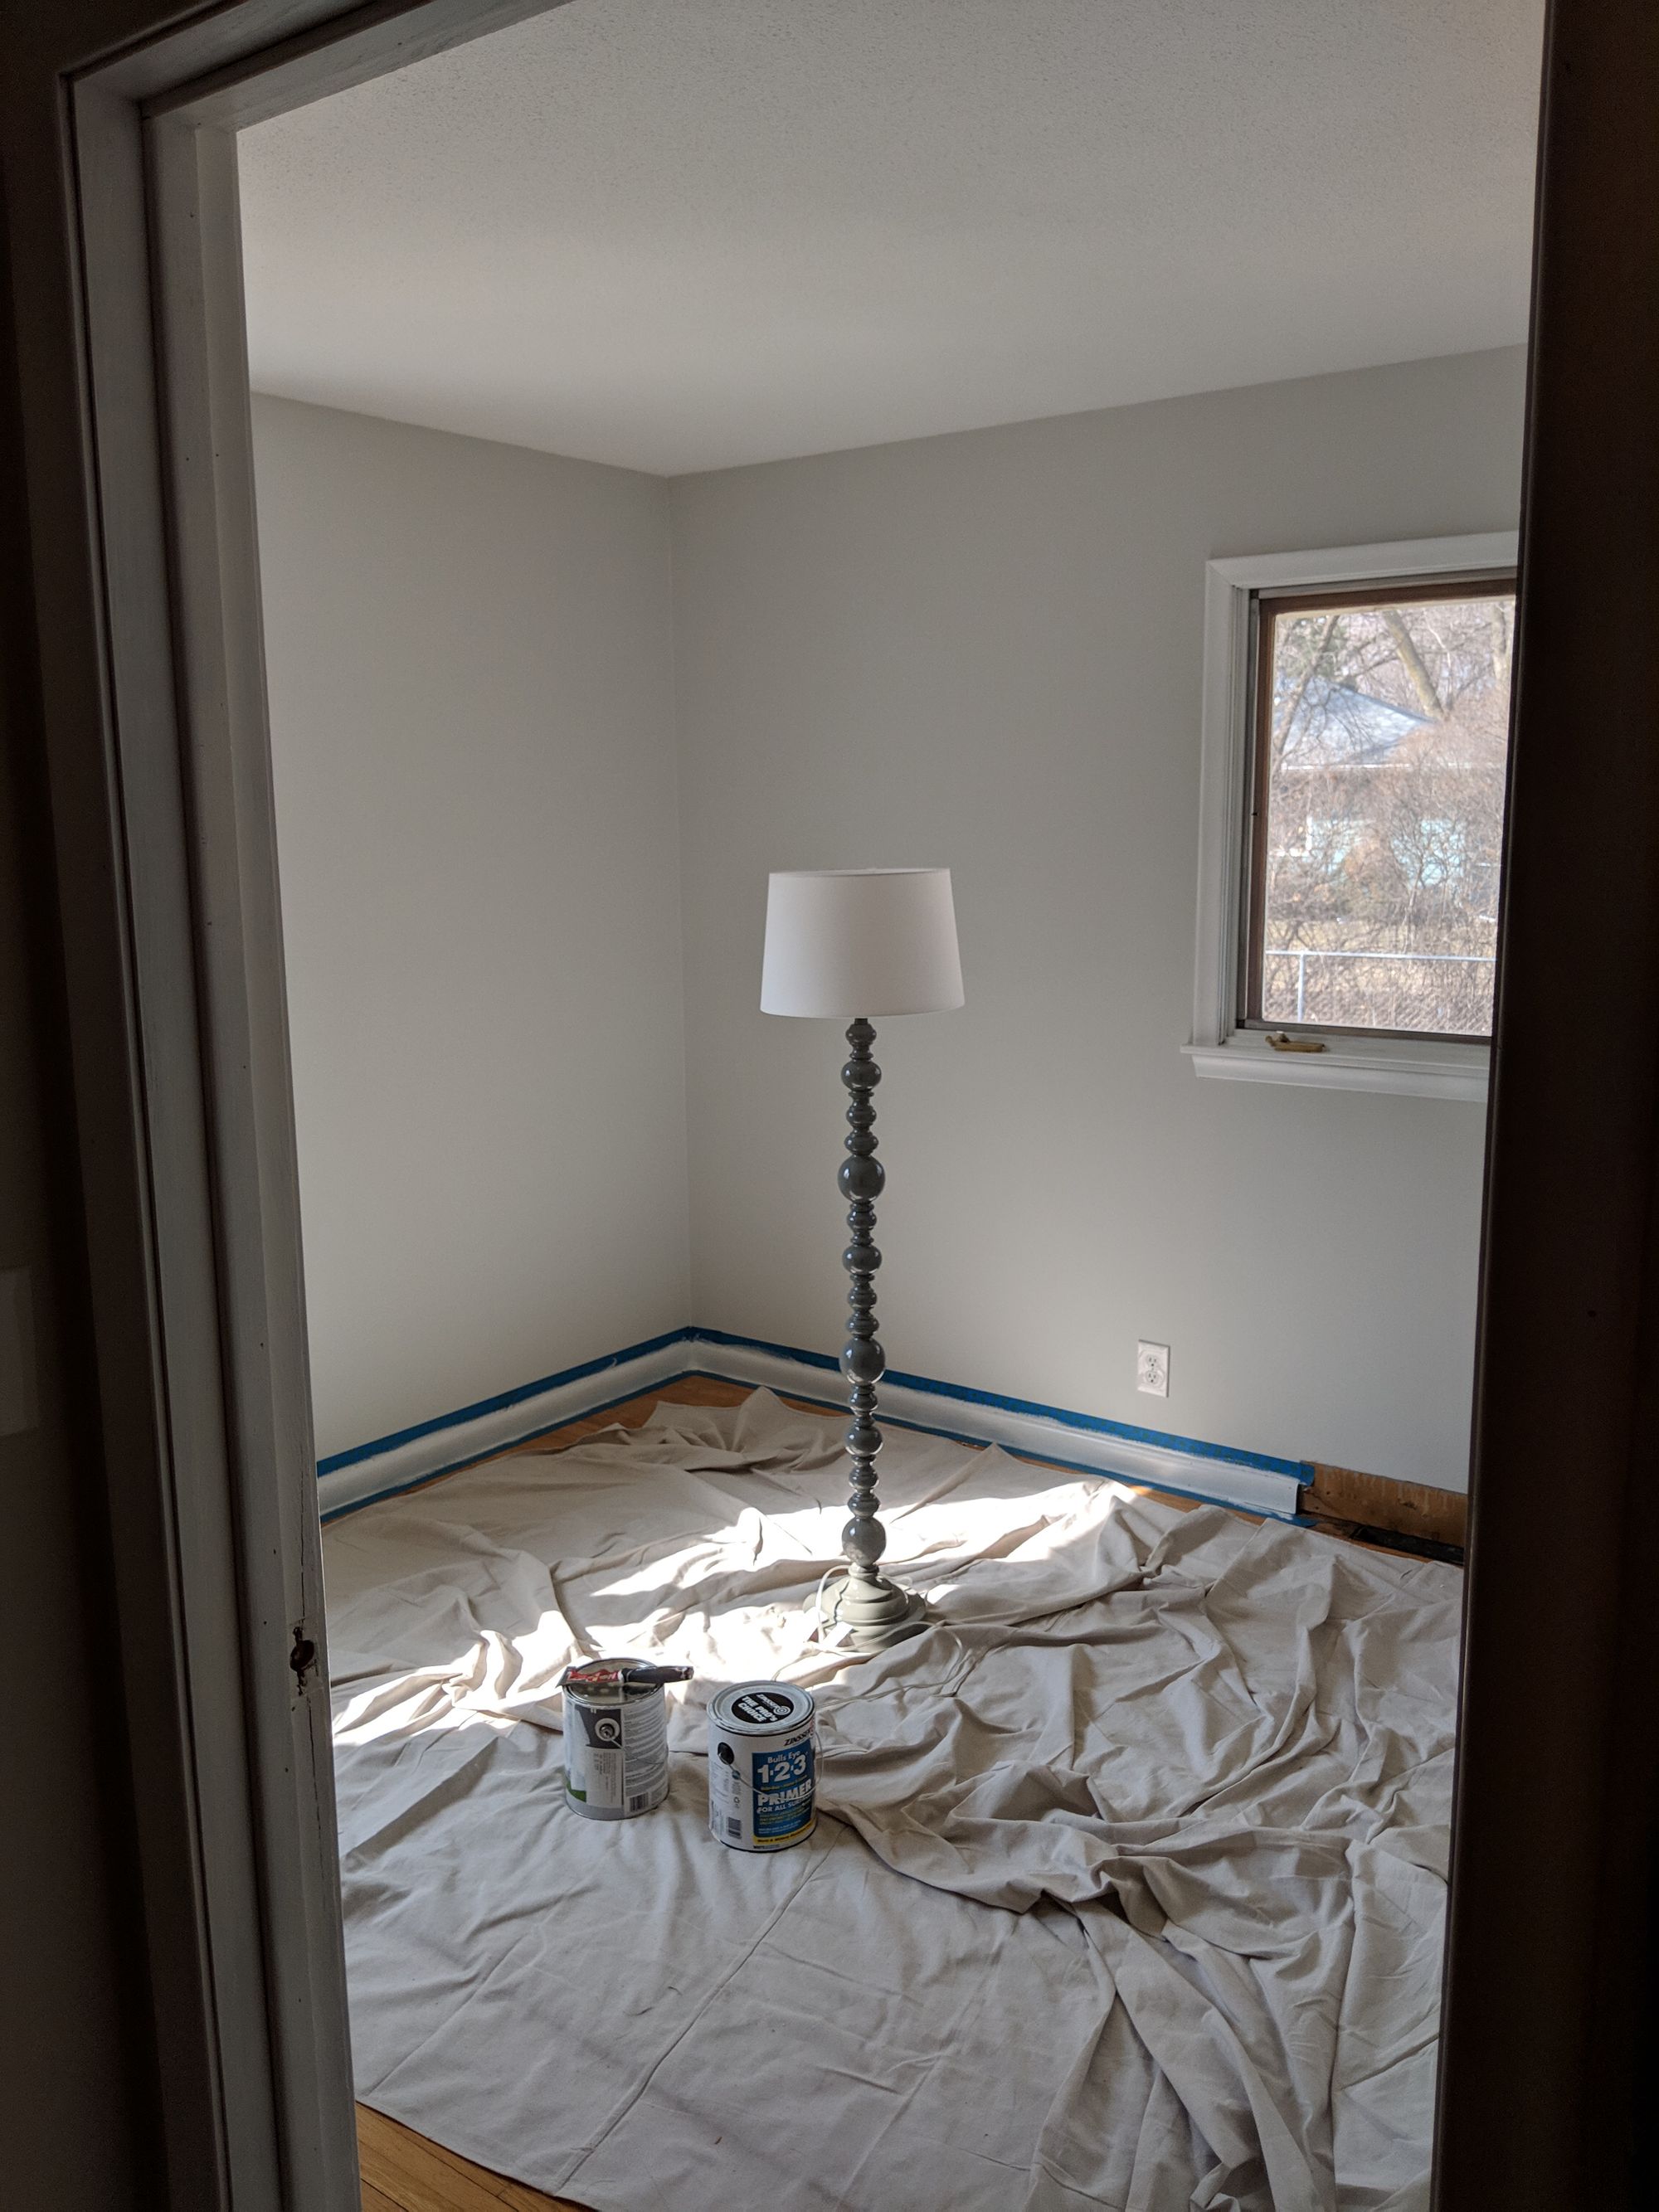
I just want to get this out of the way first: the end result looks great! I'm really happy with how it turned out and it truly transforms the room.

Materials and tools
Buying through these links helps support the site
- Paint - Benjamin Moore Advance Semi-Gloss
- Primer - Zinsser 123 or KilZ
- Paint brushes - I like Wooster
- Painter's tape – I like Frog Tape
- Painting canvas drop cloth to protect your floor
- TSP-substitute cleaner to clean wood
- Terry towels for wiping
- Abrasive hand pads or fine sandpaper with a sanding block
- Screwdriver to remove doors/fixtures
- Wood filler
- Caulk for molding and trim
Timeline
This project was over multiple weekends and I spent about 2-3 hours each session over about 4 sessions. Each time I did one coat of paint, I waited until the next session to continue. I estimate that it took me about 12 hours end-to-end including researching and going to the store to get materials.
Budget
Less than $50. A gallon of BMoore paint at Herberger's was about $25.
Steps to painting old trim
All in all this project was pretty straightforward and cheap. If this is your very first paint job, it'll be cost a bit more to get the paint tools.
Step 1: Clean the wood
I realized too late I should have done this but you can avoid my mistake. Use a TSP-substitute cleaner to remove any grease or residue from the wood before painting. This is a must on kitchen cabinets but a good step to take for painting any wood surface.
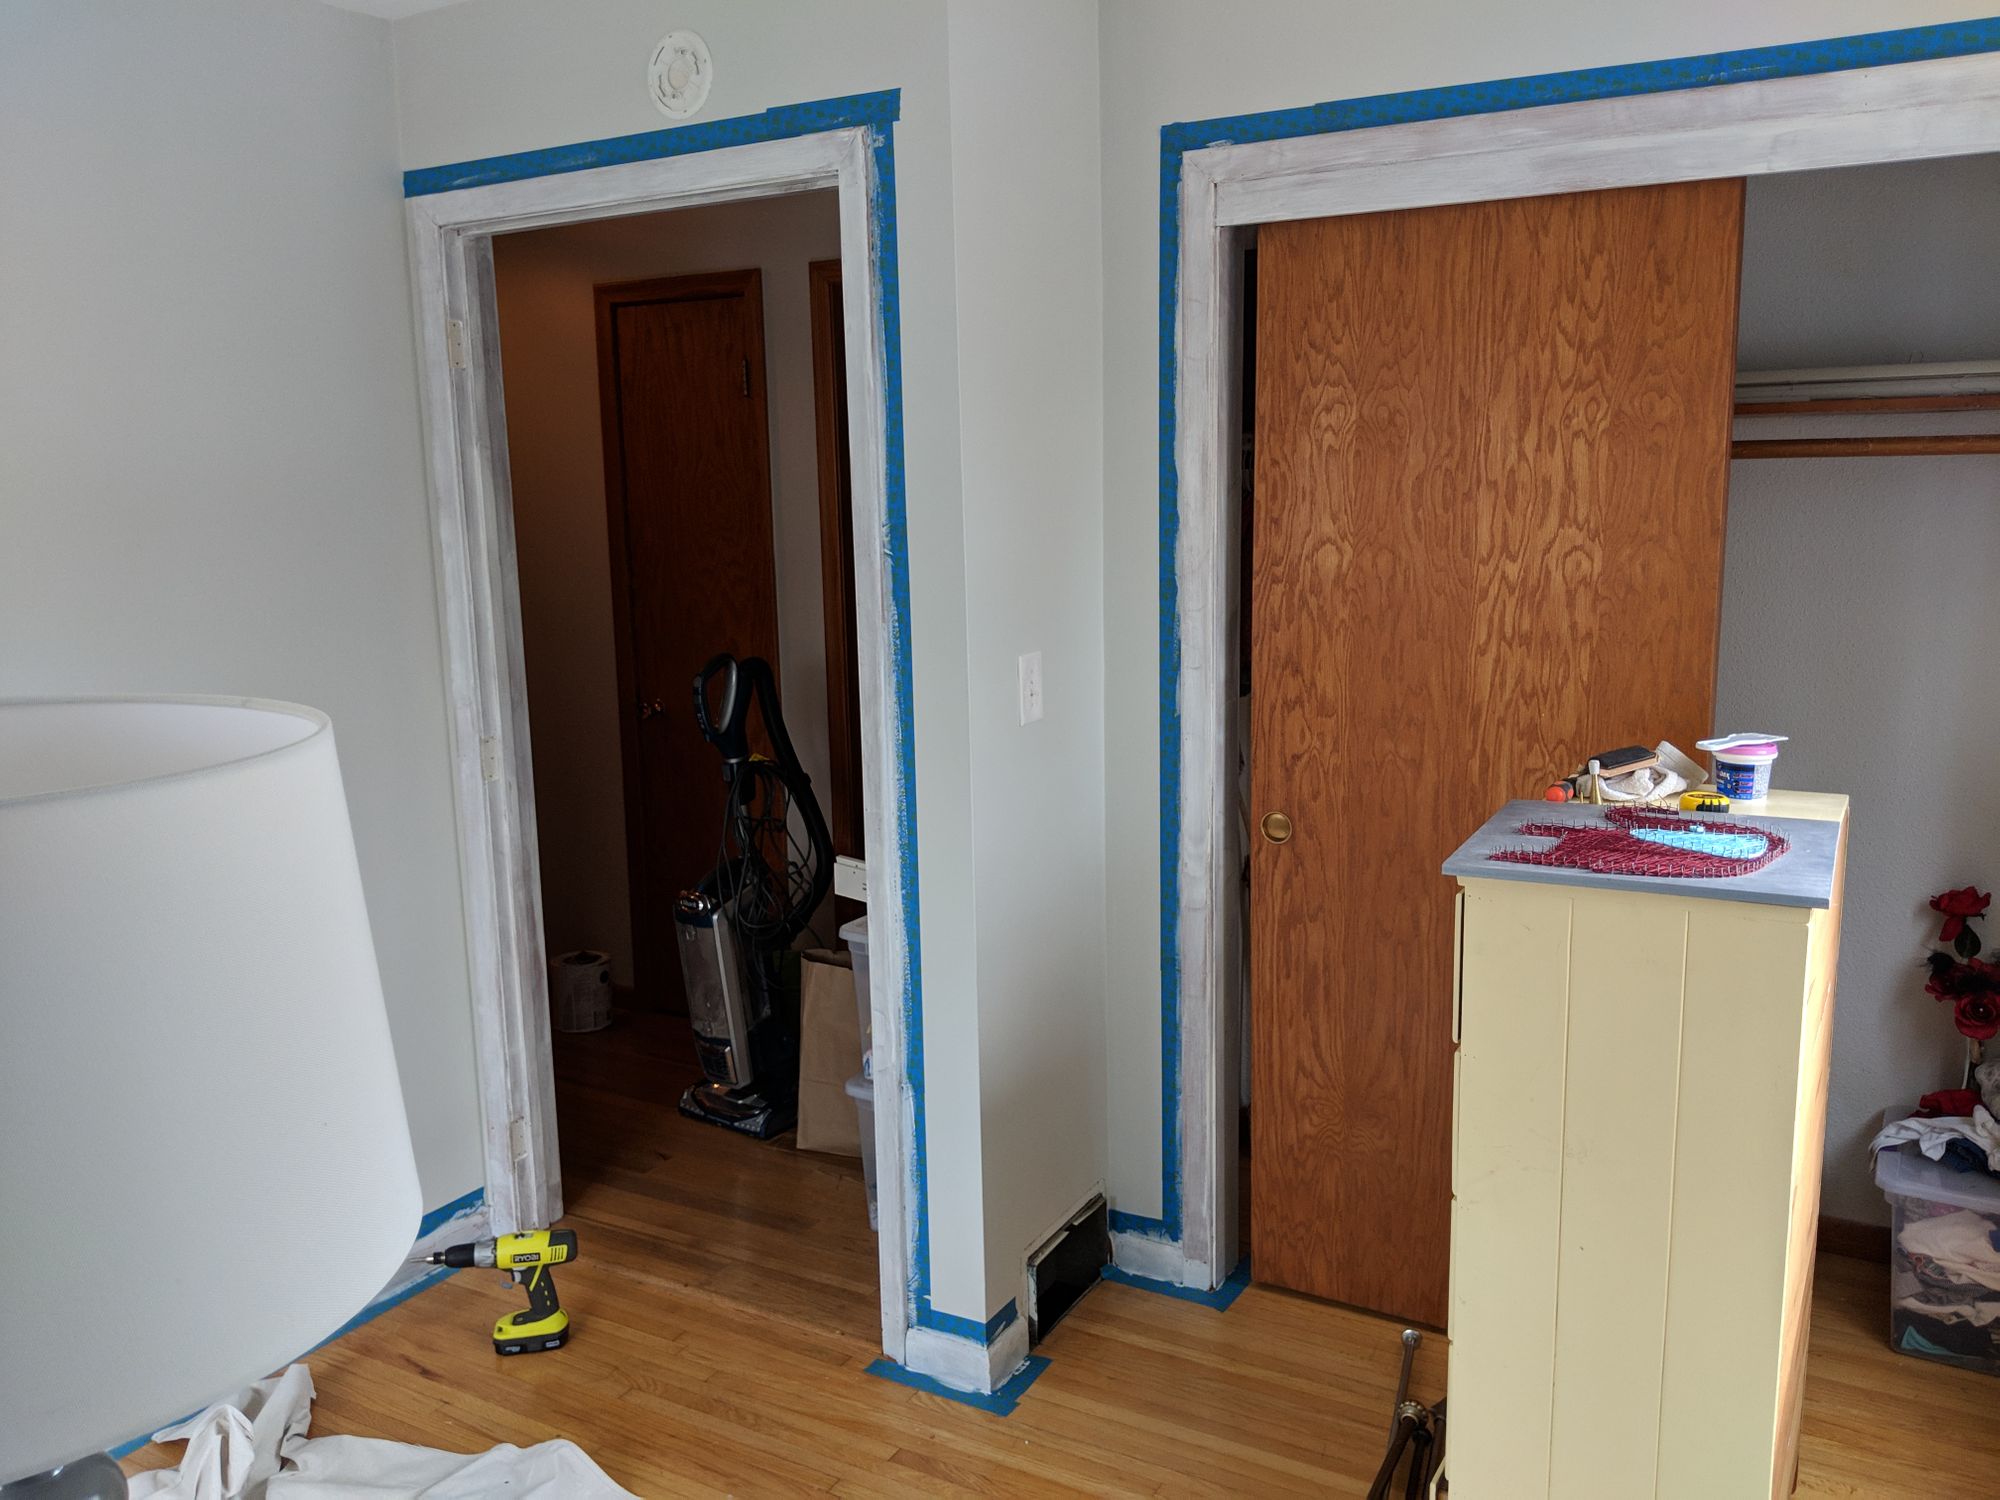
Step 2: Tape the room unless you're a pro
Take some painter's tape and tape around the areas you'll be painting. If you're a seasoned pro then you can go ahead and skip this step and paint with an angled brush without tape. I'm not a wizard though so I have to tape at this point in my journey.
Be sure to remove any fixtures from the walls, doors, and windows that might interfere with the trim. I left my closet doors on since I could move them out of the way.
Step 3: Prep the wood
You can use abrasive pads instead of sandpaper on old wood trim which will help prevent "bleeding" once you paint. Alternatively, you could use fine sandpaper (200 or so) with a hand block.
This is a necessary step to get a nicer finish. I initially didn't realize abrasive pads were preferred but I'm passing the tip onto you!
Fill in any kinda holes I with wood filler and let it all dry before priming.
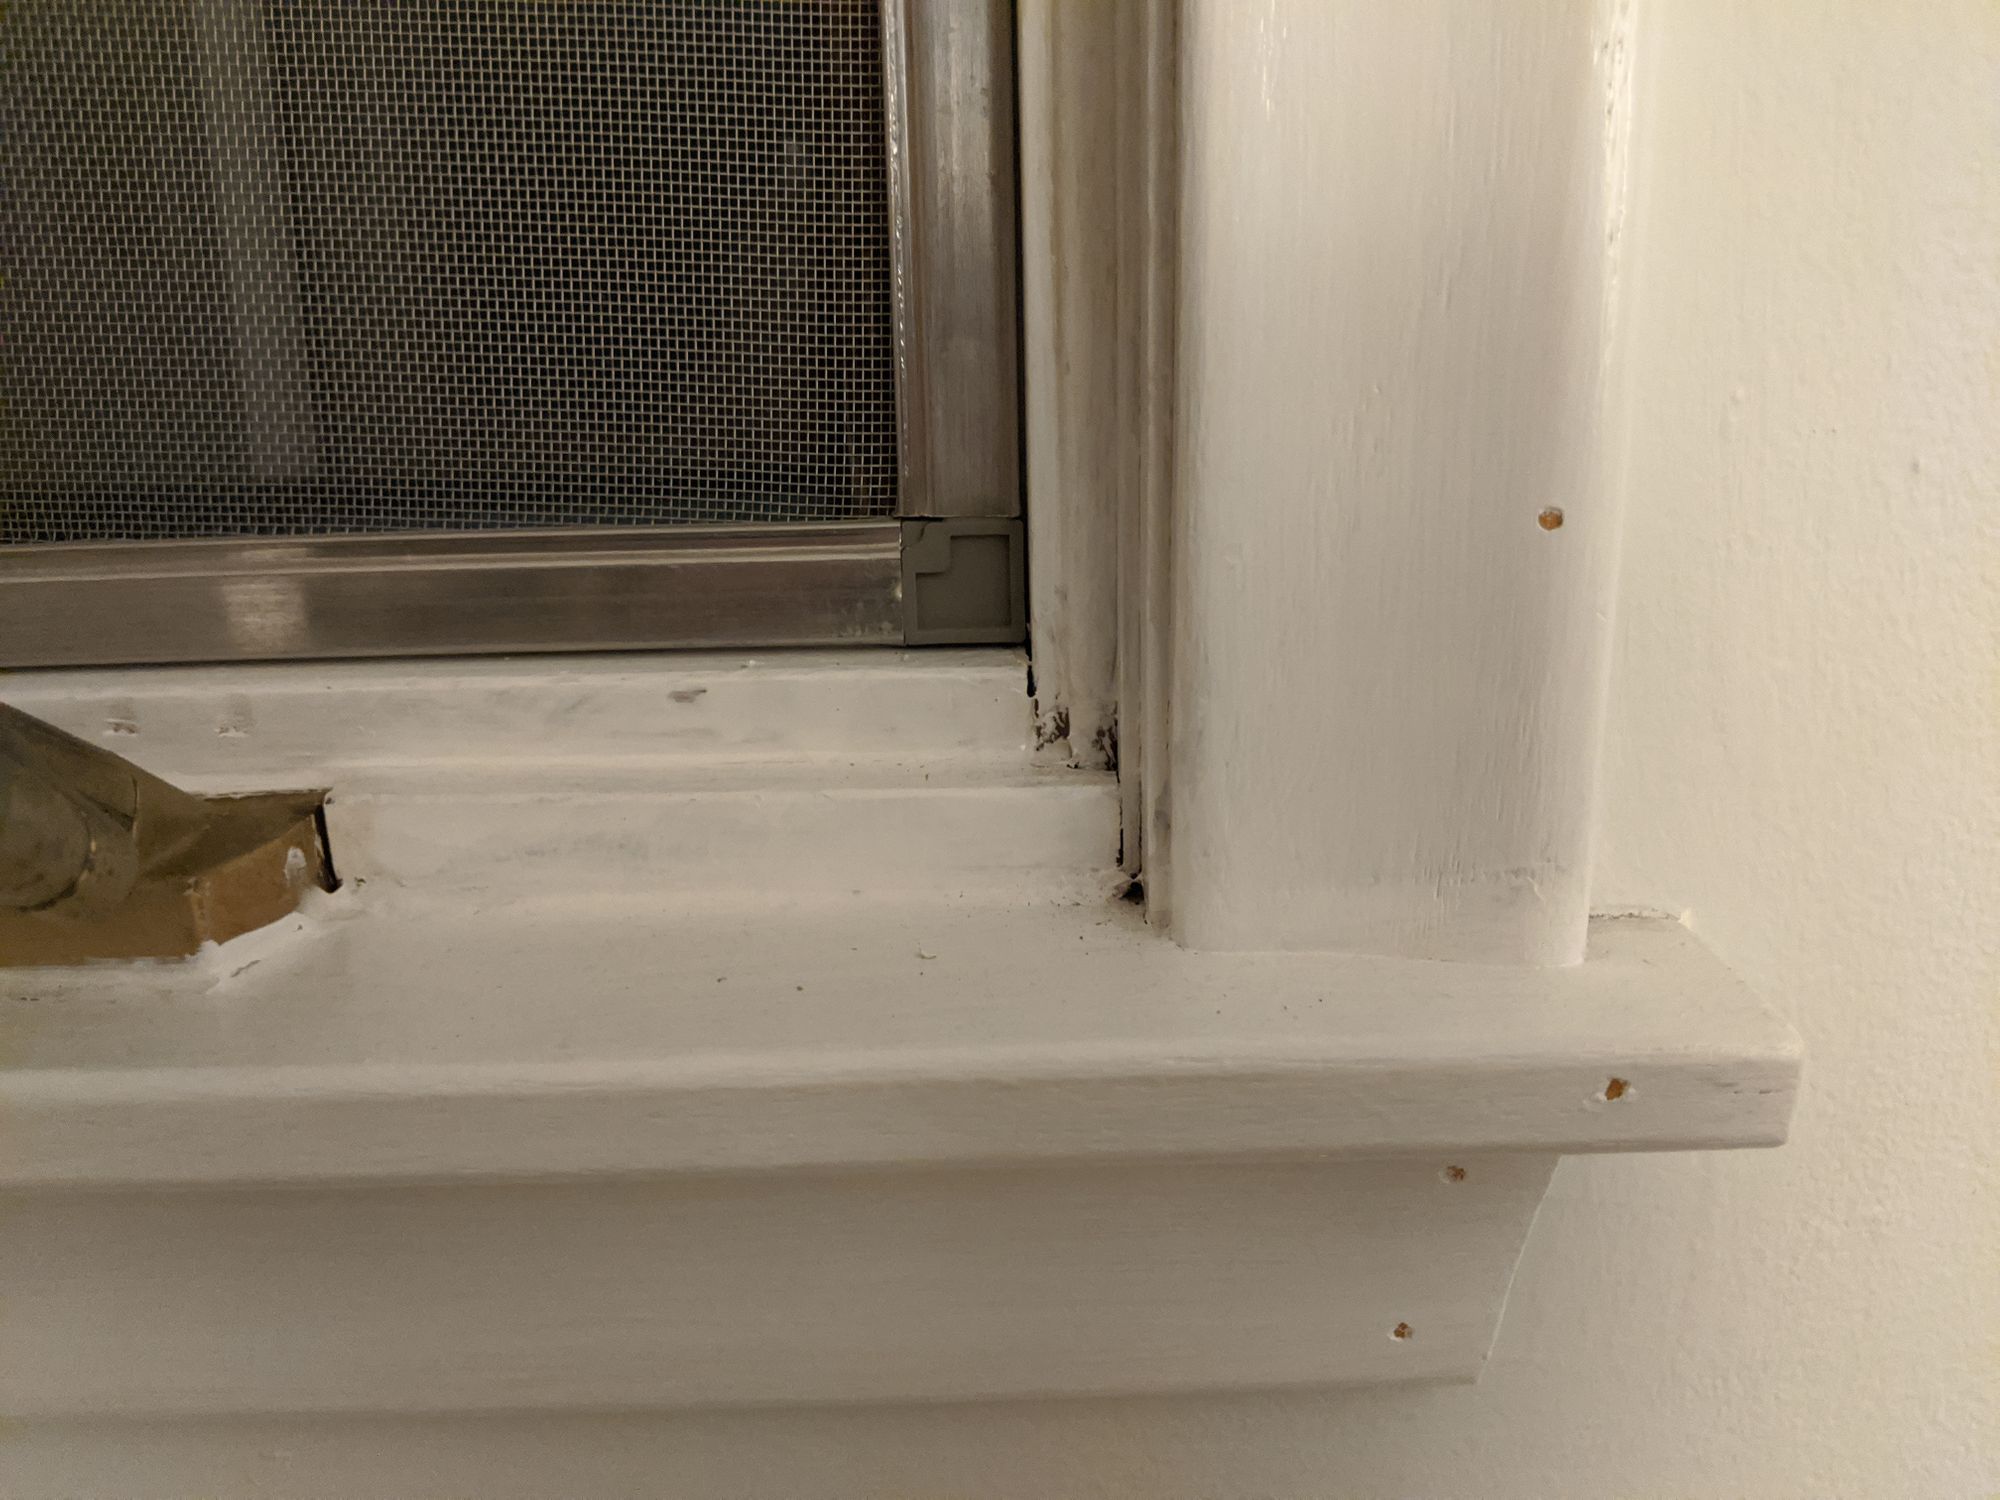
For the baseboard and casing around the doors, you can be a bit more rough. I spent a lot more time sanding the window frame/casing.
Step 4: Prime the wood
I used some Zinsser 1-2-3 water-based primer since it's what I had already. I did one coat first. This will bring out more possible little pockmarks and holes, so fill those in with filler as well.
This was before I learned about KilZ which may be a better option when painting old wood, I think I'll use it when we paint the cabinets. It's Jeff's go-to primer. I'm just going to say Jeff because by now if you've read my posts, you know I'm a True Fan.
Step 5: Paint it twice (or thrice)
For paint, I used Benjamin Moore Advance Semi-Gloss paint with the color Chantilly Lace. This came at the recommendation of a friend who does interior design, Julia (check her out on Instagram!). It looks excellent with the wall color, Horizon.
For the window frames which are a bit more visible and draw your attention, I ended up doing 3 full coats of paint because that yellow oak really shone through.
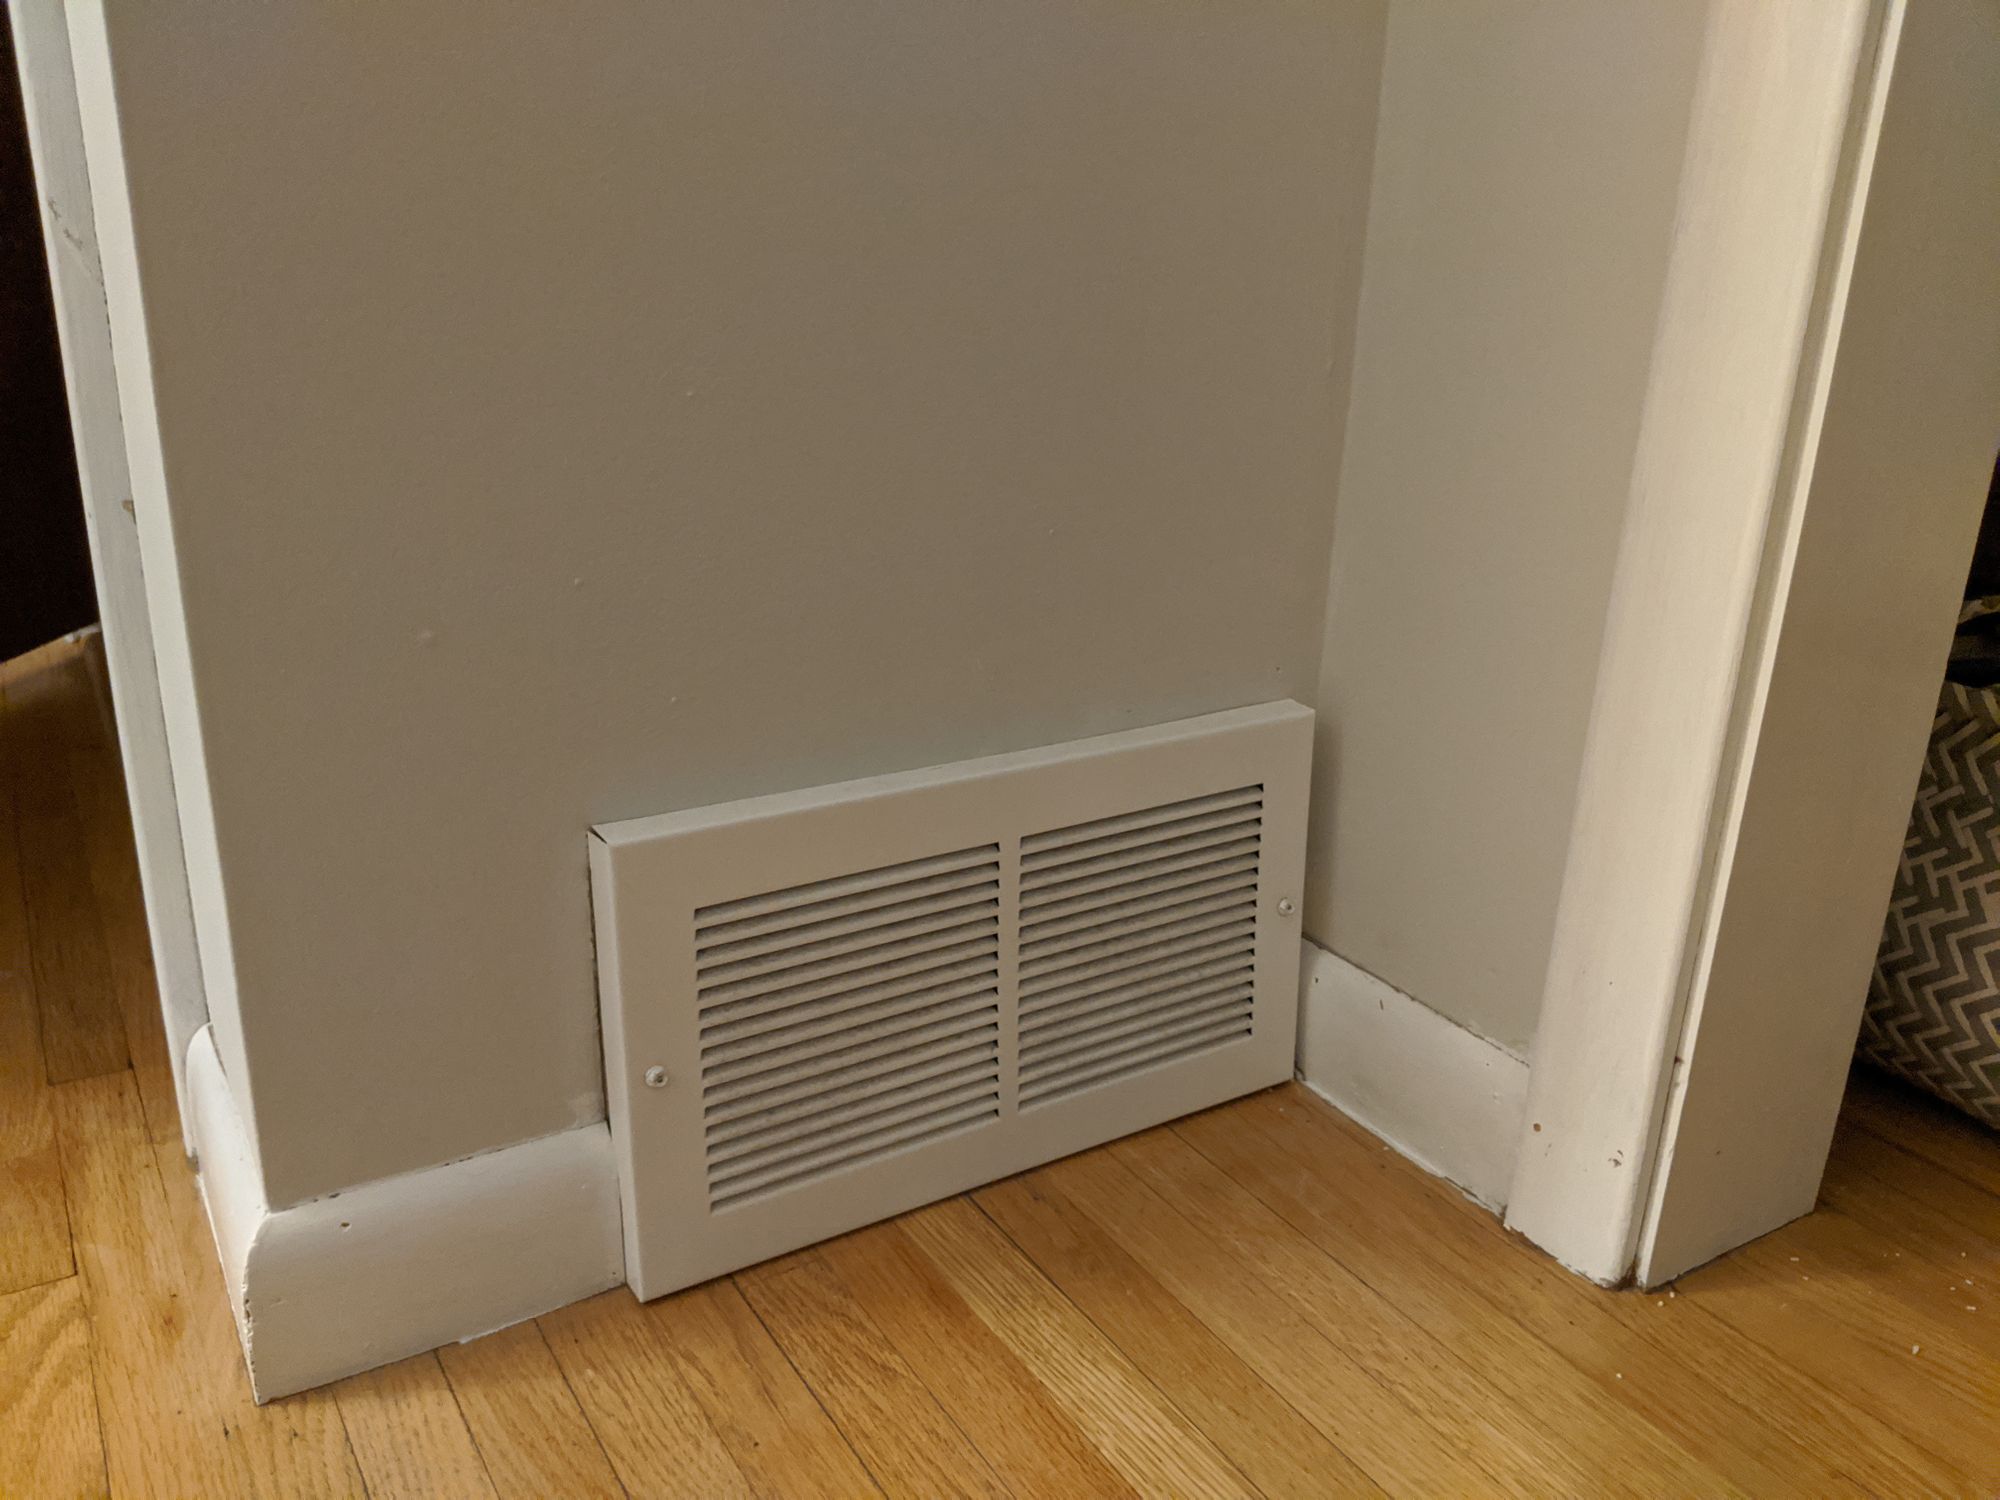
For the baseboard and door casing, I only did two coats. I would not just do one coat because I can tell where I missed a couple places that only had a single coat.
If you want the best lesson in how to paint, I recommend Jeff's Painting Like a Pro Series A-Z video:
Step 6: Optionally sand it one last time
If you used coarser grit sandpaper instead of abrasive pads, you may want to go over everything again with a finer grit. In my case, I took some 200 super fine grit sand paper and went over the window paint after it dried. I think this helped give a final smooth finish to it.
Step 7: Clean up!
Carefully remove the tape trying to ensure you pull at a 45° angle to minimize taking paint off with it.
💡 Clever Tip: If some paint gets on the wall, take an angled brush with your wall's color and paint the edge of the trim to make it consistent.
What went wrong
No DIY post is complete without some things that went wrong, right?
- Even though I taped the floors, some paint still got onto the hardwood. No big deal as it was few and far between plus could always be sanded off in the future.
- I didn't do enough coats on the outer casing of the door in the hallway which I only noticed later. It's okay because the hallway will be next to be painted 😎
A great first-time DIY project
This was my first "actual" DIY project in the new house and it came out well. Immediately after I finished the nursery I wanted to do the rest of the upstairs. I will soon and I'll be perfecting this formula as I go through it. I think the sanding and prepping steps are probably the most important to get a nice smooth-looking finish.
So you know what I think of the overall result? Looks good to me. 🐺