Disclosure: Some links on this page below are affiliate links, meaning, at no additional cost to you, we will earn a commission if you click through and purchase. Read our disclosure for more info.
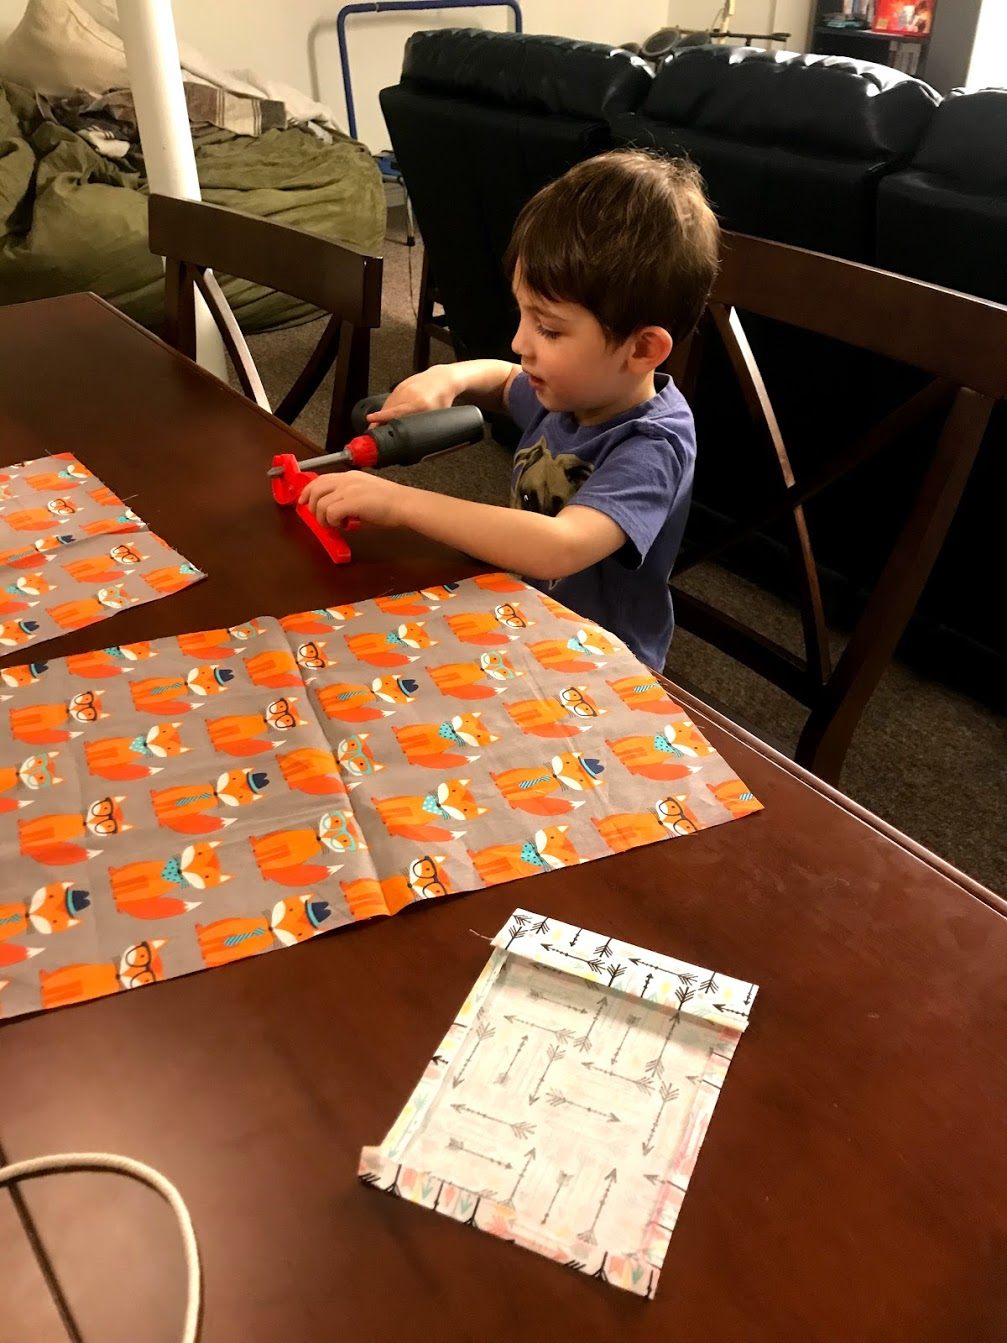
Going out with kids requires bringing lots of stuff. Diapers, wipes, toys, extra pants and underwear for a potty-trained toddler, snacks, drinks, pacifier. Kids are just very needy! I decided I wanted to make some cute backpacks for the kids, so they would have something to carry their things in. As they get older they can be more "in charge" of their bags and can pack and handle them solo.
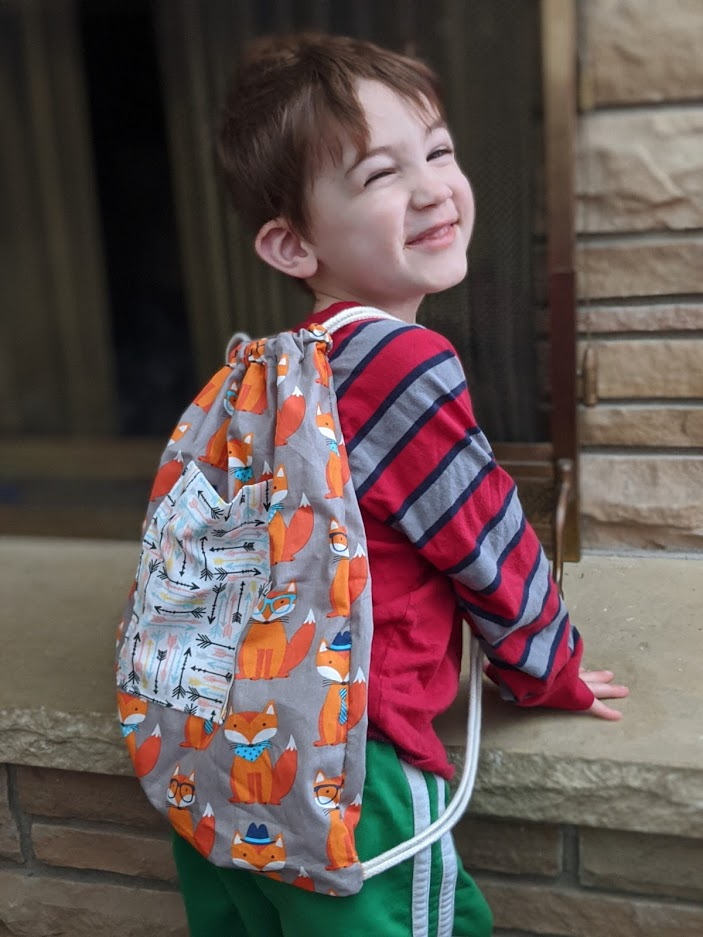
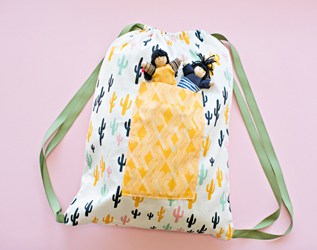
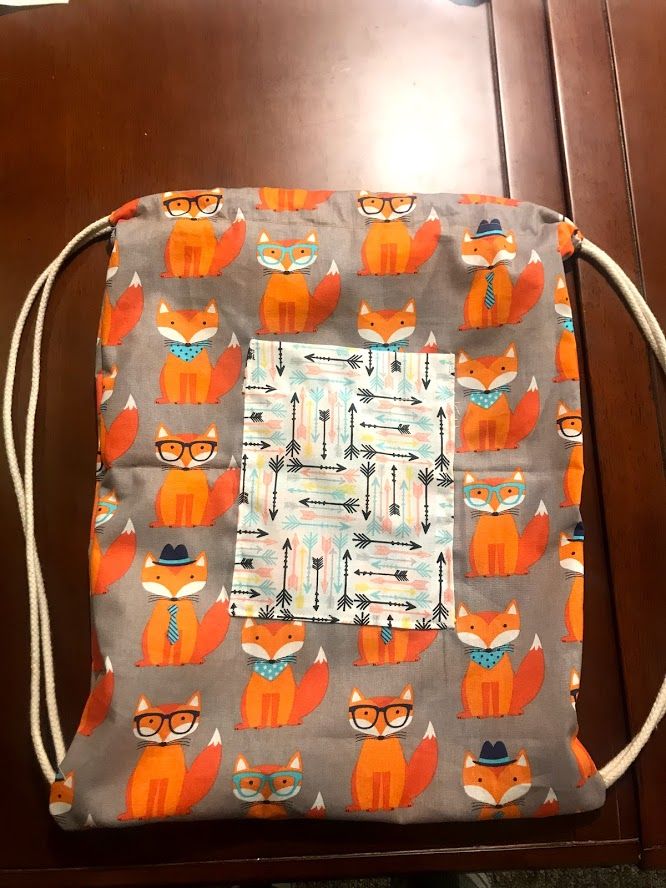
I got some incredibly cute fabric at Joann's, with foxes for Rami and arrows for Saira. I decided to make their two bags opposites of each other, as in, Rami's bag will be foxes with an arrow pocket, and Saira's will be arrows with a fox pocket. This post only has Rami's bag, because I haven't finished Saira's yet. I have a long list of projects to do, and I have another one that is time-sensitive that I have to do next!


If there's not a JOANN by you, you can find similar fabric online at Fabric.com!
My brother-in-law sent me a great pattern for a drawstring backpack from Hello Wonderful, which said it takes about 30 minutes and can be a project that kids help with.
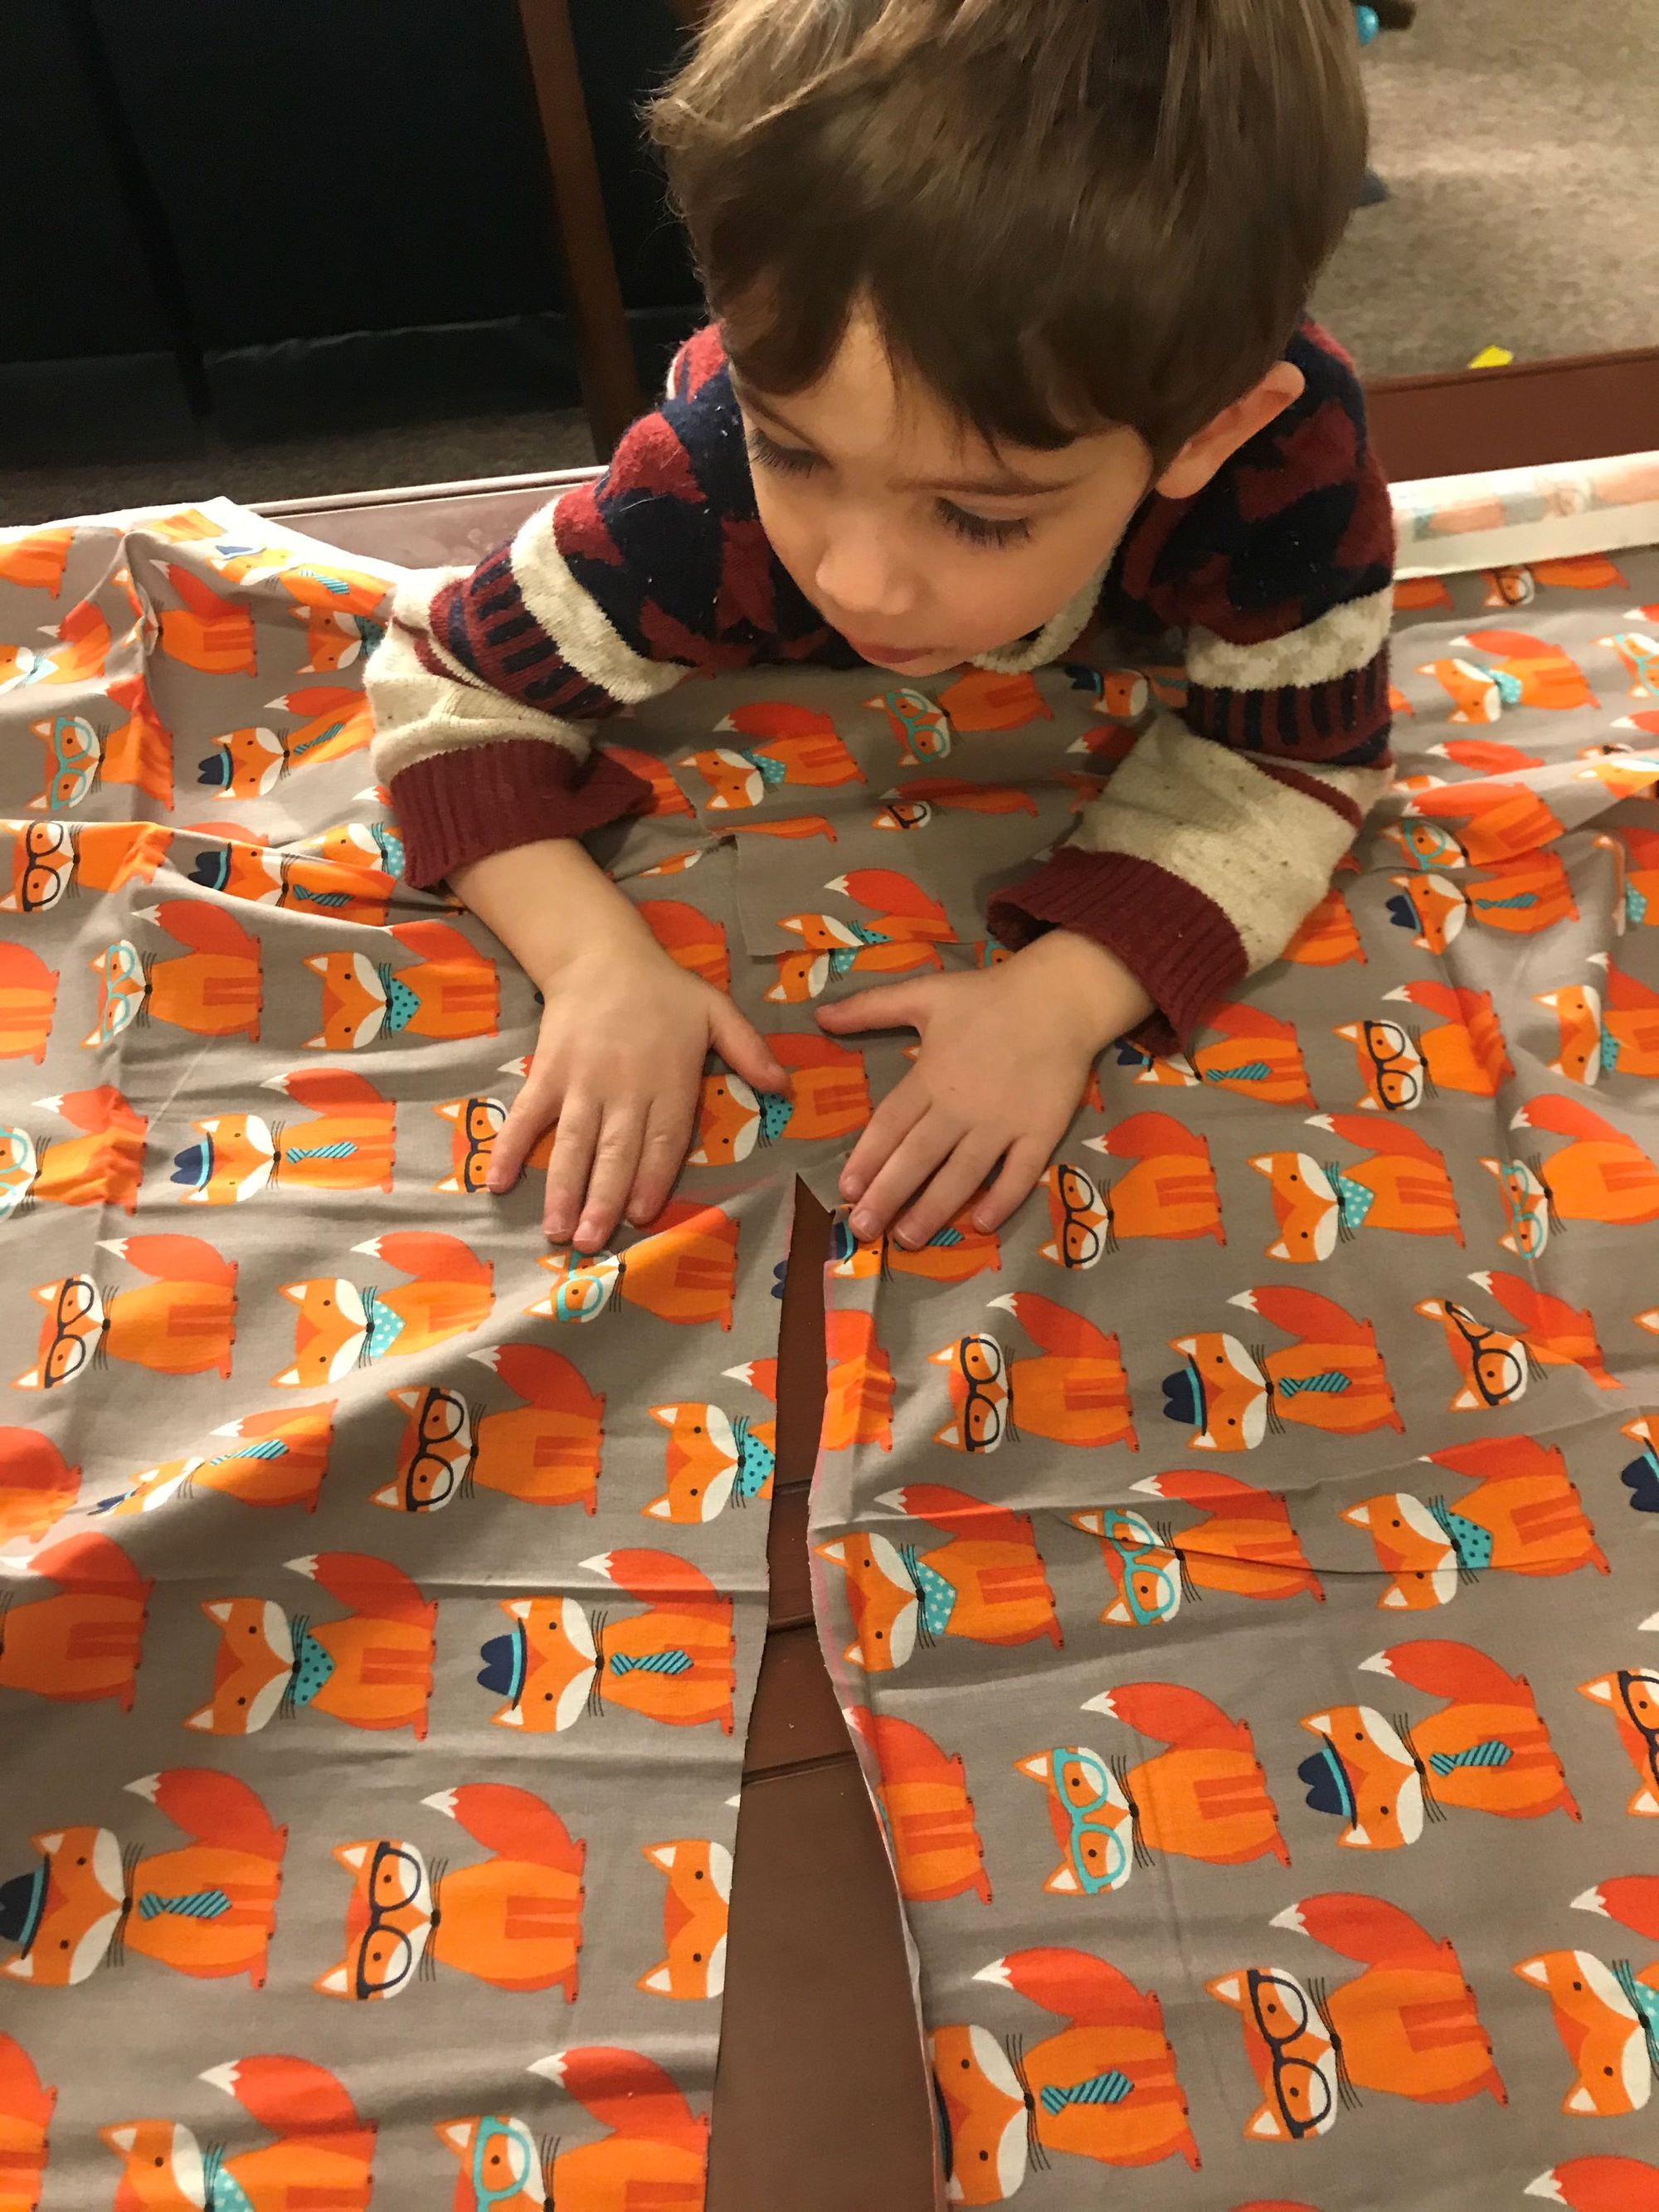
Well, my kids are a little too young to help, but I will say it seemed to take about 30 minutes in total (partially done with Rami, then a little bit to finish after bedtime!)
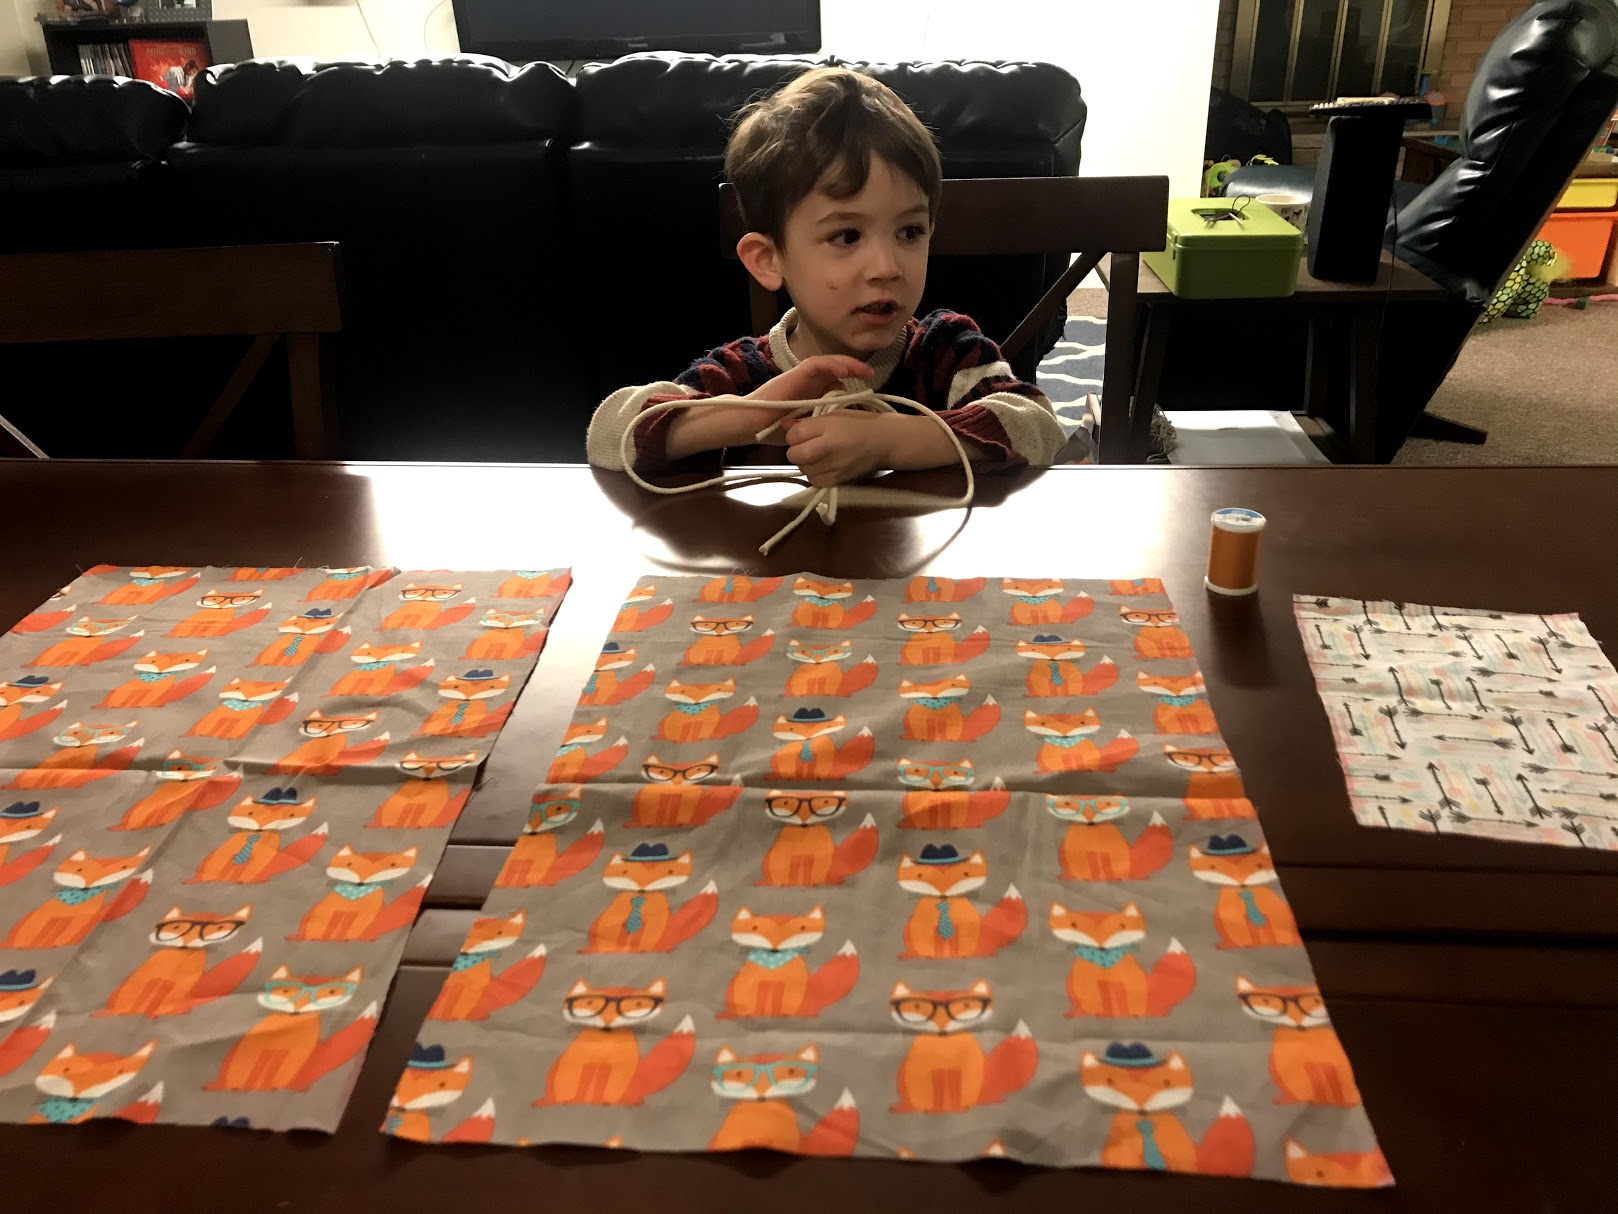
I started by cutting out the fabric pieces, including one for the pocket. I also cut the pieces of cord and got my thread ready.

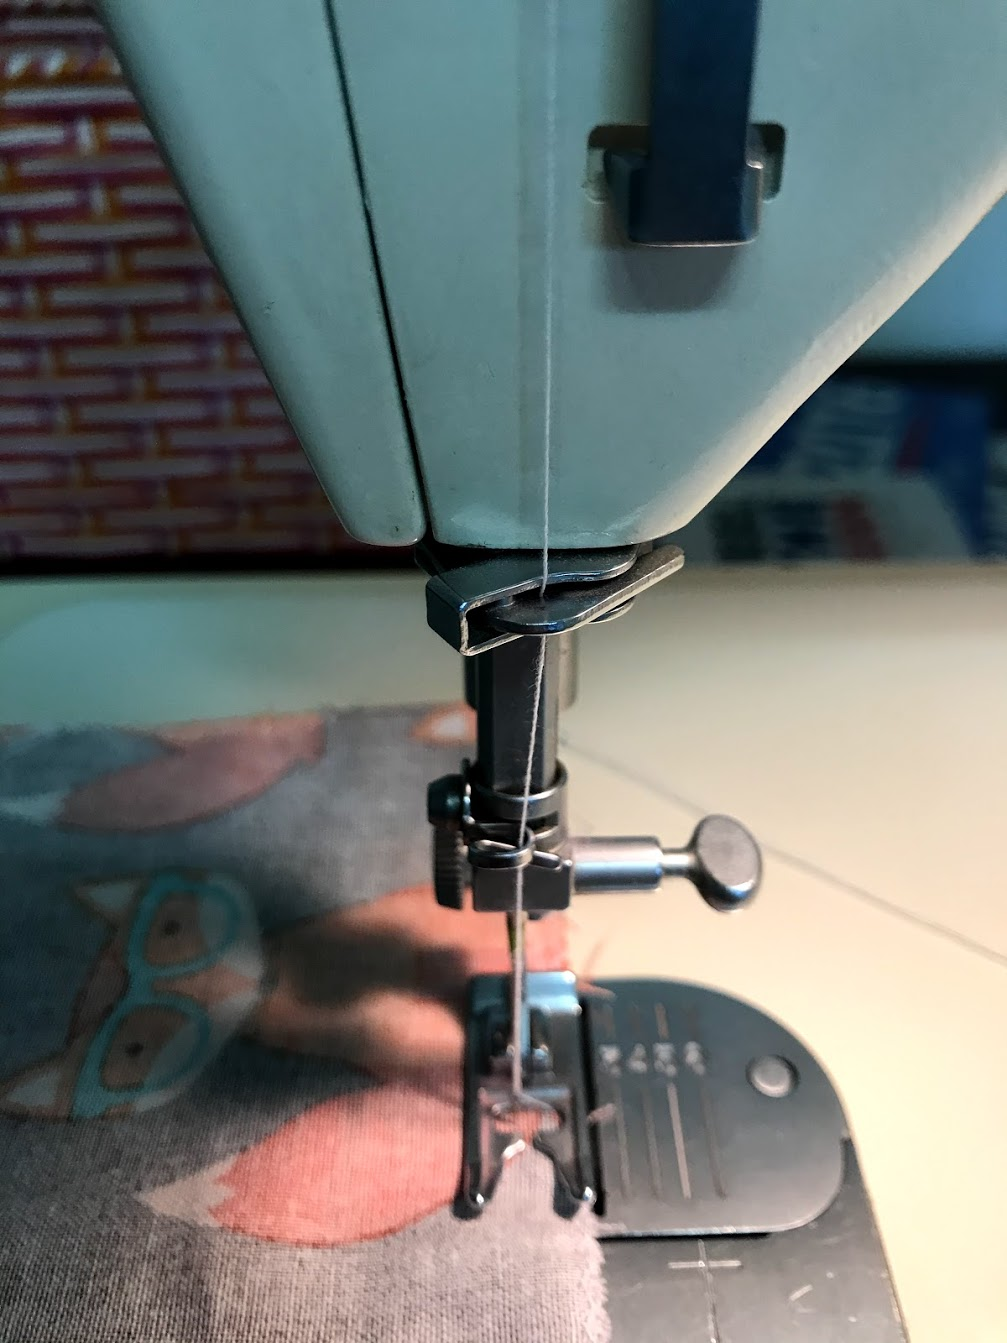
Next, I followed all the directions for putting on the pocket. I folded the sides in by a quarter inch, then folded down the top by an inch. Once I had all the sides ironed down, I picked where I wanted it on the bag and sewed it on!
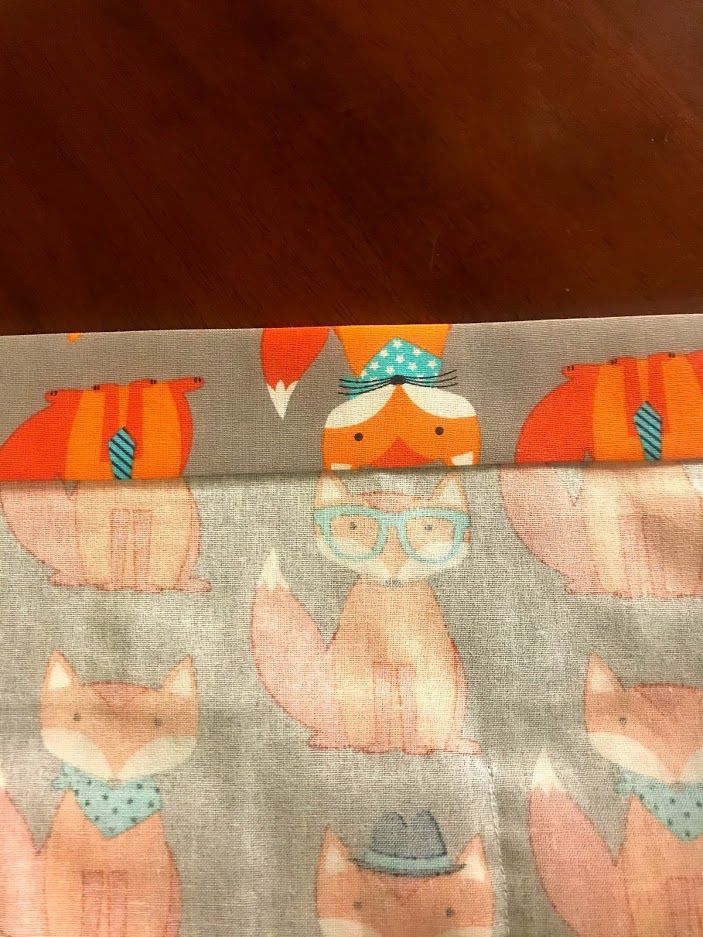
I think the author of this pattern does a nice job talking you through the steps, but the diagrams and pictures with arrows were the most helpful part for me. I highly recommend taking a look at all the pictures before starting anything. The next part of the pattern requires you to put the two sides of the bag together with right sides together. You should start sewing two inches down, then leave an inch open at the bottom. This did not make sense to me initially when I read it, which is why I highly recommend the diagrams, which are more clear.
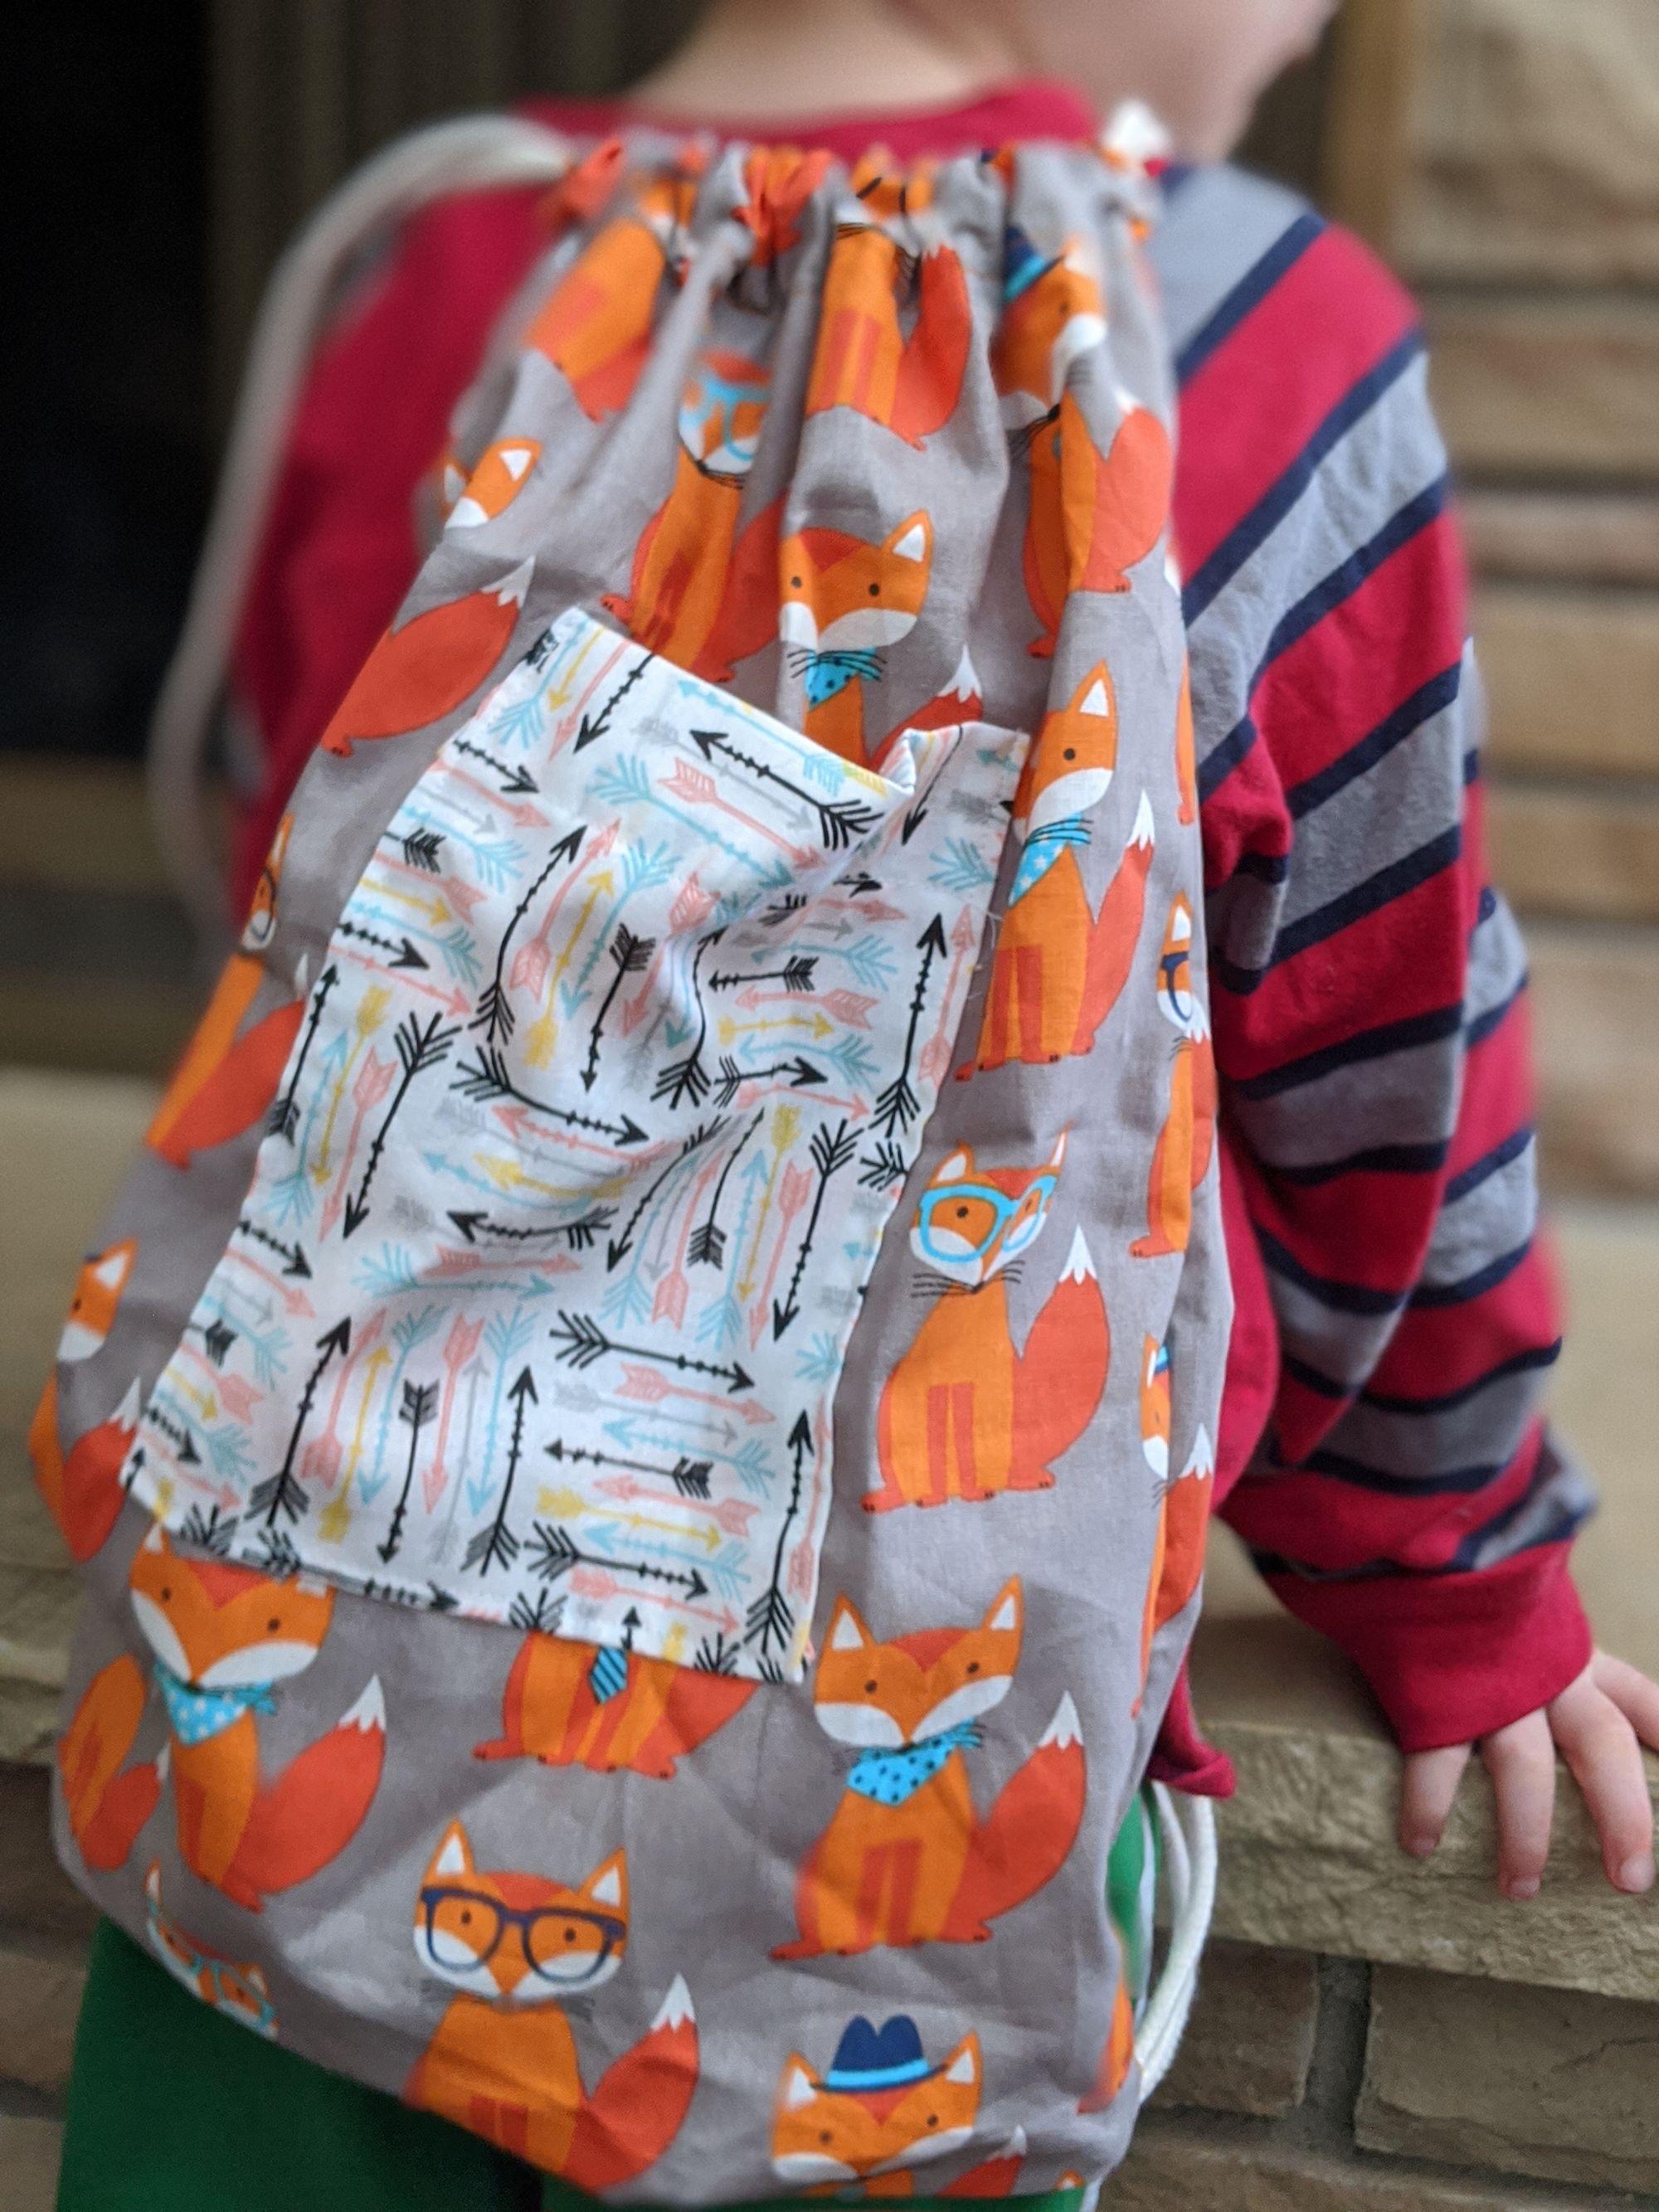
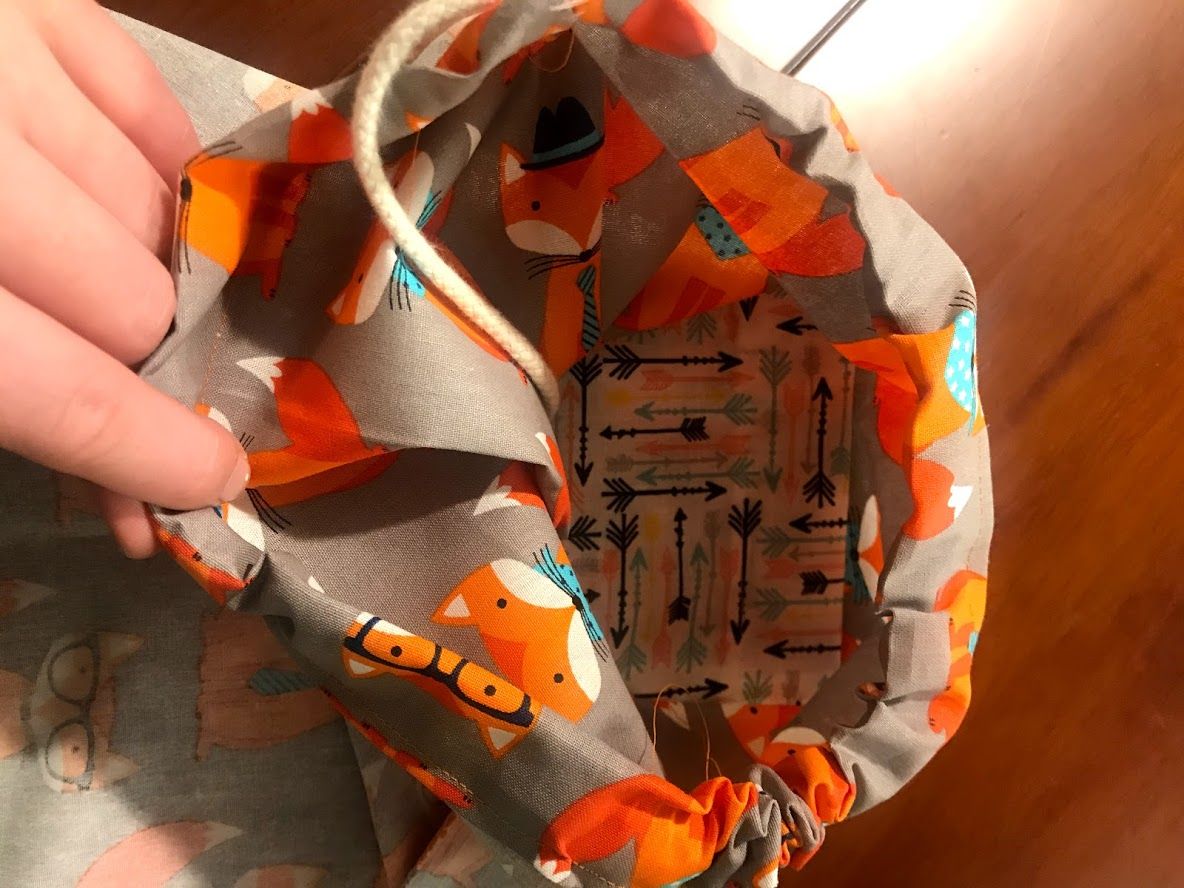
The last part of the bag is the cord or string, which turns an ordinary bag into a backpack! The cord zipped right into place with a safety pin to help thread it through, and was really very easy. I then closed up the bottom of the bag by sewing over the ends of the cords into the corners of the bag. Easy!
I'm so excited to spend the summer with the kids again. This will be our second summer off together, since I started working at a school in 2018. I never realized how much I could appreciate having summers back again as an adult! Now I really can't imagine going back to a job without that gift of time with my kids, especially while they are little.