Disclosure: Some links on this page below are affiliate links, meaning, at no additional cost to you, we will earn a commission if you click through and purchase. Read our disclosure for more info.
The past month or so I've visited a friend for a couple afternoons to help learn how he's remodeling his bathroom which is a future project I may take up.
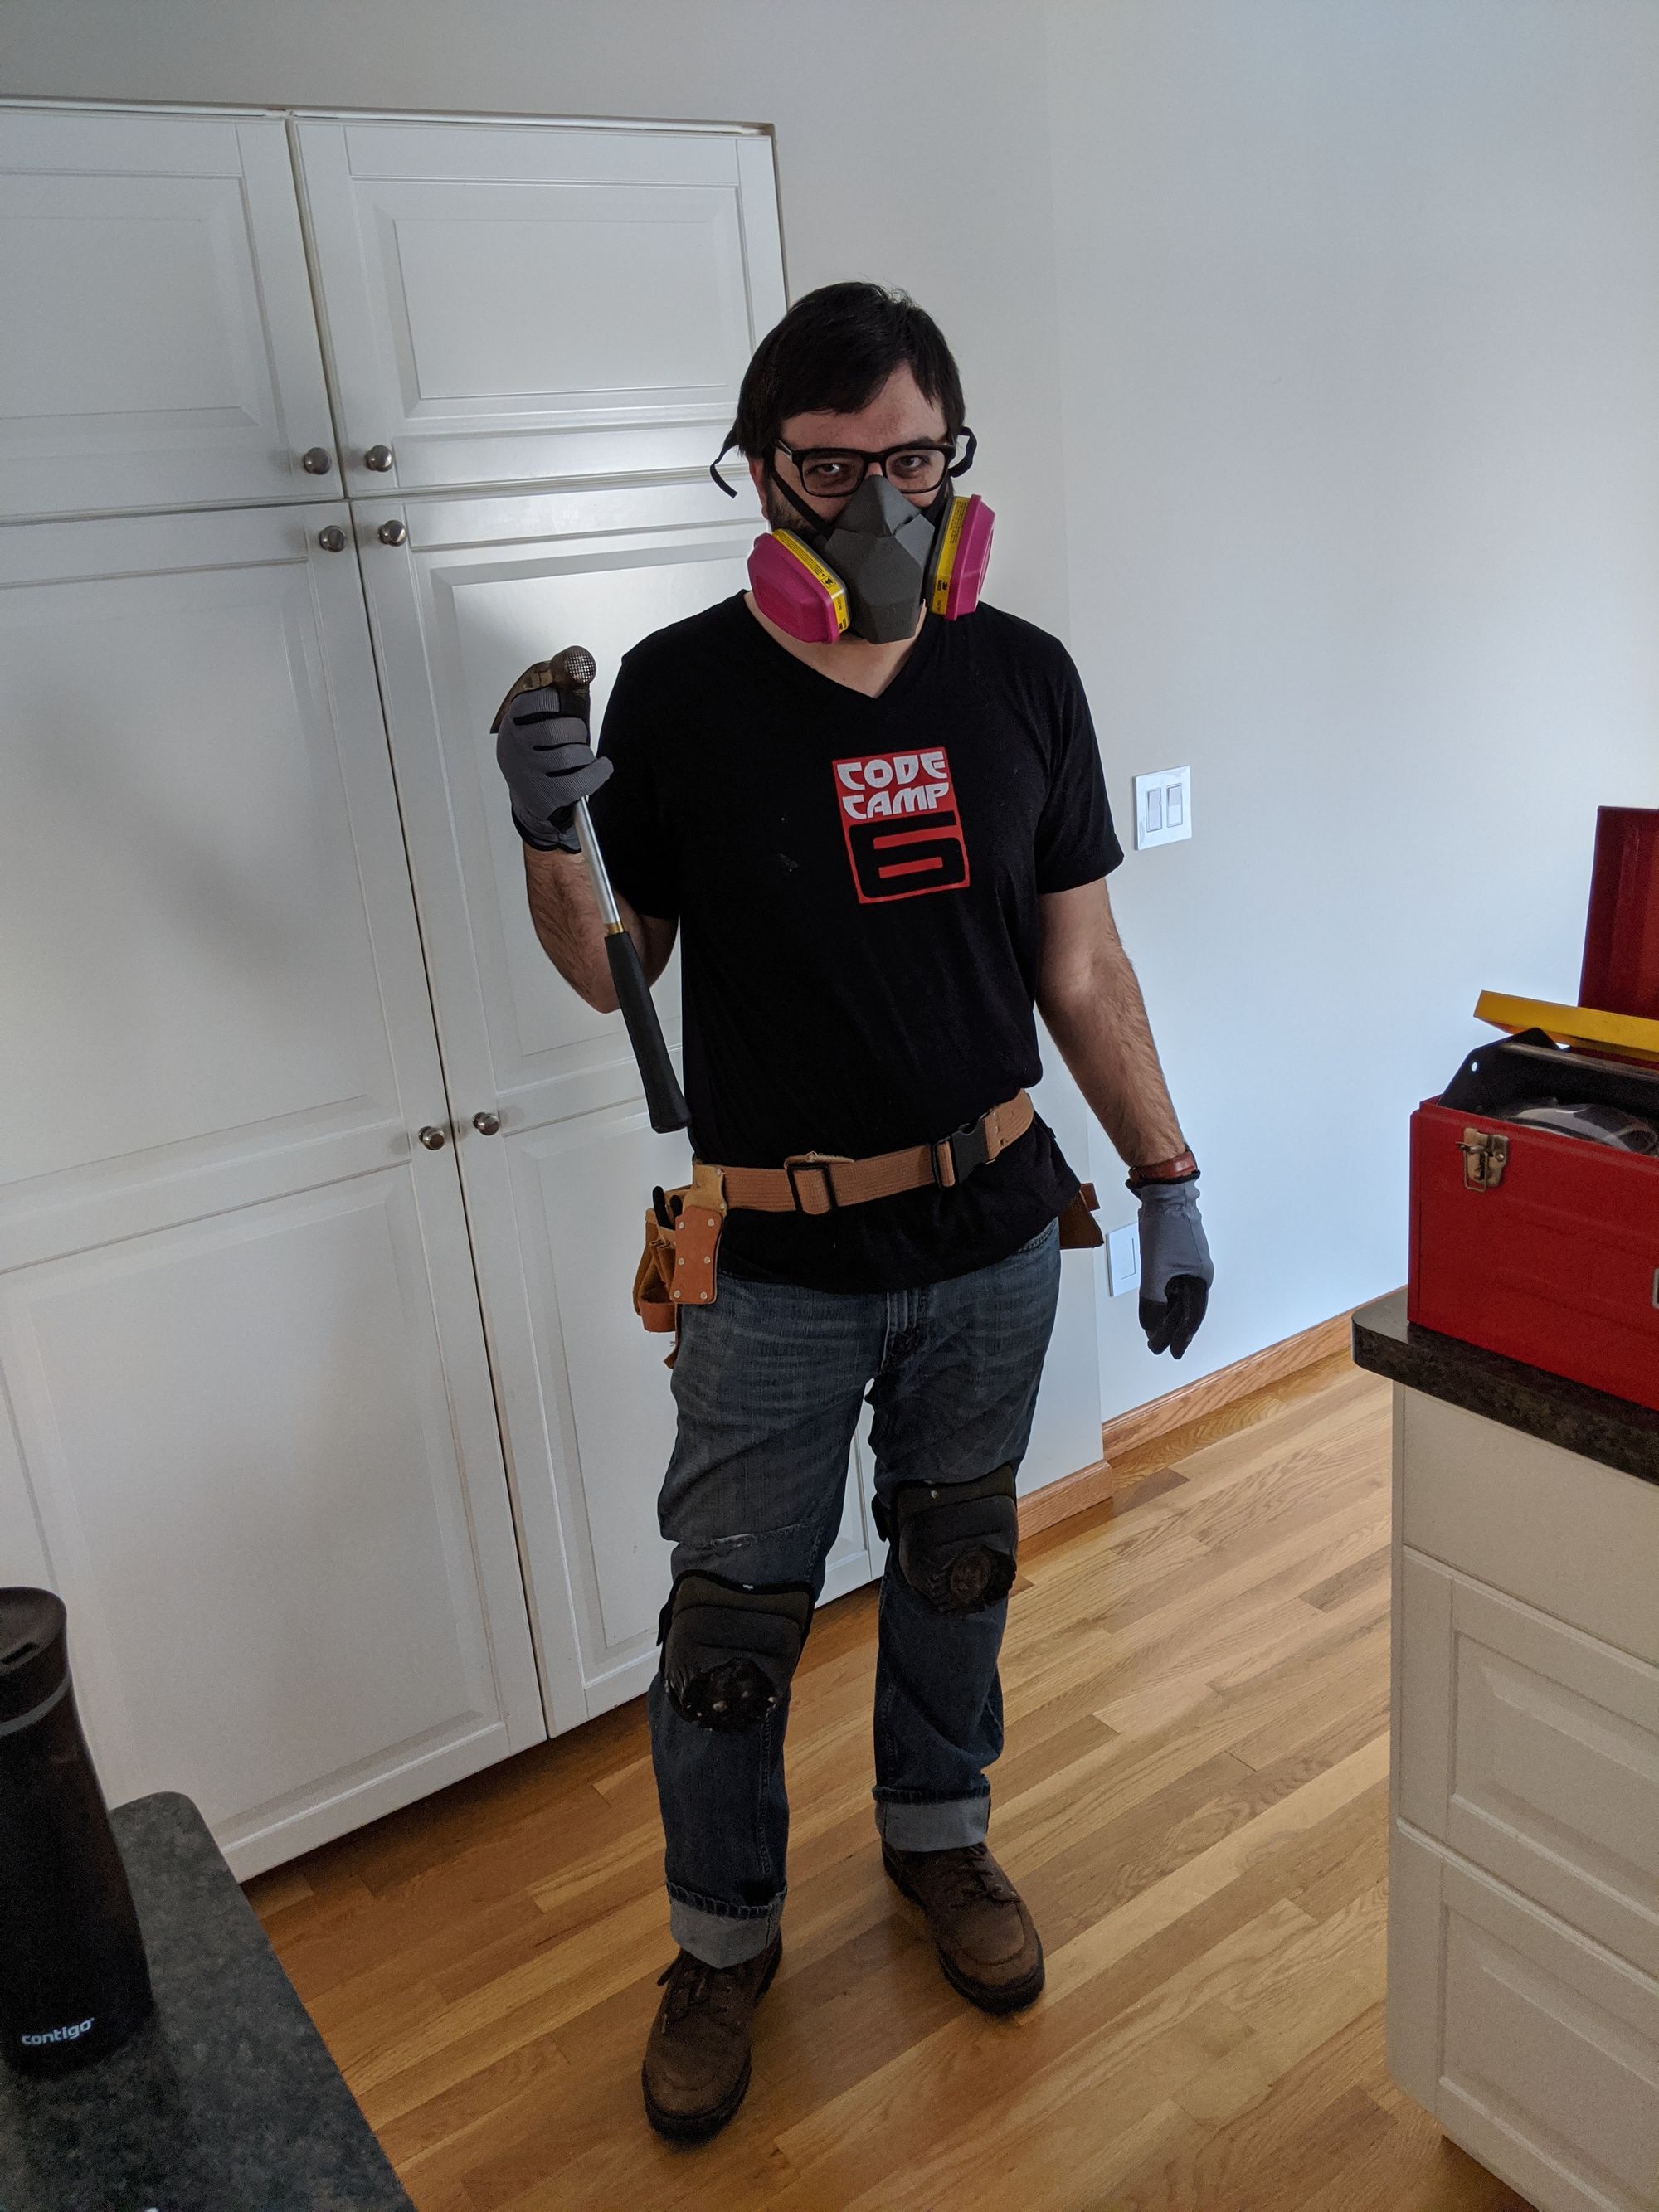
That photo above is me in full DIY regalia!
Another home improvement fair
Before I discuss what I learned helping my friend, I was able to attend another local home improvement fair! I met with a design build firm, whom I have coming over for a consult and I also scheduled an estimate for solar panels (more on that soon). The event was put on by my city so it was free and was informative!
Tools of the trade
It's worth mentioning what I brought to the "job site". I have a red toolchest I can lug around, it's my dad's, it's made of solid steel and heavy as heck 😪 You can see it in the photo above.
These are the tools we used during the days I helped:
- Respirator
- Knee pads (comfortable)
- Power screwdriver
- Hammer
- Level
- Utility knife
- Gloves
- Painter's 5-in-1 tool
- Heavy-duty scissors
- Tape measure
- Pencil/marker
- Toolbelt (!)
I wanted to mention how useful it was to use a toolbelt. We were constantly moving around so having all my stuff on my person was really helpful, especially with stuff like a tape measure and pencil/marker. My buddy didn't have one and he regretted it I think 😋
 Kamran
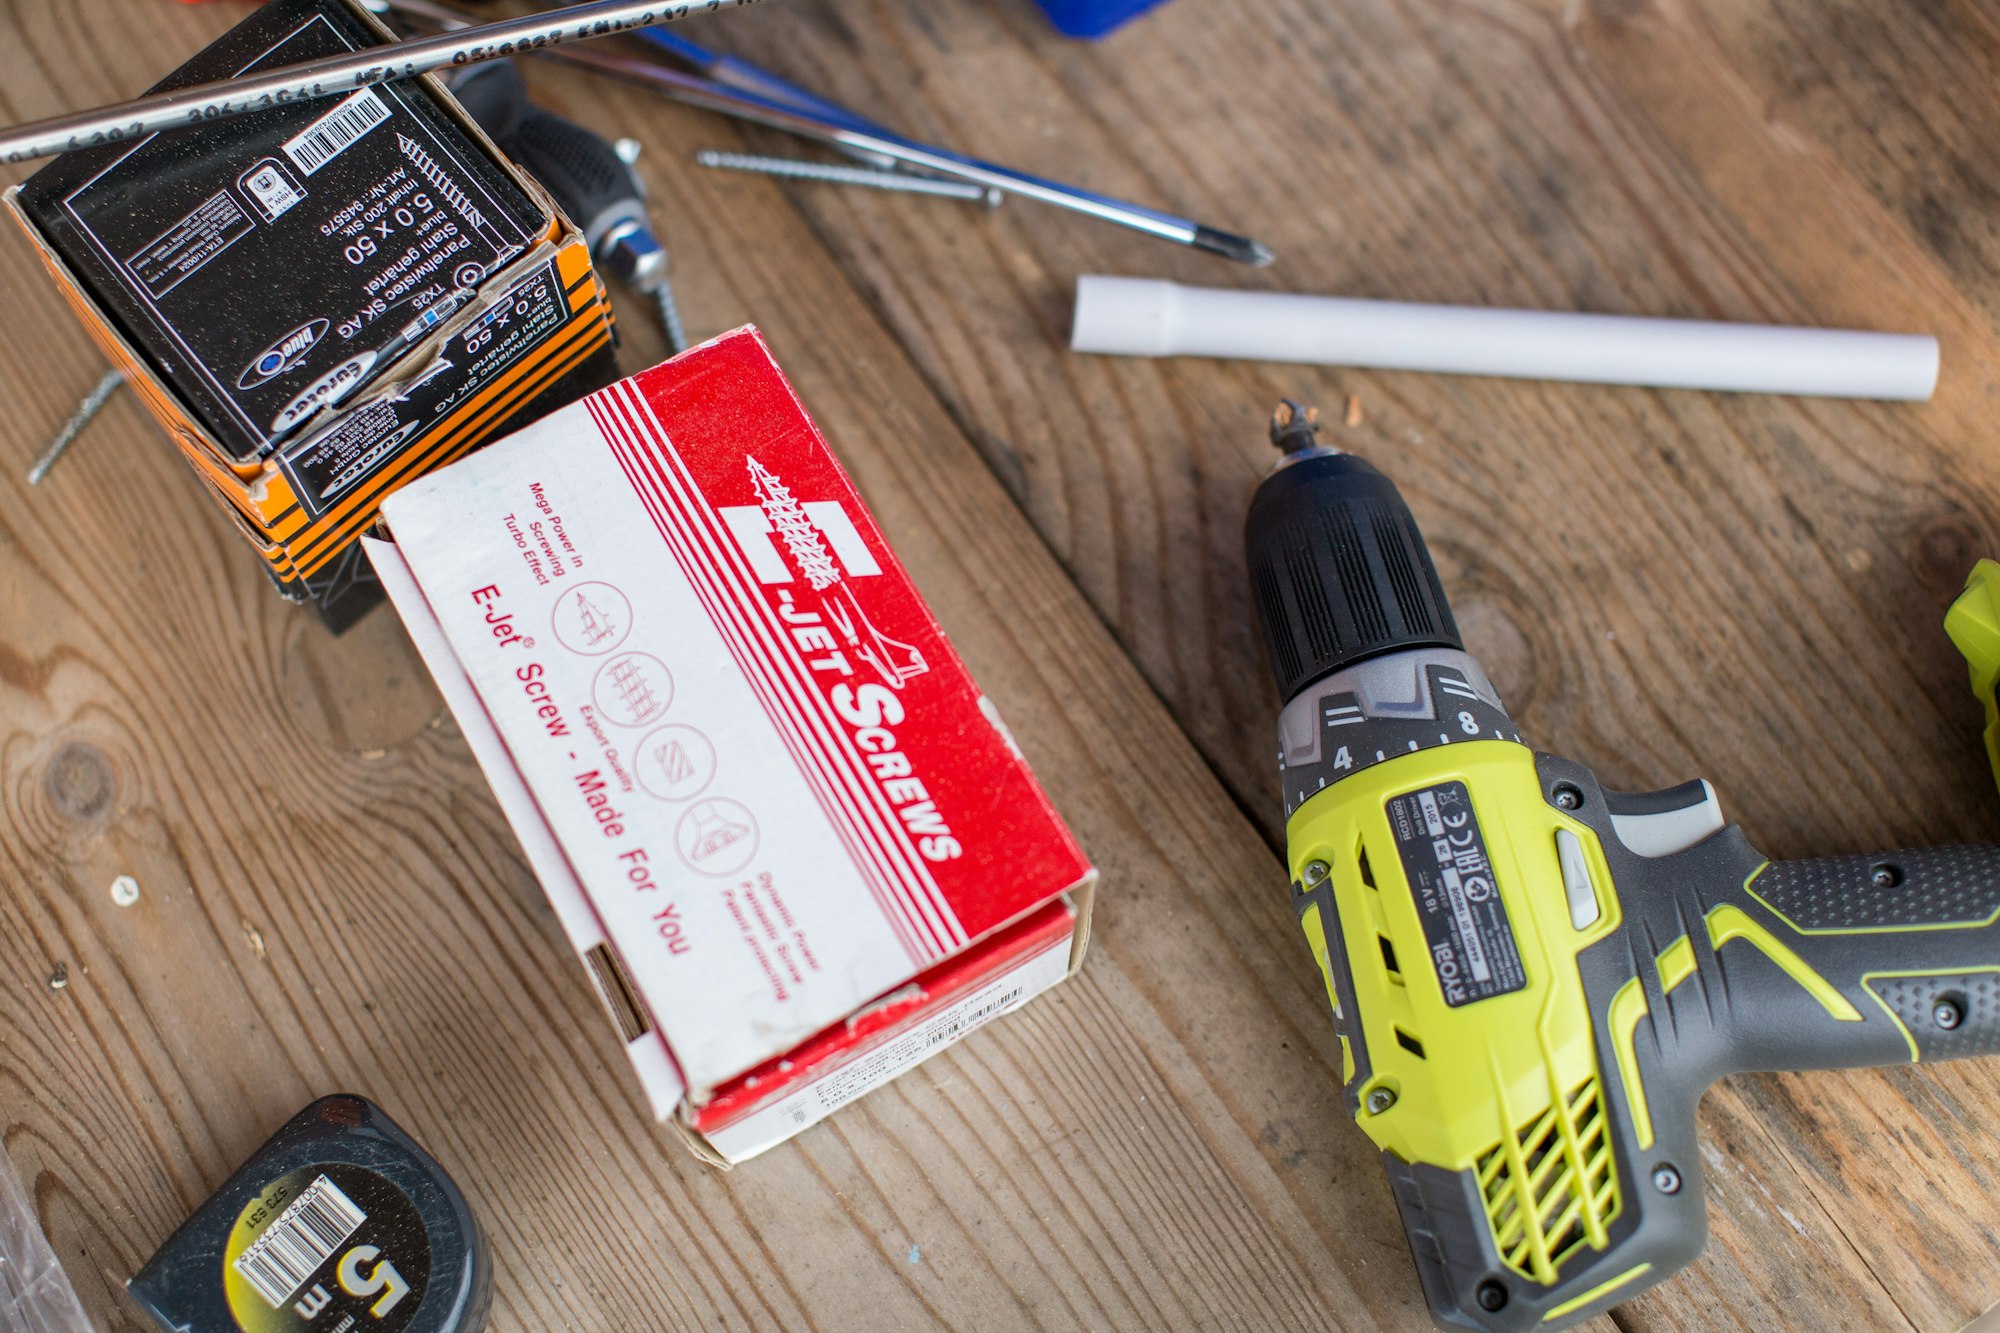
Day 1
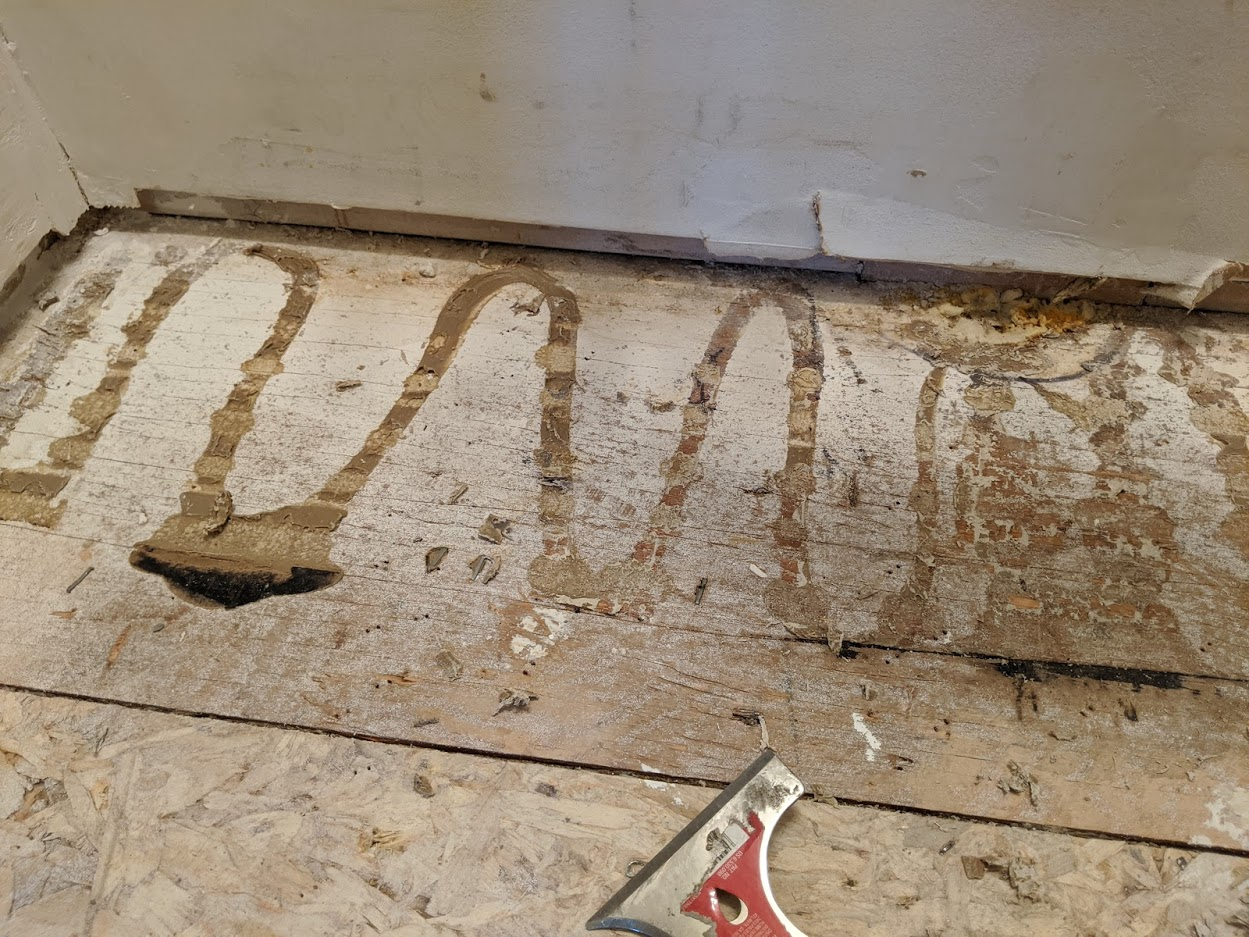
When I visited for the first day, my buddy had already done the demo, removing the previous flooring (leaving the subfloor), taking out the fixtures, and all the trim/baseboard. It was stripped.
One thing to keep in mind when doing a demo like that for your remodel is that according to Jeff, it's usually a good idea to take everything down to the studs when doing a bathroom remodel since it gives you a chance to redo the walls with a proper vapor barrier and "do it right." That is if you want to take that on. My buddy decided it wasn't worth doing that and that's totally fine!
We scraped some leftover adhesive off the floor and tried to flatten it as much as possible. Since he wanted to do tile, the floor should be level to avoid any headaches.
There are several ways to put down tile. In Jeff's videos, you'll see him do straight tile on plywood (as long as you screw down to secure it). Another installation he shows is using a tile underlayment on top of the subfloor. Here's an example of 4 types of flooring for a bathroom as shown:
For my friend's bathroom, he decided to use an underlayment and one popular choice is the Schluter-DITRA. The DITRA makes it easier to separate the tile from subfloor variances over time. For example, on tile-on-concrete is prone to breaking over time as concrete tends to crack. By using DITRA, you can create a separation. It does require a bit more work and special accessories. One pro I follow on YouTube who I really like is Matt Risinger (though his audience is pros, not homeowners) and here's one of his overviews of DITRA:
We spent most of the time on day 1 with the DITRA. I assisted in measuring and cutting it with a scissors (at first we tried the utility knife but after I YouTube'd it quick, it was clear the recommendation was to use scissors).
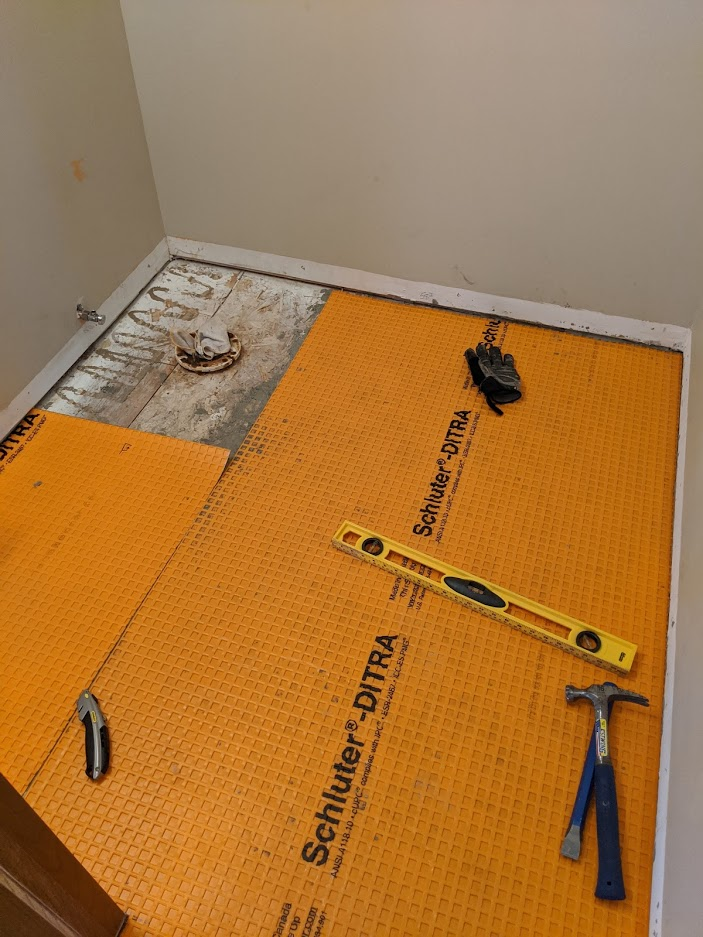
By the end of the day we didn't affix it to the floor but we were able to measure out all the pieces and cut them accordingly. The toilet was a fun one. There are probably some tricks of the trade but if I were to do it again, I'd measure where the center of the flange would be, then measure the radius and draw a circle from the center using a string and a marker. We didn't have that much forethought while we were doing it so we measured the 4 corners which was decidedly harder 😅
To put the Schluter down you use a cement mix called thinset which goes on top and forms the bed the tiles lay on. To mix thinset is a bit of a science so you have to follow the instructions. I had to leave for dinner but before I left, he showed me how to do it using a mixer:
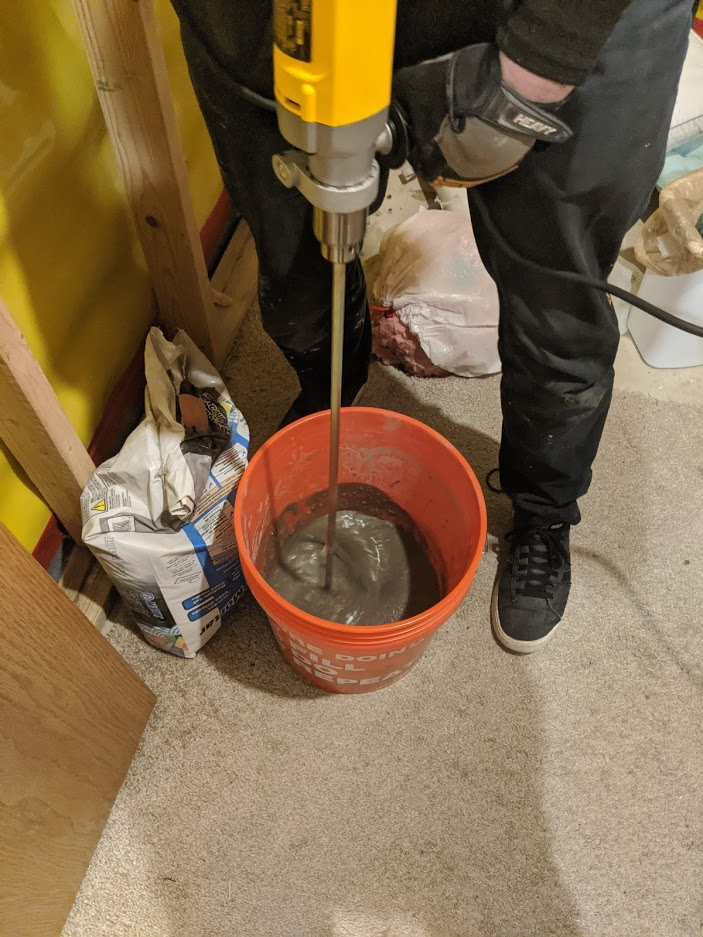
You're looking for a consistency where it will barely fall off the trowel, like where you need to give it a bit of a flick. If it falls off easily, it's not done yet. If it won't move when you flick, it's too thick/set.
Once it's the right consistency, you spread it across the plywood subfloor and press the Schluter to bond. You need some special Schluter tools so it's worth watching how it's done. There are plenty of videos on how to do it, even from Schluter themselves:
If you're like me and are a hands-on learner, go to a workshop! Schluter hosts events across the US, including Minnesota.
Day 2
When I came back a few weekends later, my friend had laid down an evening's worth of tile and was nearly done with the second day. The rate he was working, he could lay about 5-6 tiles a day, working in the evenings.
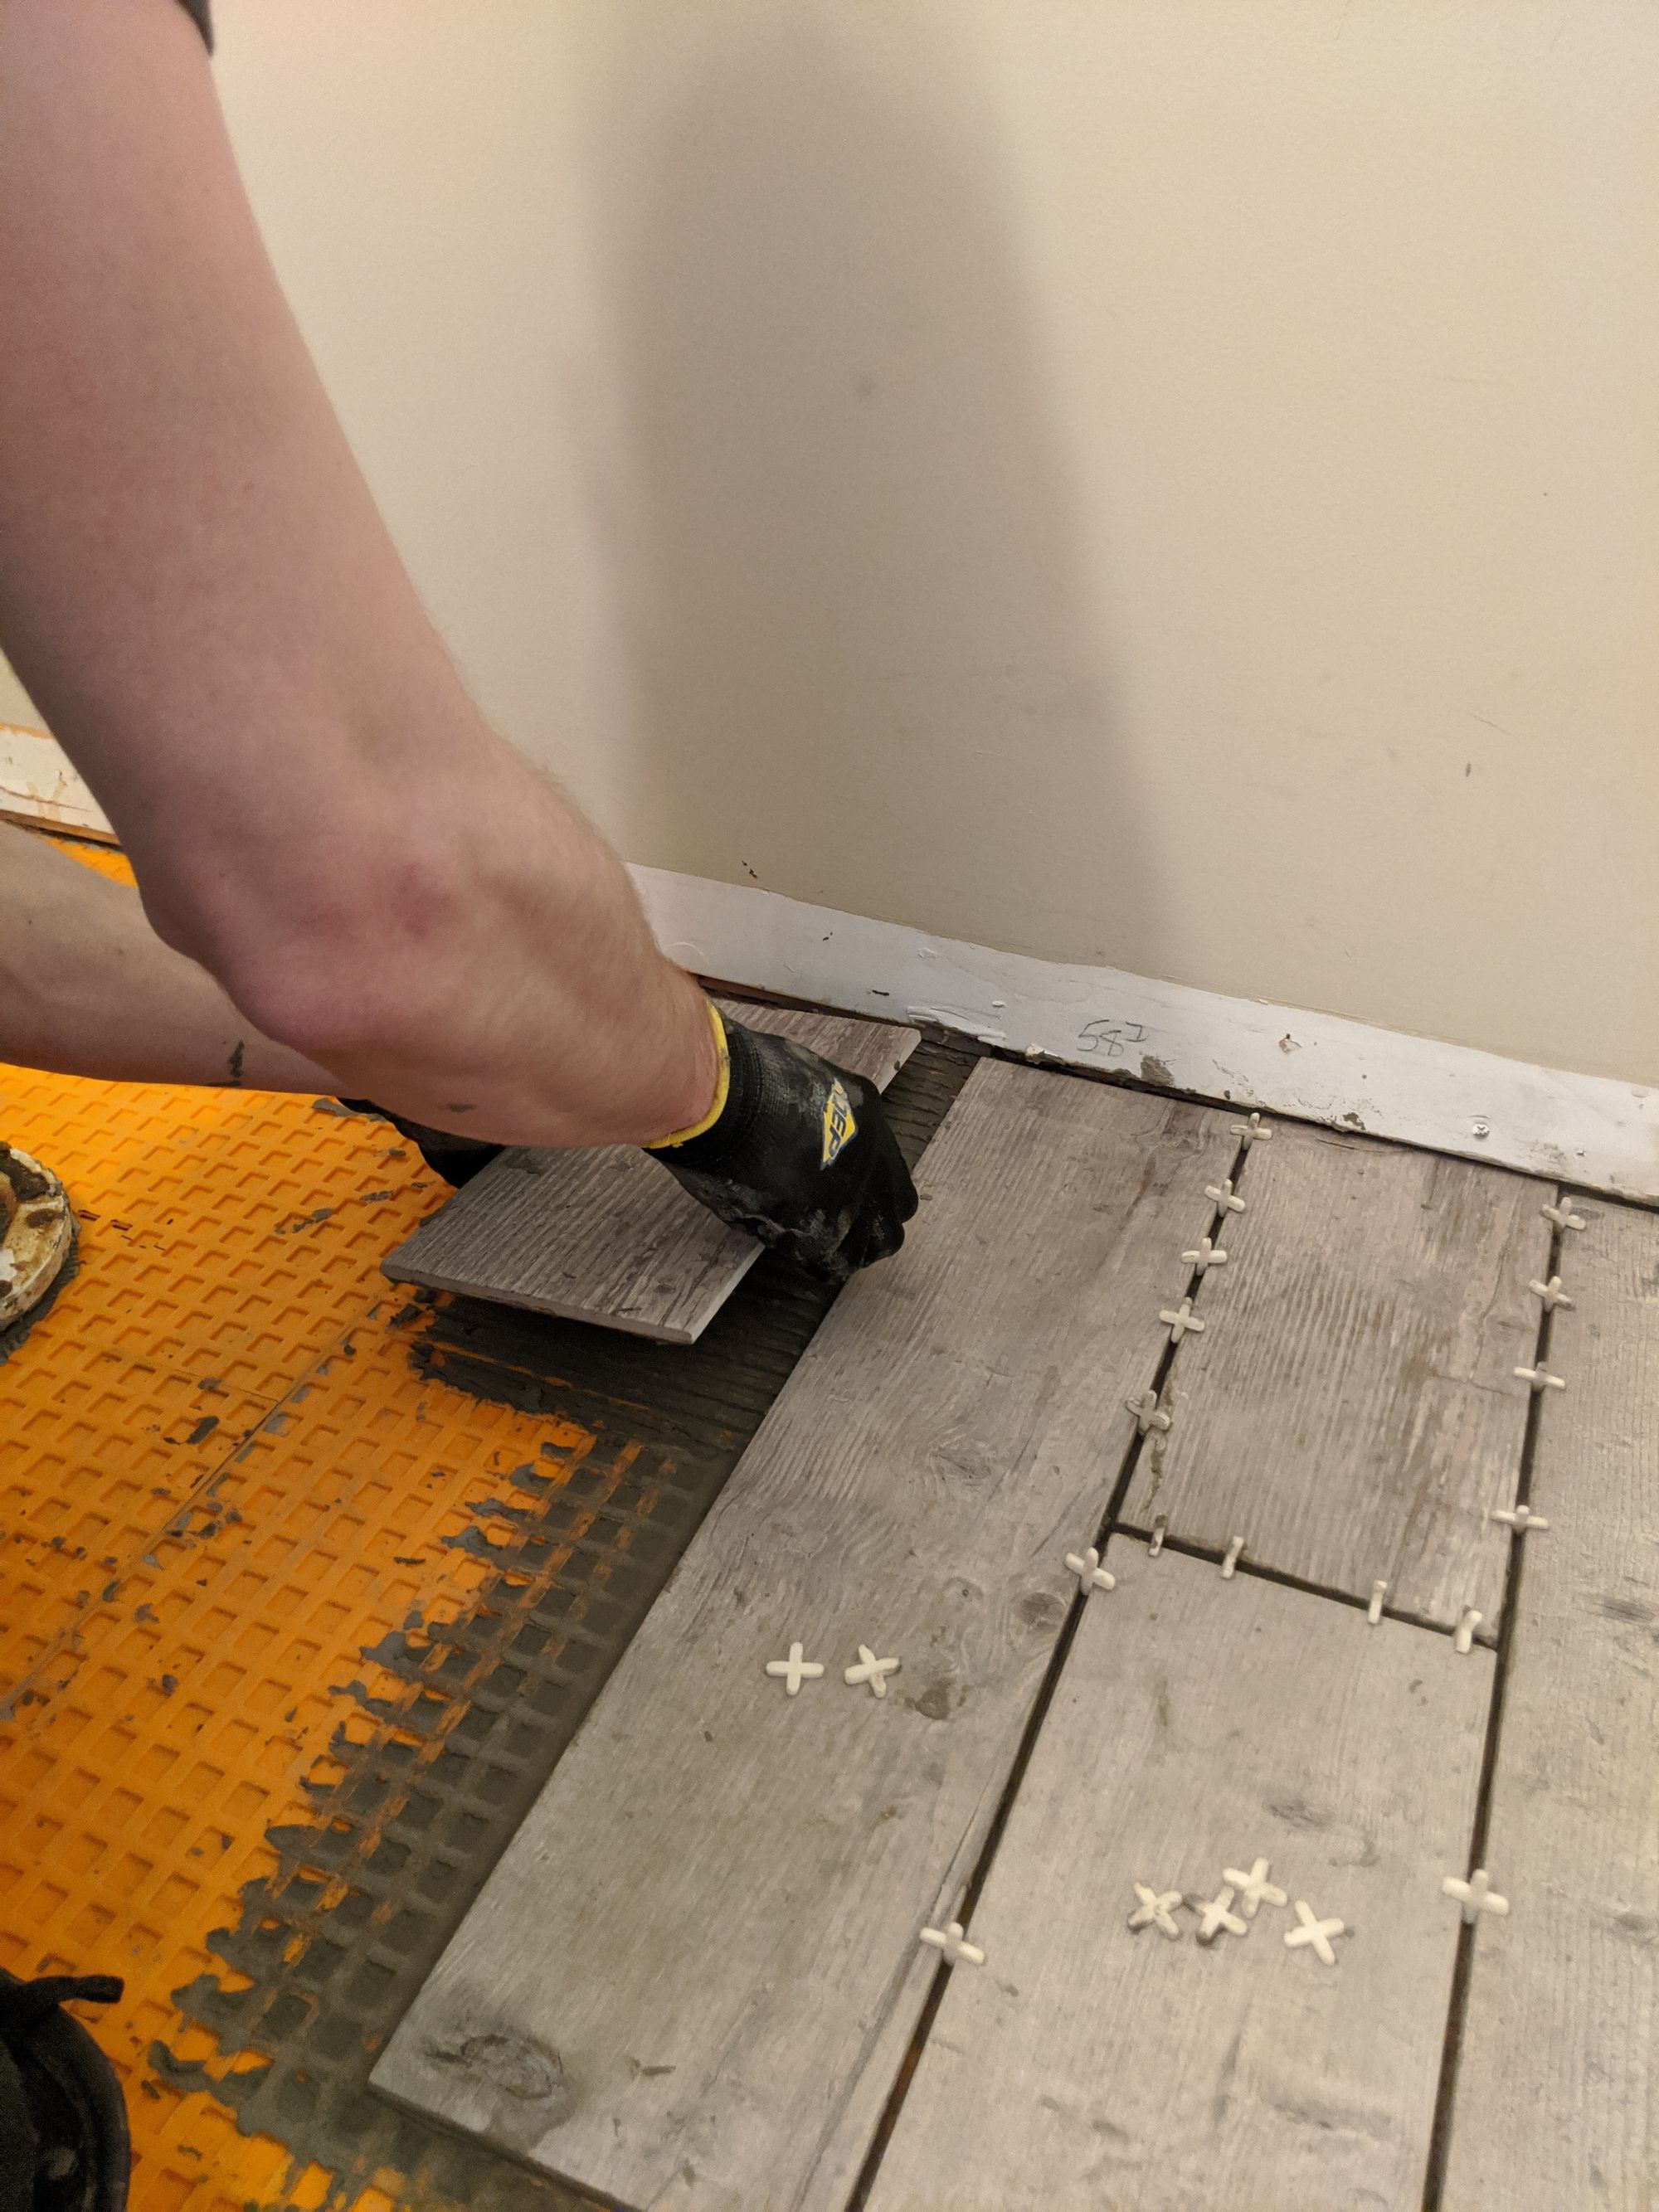
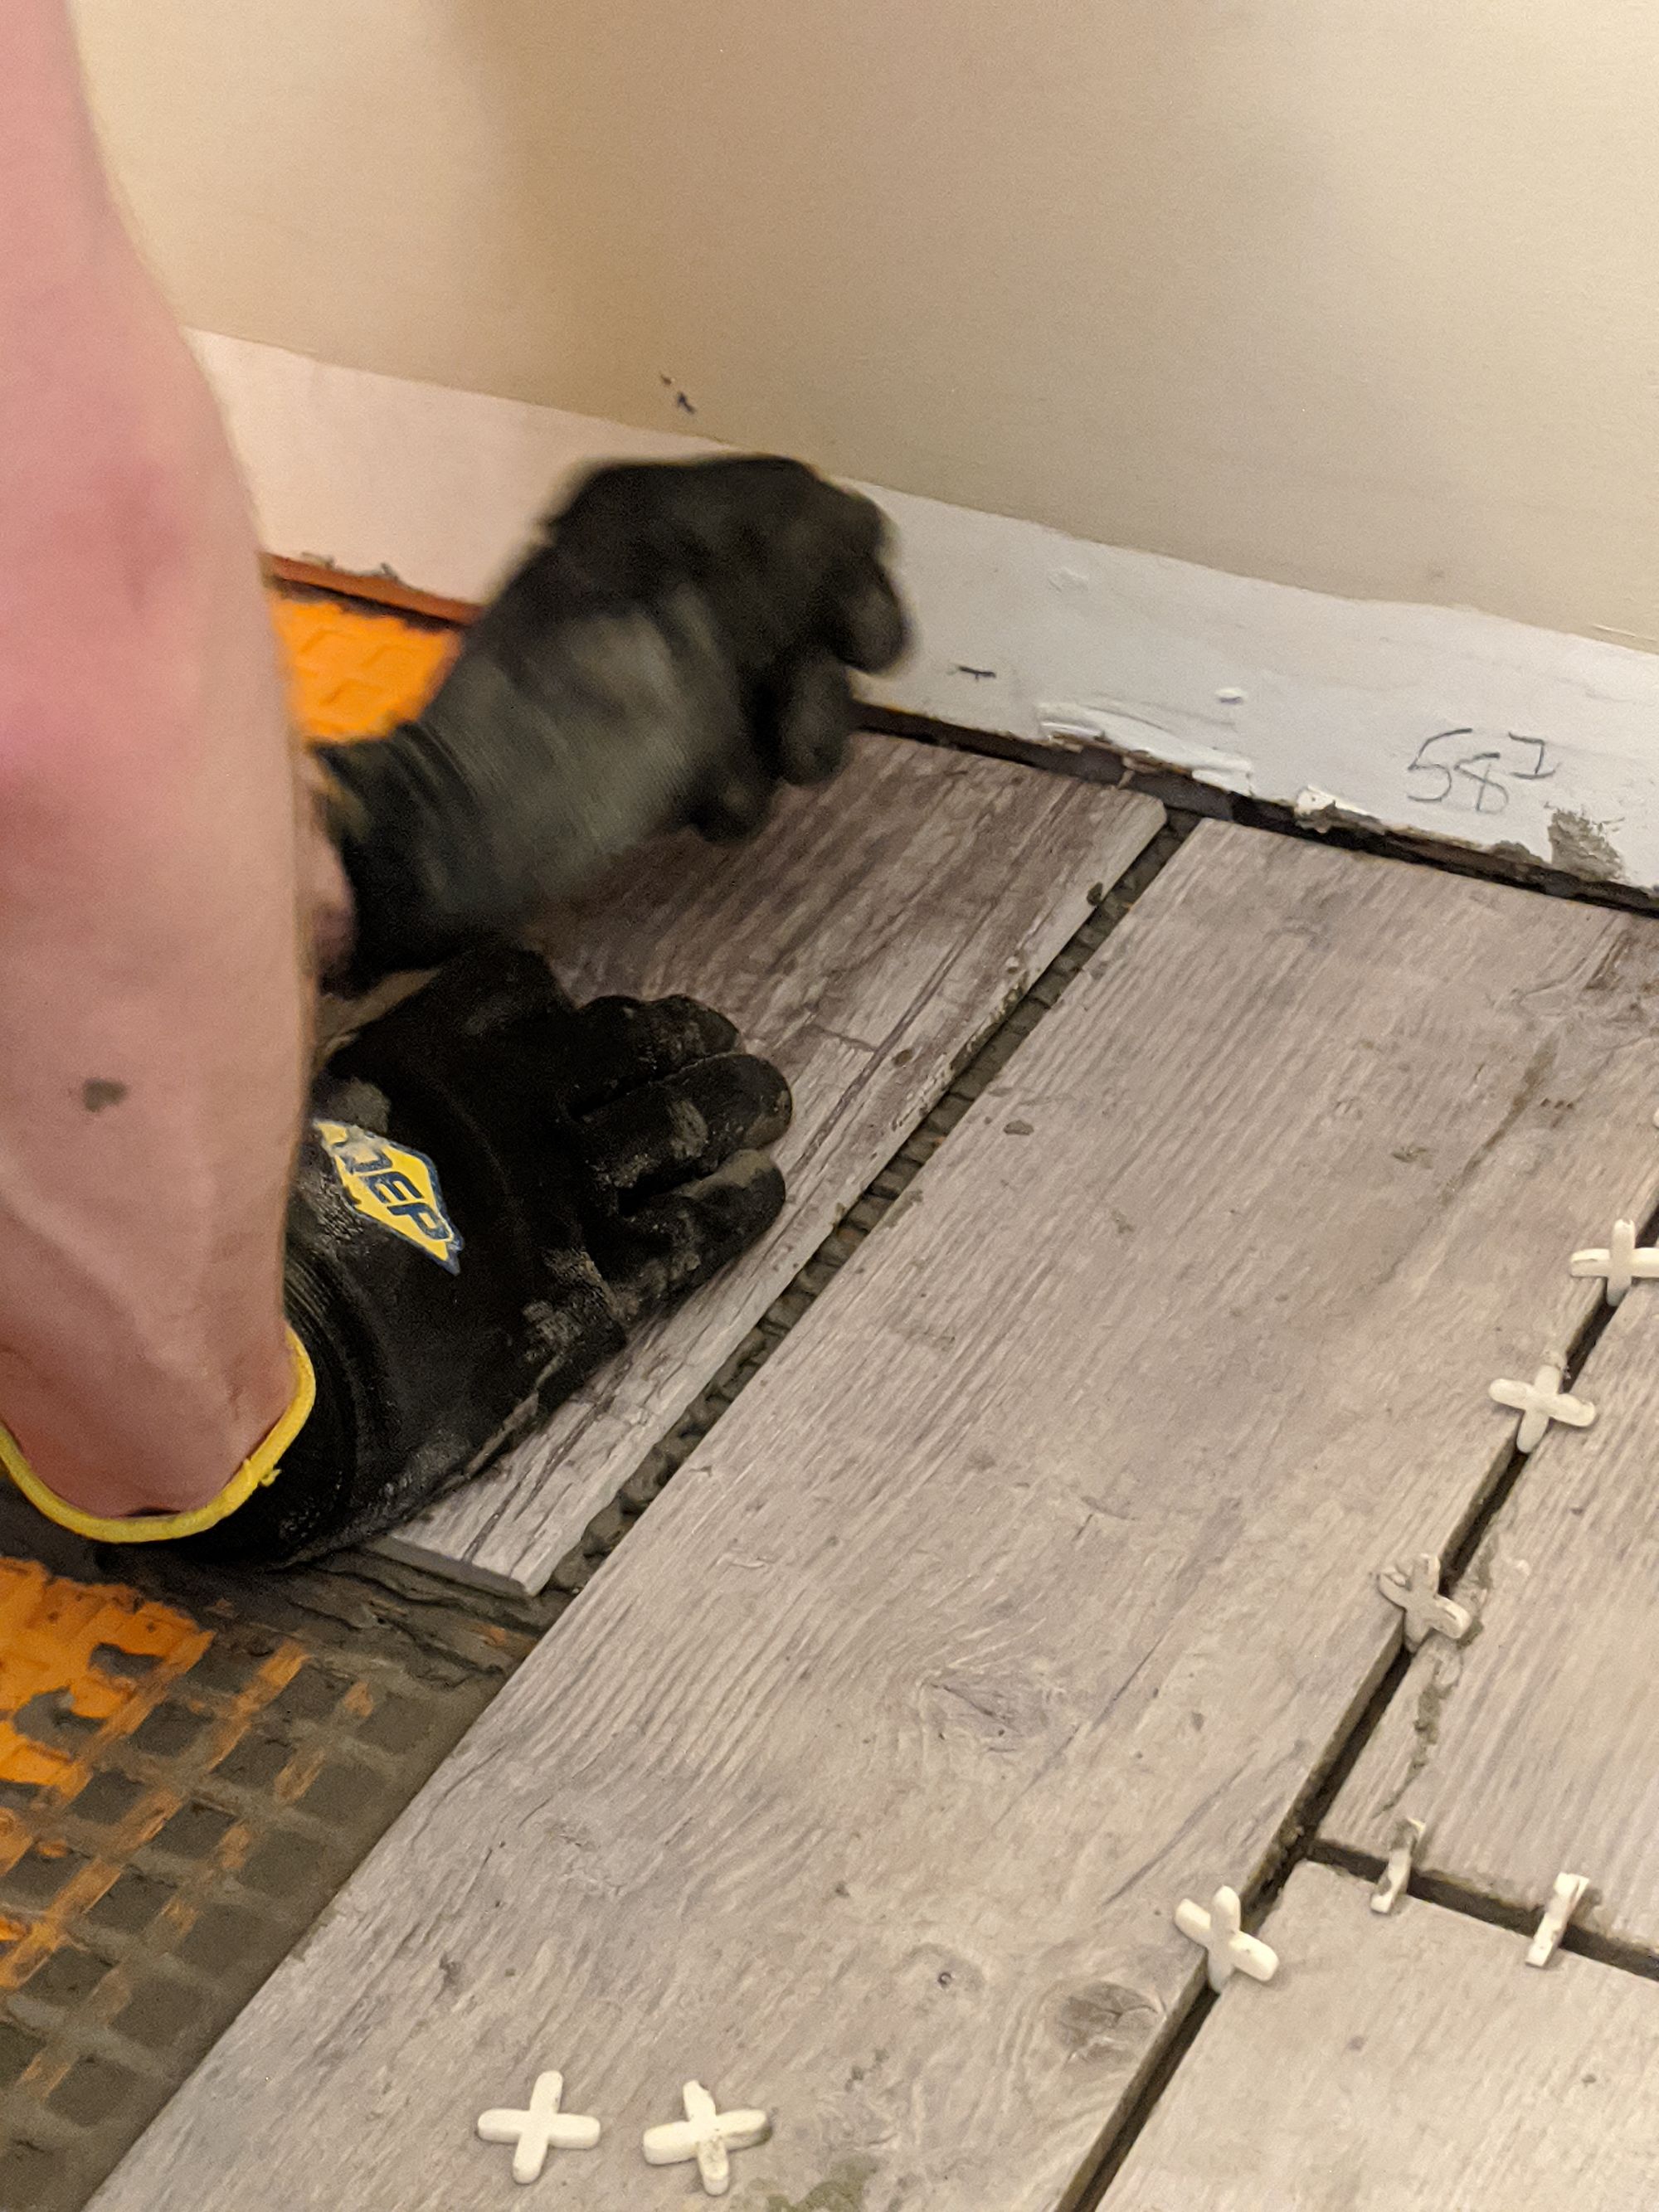
The big theme while I was here this day was seeing how to "butter" the back of the tiles and spread it over for the Schluter underlayment. He was stressing how important it is to avoid "lippage" which is the level of the tiles related to each other, such as when one edge is higher or lower than the next tile.
To measure lippage, you can use a level across the tiles. You also need this to ensure the edges of the rows/columns are lined up correctly. Otherwise what will tend to happen is you may push a tile slightly, on the thinset they move pretty easily and even a slight amount of pressure will move things around. The spacers are important!

Unfortunately, he said he noticed that there was just a bit too much lippage on some of the tiles and so he decided to take it all out and try again. Ouch! 😖
Another important consideration is where to place the tiles. The corner you see above will be highly visible and the left side of the room will be covered with a vanity and toilet, so having cut tile against the left wall is no big deal. You can decide whether to do 1/2 or 1/3 offsets or some other fraction, above you can see my friend is doing 1/2 offset.
When laying tile against the wall, it's a good idea to lay a chalk line to ensure things are straight. You can usually have a margin of error of around 1/2 to 3/4" which will be covered by baseboard but you want to ensure you keep everything straight so all the rows line up properly.
Jeff goes into a lot of detail on how to lay porcelain tile like this to keep things level:
Lessons learned
Even though I spent about 5-6 hours assisting on this project, I learned a ton!
- Different materials needed for a bathroom remodel
- How to measure, cut and lay Schluter underlayment
- How to mix thinset
- How to lay tiles
- Leveling tiles
Importantly, there's other things I'd like to learn more about like the different ways to lay tile or whether to maybe use Luxury Vinyl Plank (LVP) for an easier installation. Laying tile isn't an easy job and there's not a lot of room for error. The most important thing is ensuring the subfloor and underlayment are all completely level to make for a better experience.
Once we get to our bathroom remodels I am hopeful this experience will help me work through it!