Disclosure: Some links on this page below are affiliate links, meaning, at no additional cost to you, we will earn a commission if you click through and purchase. Read our disclosure for more info.
How to Download the Pattern
The pattern is free to download, you just need to enter your email to access the PDF download page:
👉 Download Free Printable PDF of Baby Knit Hat Pattern
 Cassie
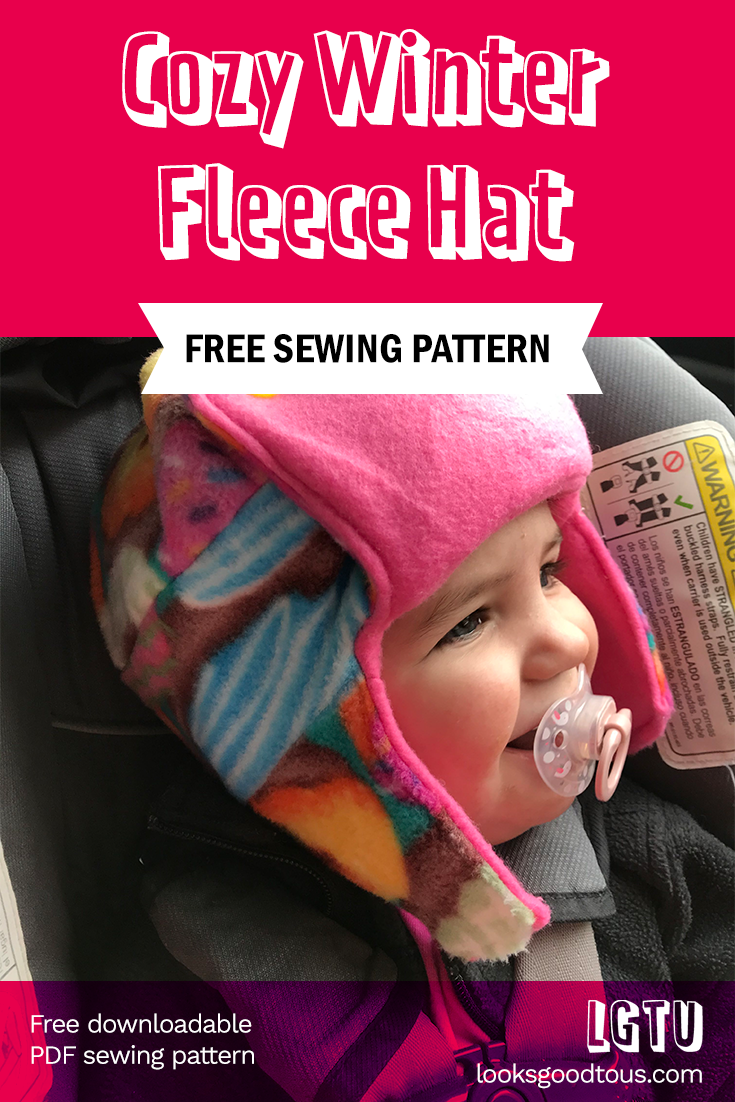
You can unsubscribe at any point but we hope you stay for more patterns!
Revisiting for Winter 2021
I published a follow-up where I revisit this pattern for both kiddos.
Cassie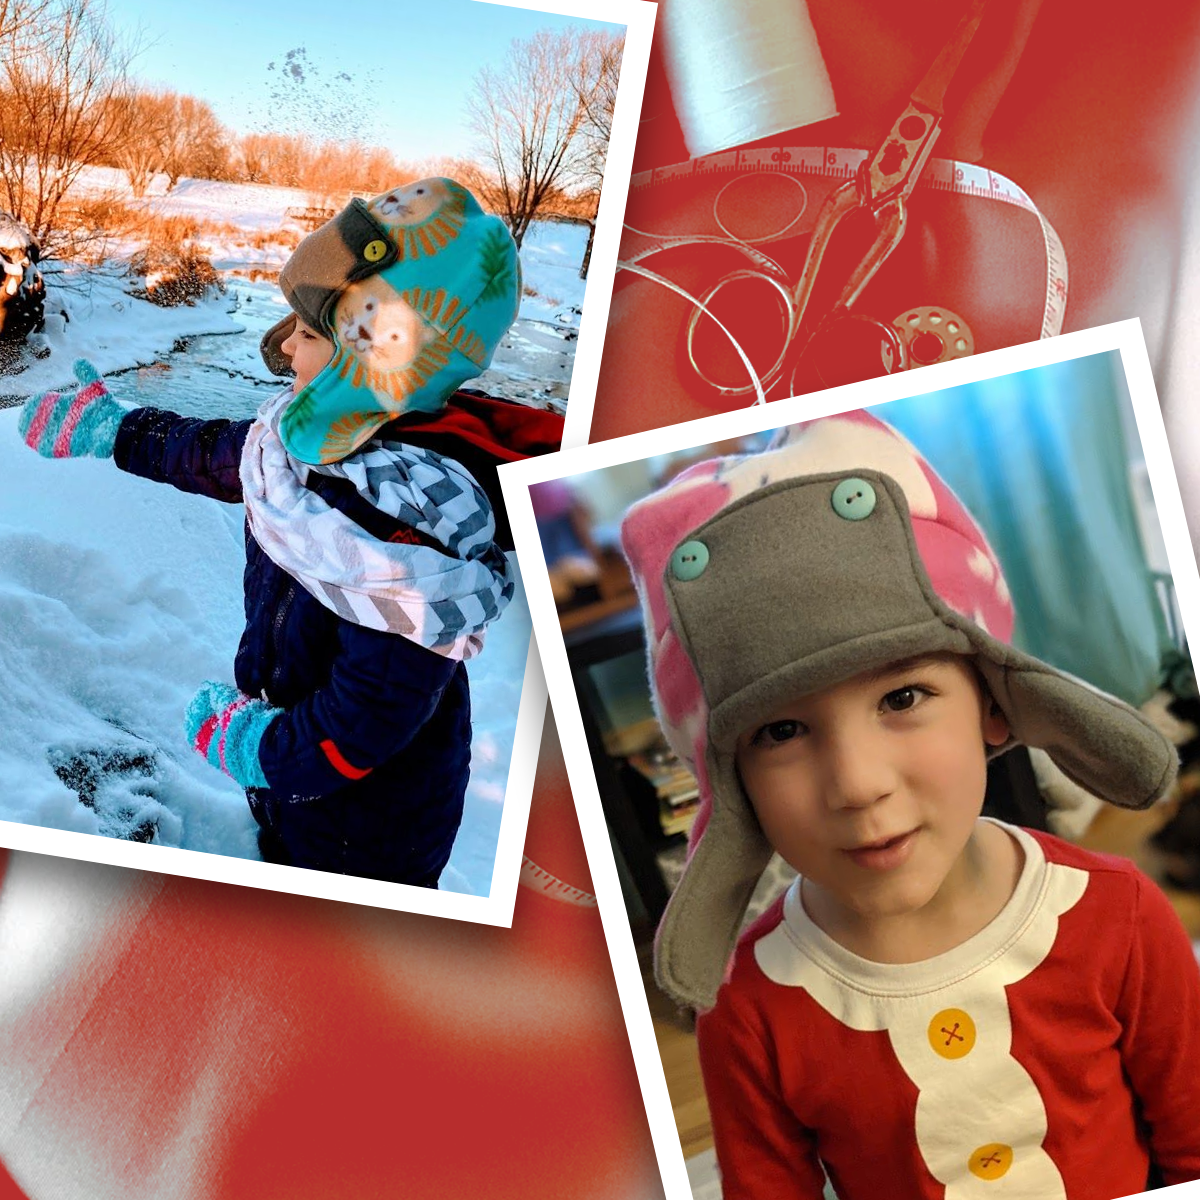
Starting out
I set out this winter to make new fleece hats for the kids. In the past, I've always knit hats for them. For some reason, knowing how to knit and now how to sew, I've always thought it was silly to buy winter hats. This time, I wanted to sew fleece hats because sometimes knit hats just aren't enough for the cold Midwestern winters.
Pro tip for picking out fleece: go to Joann Fabrics fleece remainder bins. A lot of people go pick up fleece there and they usually get a main pattern and a complementary color. Whatever is leftover from the fabric roll is placed in the remainder bin for sometimes 80% off. I picked out a cute dinosaur pattern with matching green lining for Rami, and a donut pattern with pink lining for Saira. The entire cost of fabric for these two hats: $11! I'm a very frugal person, so this was very gratifying.
If you're looking for cozy fleece fabric, here are some cute ones!


Toddler Hat for Rami
I started with Rami's dinosaur hat. I wanted something easy that wouldn't take too long. I searched through Pinterest to no avail. Finally, I found a pattern from Fleece Fun, called the Baby Hat with Chin Strap.
 Kristin says
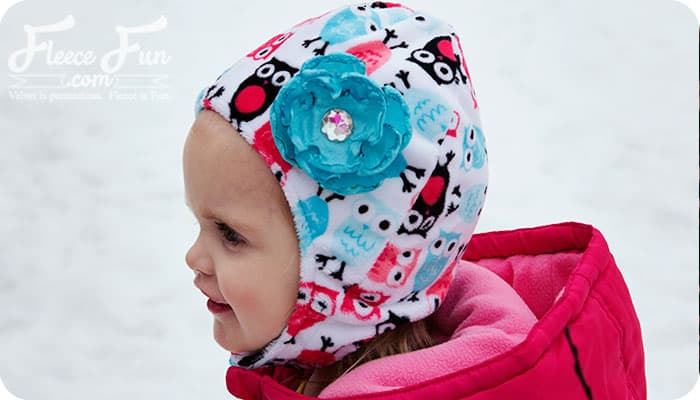
I liked that the hat could close at the bottom (though the pattern recommended Velcro, and I knew I'd want to use something like snaps or buttons). I printed off the pieces for the Child's Medium (2-3 years) and got to work. The construction was simple, with two pieces to sew together, right sides facing, then flip it inside out to finish and add a top stitch. Easy enough, and I'm starting to understand sewing pattern jargon!
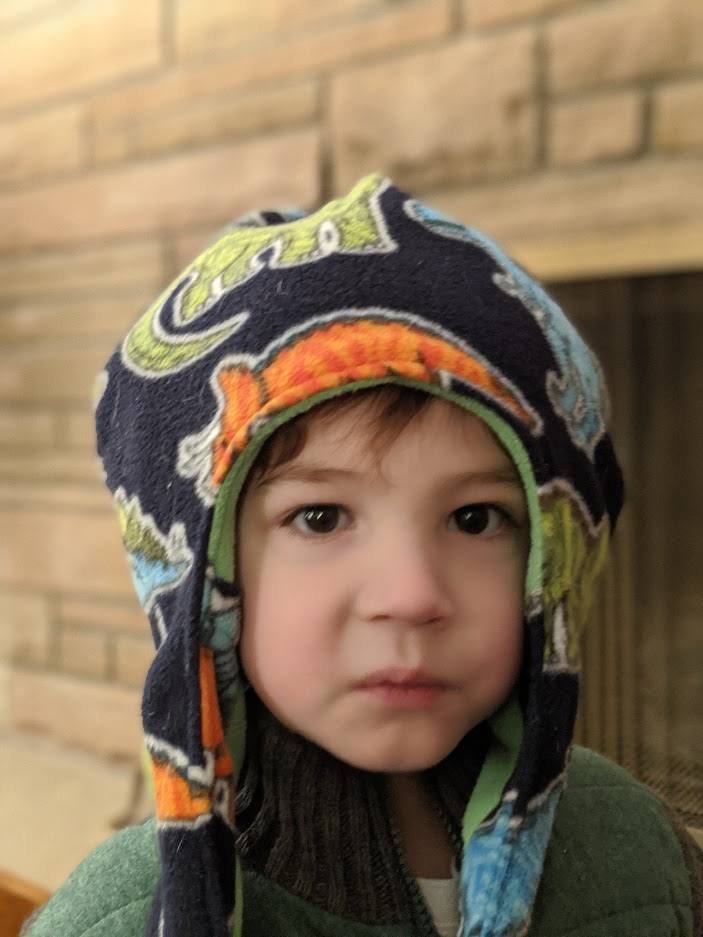
I think the hat is...fine. But it's definitely big. Maybe Rami has a small head? He also does not want me to add snaps, so he just has an open hat. Amazing.
I was frankly disappointed. This could be due to the pattern, but could equally be due to my skill or beginner status. I wanted just a really cute hat that Rami would love to wear and that I would be proud to say, "I made that" whenever complimented on it. I am not feeling that way, to be honest.
But, Rami being a toddler, he loved it! He calls it his Dino Hat and wants to wear it pretty much any time he goes outside. (Kamran and I secretly call it the Pope Hat because, really, that's what it looks like.)
Baby Hat for Saira
After the initial disappointment with Rami's hat, I set out to do better with Saira's. I looked around and continued to just not see what I wanted. So, I decided to take the plunge and create my own hat pattern!
I started by measuring Saira's head circumference, as well as the distance from the crown of her head to the top of her ear. Her circumference was 19 inches, and crown to top of the ear was 5 inches.
I was envisioning four triangular pieces that would sew together for the top, then a 2 inch band underneath, followed by two ear flaps. This would also be a lined hat, so I would need to sew two pieces, one in each color, and then sew them together inside out and flip them, ending with a top stitch to bring it all together.
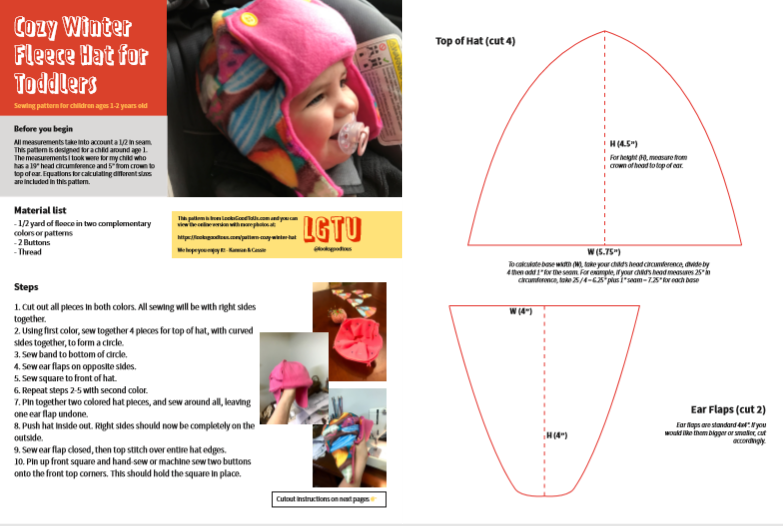
First, I calculated that for four triangular pieces with the 19 inch circumference, I would need to divide 19 by 4, which is 4.75 inches for the base of each triangle. The height of each triangle would be 5 inches. However, I also added a 0.5 inch seam on each side, so the triangles ended up being 5.5 inches high by 5.75 inches base.
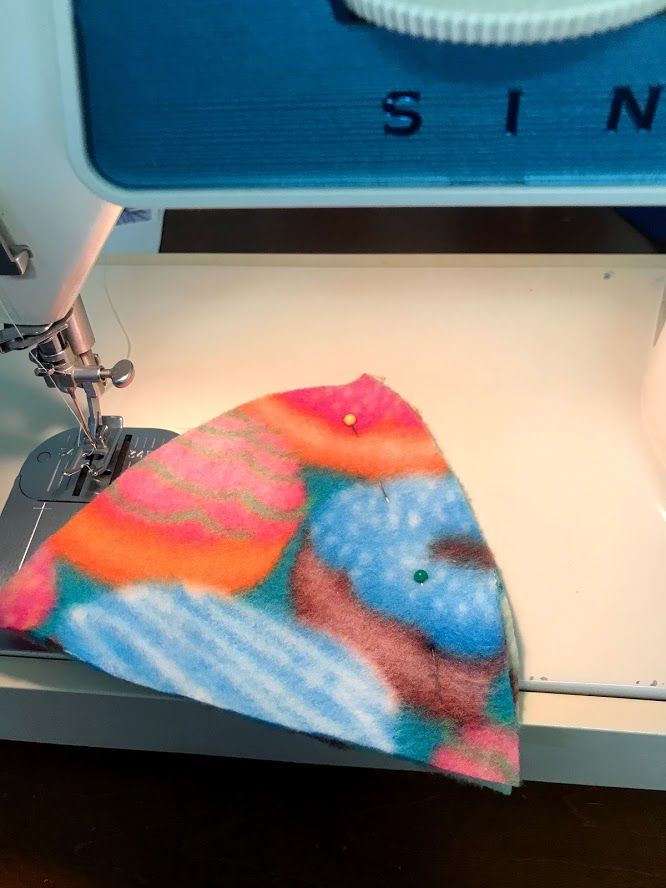
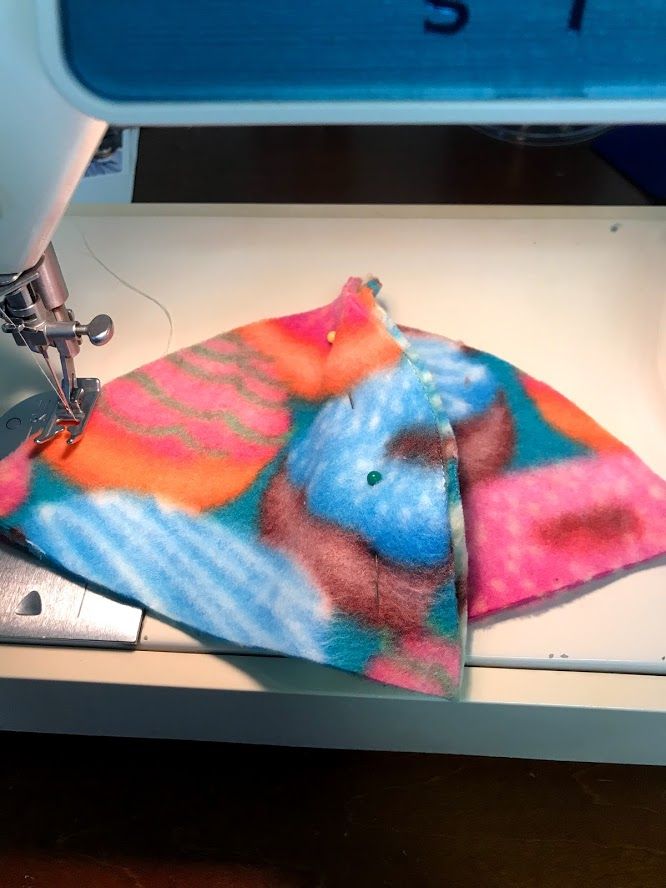
I cut out my 4 triangles and started sewing them together, with the tips of the triangles meeting in the middle. I then added the 20 x 3 band to the bottom, pinned it on and sewed it. This was all done with right sides together. (I apologize I did not get a picture of the initial step with the pink fabric, so I've included a few pictures of the donut fabric steps. Be gentle, I'm new to this!)
I then cut out a 20 x 3 inch band (19 inches for her head circumference plus 0.5 on each side for the seam; 2 inch height with 0.5 on each side for the seam). I then made two ear flaps, which were upside-down rounded triangular shapes, with a 5 inch base and 5.5 inch height. Again, all of these pieces should be sewn together with right sides facing each other. This way, when you fold everything in, you will have nice folded over seams.
Who knew sewing involved so much math?
I had initially thought I would have braided pieces of fleece to add at the bottom as ties to secure the hat. However, this ended up not being practical, and I really wasn't sure how to do it. Instead, I ended up adding a 5.75 x 4.5 inch square to the front in a Russian style winter cap. I wanted to add something more interesting to the cap, and because I didn't really know how to do braided ties, I went with this instead. The square will be pulled up, so the seam should be on the same side as all the other seams (right sides facing when you sew it together).

I repeated all the steps above with the donut fabric.
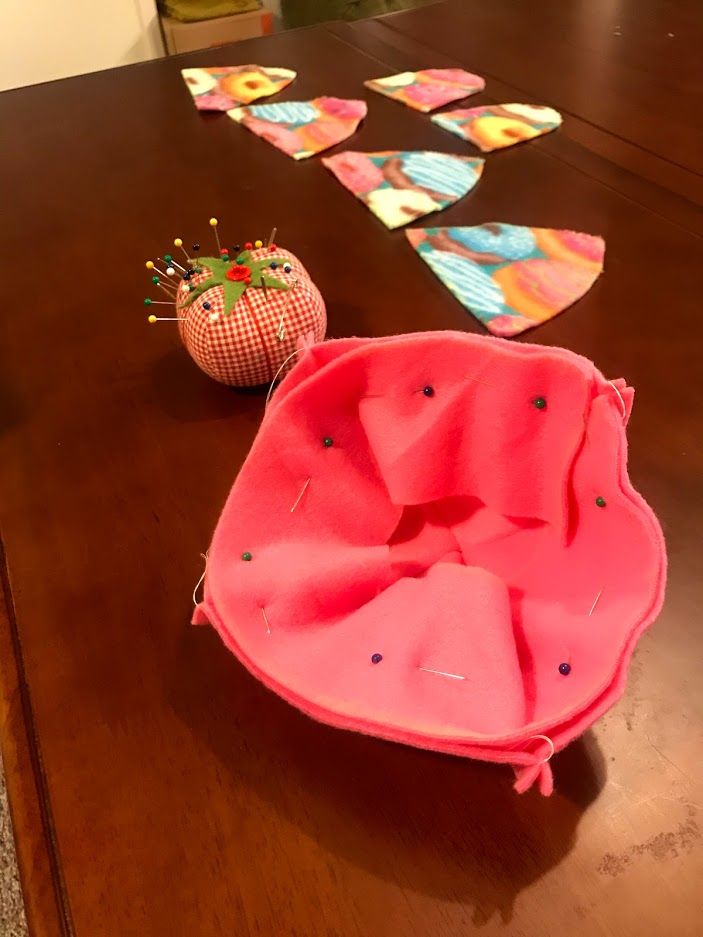
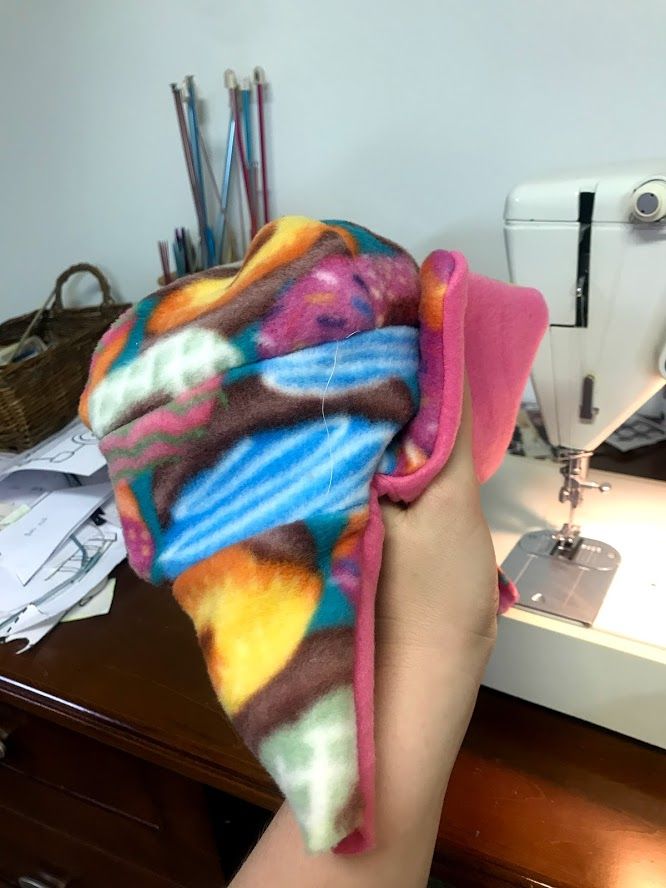
Finally, I pinned both pieces together, with the donut fabric inside out,and the pink fabric right-side out. This is REALLY important, because when you flip the hat inside out, you want the seams on the inside. This will effectively just be right sides facing, but for some reason it messes with my brain because the inner fabric needs to be "right-side out" rather than inside out. Anyway, if you mess it up, that's what seam-rippers are for, as I've learned many, many times!
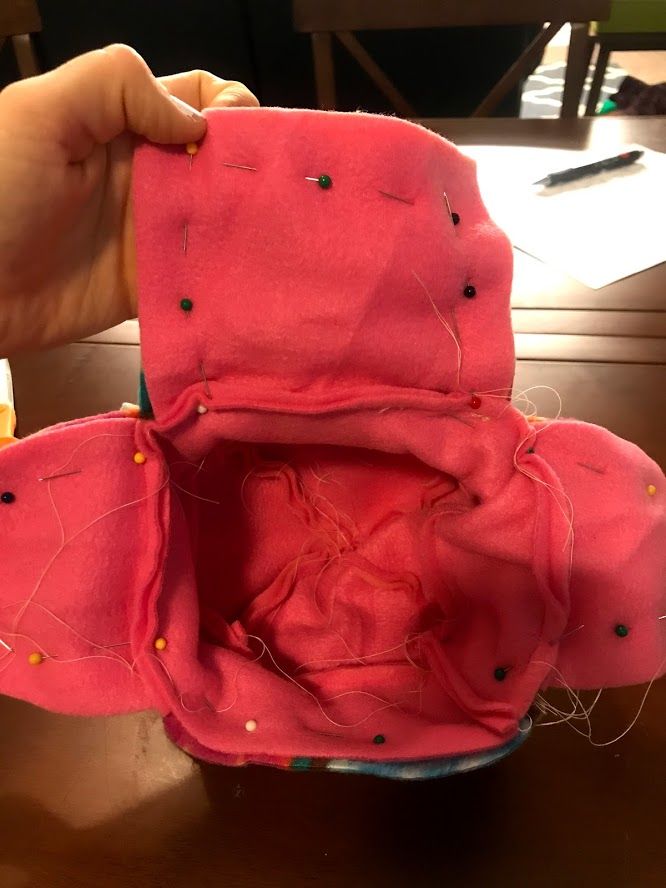
I sewed all the edges except for one of the ear flaps, which I used as a hole to turn it inside out. I used a ball point needle for the fleece and just used a straight stitch with a tension of 4. But I don't really know what I'm doing with the dials on my machine so I could be way off! It seemed to work fine though.
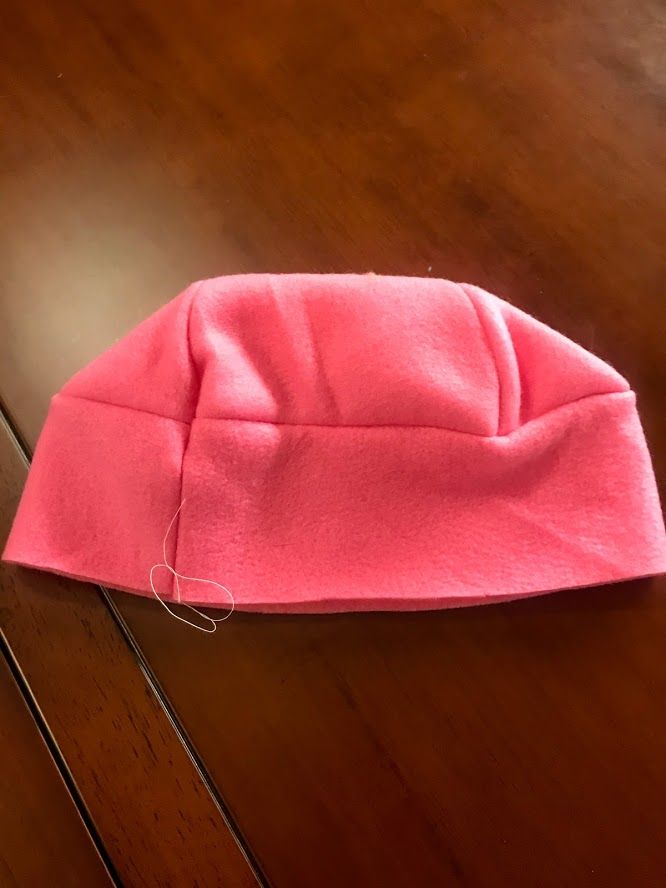
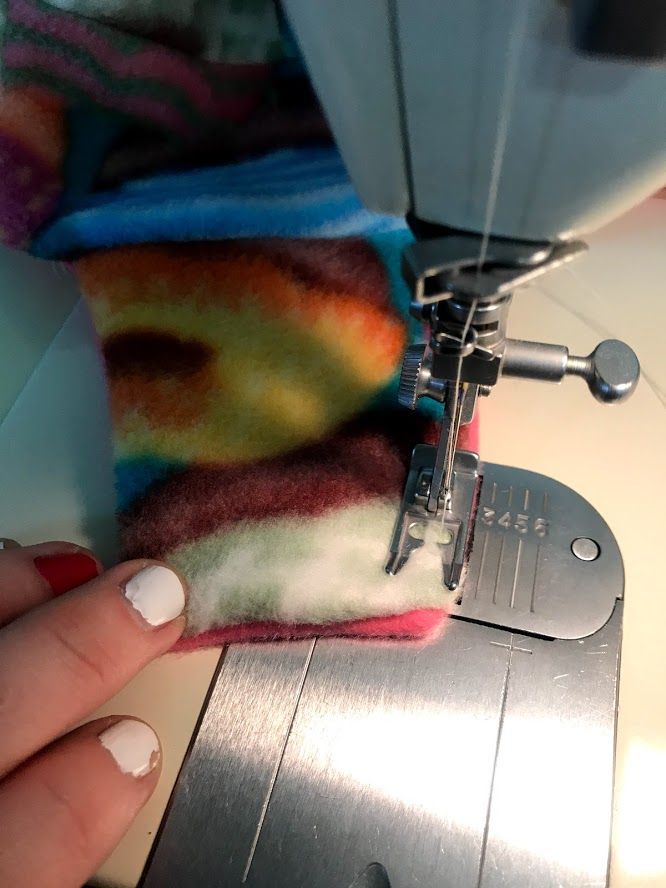
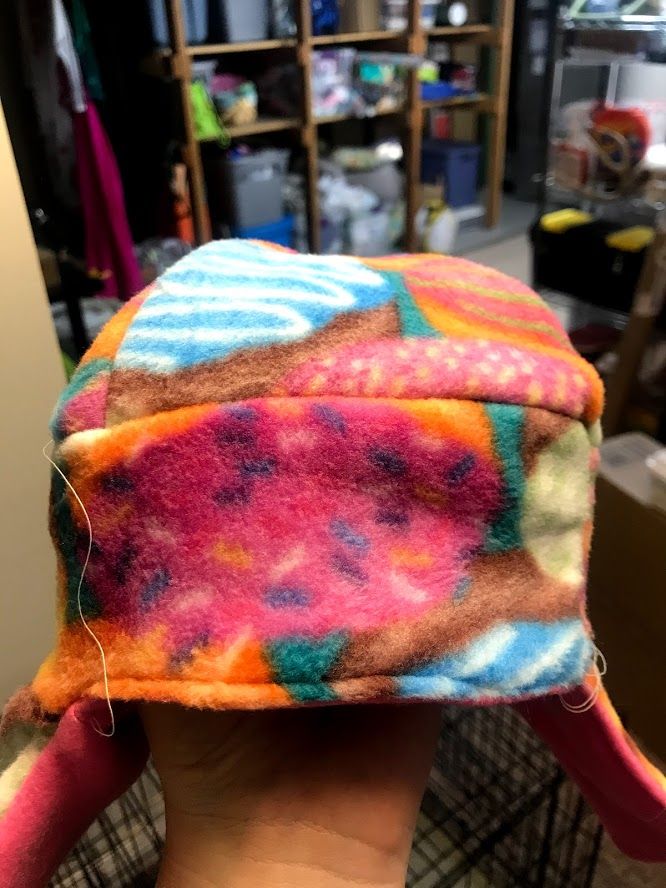
After turning the hat inside out, I sewed a top stitch over everything to tighten up the seams.
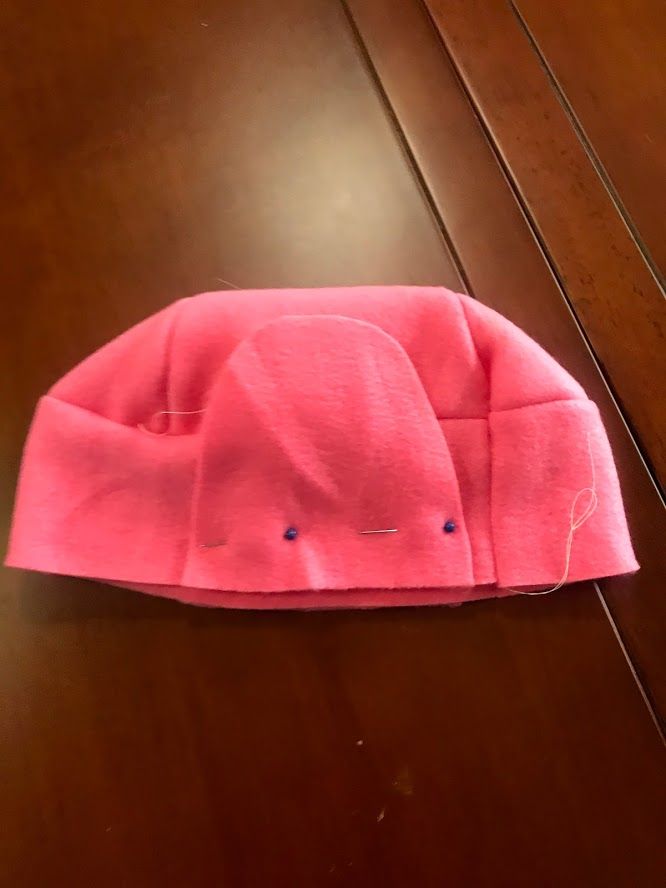
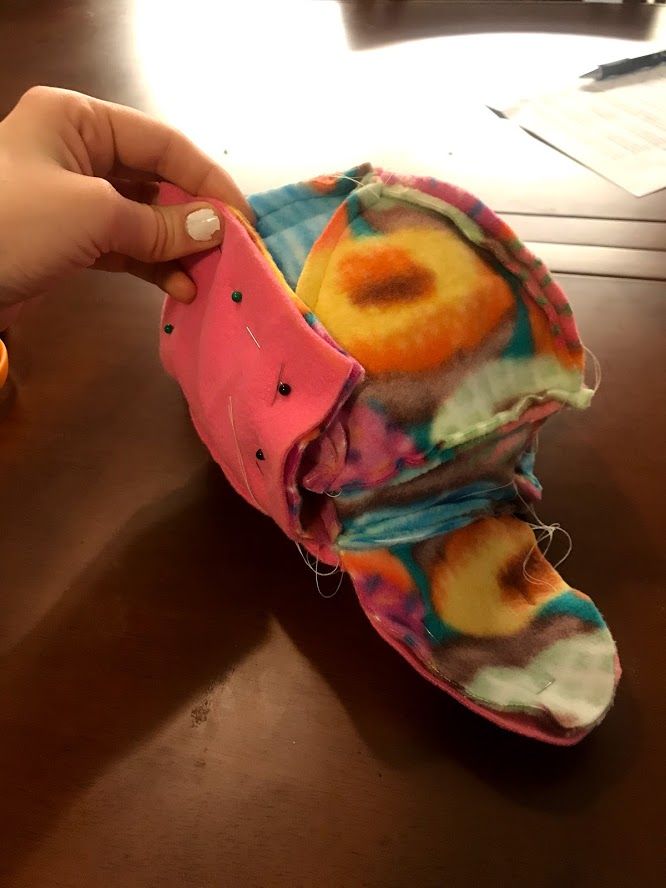
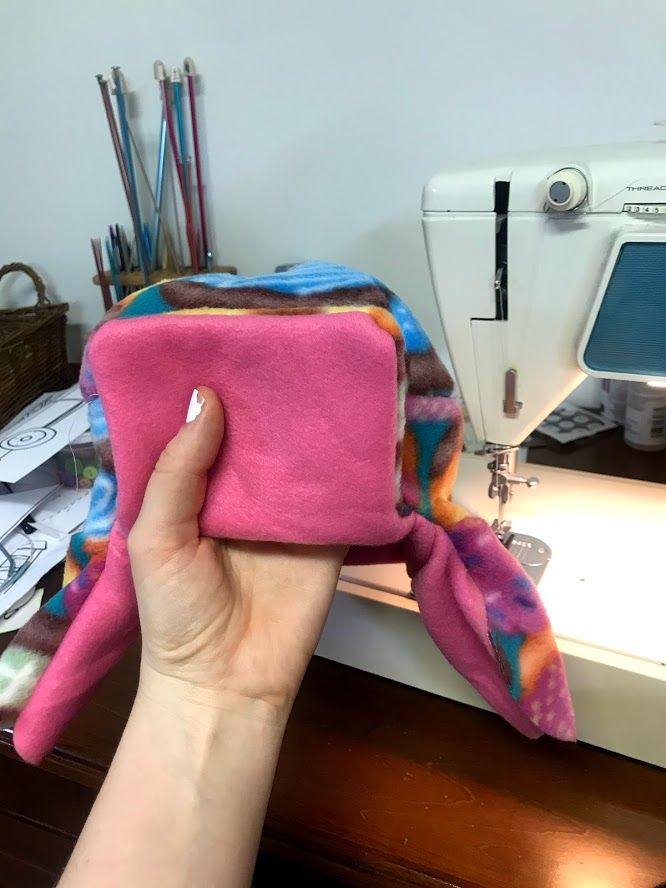
Photos below, clockwise from top left:
- Hat after turning inside out.
- Side view of hat after turning inside out.
- Sewing the top stitch.
- Front view of hat with top stitch.
I then sewed two buttons onto the front. These were purely decorative! I chose some yellow plastic buttons I had from a jar of buttons. I was really happy with the results, and had to do a little photo shoot with Baby Saira.
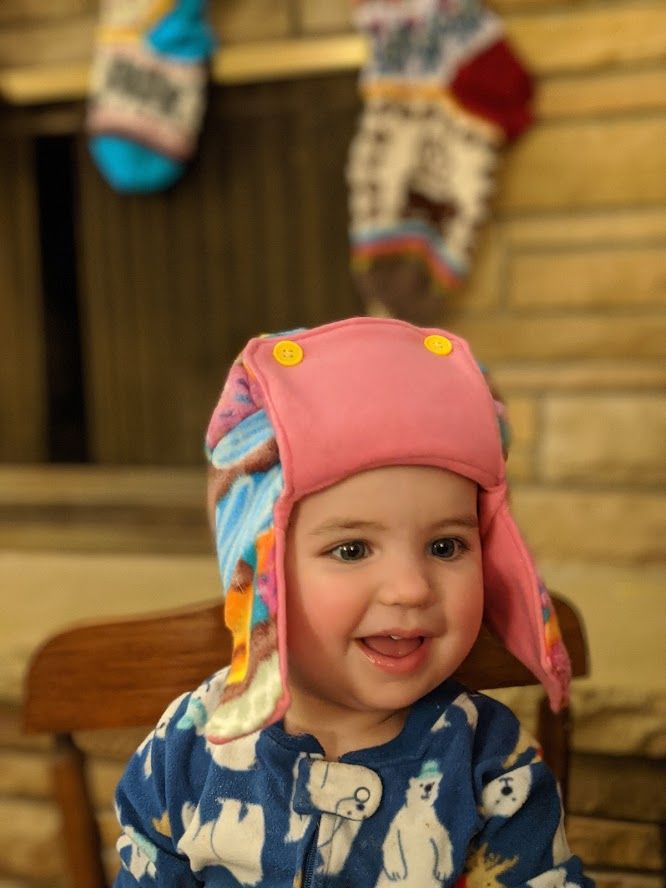
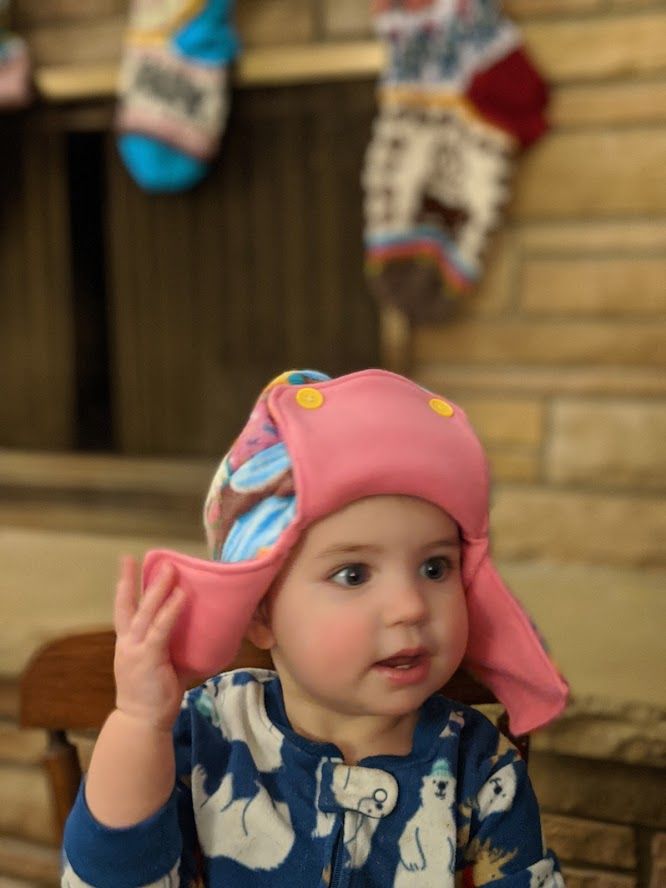
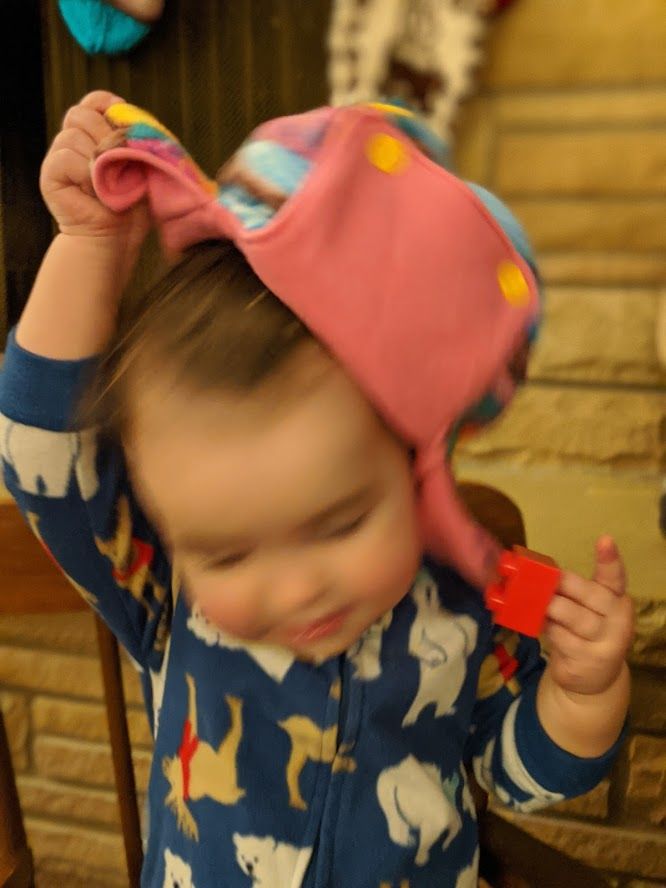
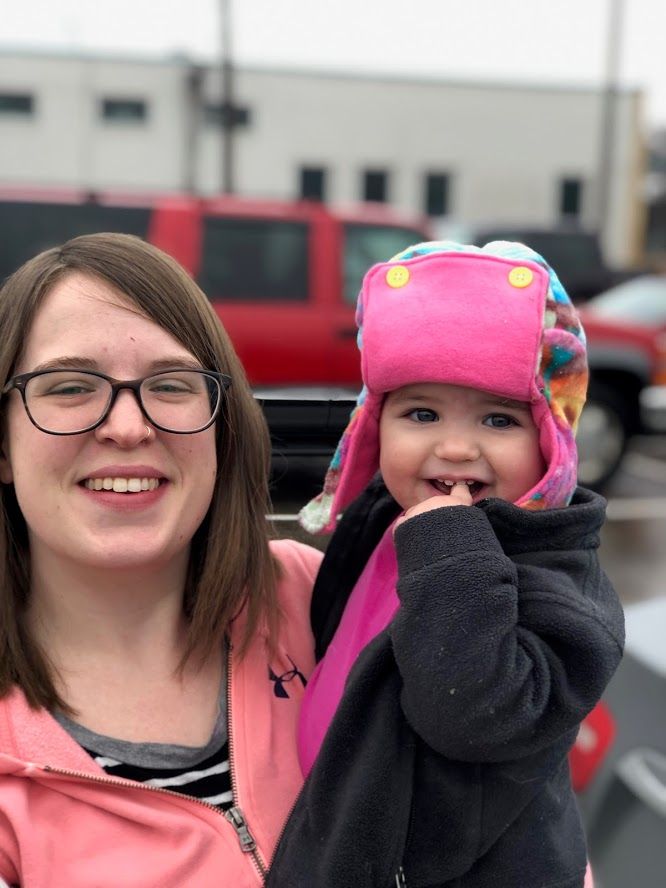
As you can see, Miss Saira does NOT like hats. Kind of thinking I should have had some way to secure the hat to her head! We later went to the grocery store, so I had her wear the hat again. Having it on in the winter weather made her much more willing to wear it!
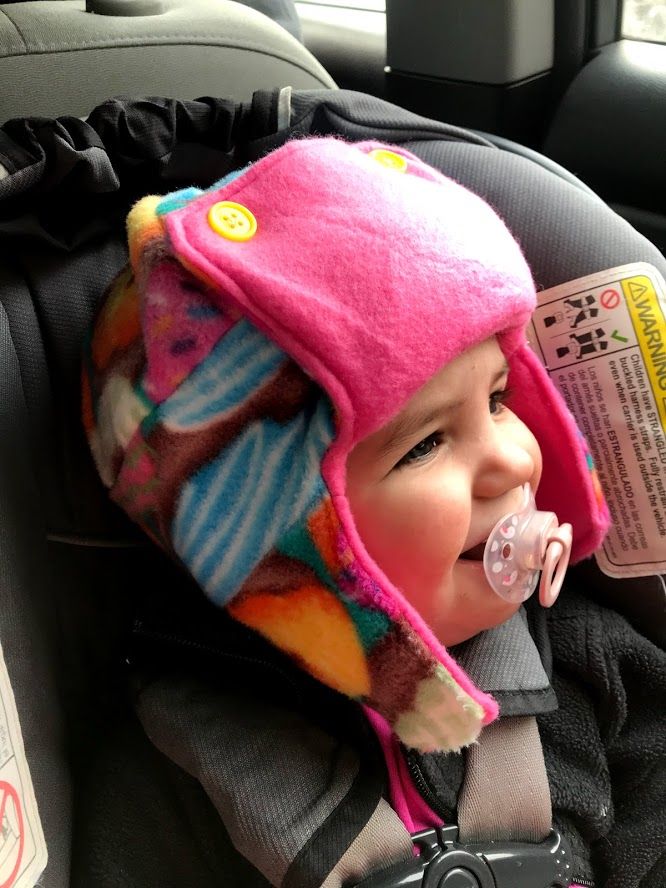
I'm so happy with the results of this hat! It's cute, warm, and practical. I asked Rami if he wanted one too and he wants me to use the leftover dinosaur fabric to make him the same style of hat! I may update if that happens.
I hope that this pattern and tutorial are helpful. Please let me know if there is something unclear or something I need to change; I have never written a sewing pattern before, and this is truly a developing skill! I am so excited to have the opportunity to keep learning with projects like this, and I hope this is an easy sew for any level of skill!
Cassie