Disclosure: Some links on this page below are affiliate links, meaning, at no additional cost to you, we will earn a commission if you click through and purchase. Read our disclosure for more info.
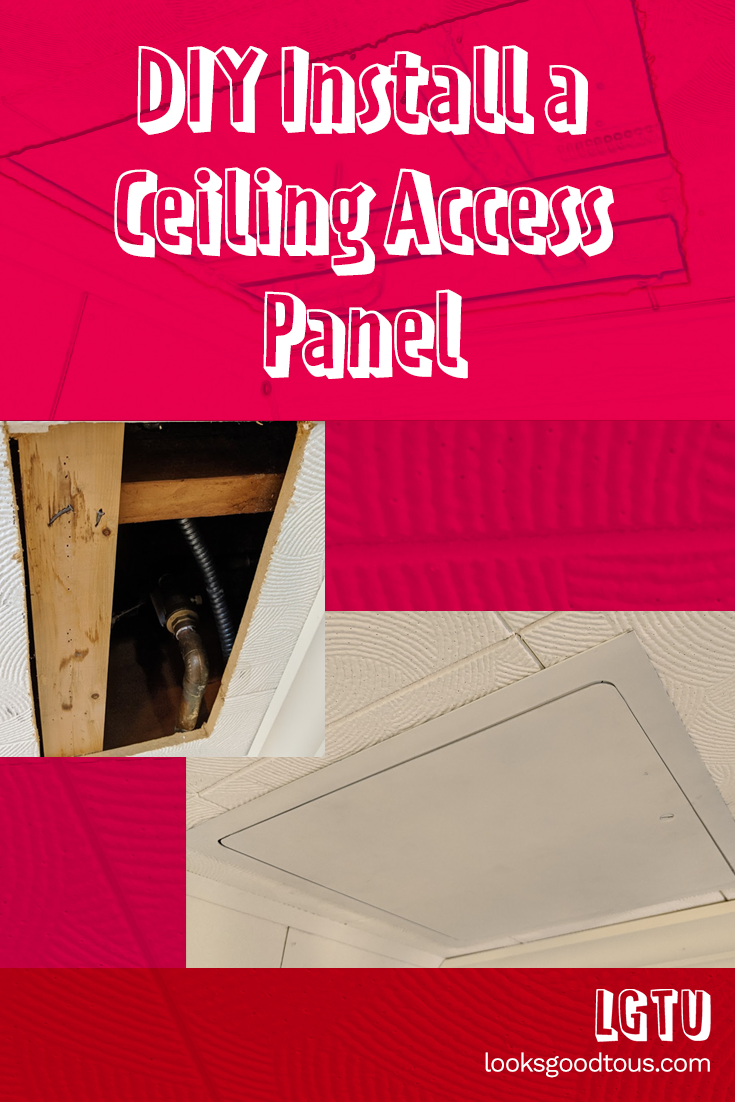
I recently had a plumber come and install new hose shut-off valves and one of the valves could only be accessed by opening up a hole in the basement ceiling tile which I had to deal with myself:
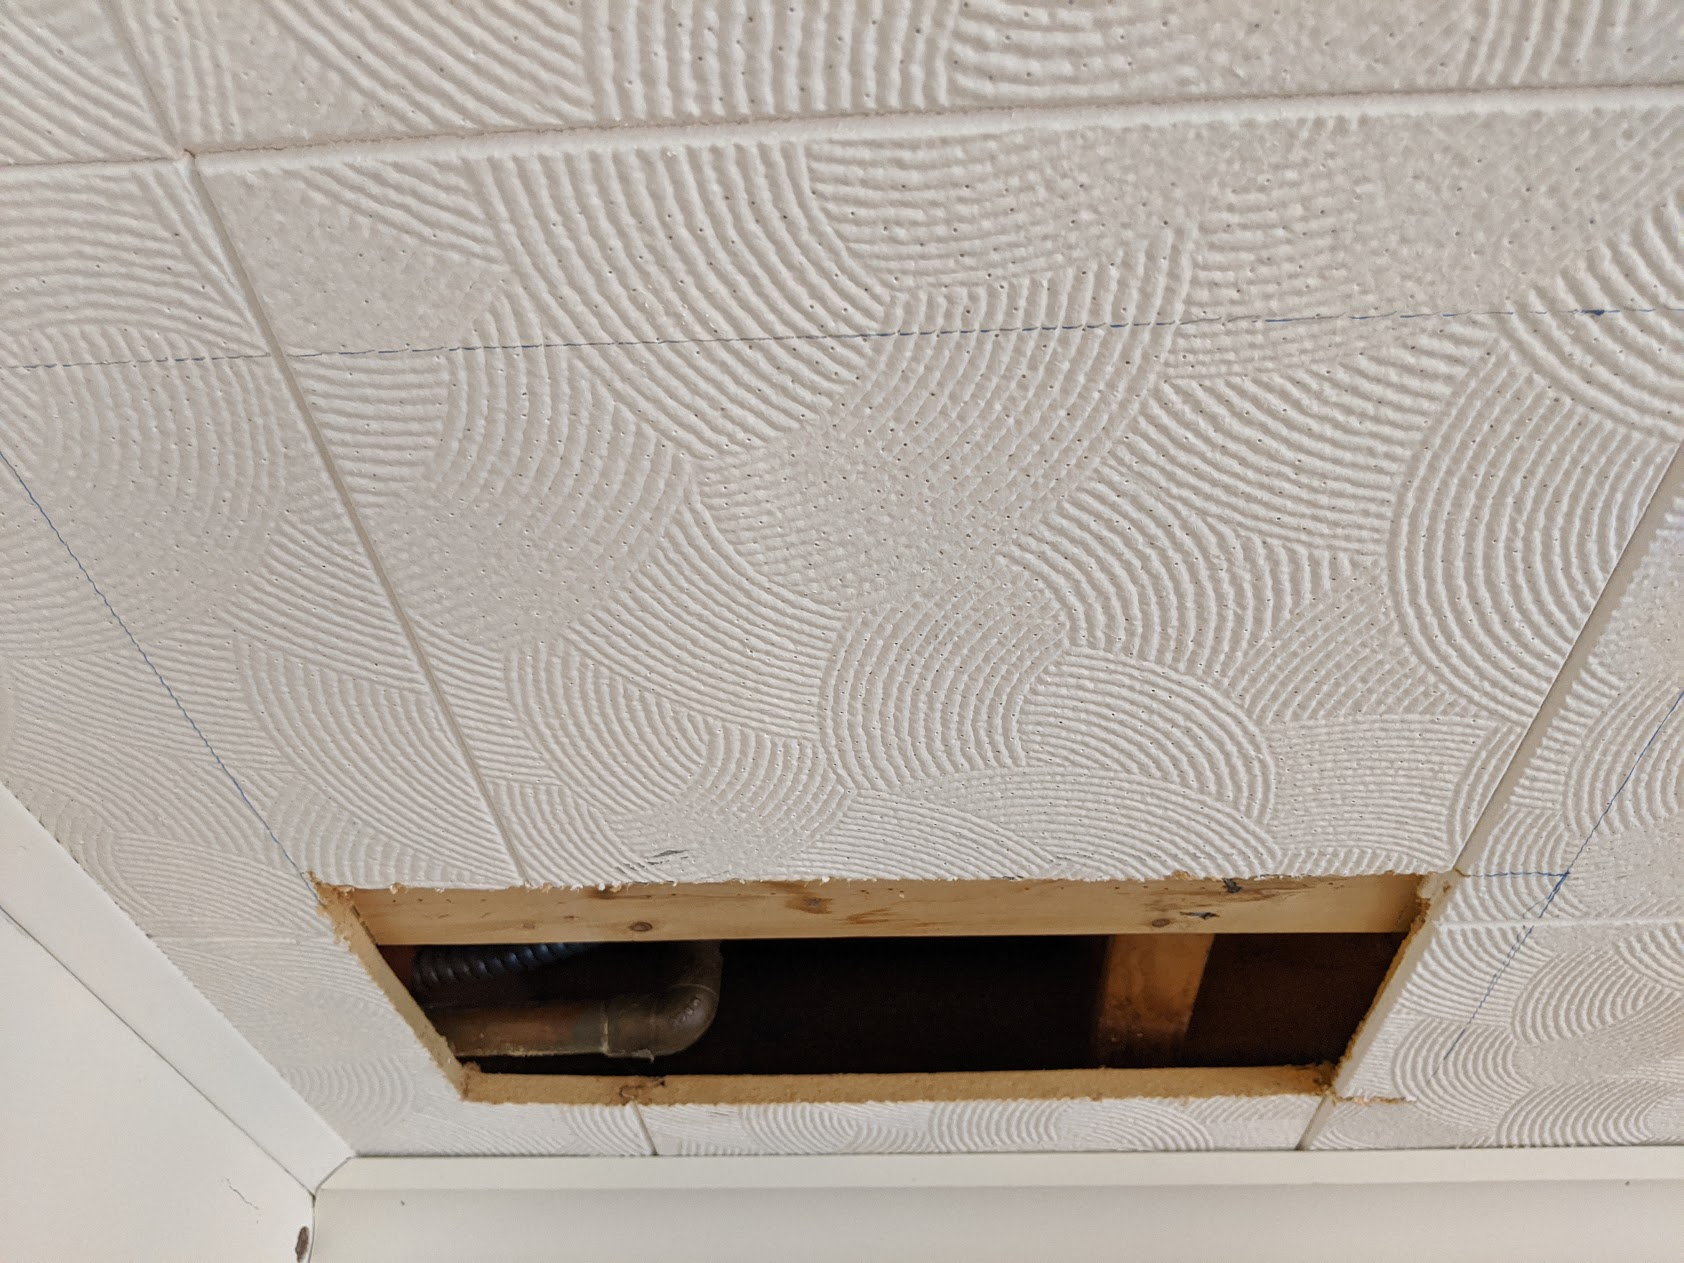
This hole was unplanned and so the plumber did what he had to do. As you can see, he cut it up to where the tiles met which ended up making a 15x7.5" opening.
A custom access panel?
At first I thought, "How hard could it be to get an access panel cut to fit for this opening?" and the answer is, "It's not hard but it's expensive." Furthermore, the frame for the panel couldn't exceed 1/2" of depth otherwise the stripping and pipe gets in the way. To custom order a panel to fit I was quoted about $250 including shipping. No thank you! I wanted something in the sub-$50 range!
I searched and searched and searched on multiple manufacturer websites for any kind of door or panel that could be flush mounted with less than a 1/2" box frame and could be light enough to use adhesive for mounting (most panels are steel). You'd think a plastic panel like that would exist somewhere online but I couldn't find it.
The only panel I found that was almost exactly what I wanted was from Home Depot, a Click Fit access panel:

The problem was: it is 14x14" and my opening minimum had to be 15x15" 😭 If I had known ahead of time, I would have cut the opening myself to the exact dimensions of the panel I wanted.
So after a day of researching and looking at spec sheets I gave up and phoned a friend.
Nope, use a standard access panel
I've shared before that I love Home Renovision DIY on YouTube and to that end I've been a "member" for over a year now, paying to support Jeff's content. As a member, I can email anytime with questions, photos, or video and get help! So I did, I asked Jeff what he thought. His response?
They make a 16 x 16 access panel door. That should work. Cheers! - Jeff
Darn, nothing fancy. That was... what I had expected but didn't want to hear. It meant I had to get creative.
I tried looking first for plastic access panels but they tend to be sold out everywhere (probably for obvious reasons). They also were bigger, the closest size being 18x18". You can find plastic access panels on Home Depot so feel free to look through them but they are completely sold out.
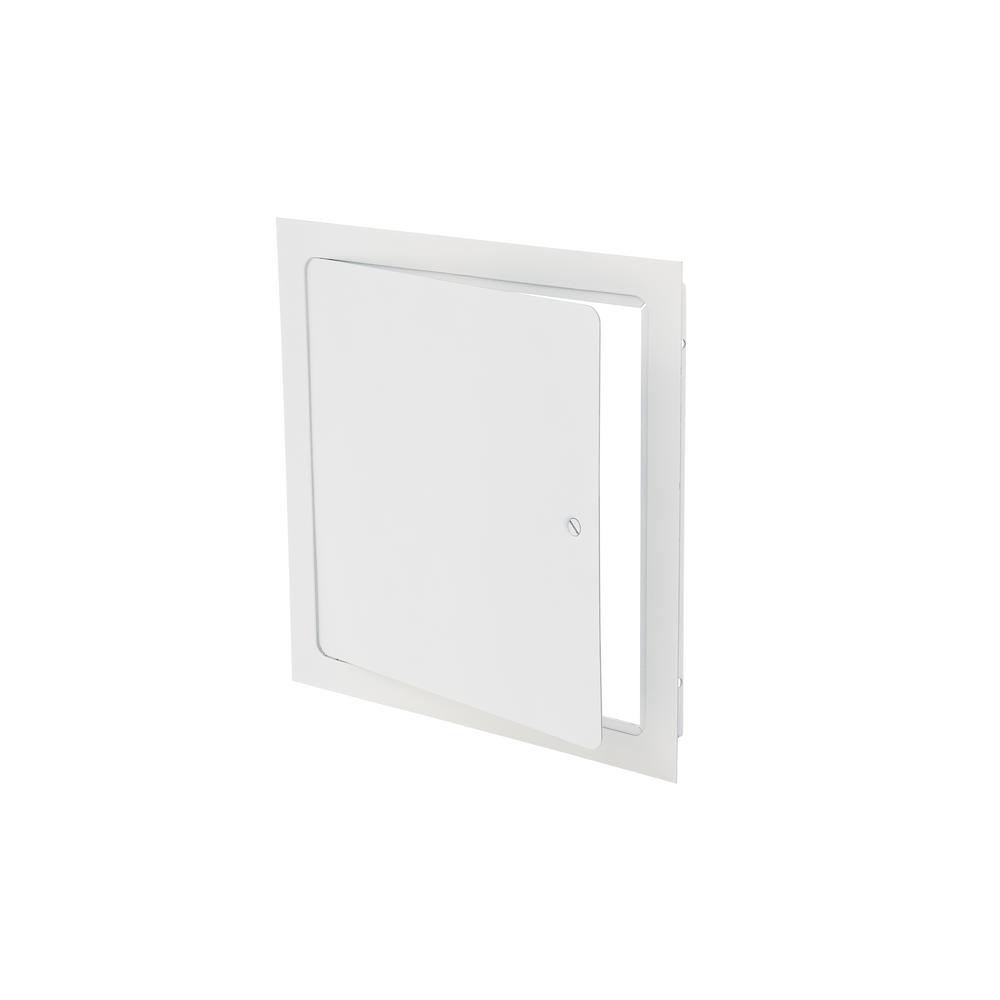
The next best thing I could find was this 16x16" Elmdor steel access panel:
Cutting the opening
Once the panel arrived, I was able to finish this little project within the day, maybe a few hours of time.
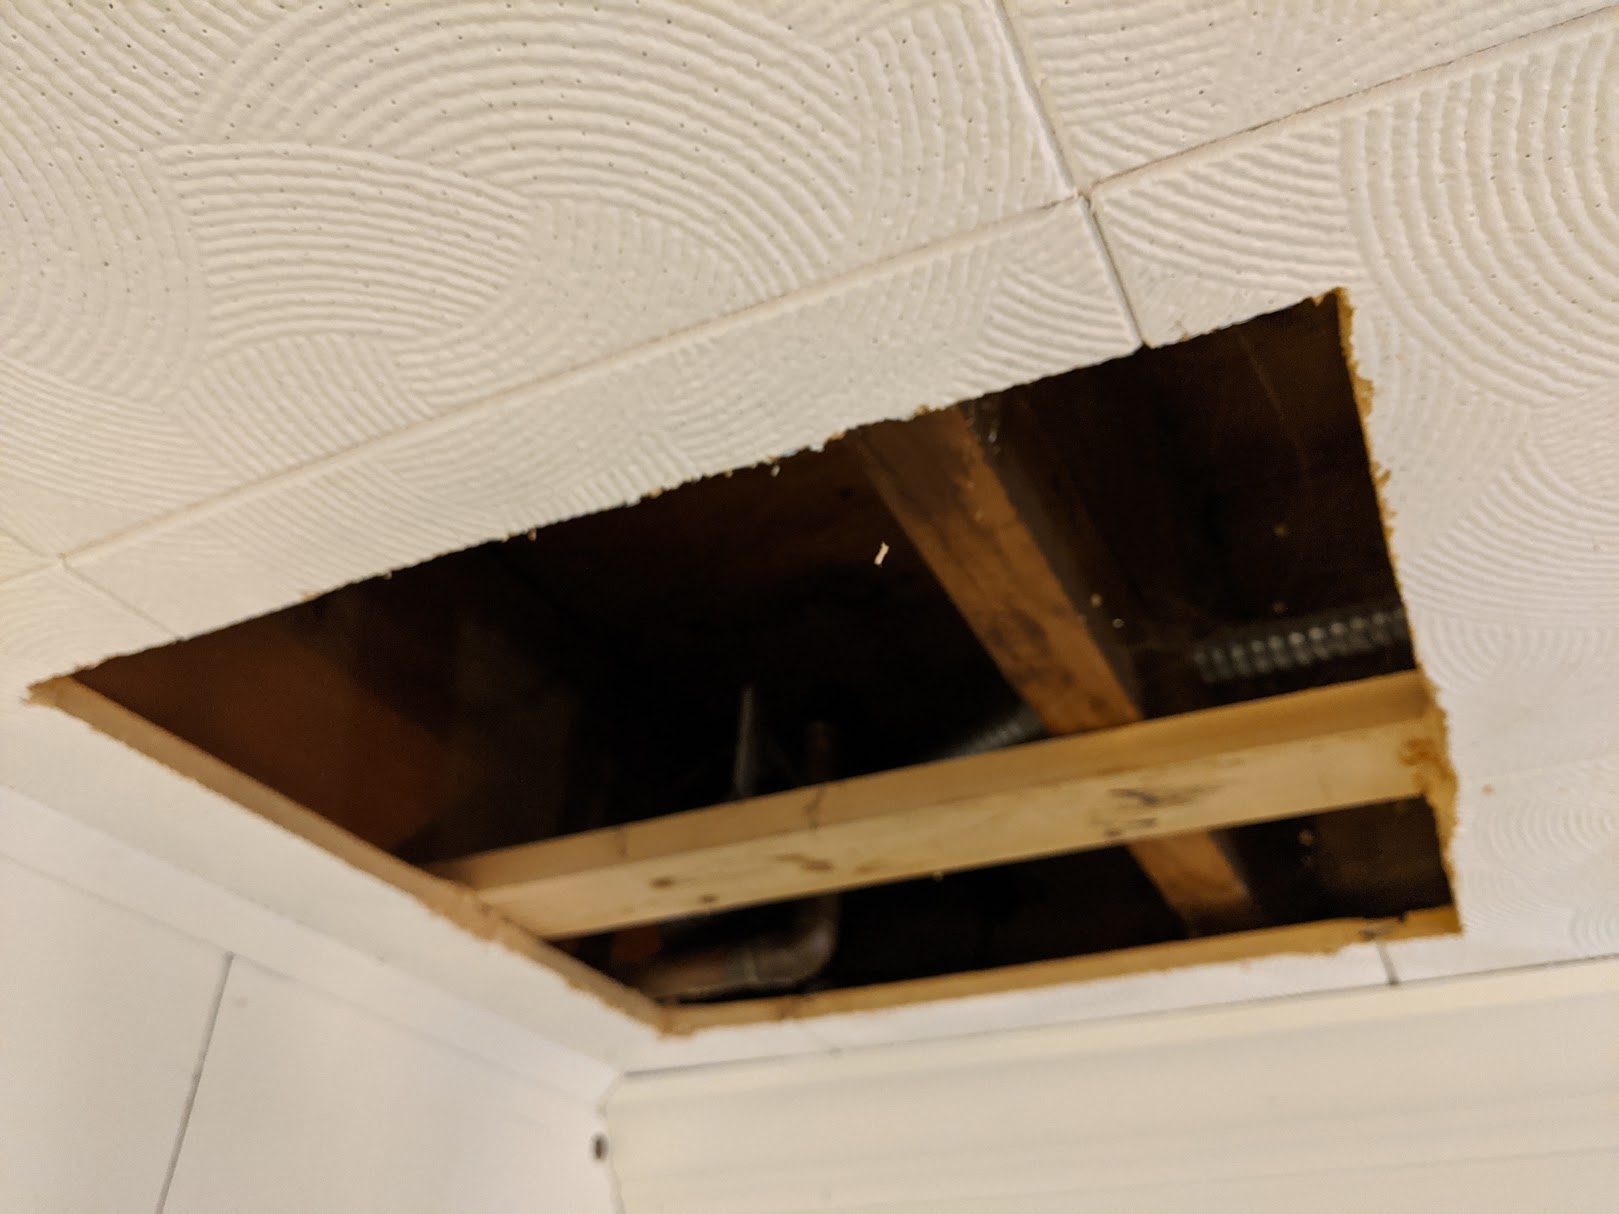
First I measured and traced the cut for a 16x16" opening then used a jigsaw to cut. Cutting around the stripping was... fun, I don't think a jigsaw is ideal here, I would have preferred maybe a compact circular saw or just a solid jab saw. I had neither at-hand and I knew it was fine to be rough with a 1" flange to hide my imperfections. My dad's old jigsaw ended up doing the trick with some maneuvering:
Cutting an access panel with a Dremel
Next, I needed to fit the panel. The problem is that these panels have a 1" frame to mount the panel on wood framing. This was essetially a unplanned hole so I had no existing framing plus the water pipe and stripping was flush against the tile, creating obstructions. What to do?!
As you may know if you've been following along, I recently learned how to cut steel air vents with my Dremel during the winter:
 Kamran
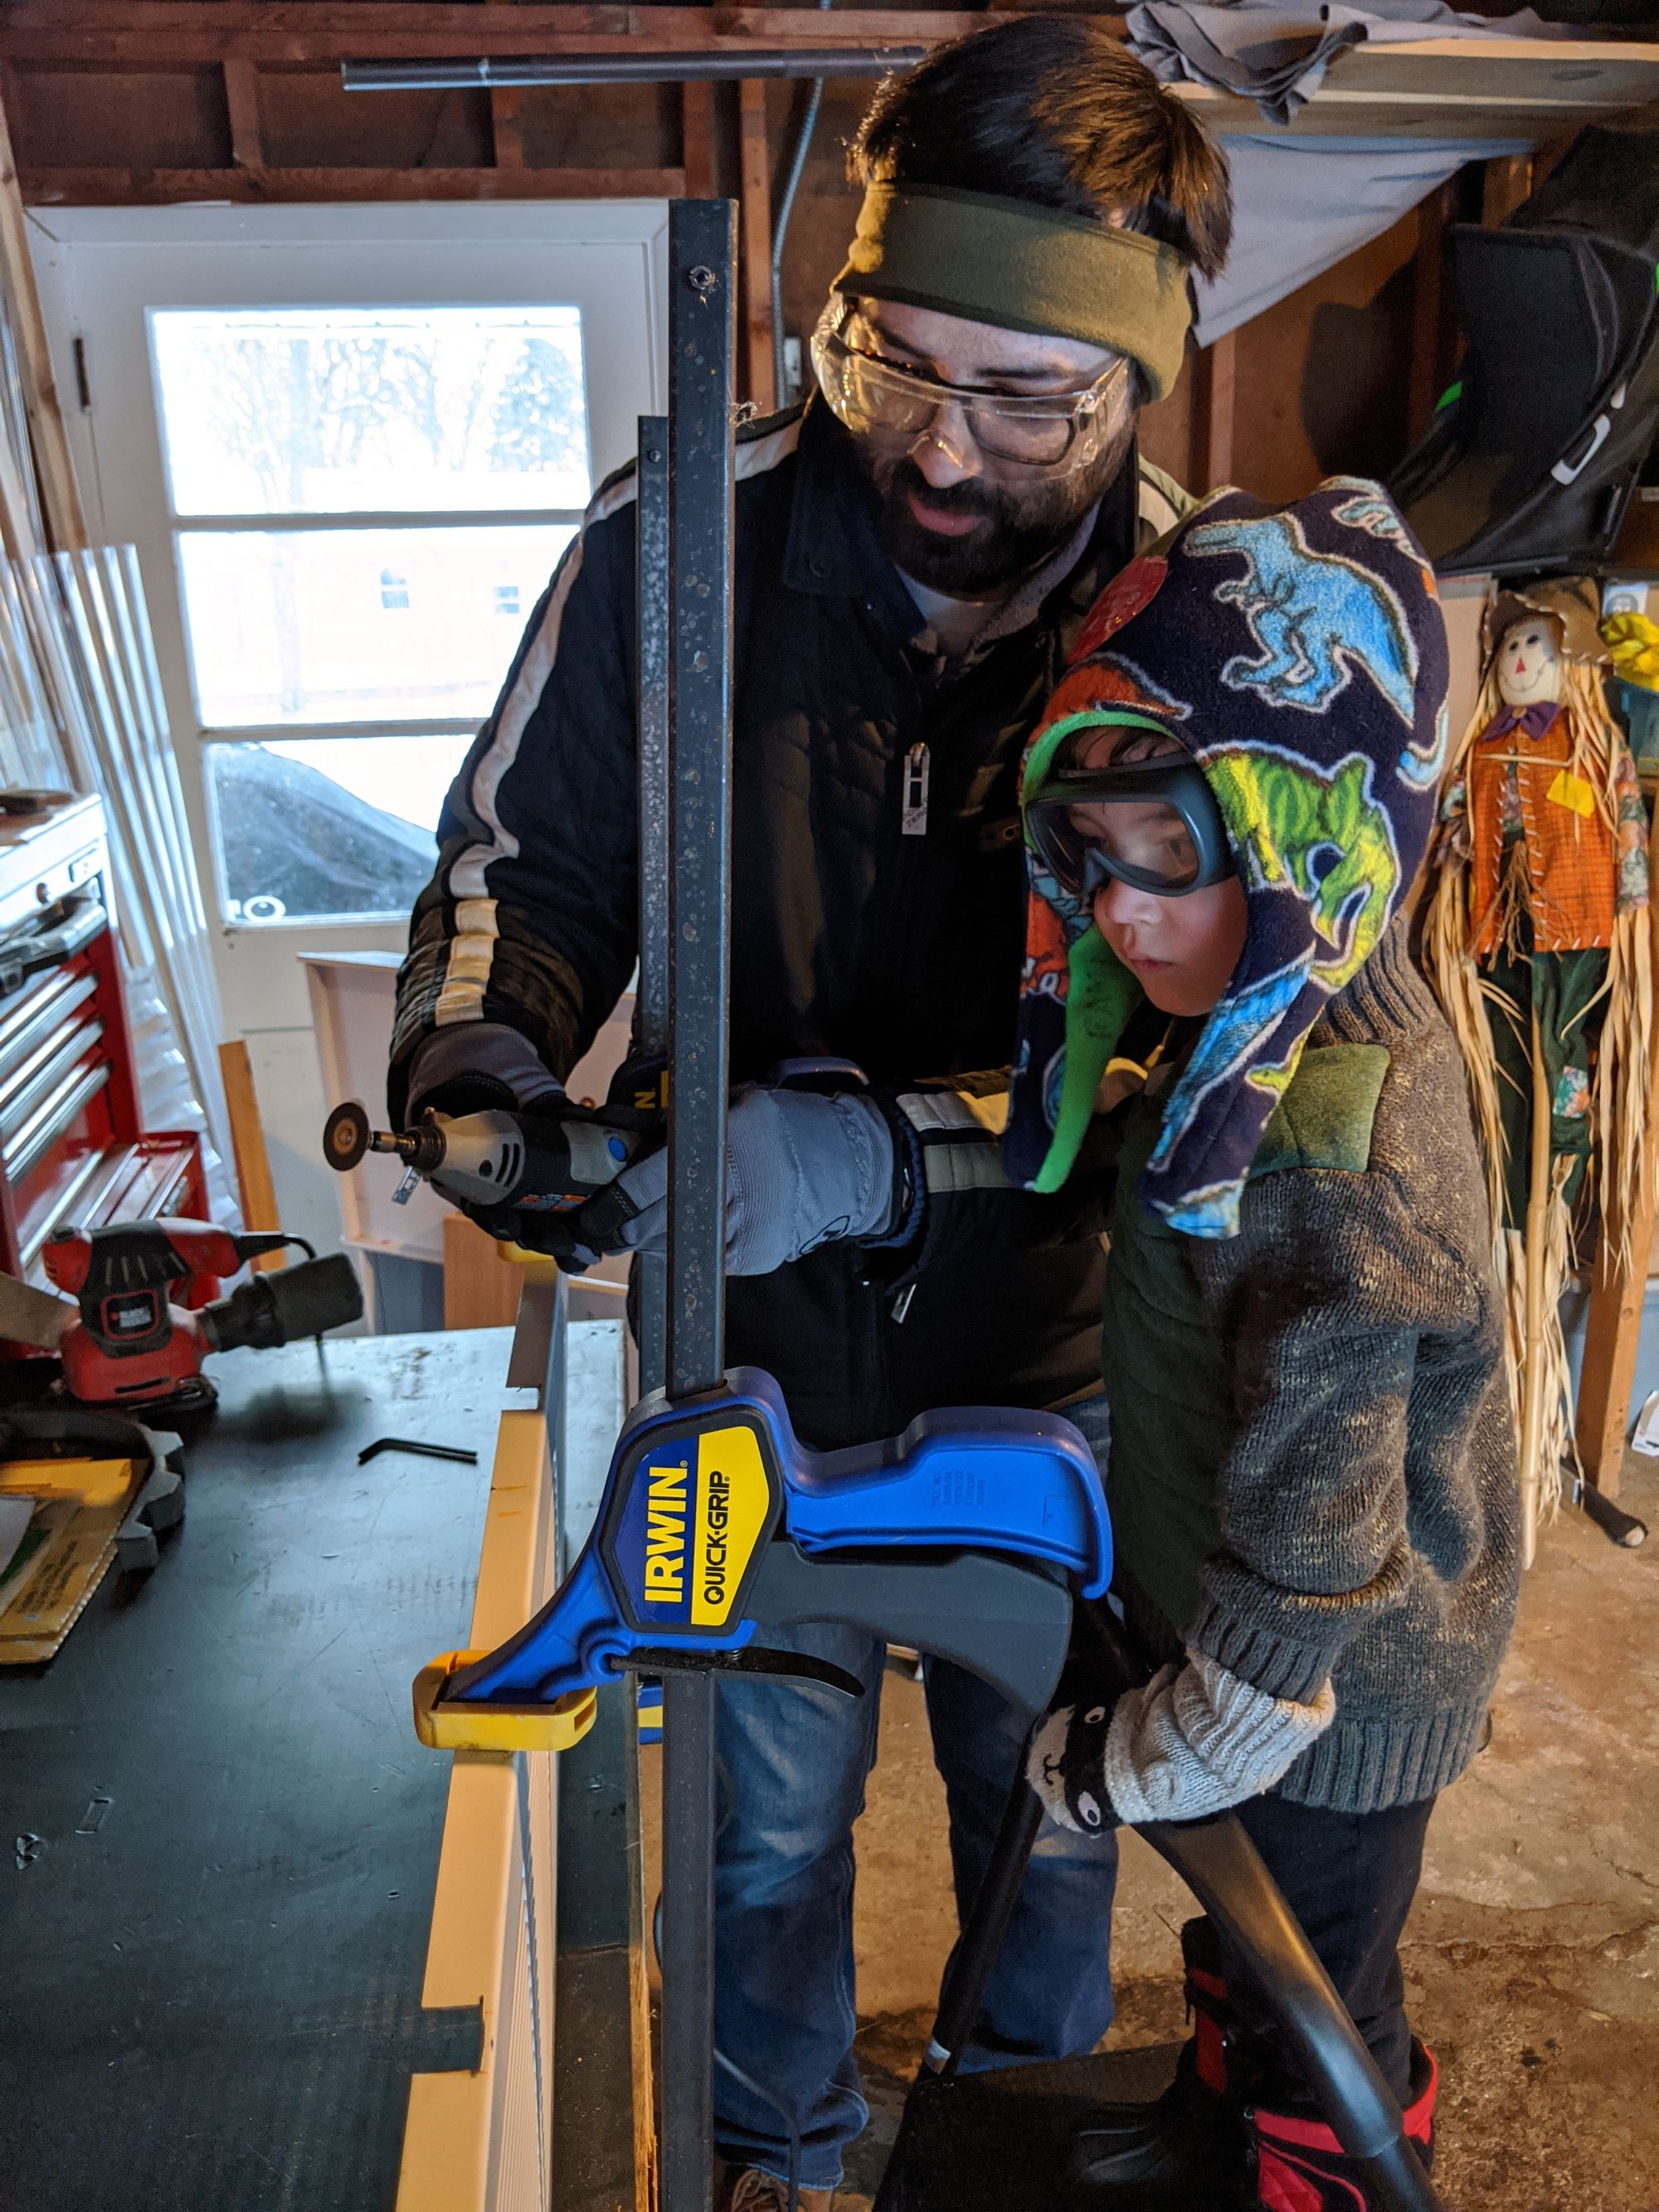
💡 Ah hah! This was a skill I knew I could use here too. The access panel is 8-gauge steel which is only slightly larger than the air vents I've cut before.
I took the panel can mark the panel where I need to cut and then I only need to cut a few notches to fit around the stripping and pipe.

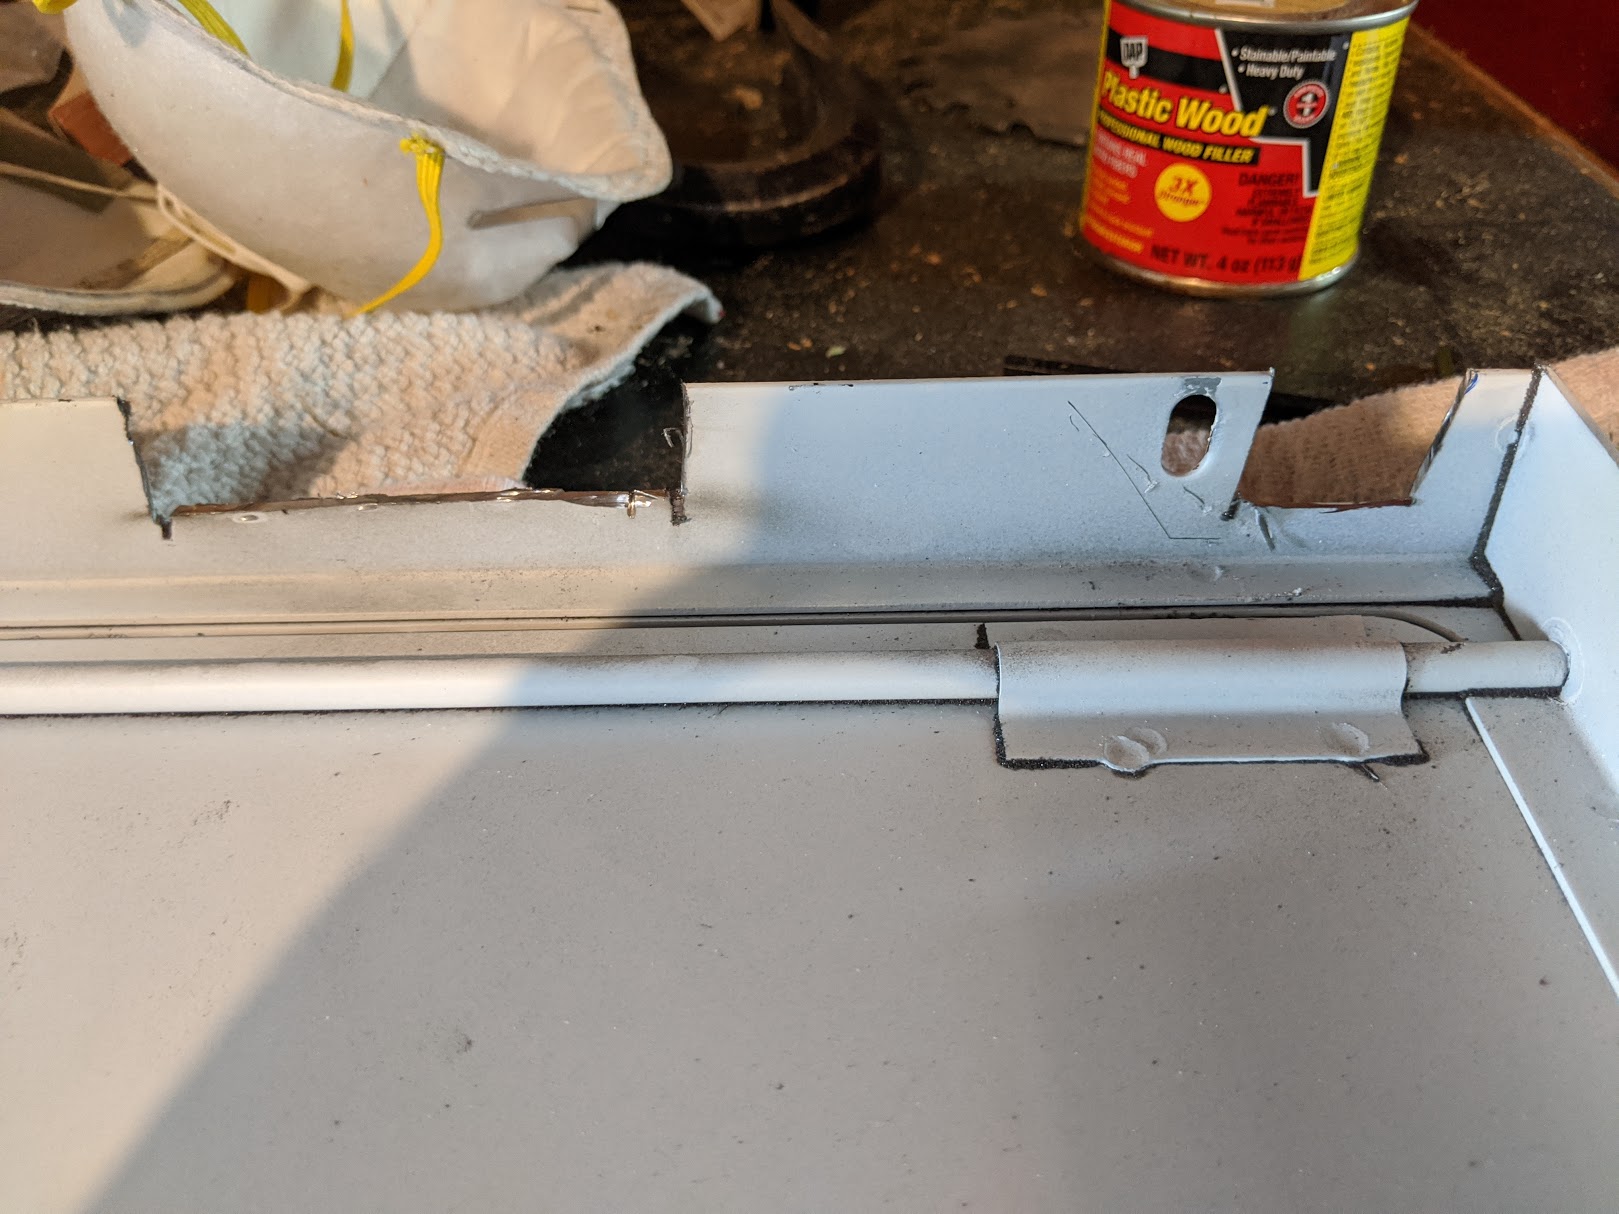
This time it was quicker to cut the panel. It actually took longer to find my Dremel blades (lesson learned: organize Dremel stuff together). While my wife and kids vacuumed out the van, I got to work and cut the panel and after wearing out one cutting disc, I successfully made the notches I needed. I brought the panel downstairs a couple times to ensure things fit but overall it was easy enough!
Improvised framing for mounting
What you're about to see may offend you because it's super DIY but I needed to solve a problem and this did so pretty well.
The access panel is heavy (about 7.5 lbs). It was way heavier than I expected (I didn't bother to check!). There was absolutely no way I wanted to use adhesive within the panel flange onto weak acoustic tile. It needed some kind of wood framing support to be secure.
I had some extra 2x2 lying around and so after inspecting the opening I decided I could fit the 2x2 around the stripping on two sides to create a mounting surface. I knew it wouldn't be perfect but with two construction screws on both sides to hold it in place, I figured it would be good enough to get the job done.
I started by cutting the 2x2 to the opening size and then marking where to put the notch, to make it fit snugly around the stripping. I drilled holes in the corner of the notch to fit the jigsaw in to cut it (no table saw in this house yet, still!).
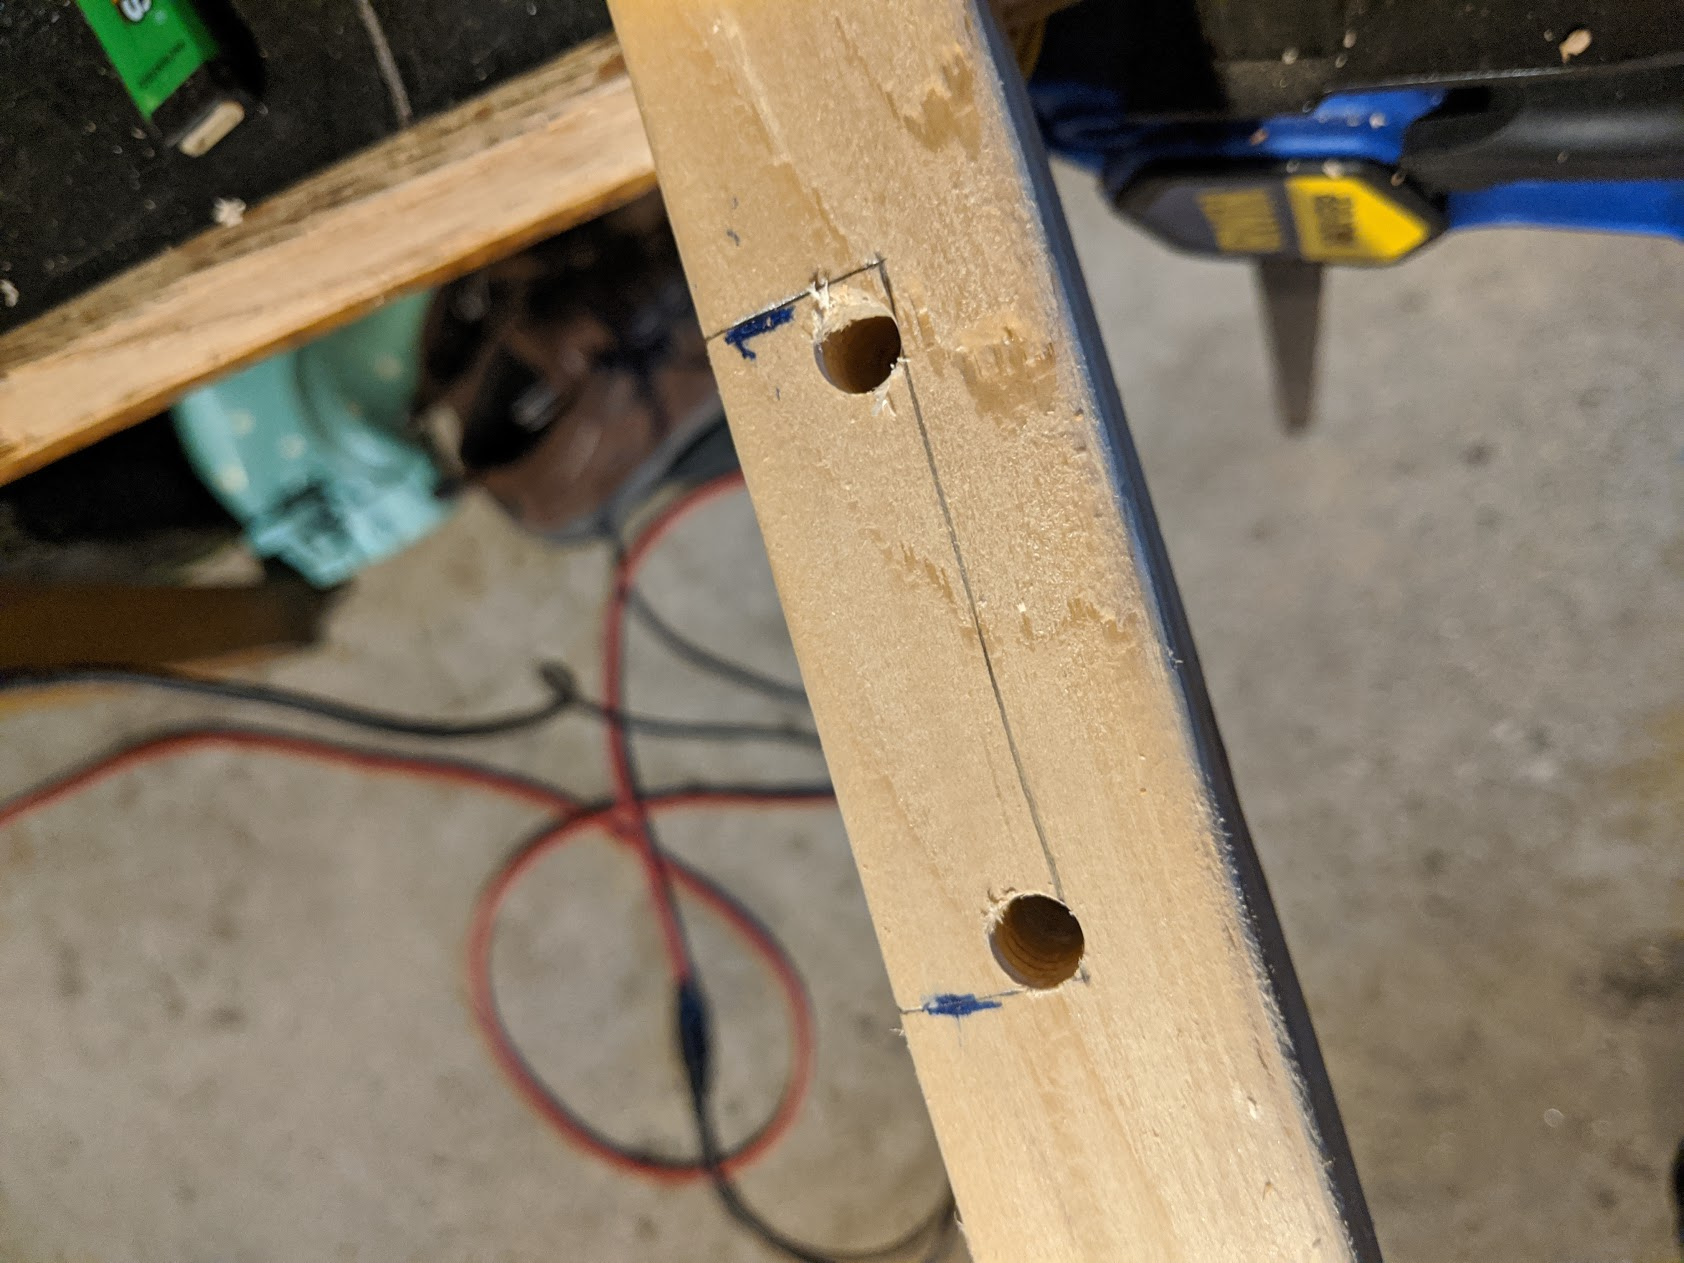
This worked plenty fine, as I was able to cut straight with the jigsaw to make the notch. If you have a router, use that instead, I'm sure that's easier 😅
I fit it around each side around the stripping and then screwed it in using construction screws:
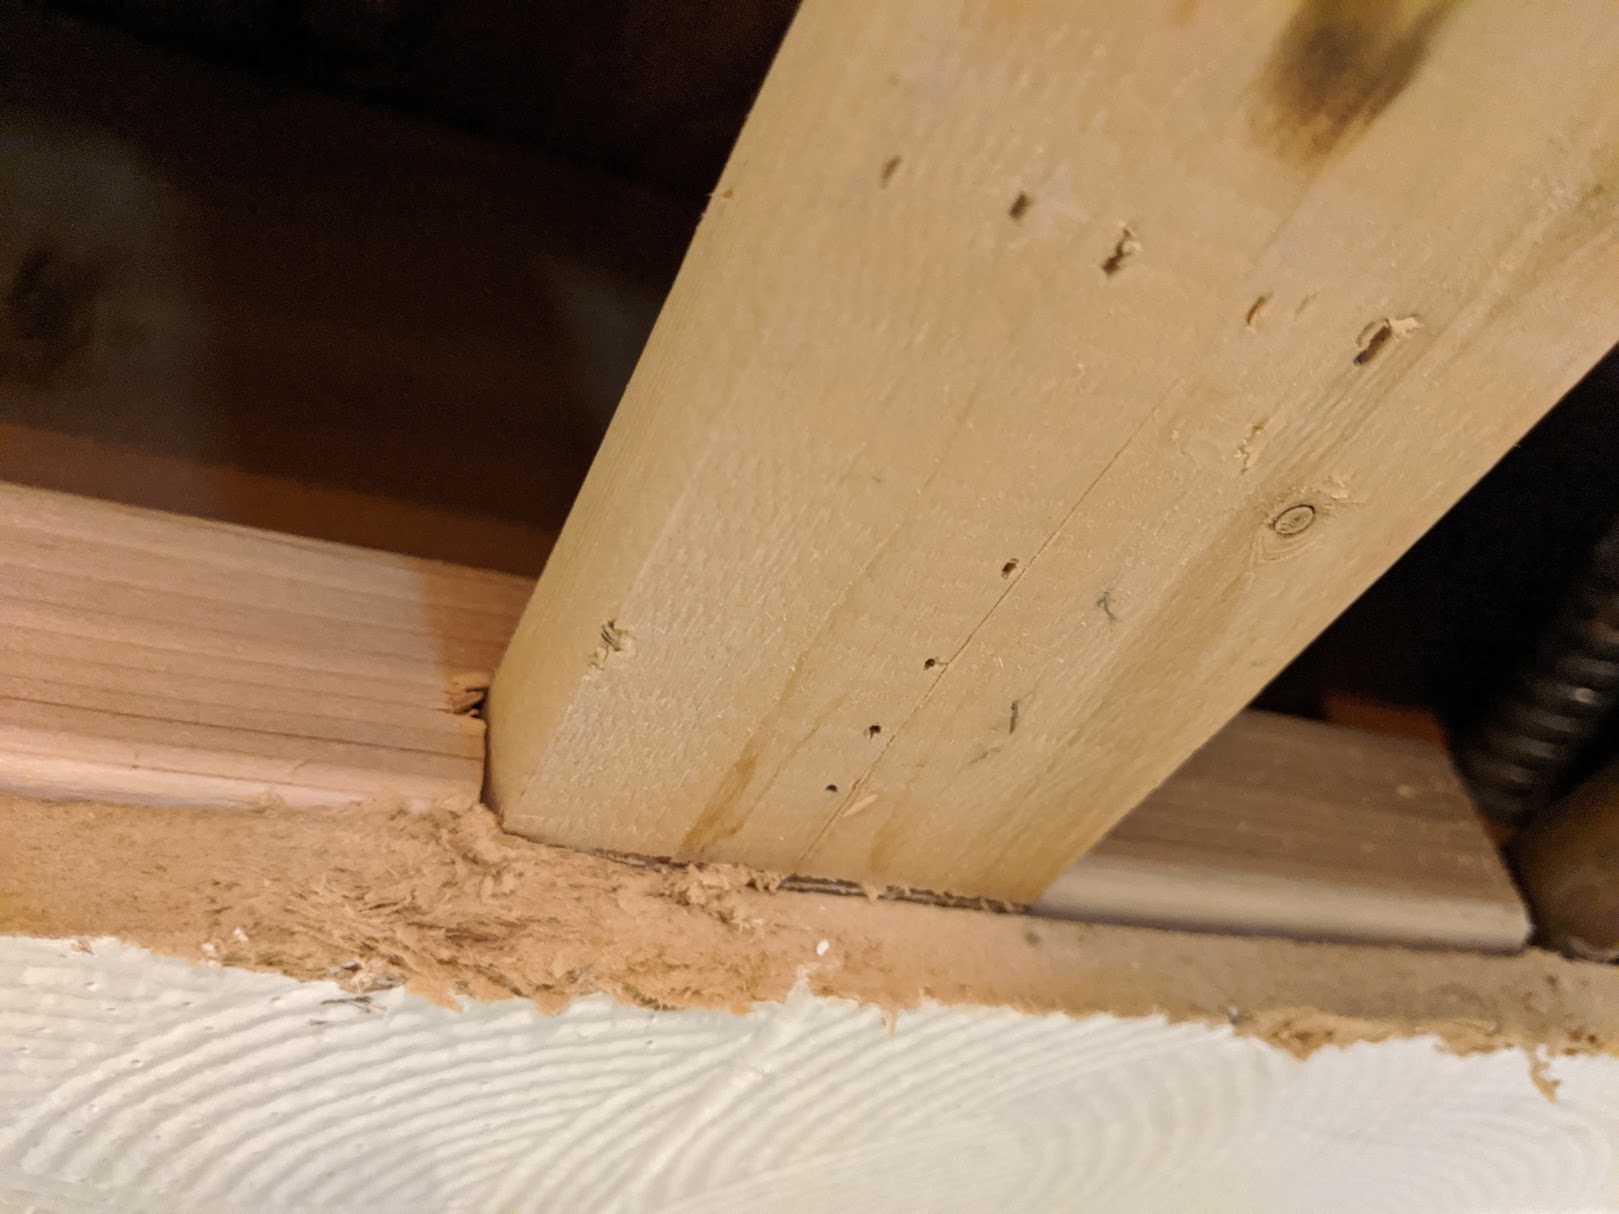
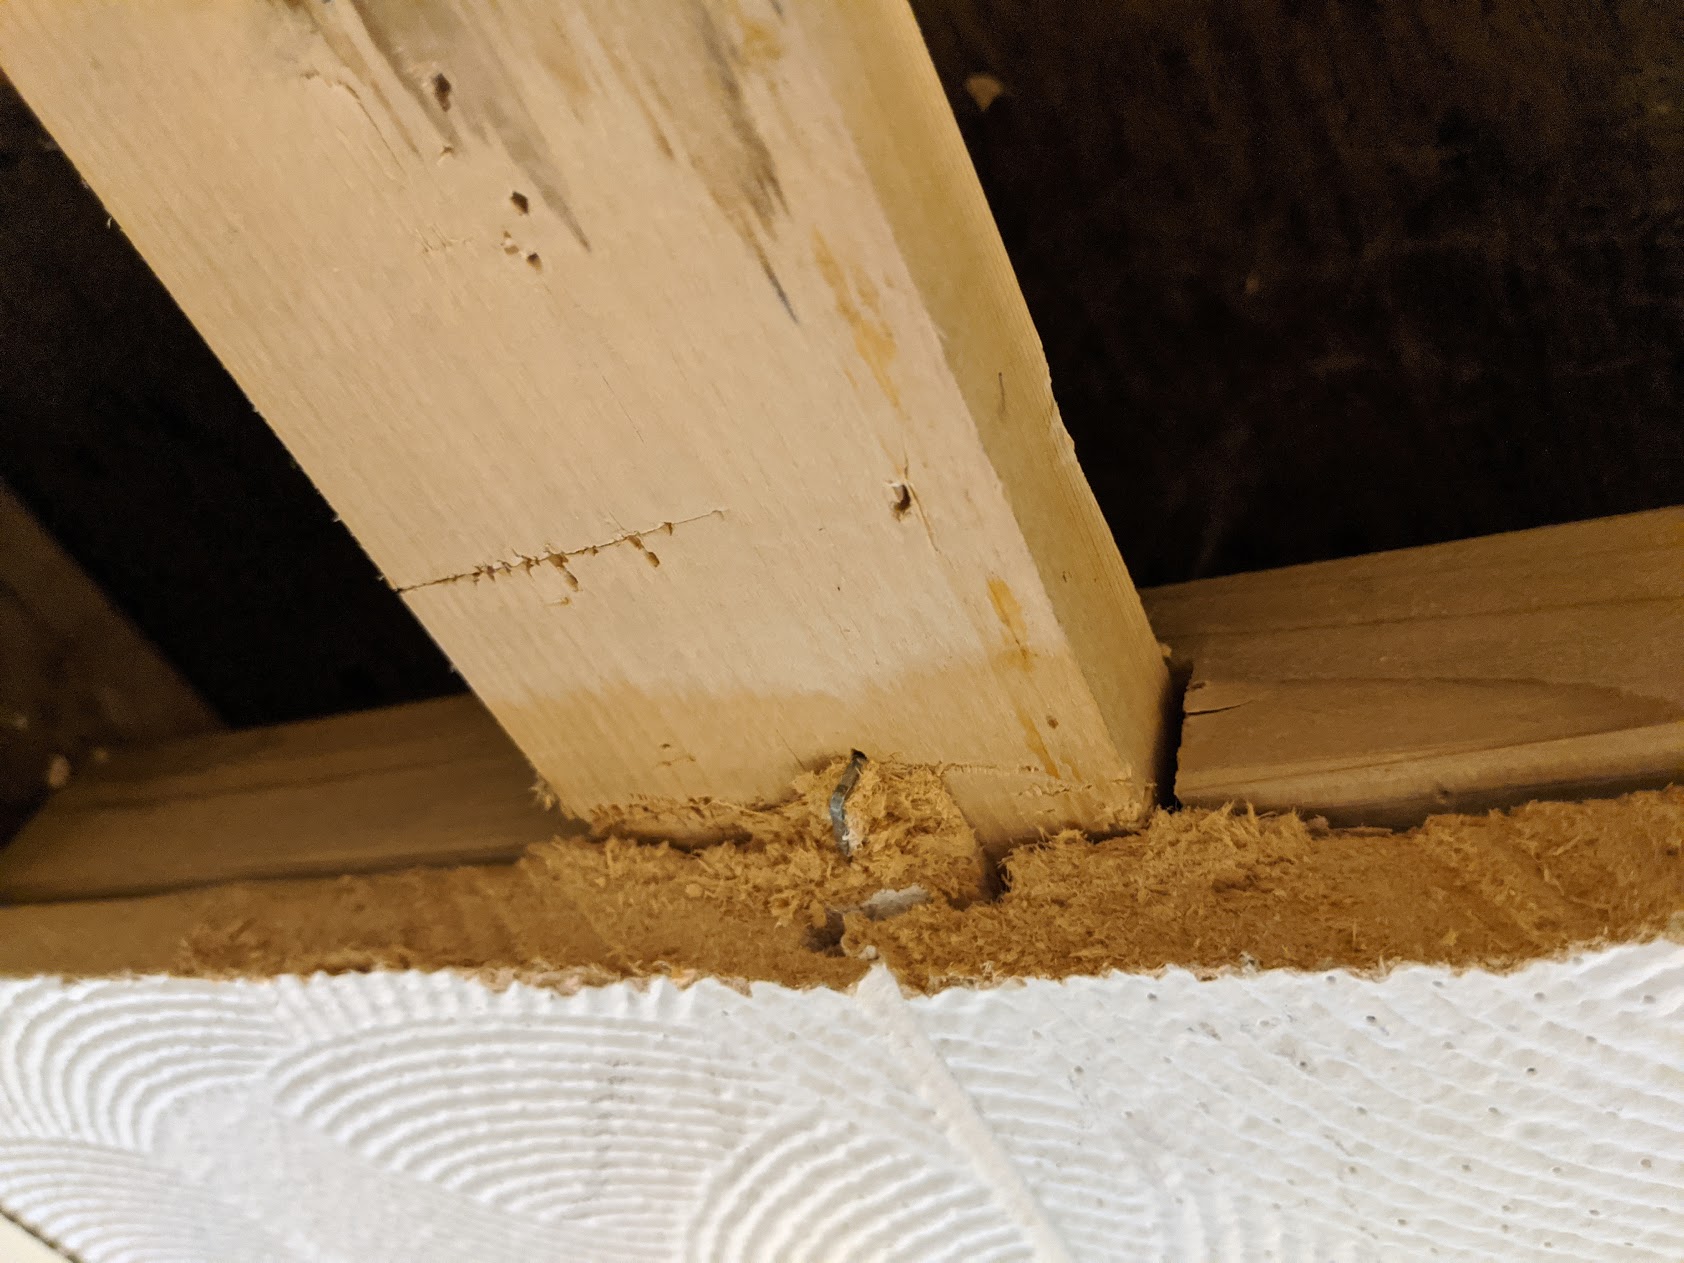
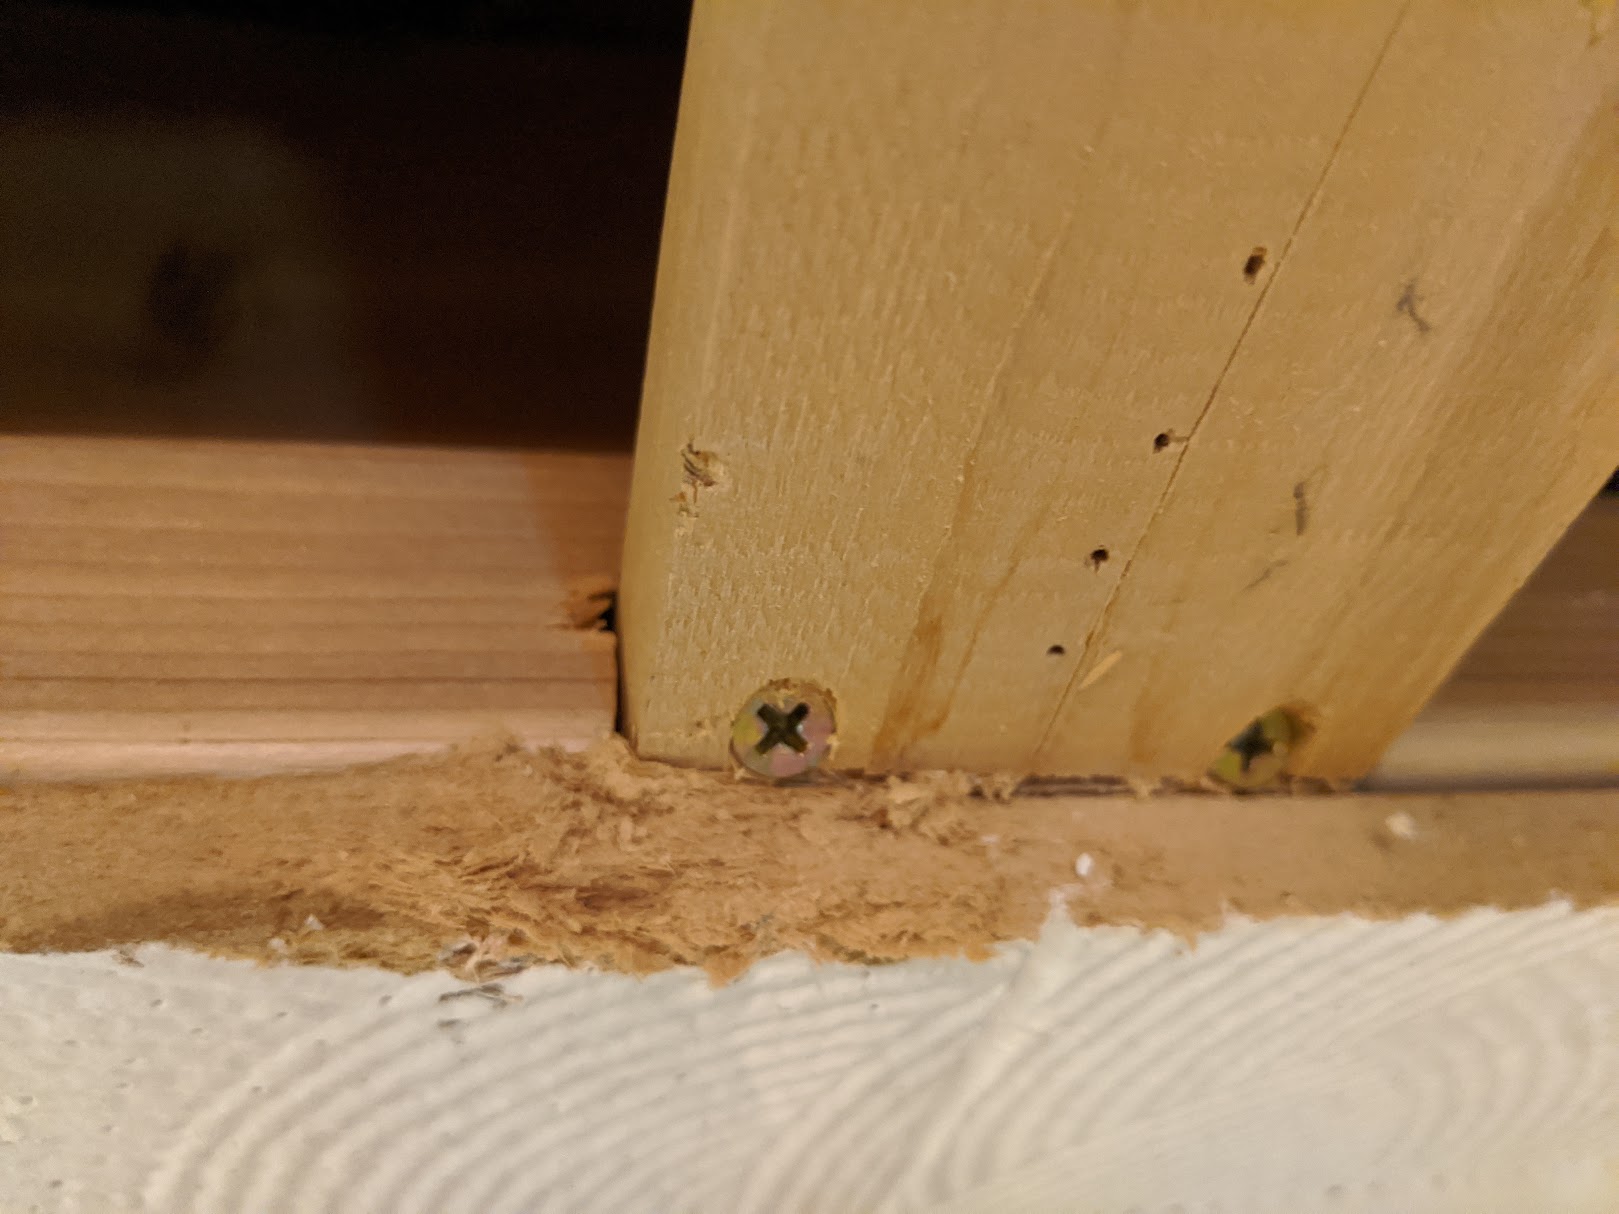
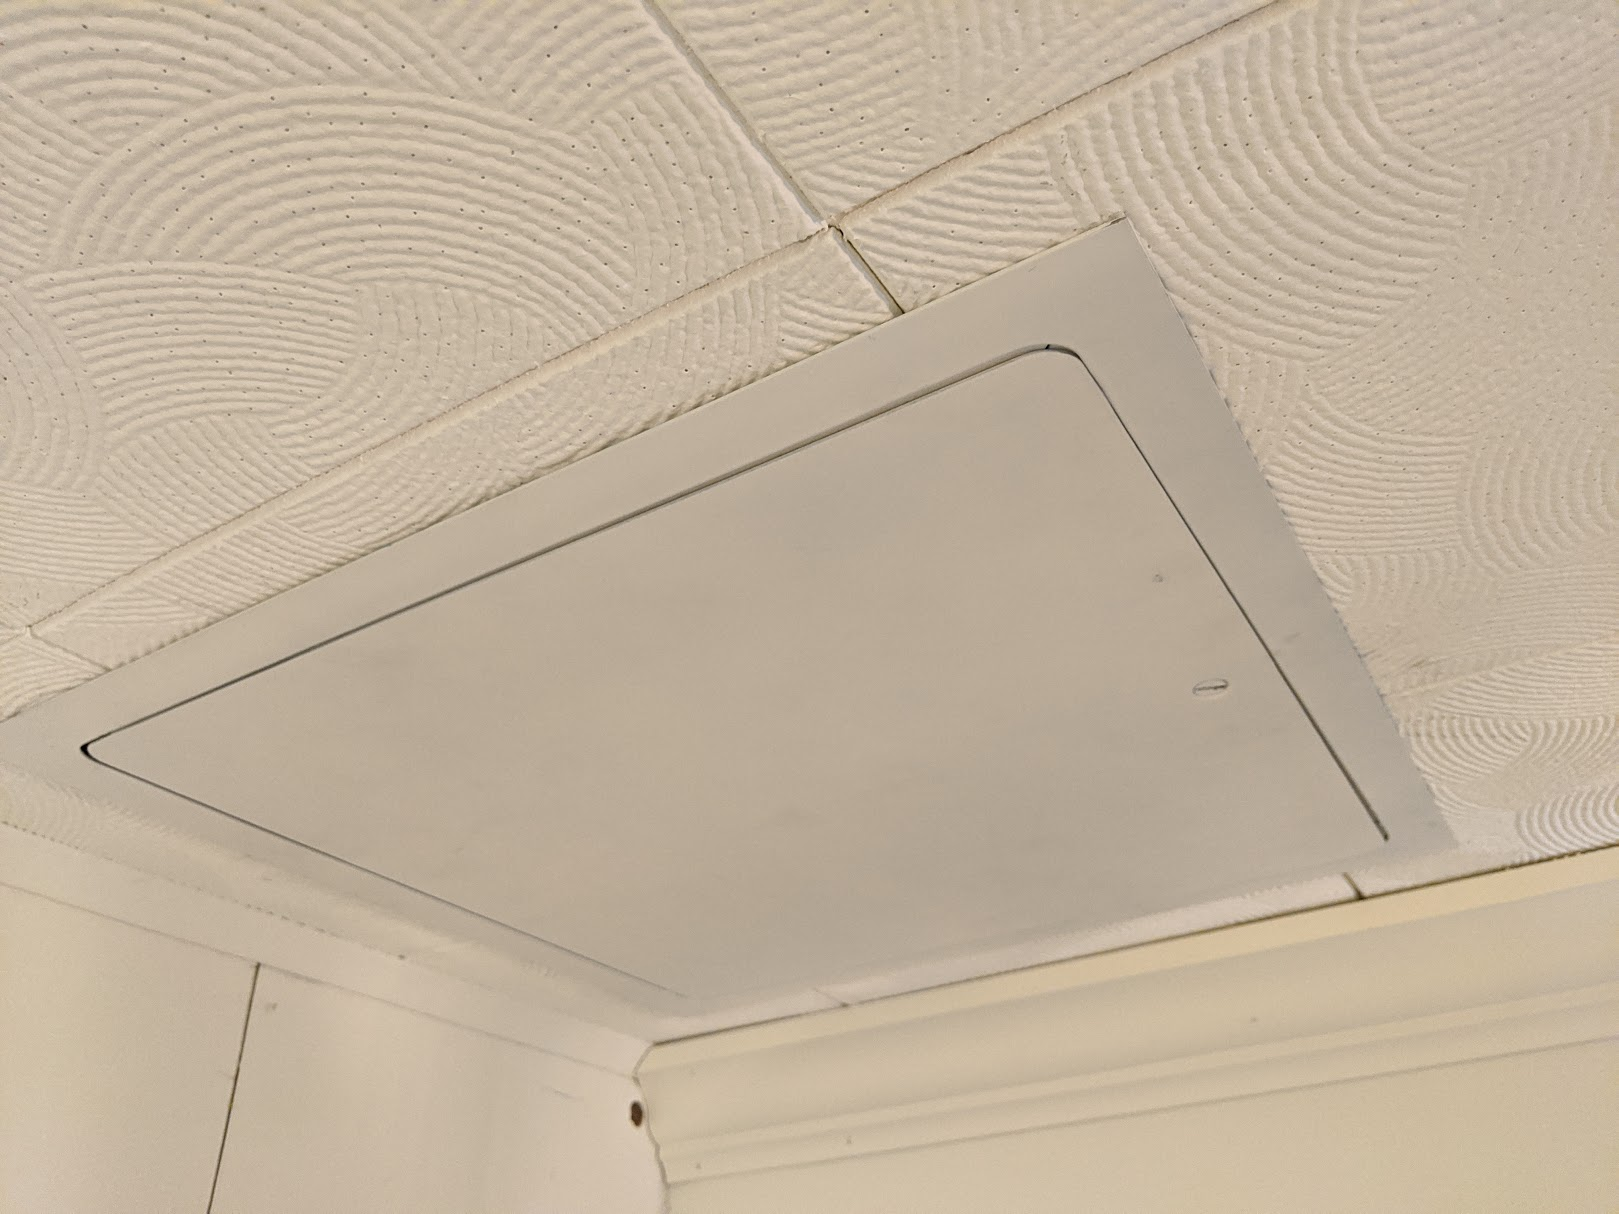
This created the surface I needed to fasten the panel to the 2x2 and keep it nice and flush against the ceiling. I could now add adhesive to keep it even more flush but if I did that, all the tiles attached to it would have to go if I wanted to replace/fix/change the panel.
Hey, this looks good to me! I see this every day now as I work on my computer and whenever I glance over, I feel proud I did it myself!
Would I have done anything differently?
In retrospect, if you're in the same bind I was, I recommend a few things:
- Try to pick a panel first then cut your ceiling to fit 😊
- I think if I was willing to wait longer, I could have found a plastic panel at 15x15" that would have been a bit easier to cut with the Dremel and lighter for mounting.
Otherwise I'm pretty happy with how this ended up given the constraints!